7 min read
How to Tell Positive and Negative Wires on Light Fixture
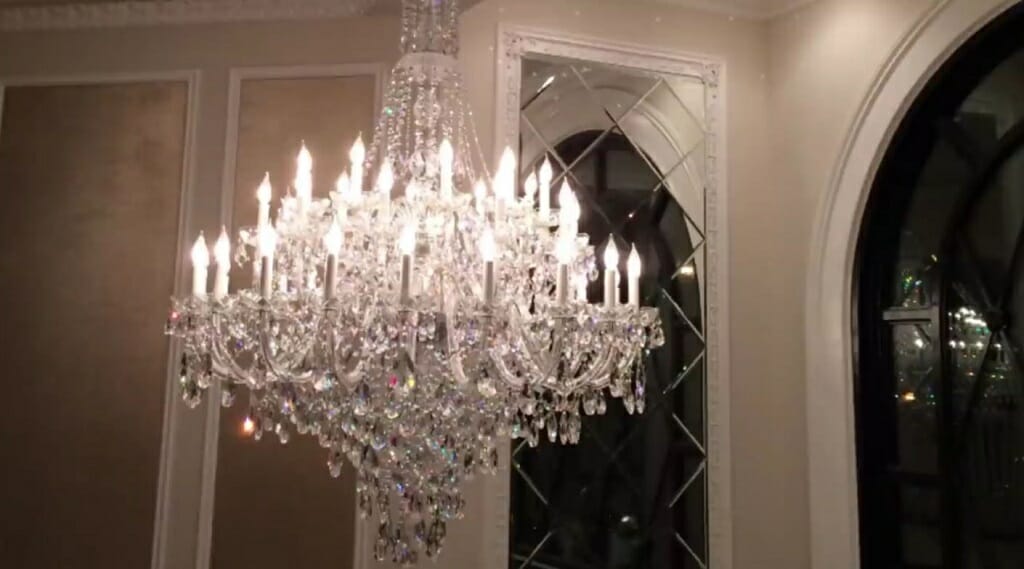
Whether you use a fluorescent tube light, chandelier, or incandescent bulb, you might have to replace or make repairs from time to time. One of the most important parts of a job like this is knowing the difference in the wiring. Most light fixtures have a hot wire and neutral wire. Sometimes, you’ll see a ground wire too. For proper wiring, identifying these wires is crucial. With that in mind, here are some tips on how to tell difference between positive and negative wires on a light fixture.
In general, in an AC light circuit, the white wire is the neutral wire and the black one is the hot wire. The green wire is the ground wire. However, some light fixtures might have two black wires and one green wire. The black wire that has a white strip or ribbing is the neutral wire.
Facts About Light Fixture Wiring
Most light fixtures are wired the same way. They are connected to each other in a parallel circuit. These light fixtures have three wires; a hot wire, a neutral wire, and a ground wire. However, in some connections, there won’t be any ground wires.
AC Powered Light Fixtures
AC-powered lights come with three different wires. The hot wire is the current-carrying wire, and the neutral wire plays the role of the return path. The ground wire does not carry any current in normal conditions. It carries current only during ground faults.
Tip: The ground connection is a must-have safety mechanism for your light fixtures.
DC Powered Light Fixtures
When it comes to DC-powered lights, the wiring is a bit different from AC ones. These circuits have a positive wire and a negative wire. Here, the red wire is positive, and the black wire is negative.
4 Step Guide to Take Apart Your Light Fixture and Identify the Positive and Negative Wires
Things You’ll Need
- Screwdriver
- Tester
- Multimeter
- Wire Stripper (optional)
Step 1 – Cut the Power to the Light Fixture
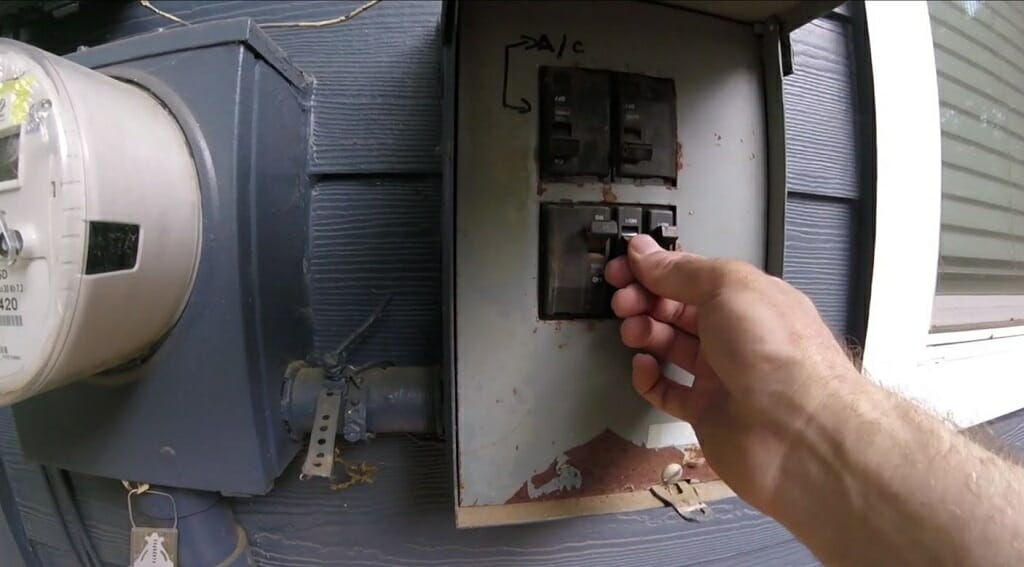
First and foremost, turn off the power to the light Fixtures. Find the circuit breaker that supplies power to the light fixtures and turn it off. (1)
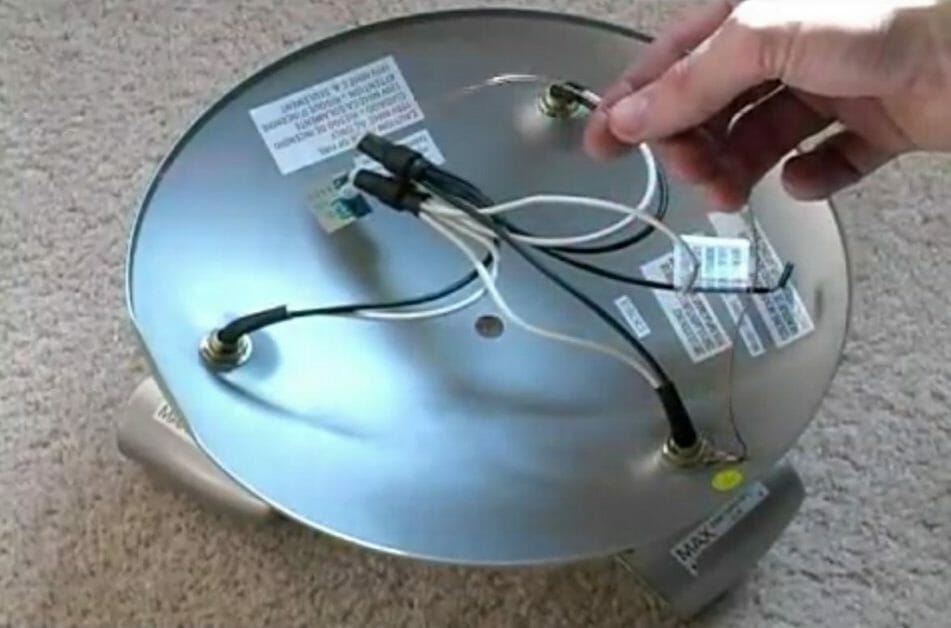
Step 2 – Remove the Outer Casing
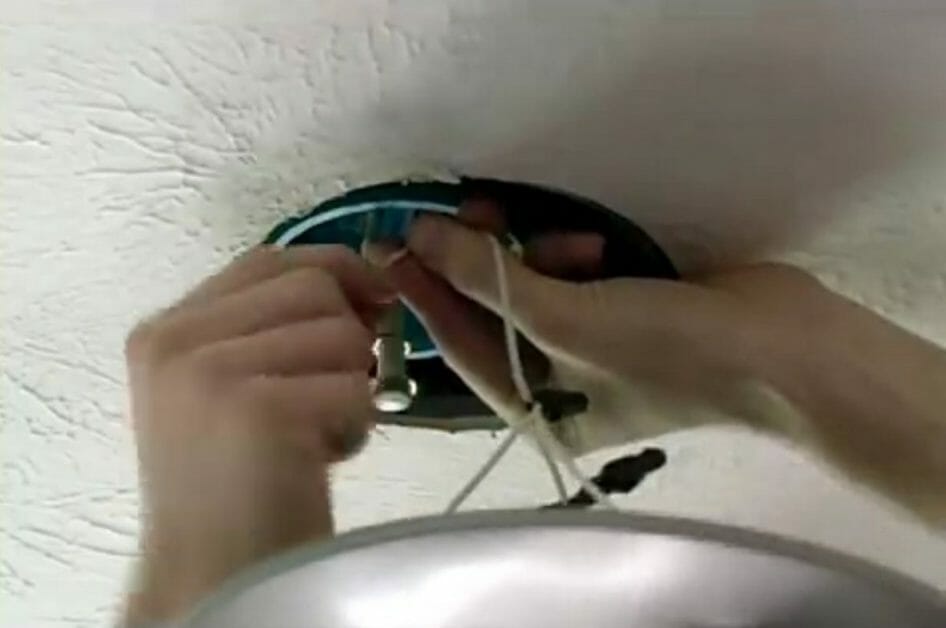
Then, locate the screws holding the light fixture’s outer casing. Depending on the type of light fixture, this process might vary. If you are using a chandelier, you might have to remove three or four screws.
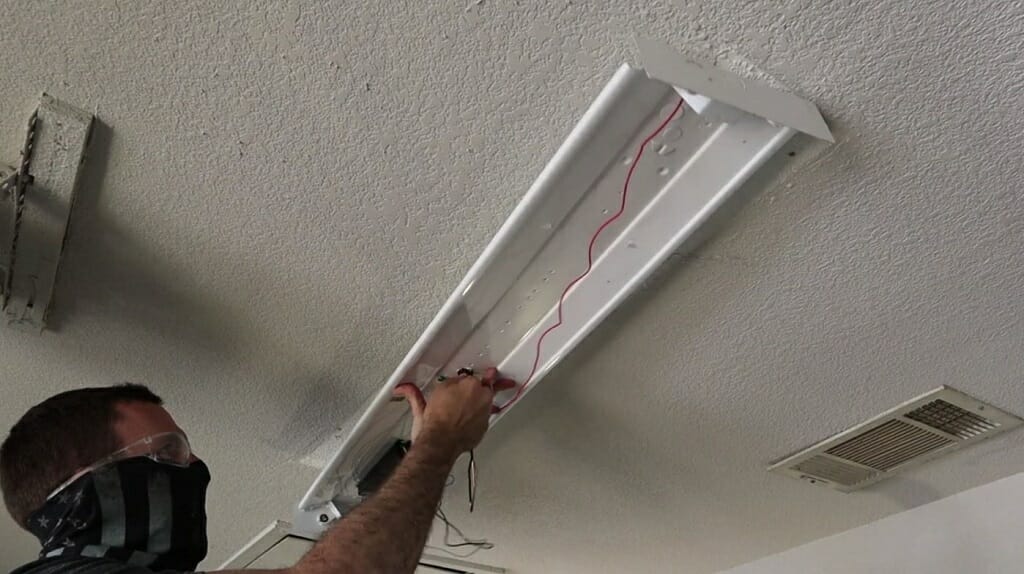
The same goes for the fluorescent tube light. The target of this step is to locate the wires.
So, remove all the obstacles that might be hiding the wires.
Step 3 – Pull Out the Wires

After removing the outer casing, you can inspect the wires. For better observing and testing, pull them outside.
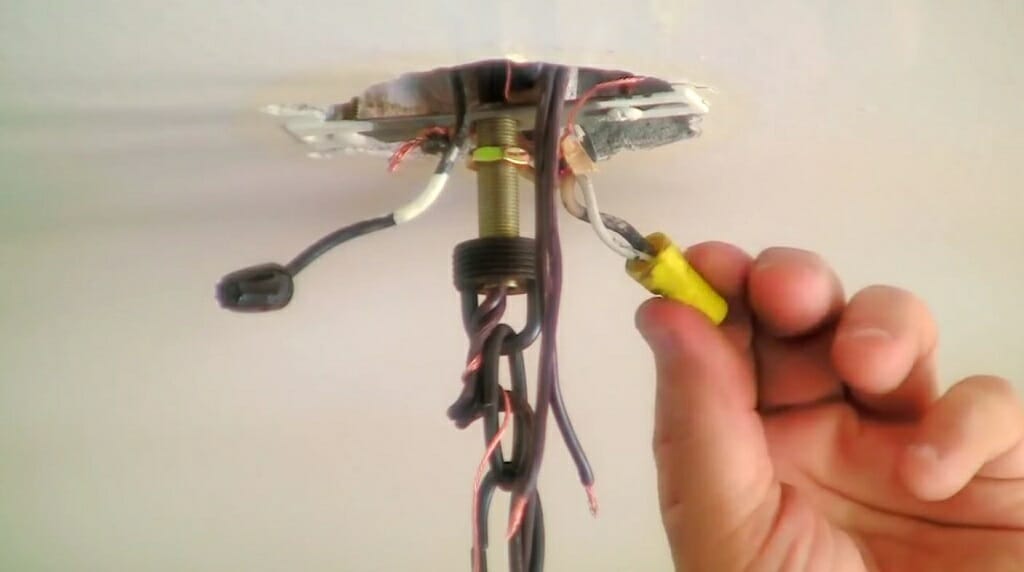
Step 4 – Identify Wires Properly
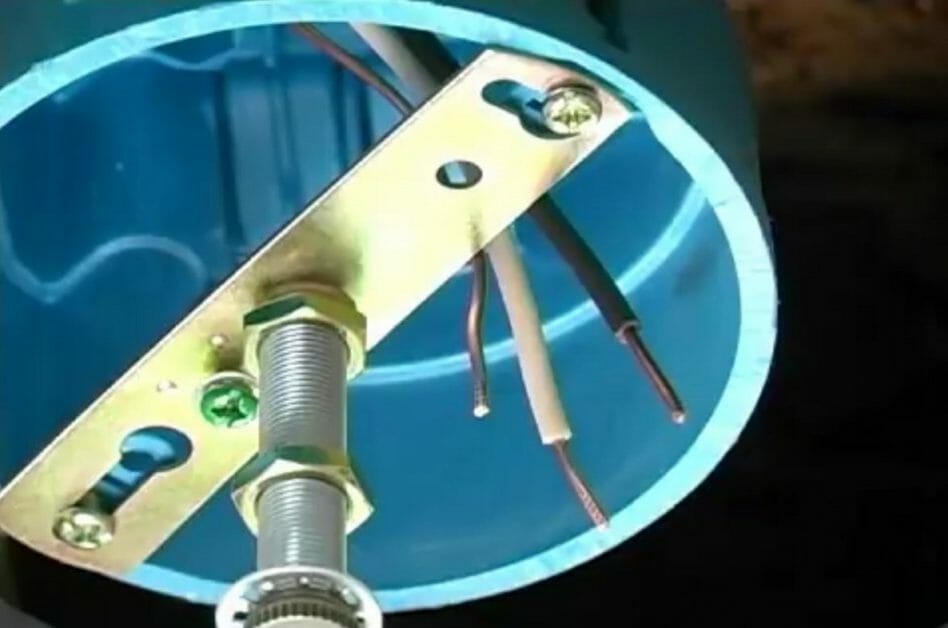
Now, you are ready to identify the wires. Follow these guidelines properly.
Identifying Hot and Ground Wires
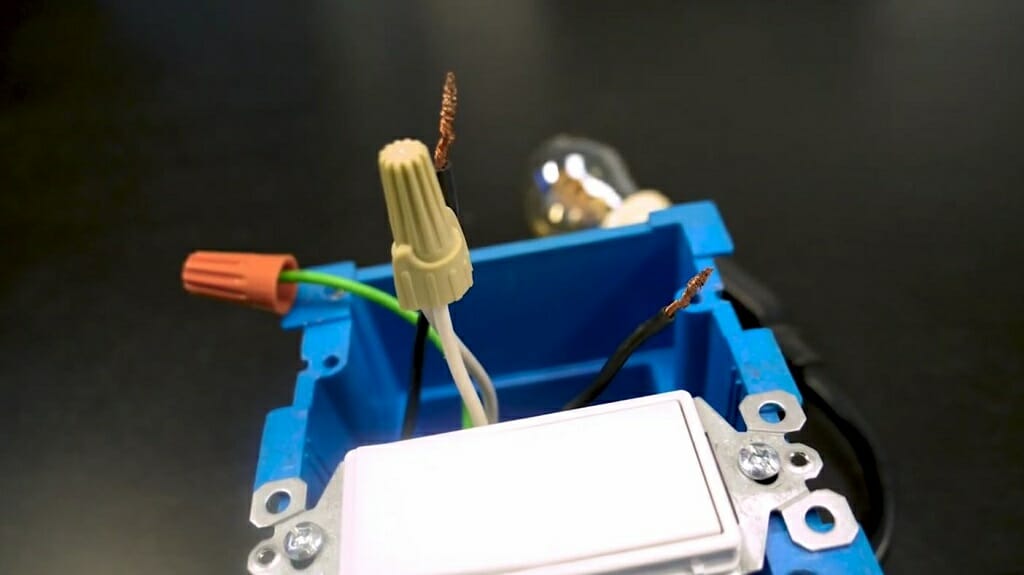
There should be three wires. The black-colored wire is the hot wire. In most light fixtures, these black color wires will be present. Remember, the wire should be plain black. There won’t be any marking on the wires except for the information about the wire (sometimes there will be none).
The green wire is the ground wire. In some cases, there won’t be any colors for the ground wire. For instance, some manufacturers use bare copper wires as the ground. (2)
Identify Neutral Wire
Identifying neutral wire is a little tricky. Most of the time, the neutral wire is white. However, some light fixtures come with two black wires. When that happens, there are two ways to identify neutral wire.
Method 1 – White Strip or Ribbing
If you can locate a black wire with a white stripe or ribbing on the surface, that is the neutral wire. The other wire is the black hot wire.
Method 2 – Use the Tester
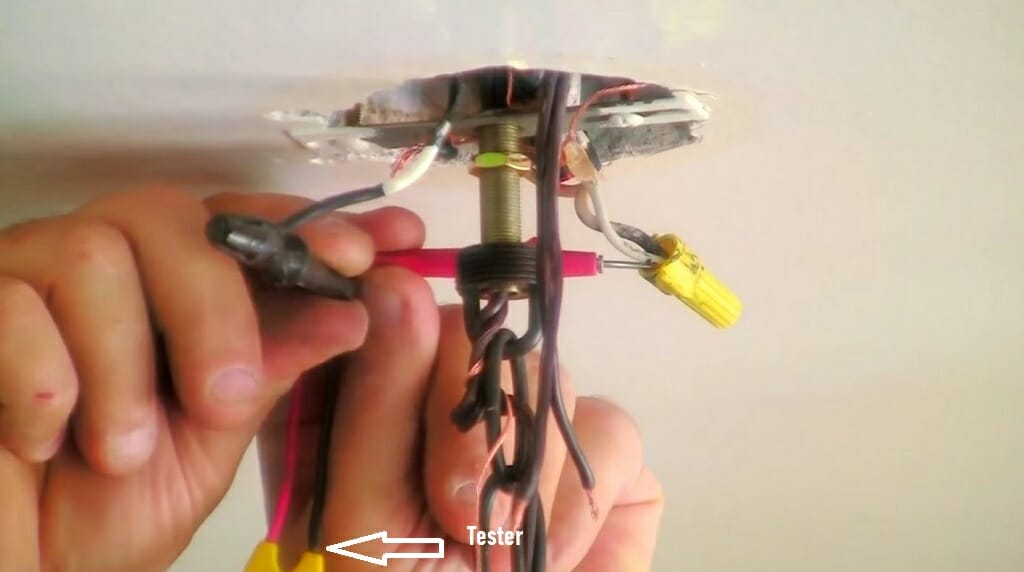
Use the tester if you cannot find any strip or ribbing on those black wires. When you place the tester on the hot wire, the tester should light up. On the other hand, the neutral wire won’t turn on the tester light. Remember to turn on the circuit breaker during this step and if needed strip the wires.
Keep in mind: Using the tester is an excellent option for all the above situations. Even if you can identify the wires correctly, check the wires with the tester one more time to ensure everything is okay.
Take a look at some of our related articles below.
- How to tell negative and positive wire
- What gauge wire for light fixture
- How to install a neutral wire
References
(1) supplies power – https://www.sciencedirect.com/topics/
engineering/power-supply
(2) copper – https://www.britannica.com/science/copper
smarthome
ExpertVillage Leaf Group
Kelly Concepts