8 min read
How to Run Backup Camera Wires on a Truck (6 Steps)
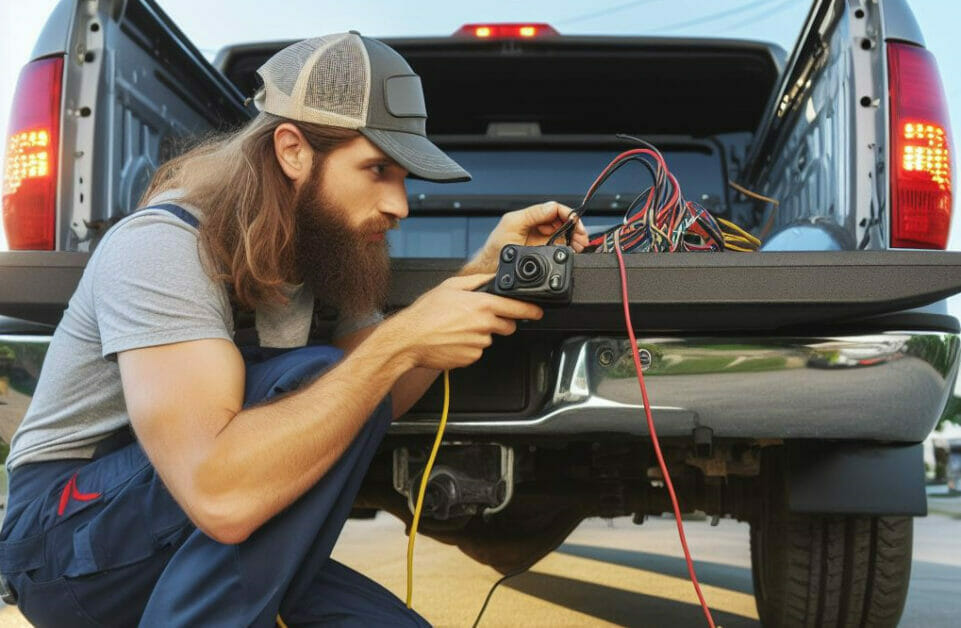
A backup camera kit normally includes everything required to install it on your truck, but this article shows how to do it step-by-step if the wiring procedure is unclear.
Running a backup camera on a truck involves:
- Choosing a suitable spot.
- Running the traveler wire under the truck from the mount to the dashboard.
- Connecting the camera to the reverse light cable (positive bare with positive reverse light and negative bare with negative reverse light).
- Attaching the monitor and connecting its DC plug to the red jack and the video cable to the traveler cable.
- Mounting the camera, including any accessories.
I’ve given detailed instructions below with pictures for each step.
Backup Camera Kit Contents
Although a backup camera kit normally has everything you need to install it, not all do, so you may still need to check the contents.
Ensure the backup camera kit includes the following:
- Camera
- Monitor
- Splitter cords with connectors (for video and power cables)
- RCA video cable
- 2 bare wire power cables
- Bracket mounts
You must arrange for the missing items yourself if they’re not included.
Mounting Options
There are usually several mounting options to consider before wiring and installing a backup camera.
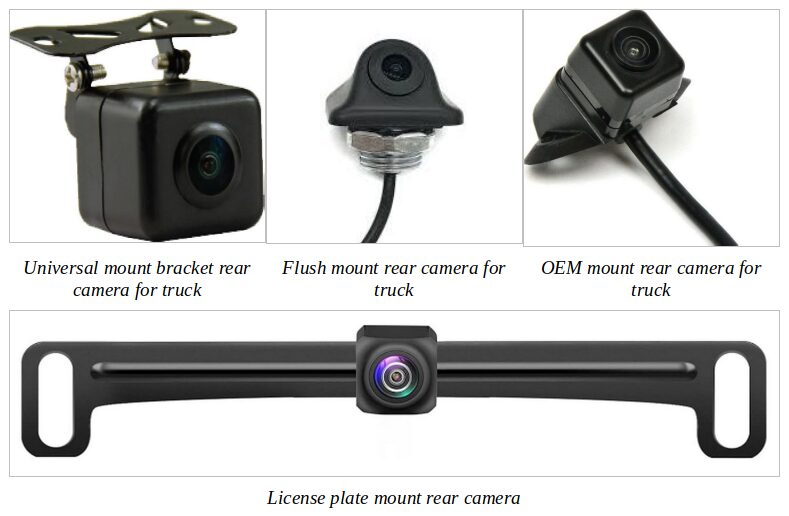
Common mounting options are:
- Bracket mounts can allow you to mount the camera in various places at the back of the truck, but you may need to Drill a hole.
- Flush mounts are flatter than bracket mounts and built into the camera. They help to keep a low profile.
- License plate mounts are designed for attaching the camera to the top of the license plate frame and are easy to install.
- OEM mounts describe trucks with built-in rear-view cameras.
Procedure for Running Backup Camera Wires
This procedure shows how to run backup camera wires on your truck.
Step 1: Choose and Mark the Spot
Locate a suitable spot for mounting the backup camera.
The backup camera’s design and the mounting brackets supplied will determine the options for choosing a suitable spot; otherwise, you can install it anywhere. You can always drill a few holes for more places. Hold the camera at the potential spots to see how the view would look.
Mark the chosen spot, including where the splitting cord will sit.
Drill a hole, if necessary, large enough to accommodate the camera’s power and video cables. Ensure there are no obstructions between the mounting spot and the rear wiring chamber.
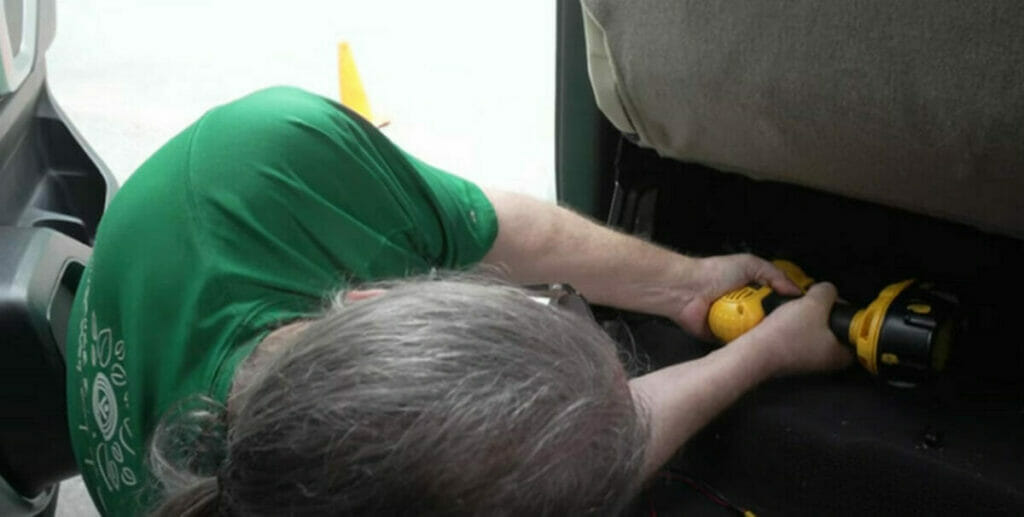
Step 2: Run the Cables
Running the cables is usually the most time-consuming part of the installation.
Do it very carefully, following the manufacturer’s instructions. Pull the splitting end of the camera’s video and power cable through the hole into the truck’s trunk.
The video cable connects to the traveler wire.
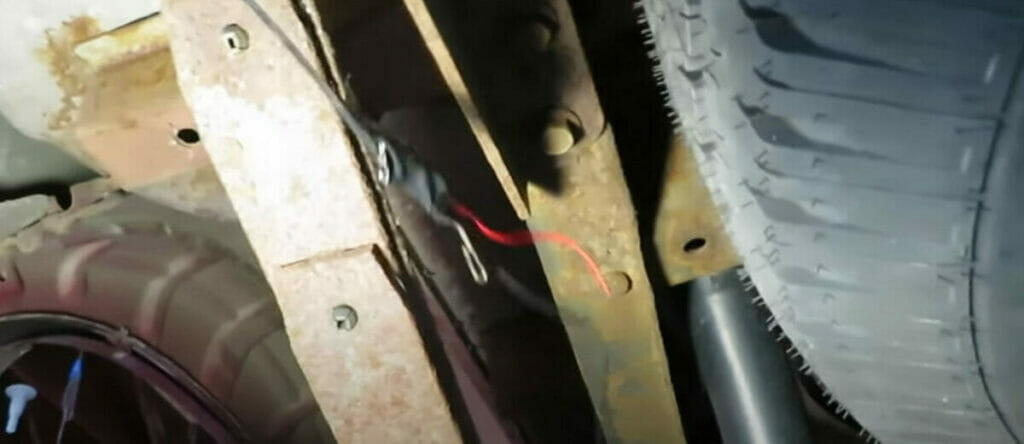
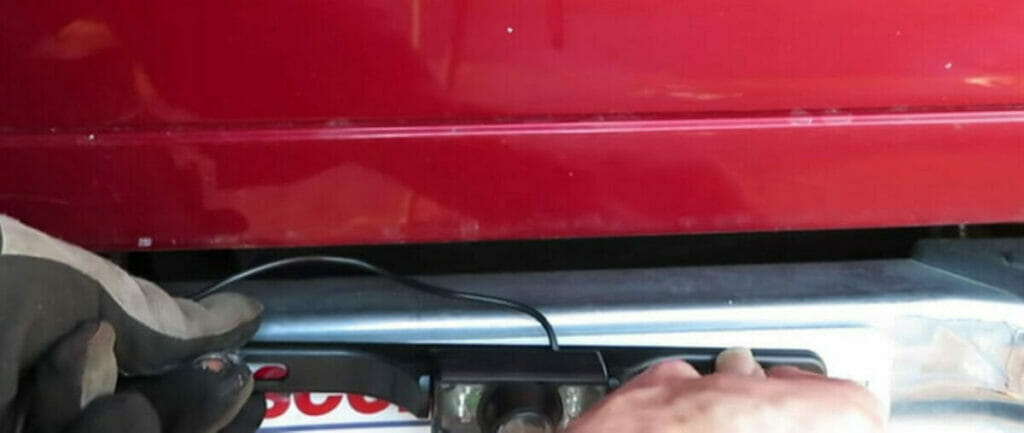
Run the traveler wire from the mounting spot under the truck to the front of its dashboard.
Step 3: Connect the Camera
Connect the backup camera to the truck’s reverse light cable.
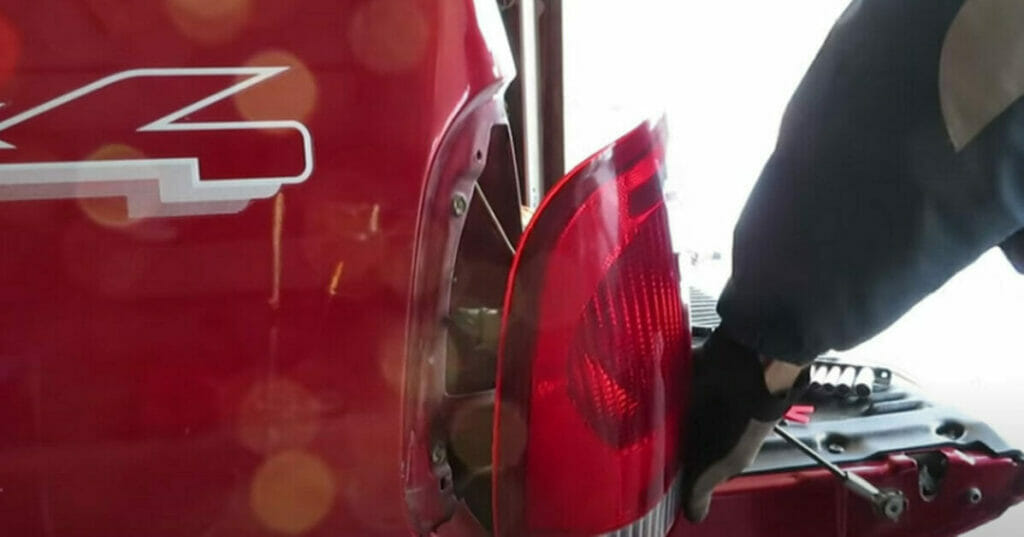
Backup cameras are designed to come on automatically when engaging the reverse gear. It is only possible if you connect it to the reverse light circuit. The reverse light wires hook directly into the truck’s tail lights on the dashboard. They are normally located in the truck’s hatch or trunk. Remove the tail lights before connecting the camera.
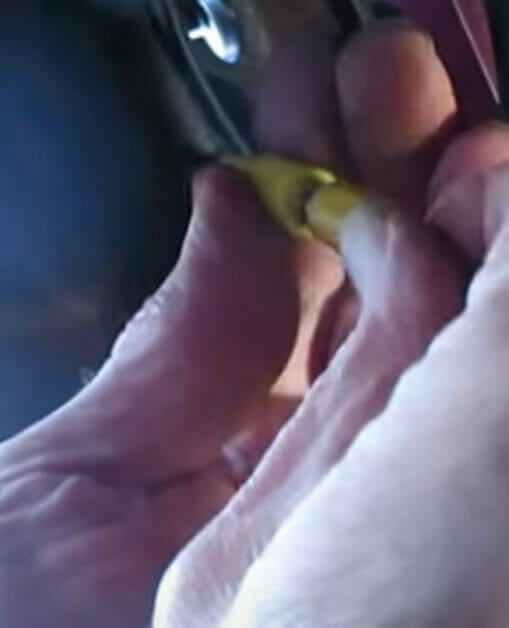
Ensure the truck’s engine is turned off. Then, strip and separate its reverse light wires.
Strip the rubber over the wires using a pair of pliers. Poke a hole through the middle of each exposed wire using a hole punch to separate the individual wire strands.

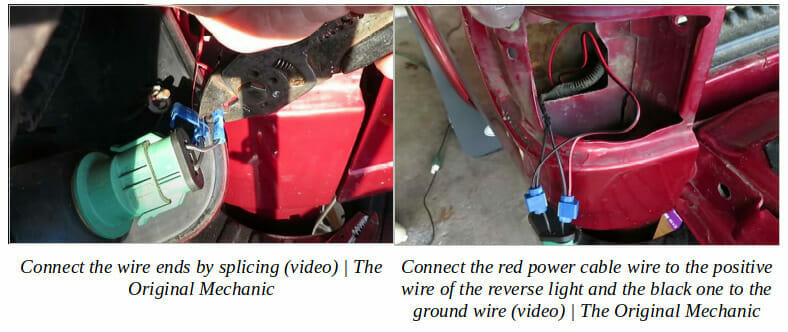
Fuse the backup camera wires with the reverse light wires.
Attach one of your bare wires to the camera cord’s power connector and poke it through the center of the exposed reverse light wires. Poke the positive bare wire through the positive reverse light wire and the negative one through the negative reverse light wire. The positive is usually red, and the negative is usually black.
Twist the wires together and wrap the joints in electrical tape.
Step 4: Connect the Monitor
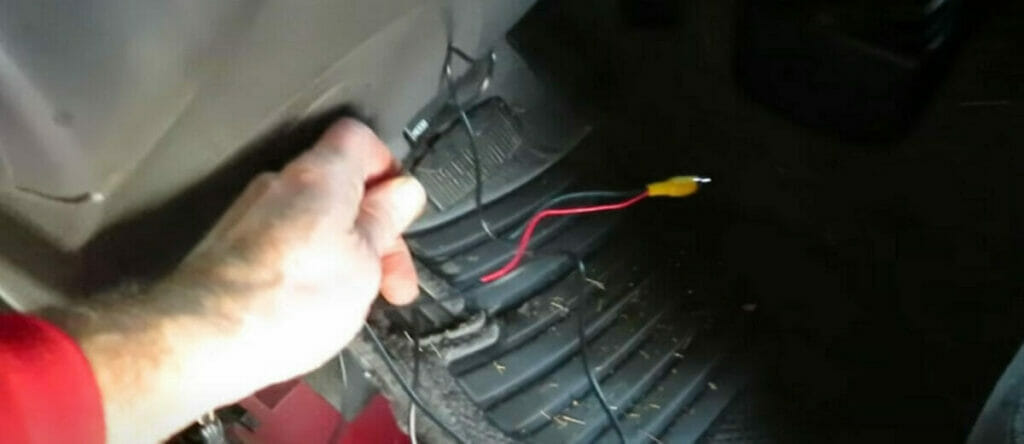
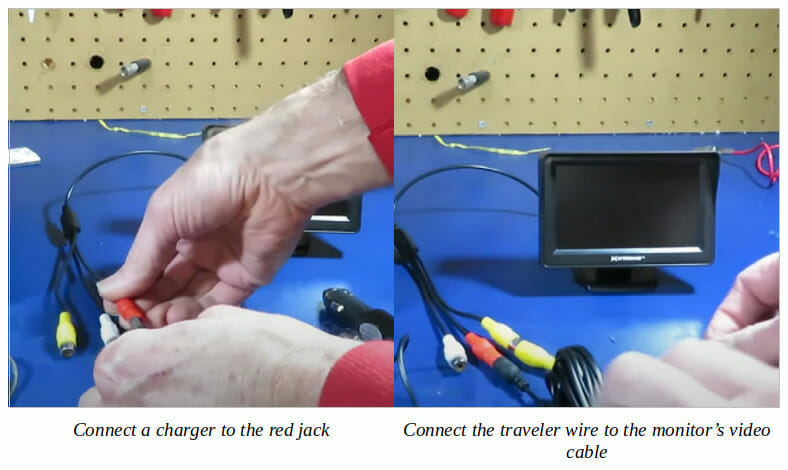
Three leads of the backup camera connect to the monitor.
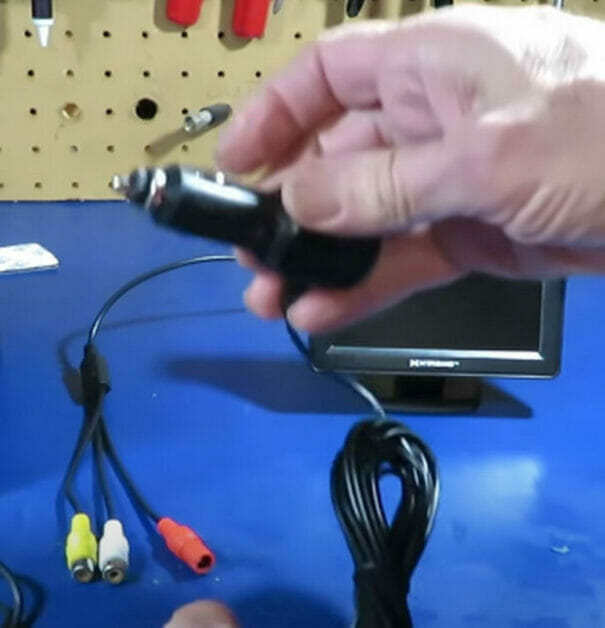
The two important connections are the DC plug and the video cable.
The DC plug connects the truck’s charger to the monitor, and the video cable connects the camera’s video to the traveler’s wire. The third (white) one will not be used here.
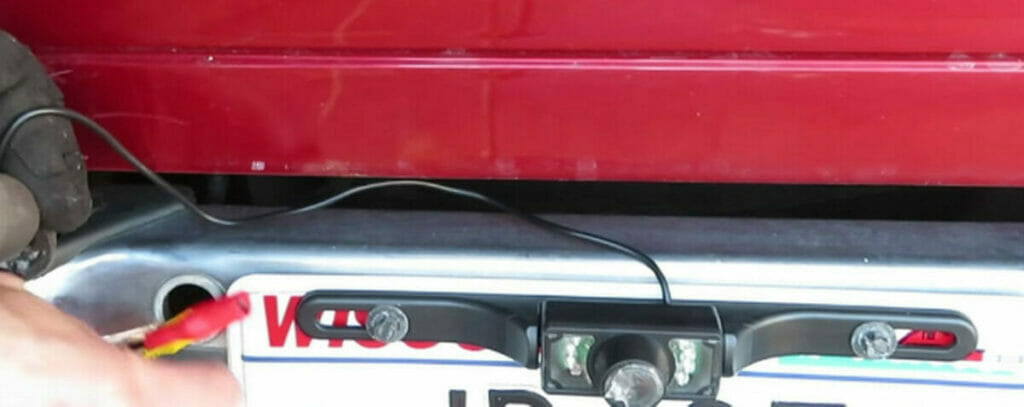
Step 5: Mount the Camera
Connect the truck’s backup camera to the power supply and video cable.
Mount the backup camera at the chosen spot.
Connect any additional accessories as well, such as a GPS sensor. You may need to connect them before testing the camera. Follow the manufacturer’s guidelines.
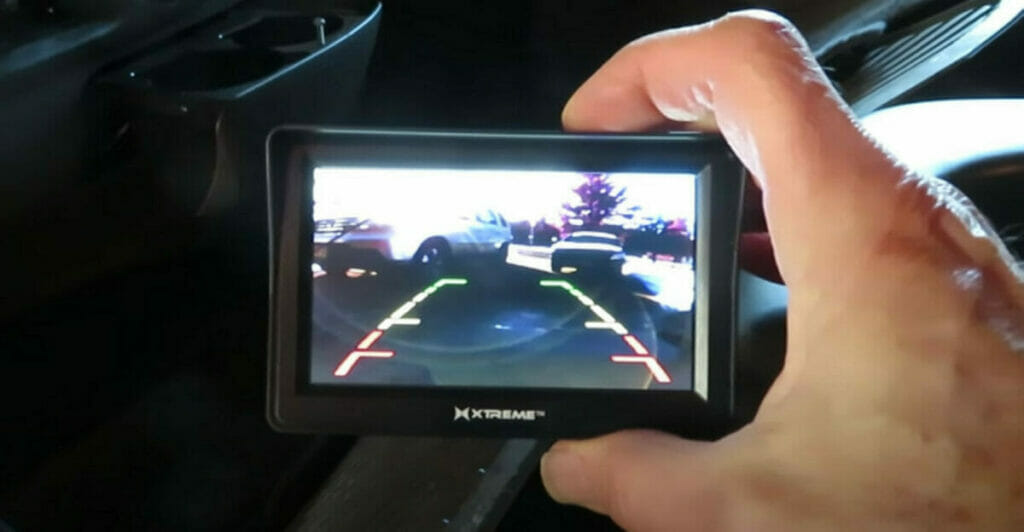
Step 6: Finalize and Test the Camera
You may need to remove some trim on the truck to secure the wires.
You may also need to reattach the license plate if it’s a license plate mount camera and the trim panels. Then, ensure all the wire joints and connections are secure.
Test the camera by turning the truck on and engaging the reverse gear in your driveway first. It should give a clear view of what’s behind the truck.
References
Website Resources:
- Flush mount rear camera. https://www.ensightauto.com/products/flush-mount-screwback-camera-with-optional-parking-lines-and-vertical-image-flip
- License plate mount rear camera. https://www.amazon.com/Housing-License-Waterproof-Rearview-Universal/dp/B08H4W9Z7Z
- OEM mount rear camera. https://www.amazon.com/Brandmotion-9002-8701-Gen-Mount-Camera/dp/B00T36FF0C
- Universal mount bracket rear camera. https://www.amazon.com/VTB100TJ-Camera-Trajectory-Parking-Lines/dp/B01GL65NMG/
Video References:
Crutchfield
The Original Mechanic