10 min read
How to Drill a Hole without a Drill (9 Quick Methods)
Hey there, DIY enthusiasts! Ever found yourself needing to make a hole but didn’t have a drill handy? I’ve been there more times than I can count.
In this guide, I will show you some crafty and innovative ways to drill holes without a drill:
- Method 1: Easily create precise holes by hammering an awl through softer materials.
- Method 2: Nails are great for drilling holes in various sizes across different materials.
- Method 3: Drive a self-driving screw with a screwdriver for neat, small holes.
- Method 4: Heat a metal rod until red-hot and burn through materials.
- Method 5: A chisel and hammer combo creates larger holes.
- Method 6: Utilize a bow drill for a manual, traditional approach to drilling holes.
- Method 7: Embrace the classic woodworking technique with a brace and bit for effective and controlled drilling.
- Method 8: A hollow metal punch creates clean holes with a simple hammer strike.
- Method 9: A sturdy knife can carve out holes.
So, roll up your sleeves, and let’s dive into the world of drill-free hole-making!
Alternatives to Drilling: My Go-To Methods
Let’s dive into some nifty ways to make holes without a drill. I’ve used these methods countless times, and they’re great when you’re in a pinch or want to switch things up.
Method 1: Using an Awl
It’s simple: grab an awl, place it where you need the hole, and hammer it through the wood.
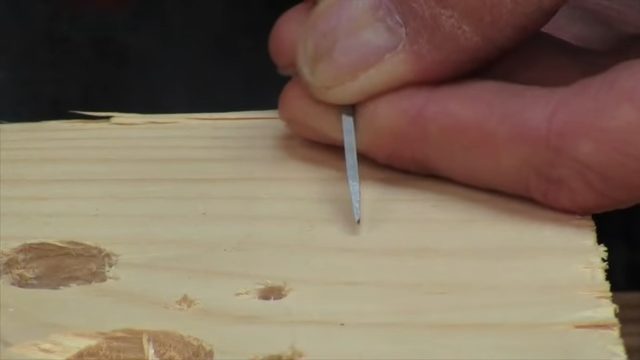
Remember that Awls aren’t your go-to for big holes due to their size. They work like a charm on soft materials like drywall and softwood, but hardwoods? They can be a tough nut to crack.
Method 2: Using a Nail
Nails are the budget-friendly heroes here. You’ve got a variety of sizes and types, perfect for making different hole sizes. Stronger steel nails are your best bet for tougher surfaces like plastered walls.
But here’s a tip: choose nails with larger heads for easier removal. If you’re stuck with smaller heads, use another nail to help drive it through.
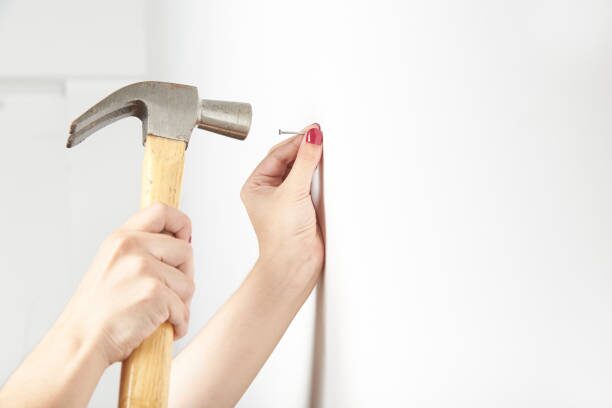
Steps? Mark the spot, position the nail, hammer it in, and remove the shavings. Done.
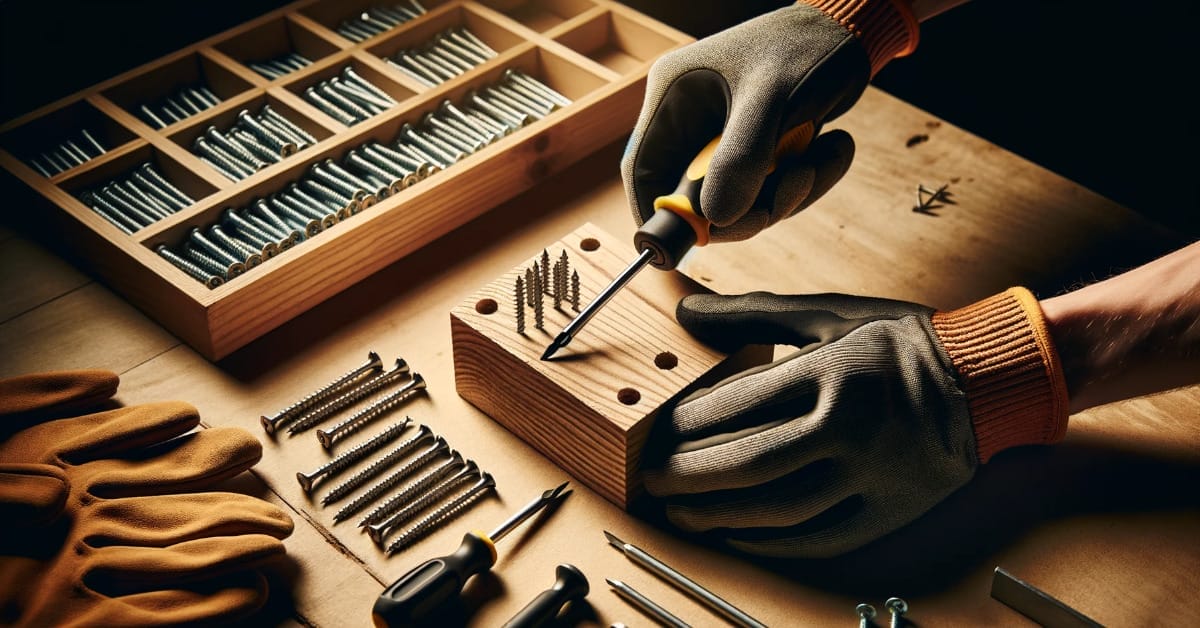
Method 3: Use a Self-Driving Screw
Check if your screw is self-driving (look for a notch in the threads). No notch? You can file one in, but it’s a bit of a task.
The steps are straightforward: mark the spot, drive the screw in with a screwdriver, and then remove it.
Remember, self-driving screws make smaller holes, so if you want something bigger, awls or nails are your friends.
Method 4: Use Metal and Heat
This one’s like a mini adventure – burning through wood. But safety first: do it outside and away from anything flammable. Safety gear is a must.
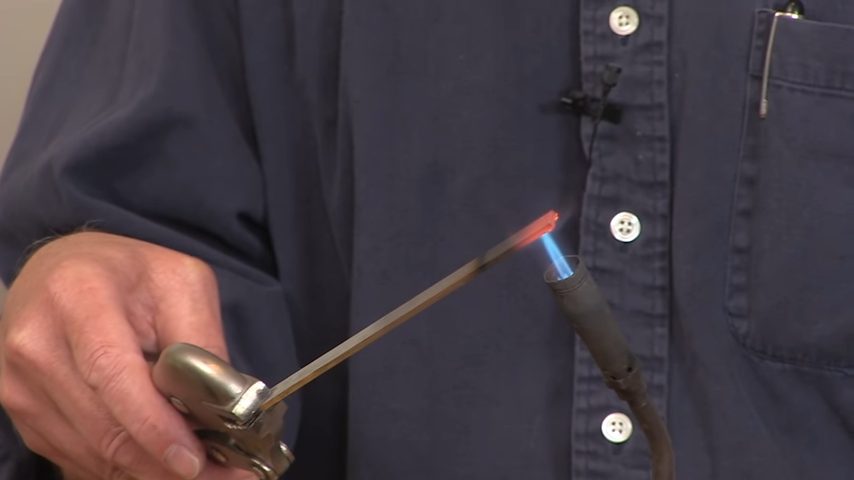
Here’s how: get a metal rod, sharpen it, heat it till red-hot, and then burn through the material. Keep rotating and wiggling the rod for efficient burning, reheating as needed.
Just watch out – don’t try this on drywall or fragile plastics.
Method 5: Using a Chisel
For larger holes, chisels are your go-to.
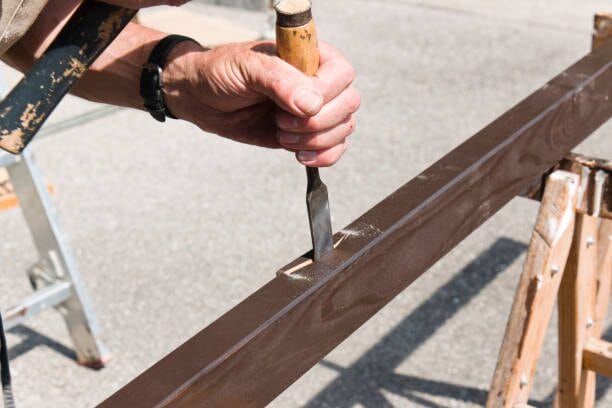
Find a sturdy sled to hammer the chisel’s head. Align the chisel, mark your territory, and start chiseling. Remove debris as you go. It’s a bit of an arm workout, but the results are worth it.
Method 6: Using a Bow Drill – Make Holes without Using Electric Drills
A bow drill is like the cool cousin of a palm drill.
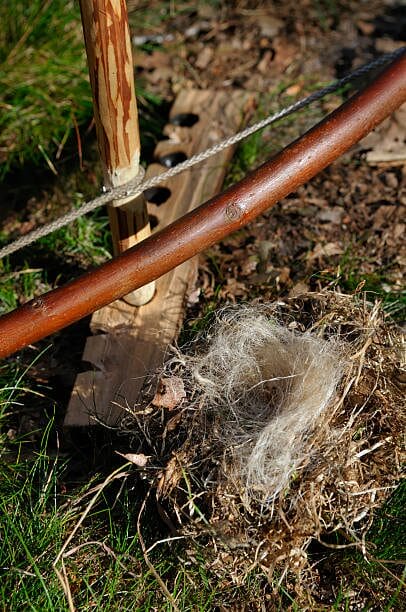
Loop the thong around the drill’s rod and use a bearing block for control and pressure. Keep at it until you get your hole.
Method 7: Using a Brace and Bit to Drill Holes
Old school but effective.
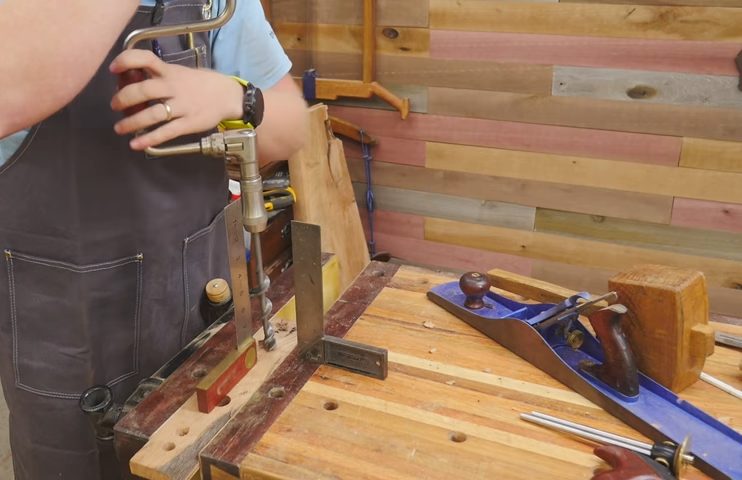
Make your pilot hole, grab your bit and brace, and start drilling. It’s a bit of a dance – you’ll get the hang of it.
Method 8: Using a Hollow Metal Punch
This method is great for softer, thinner woods.
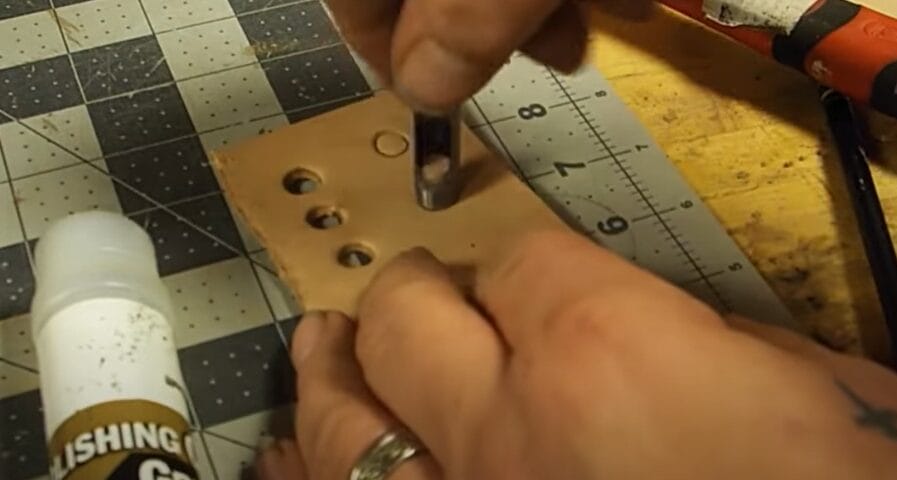
Just line up the punch and hammer it in. Keep removing the shavings, and you’re golden.
Method 9: Use a Knife
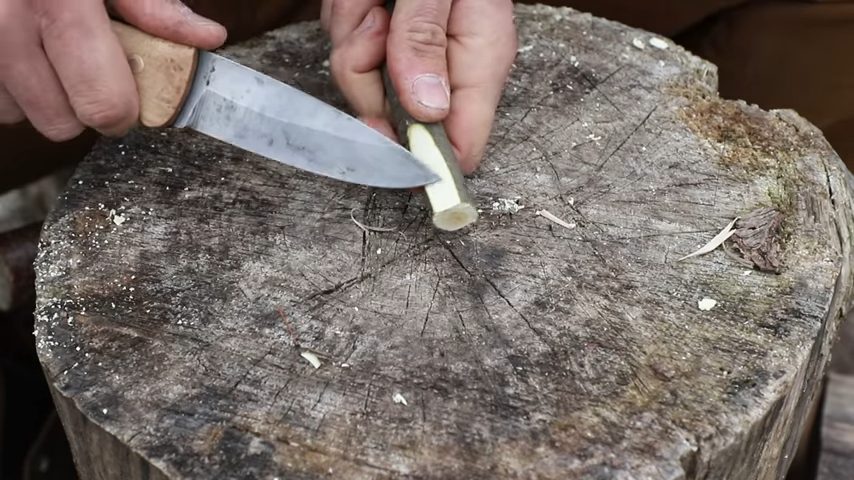
Yes, your everyday kitchen knife can be a hole-making tool. Make your pilot hole and then gently cut through the material.
For plastics, heating the knife tip can make it easier.
Common Mistakes and Troubleshooting Tips for Drill-Free Hole-Making
Let’s dive into common mistakes and troubleshooting tips for each drill-free hole-making method. I’ll share my own experiences so you can sidestep these hiccups and get your project done right.
| Method | Common Mistakes | Troubleshooting Tips |
|---|---|---|
| Using an Awl | You are not applying enough pressure or hammering unevenly, leading to an angled hole. | Keep your grip steady and your strikes consistent. If the hole goes off-course, slightly enlarge it to correct the direction. |
| Using a Nail | Bending nails, especially in hardwood. | If a nail bends, remove it and start with a new, possibly thicker nail. |
| Self-Driving Screw | Breaking the screw under excessive force. | Use a screw with a heftier gauge or pre-drill a pilot hole. If a screw breaks, carefully remove it with pliers. |
| Red-Hot Metal Rod | Not heating the rod enough leads to ineffective drilling. | Reheat the rod if it cools down. Always wear protective gear to avoid burns. |
| Using a Chisel | Chiseling outside the intended area, making the hole too large. | If the hole becomes too large, use wood filler to correct it. Keep the chisel sharp for cleaner cuts. |
| Using a Bow Drill | Not maintaining enough pressure or speed leads to ineffective drilling. | Tighten the bow’s string for better control and maintain consistent pressure and speed. |
| Using Bit & Brace | The bit is getting stuck in the material. | Gently wiggle the bit back and forth until it comes free. Avoid applying excessive force to prevent breaking the bit or damaging the material. |
| Using a Metal Punch | Punching inaccurately, resulting in a misplaced hole. | Mark your target clearly before punching. If a mistake occurs, fill it out and re-punch it or integrate it into your design. |
| Using a Knife | Applying uneven pressure leads to an irregular hole. | Go slow and apply even pressure. If the hole isn’t perfect, use it as a pilot for a larger tool to adjust the shape. |
Keep experimenting, stay safe, and have fun with your projects!
Frequently Asked Questions
- What Are the Best Techniques for Drilling Precise Holes Without a Drill?
- Precision is key, especially for detailed work. I recommend using a sharp awl or a small nail for precise holes. Mark your spot, apply steady pressure, and be as exact as possible. For round holes, a hollow metal punch is your best bet.
- How Can I Ensure My Holes Are Evenly Spaced Without a Drill?
- Even spacing requires a good eye and careful measurement. Use a ruler or a measuring tape and mark your spots with a pencil. A simple template made from cardboard or paper can also be a lifesaver for repetitive marking.
- What’s the Best Way to Smooth Out the Edges of Holes Made Without a Drill?
- Smooth edges are important for a professional finish. After making the hole, use fine-grit sandpaper to sand the edges gently. For tougher materials, a small file can be effective. Rotate the sandpaper or file evenly around the hole’s circumference for the best results.
- How Do I Choose the Right Tool for Different Materials?
- Choosing the right tool is about understanding your material. For softwoods and plastics, simpler tools like screws or nails work well. Consider stronger tools like a chisel or a heated metal rod for harder materials. The key is to match the tool’s strength and sharpness to the material’s hardness.
References
Organizations:
- American Wood Council (AWC). https://awc.org/
- Society of Wood Science and Technology (SWST). https://www.swst.org/wp/
Books:
- “The Complete Manual of Woodworking” by Albert Jackson, David Day, and Simon Jennings. https://www.abebooks.com/servlet/BookDetailsPL?bi=19252450484
- “Working Wood 1 & 2: the Artisan Course with Paul Sellers” https://www.abebooks.com/9780956967305/Working-Wood-Artisan-Course-Paul-0956967302/plp
Website Resources:
- FineWoodworking. finewoodworking.com
- Instructables.com (Woodworking Section). https://www.instructables.com/Woodworking-Projects-1/
- Wood Magazine’s Website. https://www.woodmagazine.com/
Video References:
Popular Woodworking
DIY7
Wood By Wright ASMR
Hollow Punches
Coalcracker Bushcraft