6 min read
How to Convert 4-Wire to 2-Wire USB Cable (6 Steps)
If your 4-wire USB cable is no longer transferring data properly, you can still use it for charging USB devices.
Converting a 4-wire to a 2-wire USB cable will make it useful for transmitting power while disabling the data transfer ability. So, you can use it for charging but not transferring data.
Key Takeaways: First, to convert a 4-wire USB cable to a 2-wire one, identify the two (positive and negative) power wires. They are usually red and black but may instead be orange and white. Connect them to the corresponding power wires on the second cable and solder the joints. Test the cable to ensure it can charge, then insulate the joints.
I will guide you through the 6 steps I’ve broken the procedure into after helping you identify the right power wires.
USB Cable Wires
2-Wire USB Cables
A 2-wire USB cable is used only for charging USB-powered devices.
You can’t use it for data transfer. See under ‘4-Wire USB Cables’ for the two (positive and negative) power wires.
4-Wire USB Cables
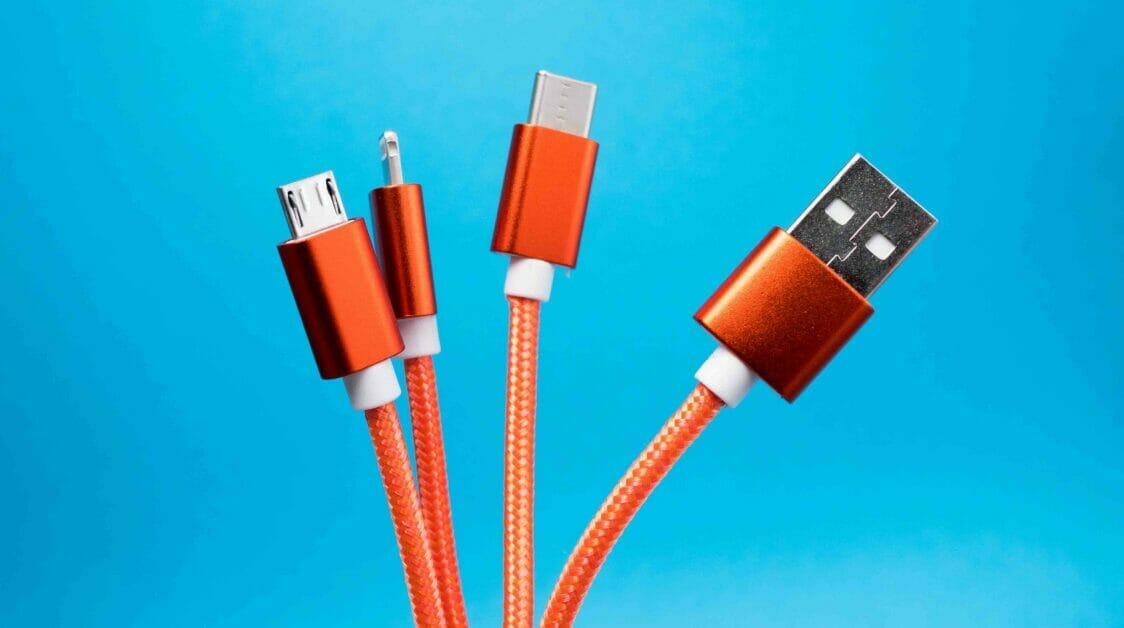
A typical USB cable with 4 wires has a red, white, green, and black wire.
The red wire is the positive power wire that supplies DC 5 volts, and the black wire is the ground wire. The other two wires, which are green and white, are the data cables. One of them is the positive data transmission wire, and one is the negative data transmission wire. USB wires come in both common combinations.
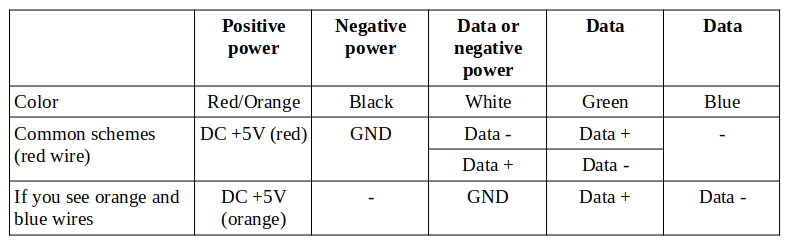
However, if you see orange and blue wires, the orange wire substitutes the red one, i.e., for DC +5V, and the blue wire is the negative data transmission wire. It won’t have a red and black wire. The white wire is the ground wire, and the green wire is the positive data transmission wire.
See the table below for a summary of the three different schemes.
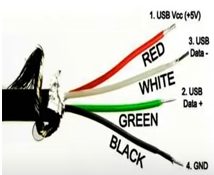
The labeled picture below shows one of the common combinations.
Converting a 4-Wire to a 2-Wire USB Cable
A normal 2-wire USB cable has only a red (or orange) and black (or white) wire for the positive (+) and negative (-) or ground connections, respectively.
So the two wires are:
- Red/Orange for positive power
- Black/White for negative power
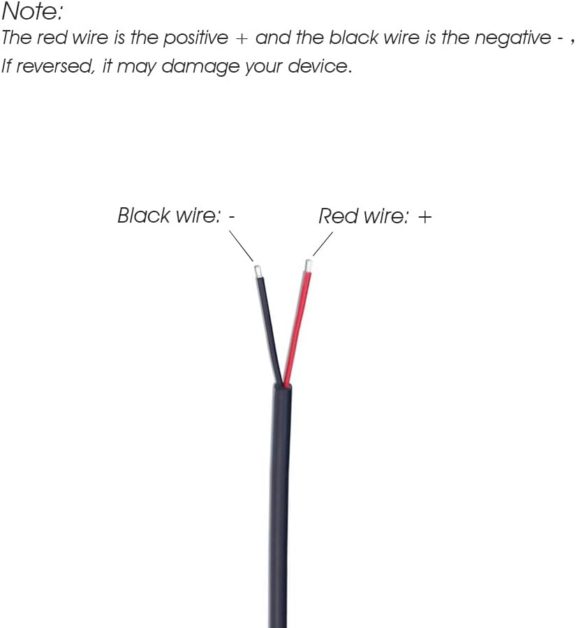
The red/orange will always be for the positive power (DC +5V) and the other for the negative power. See the diagram below.
So, if you want to convert a 4-wire USB cable to a 2-wire one, you only need to use the red wire and one other as the negative power or ground wire. Follow these steps, starting with a 4-wire USB cable.
Requirements
Leads: 4-wire USB cable and a 2-wire USB cable to join
Tools: wire cutter, wire stripper, soldering iron
Materials: solder, heat shrink sleeve, or electrical tape
Soldering is optional but will help to form a strong connection.
Step 1: Identify the Wires
You must correctly identify the positive and negative power wires.
- The positive power wire is the red or orange wire.
- The negative power wire is black if it’s a red-green-white-black cable or white if it’s an orange-green-white-blue cable.
The two power wires are the only ones we need. We will ignore or cut off the other two wires.
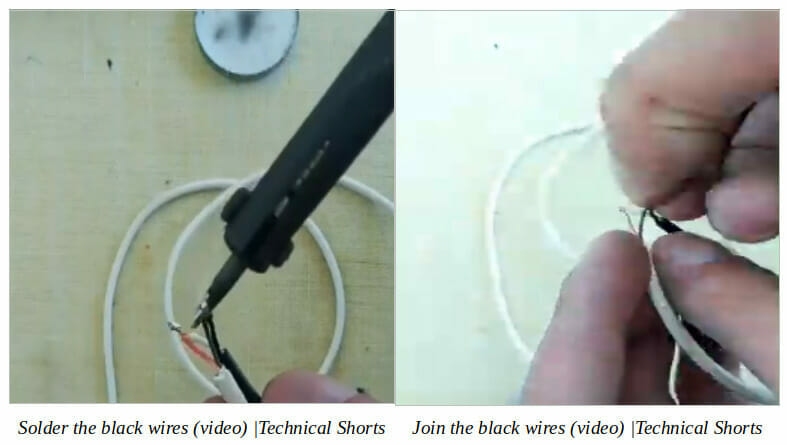
Step 2: Connect the Negative Power Wires
We will start by joining the negative power wires, which are usually black (or white).
Strip the insulation off the ends of the two negative power wires from both cables, attach a little solder, and join them together.
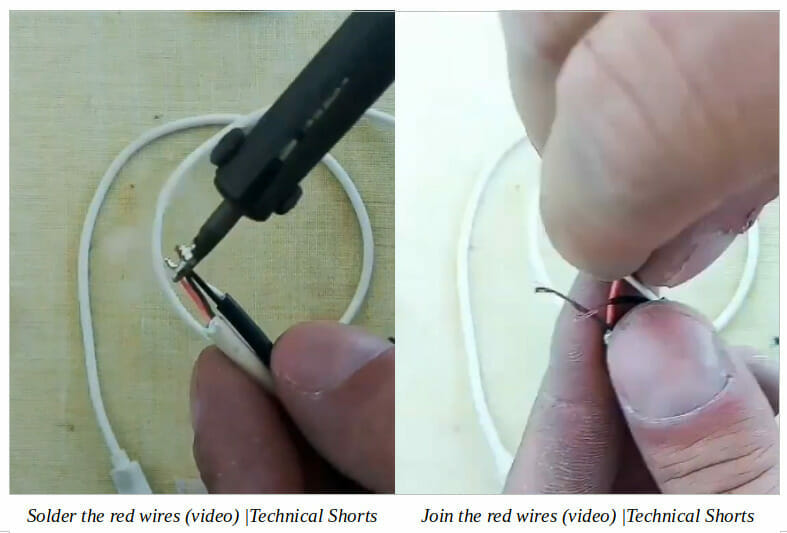
Step 3: Connect the Positive Power Wires
Next, we will join the positive power wires, which are red (or orange).
Strip the insulation off the ends of the two positive power wires from both cables, attach a little solder, and join them together, as you did for the black wires.
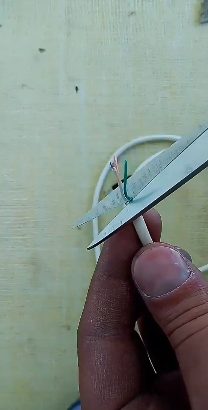
Step 4: Cut Off the Remaining Wires
Cut off the remaining wires on the 4-wire USB cable because they are no longer needed.
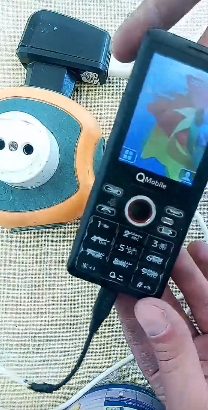
Step 5: Testing
I suggest you test the USB cable before insulating the joints permanently.
Remember, its only function now is to charge a USB-powered device. Connect it to a mobile phone with a USB charging port to confirm that it works.
Step 6: Insulate the Wires
Apply a heat shrink sleeve around the joints or use electrical tape to insulate the wires.
It will protect the wires from getting pulled apart or short-circuiting.
FAQs
What if I have a USB cable with more than 4 wires?
Most USB cables used for powering and data transfer have 4 wires. But it’s not unusual to see one with more than 4 wires. The extra wires are usually for providing more shielding or power charging.
As we’re converting to a 2-wire USB cable, we only need the two main positive and negative power wires. So, ignore all other extra wires, whether 2 or more.
References
Website Resources:
Video References:
Computer Solutions
Technical Shorts