5 min read
How to Check Wiring Harness with Multimeter
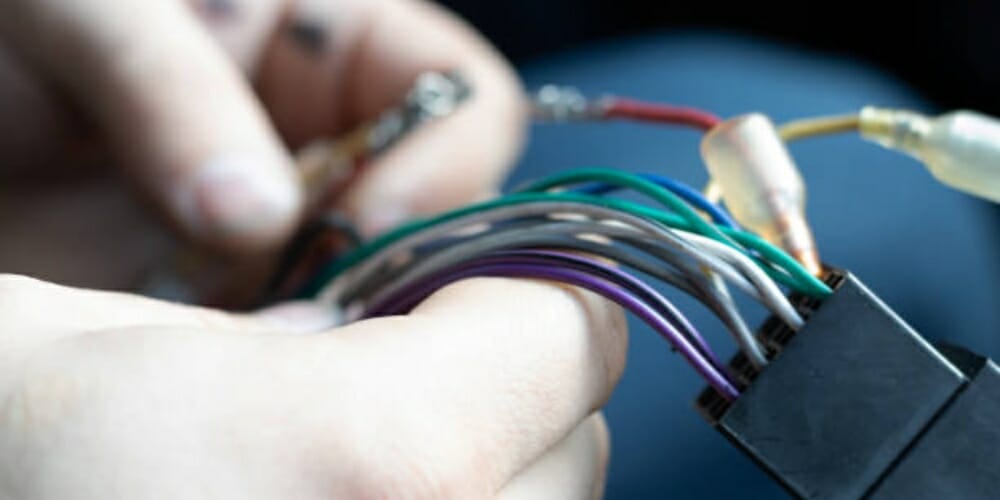
Checking the electrical discontinuity and short-circuits in a vehicle is a necessary inspection. The wire connections in a car will eventually fail to pass current due to predictable issues like corrosion and excess pressure. Testing the voltage and continuity of the wiring harness helps you to identify damaged wires and broken circuits. You can do it using a multimeter.
Why do you need to check the wiring harness in your vehicle? As I have just mentioned, the wiring connections are bound to break or fail. You should, therefore, frequently verify the status of your wiring harnesses to be safe.
You will be able to identify and troubleshoot faulty wires in your vehicle after reading this guide.
Quick Answer:
Checking the wiring harness of a car with a multimeter is an easy task. To test the continuity of the wires in your car, observe and identify spliced or corroded wires in your vehicle. Remove the insulation coating at the suspected point along the wire(s). Next, disconnect the wire(s) from any device in the car on both ends. With your multimeter set to ohms, connect the probe leads to the ends of the wire and note the reading. But if the value is between zero and 0.9 ohms, the wire is working fine. If the reading is beyond 1.0 ohms then your wire has no continuity. To test voltage, connect the black multimeter lead to the ground and the red probe to a wire connected to the suspected accessory. Note the voltage reading. Voltage drops (from about 12V to 0V) means there is a problem with the wiring harness.
What Can Go Wrong?
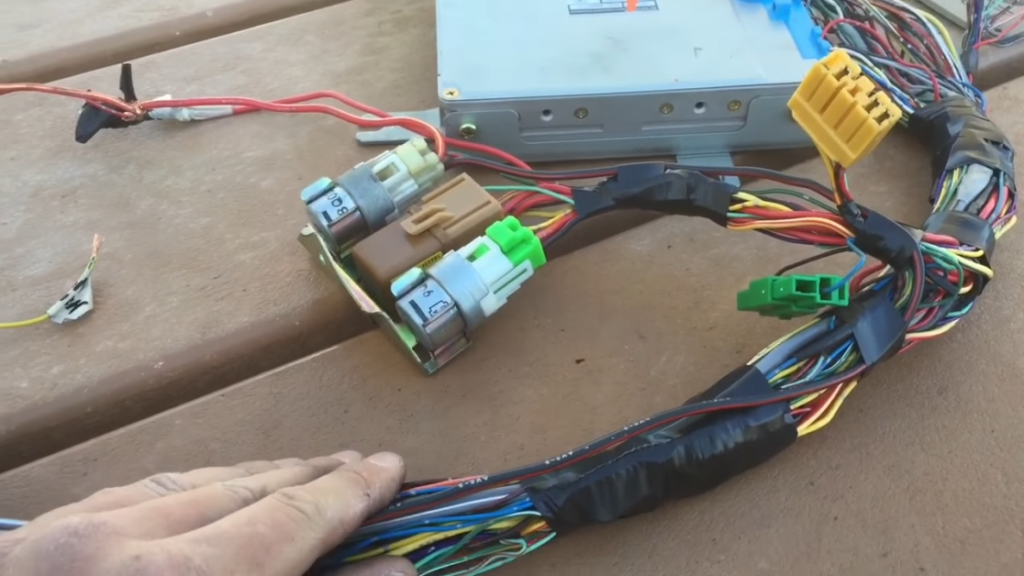
Some of the causes of wire harness malfunctions are improper maintenance and user errors. Bad wiring layout, poor connections (to the harness chassis), and inaccuracy in wire measurements are also the main causes of wire harness faults.
Testing Voltage
To check the voltage on the wiring harness, identify the shared points using a manual. Go on and check the fuse to make sure it is working correctly. Now expose the component that is damaged by carefully removing the interior trim. Make sure you expose the wires. Identify broken or corroded spots on the wires. To test the voltage, proceed as follows:

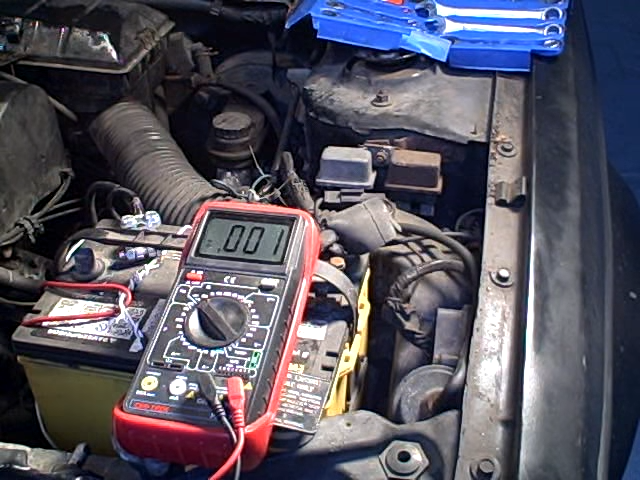
- Power the accessory by turning on the switch and setting your multimeter to volts.
- Set your multimeter by pinging the two probes together. A beeping sound means your multimeter is working well.
- Connect the black probe to the ground and touch the positive or red probe on the component that is not working or a wire connected to it. If you notice a voltage drop, from about 12V to zero volts, then an open circuit or short exists in your wiring system.

Sometimes the ground causes the voltage to drop. You can prevent such incidences by checking for corrosion on the ground bolt, fixing loose connections between the wire and the bolt), and scraping off the dirt. If the voltage drop still occurs, then there exists a damaged wiring harness in your car. (1)
Testing Continuity
Continuity shows if a wire has a continuous electrical path by measuring its (wire’s) resistance. An Ohms value beyond 1.0 shows a lack of continuity in an electrical conductor.
To verify the continuity of your vehicle’s wiring harness, switch your multimeter to ohms using the selection dial/knob. Go ahead and identify corroded, rusty, or spliced wires.
Disconnect these wires from the accessories on both ends. You can use pliers to cut them out. Next, connect the two probe leads to the terminals of the wires. Make sure you remove the insulation coating at the wire terminals. (2)
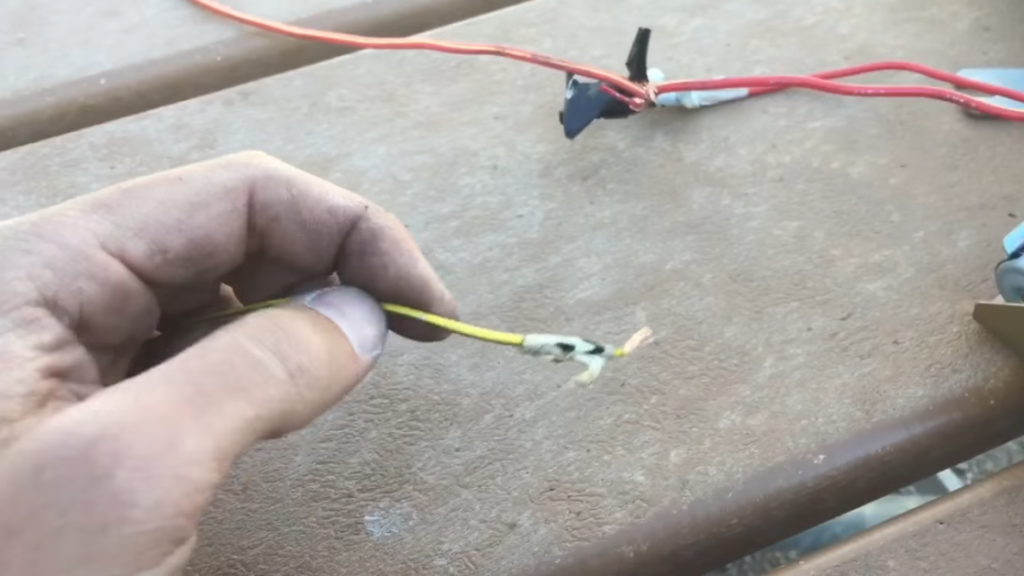
Note the reading on the display unit. Any value that exceeds 1.0 ohms indicates a broken electrical path. If the resistance is between 0 and 0.9 ohms, then your wiring harness is not the issue.
Take a look at some of our related articles below.
- How to trace a wire with a multimeter
- How to use a multimeter to test voltage of live wires
- Multimeter setting for car battery
References
(1) corrosion – https://www.sciencedirect.com/topics/engineering/corrosion
(2) insulation – https://www.eionet.europa.eu/gemet/concept/4518
Video References
BUSARU
Hagerty
ifitjams