11 min read
How to Wire a Lightbar (9 Steps)
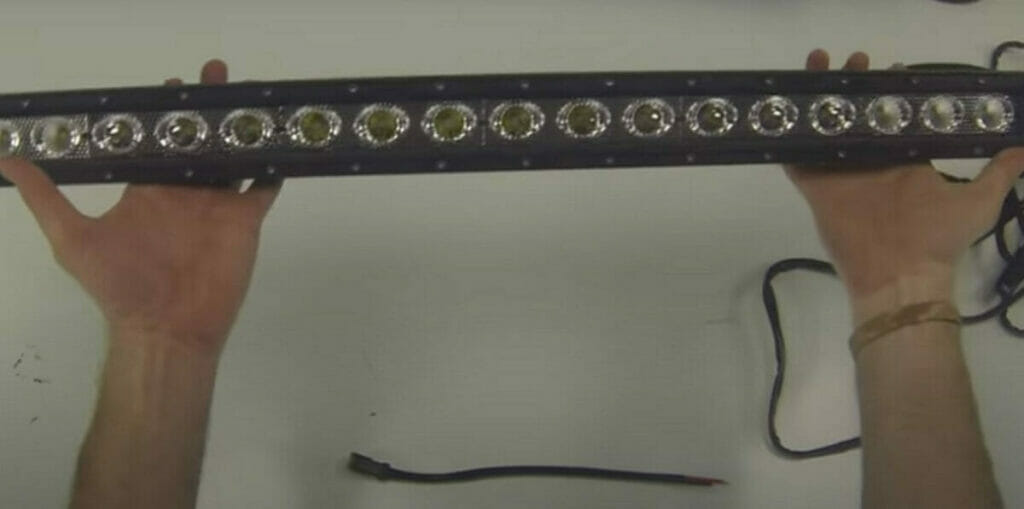
This guide will take you through wiring an LED lightbar on your vehicle.
You can wire a light bar using a new or existing wire harness. The installation method will differ depending on the vehicle, bracket type, and the existing lighting, but the wiring instructions herein apply generally, irrespectively.
Connecting the lightbar wires is easy because of the provided connectors, but you may have to drill holes for the mounting brackets and route the cable (if using a harness) to the battery. Then, connect the wires as follows:
- Connect the red (positive) wire from the harness to the battery’s positive terminal.
- Connect the black (negative or ground) wire from the harness to the battery’s negative terminal.
Fewer steps are involved if using the existing wiring because they will be routed already. But connect the lightbar’s red and black wires to the corresponding wires of the old light.
I’ve given detailed and step-by-step instructions below.
Light Bars
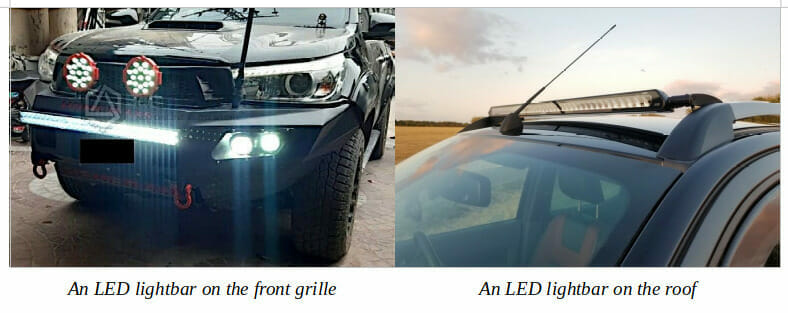
The light bars we are concerned with here are those mounted on vehicles.
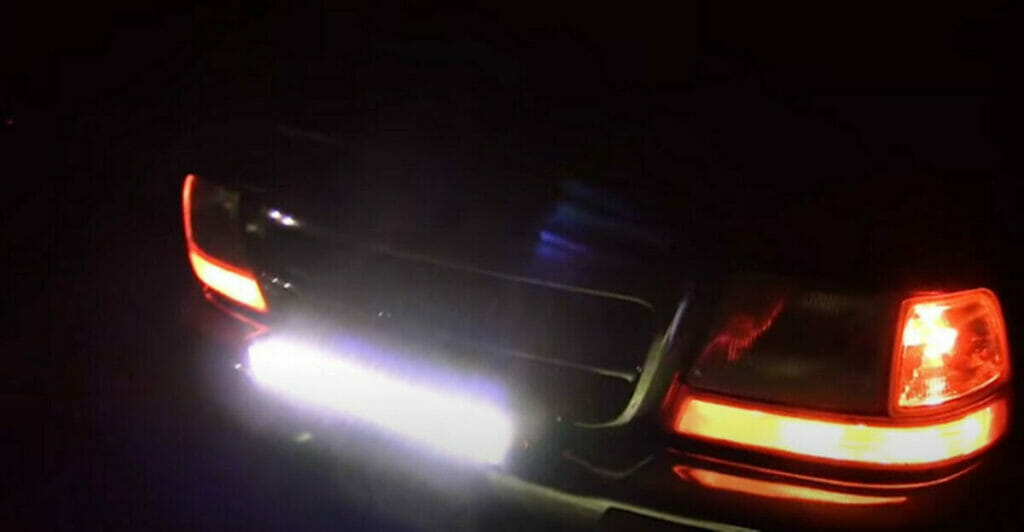
They are usually roof-mounted or installed on the front grille.
Check Your Local Regulations
Check your local regulations before buying an LED lightbar for your vehicle.
Certain types are banned in some states. For example, roof-mounted lights are outlawed in California because they create considerable glare and make driving difficult for oncoming drivers.
Selecting the Right Type
Select the right type of lightbar for your particular vehicle before buying one.
Consider the type, length, shape, weight, and number of LED lights on the lightbar, where and how much space you have on your vehicle, and how it will affect its aesthetics. Different types will suit your car, truck, SUV, off-roader, or other vehicle.
LED Lightbars
The lights in lightbars are usually LED (light-emitting diode) types nowadays, and we will assume they are in this wiring guide.
Previously, CFL (compact fluorescent light) and halogen bulbs were common, which drew more power, generated more heat, were less bright, were generally more expensive, and didn’t last as long.
Wiring Procedure
We will cover 2 wiring procedures for wiring a lightbar:
- Wiring an LED lightbar with a harness – This method uses new wires and takes 9 steps.
- Wiring an LED lightbar with existing wiring – This method uses the vehicle’s existing lighting circuit and wires and takes 5 steps.
Method 1: Wiring a Lightbar with a Harness (9 Steps)
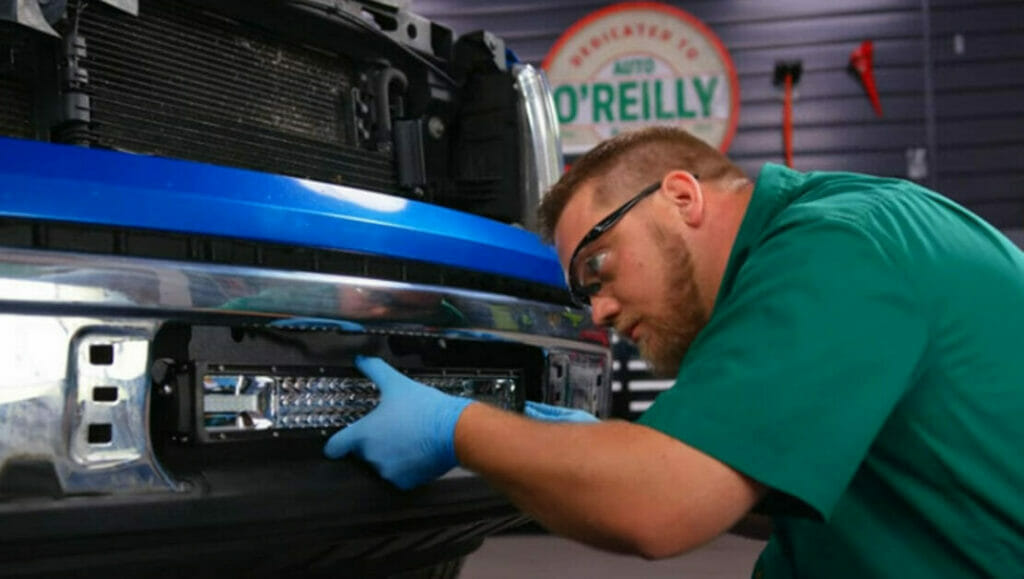
Step 1: Find a Suitable Location
Find a suitable mounting location for the LED lightbar.
It should provide good light and allow running the wires discreetly.

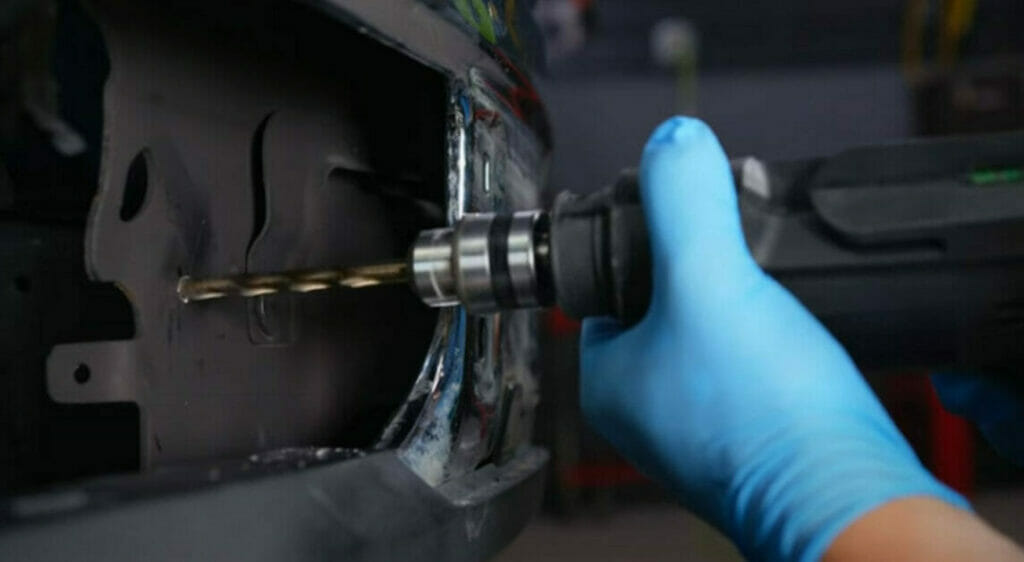
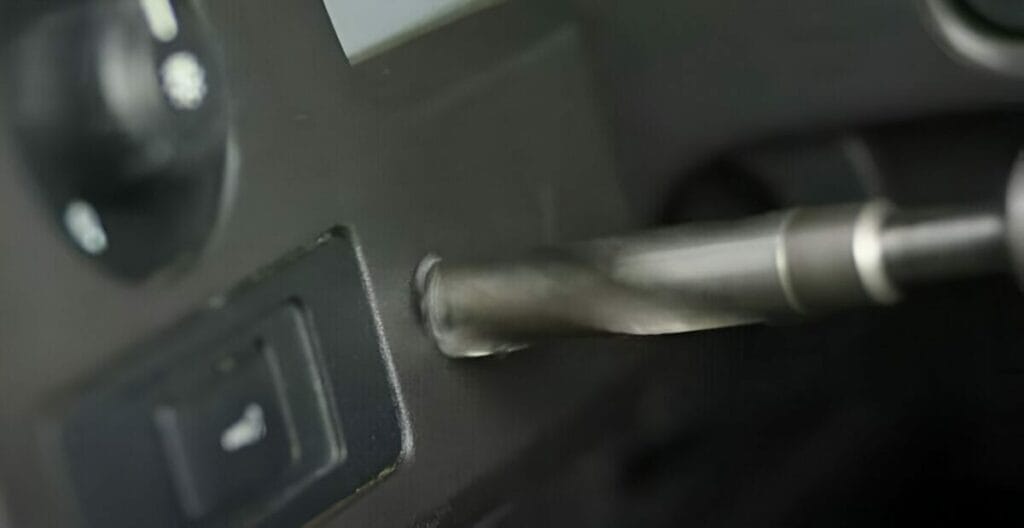
Step 2: Drill Holes
Mark the exact spots for the mounting bracket holes. Check what is behind them to minimize the damage. Drill appropriate-sized holes when ready.
Step 3: Mount the Lights
Install the mounting brackets and attach the lightbar. Don’t overtighten them.
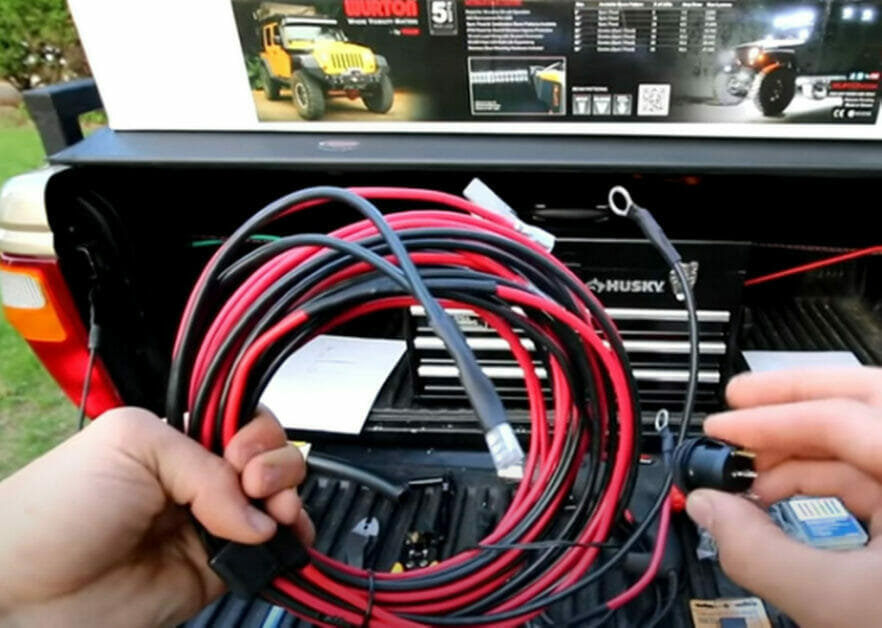
Step 4: Route the Wiring Harness
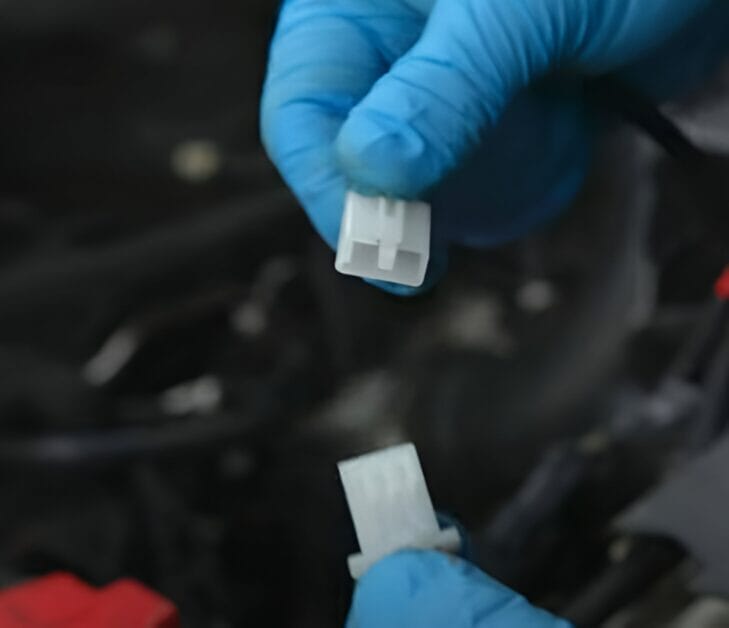
Route the lighting side of the wiring harness.
Avoid moving parts and heat sources when routing it. The other end goes to the battery. Choose a safe and short path. Connect the harness to the light when done. Some lights may not have DT or ATP (DT-FPT or ATP-FPT) connections, but you can add the connectors from the harness kit or purchase them separately.
Step 5: Set the Switch in Place
Find a suitable location for the switch and set it in place.
Unplug it from the harness before routing the harness.
Then, remove the cable from the battery’s negative terminal.
Optionally, install a remote-controlled switch (RCS-RF) to hasten the installation time and avoid the vehicle’s firewall. Ensure there are no obstructions.
Drill an appropriate-sized hole for the switch when satisfied with the location.
Step 6: Wire the Switch
Connect the wires to the switch before mounting it into place.
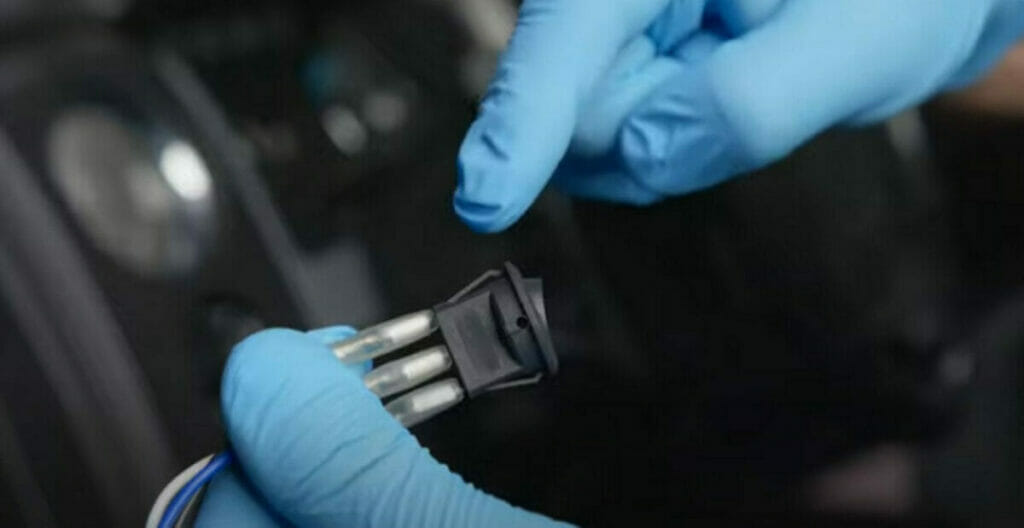
You can optionally use illuminated rectangular rocker switches (RS-x) with different legends.
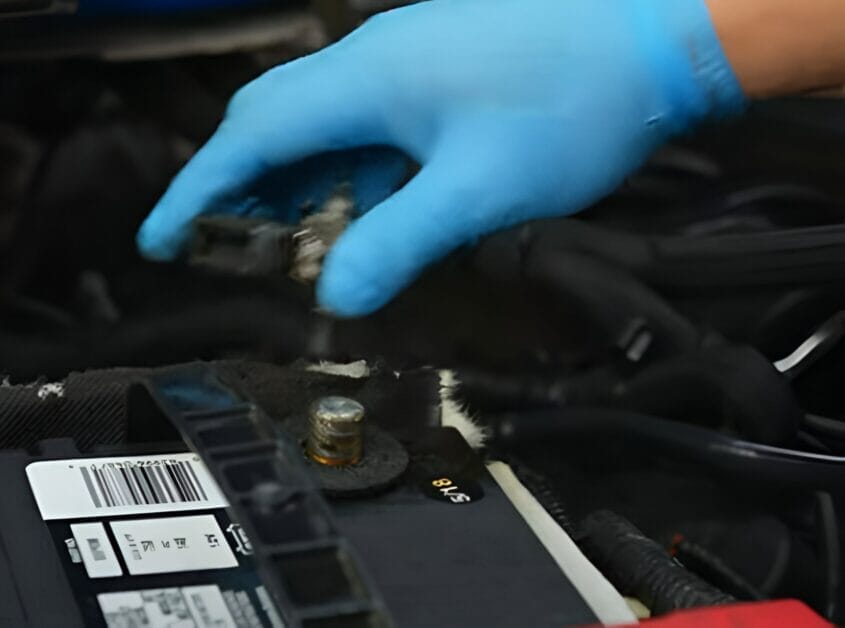
Step 7: Connect to the Battery
Connect the harness to the battery by attaching its ring terminals:
- Connect the red (positive) wire from the harness to the battery’s positive terminal.
- Connect the black (negative or ground) wire from the harness to the battery’s negative terminal.

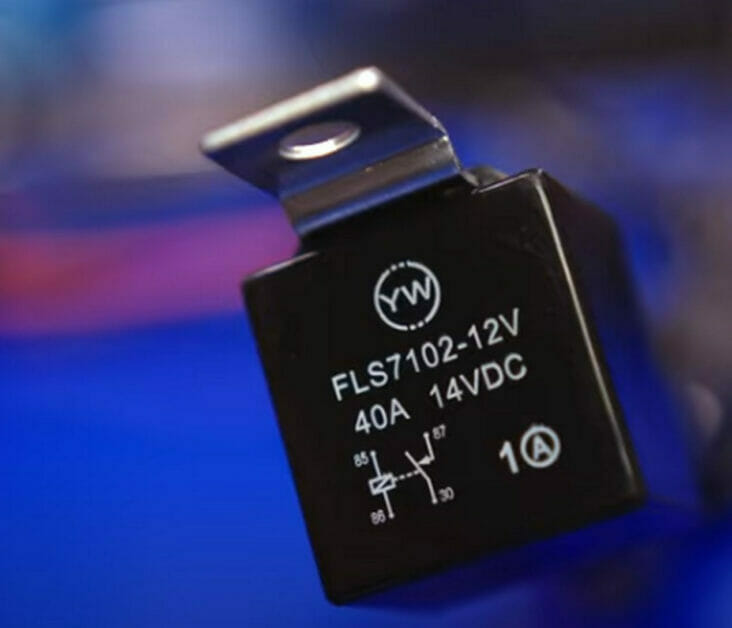
Step 8: Attach the Relay
Attach the relay to a suitable location.
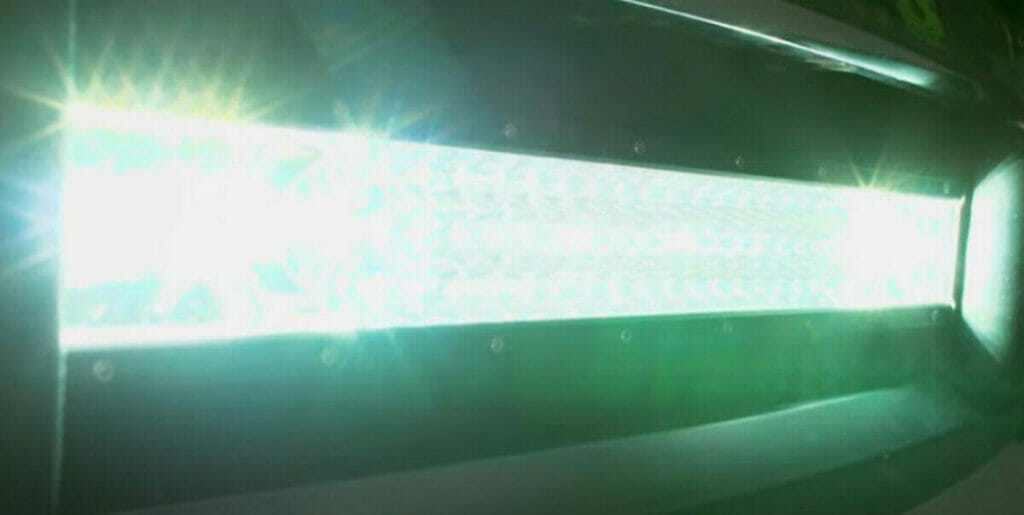
Step 9: Test the Lightbar
Test the lightbar to ensure it works.
Method 2: Wiring a Lightbar with Existing Wiring (5 Steps)
This method will use the vehicle’s existing wiring instead of a separate wiring harness.
Step 1: Disconnect the Lighting Circuit
First, you must remove the power to the existing lighting circuit. You can remove the fuse or disconnect the battery.
Step 2: Drill Holes
Find a suitable mounting location for the lightbar and mark the spots for the mounting bracket’s holes. Check behind the spots to ensure you won’t damage anything. Drill appropriate-sized holes when ready.
Step 3: Mount the Lightbar
Mount the lightbar to the mounting brackets. Secure it without overtightening.
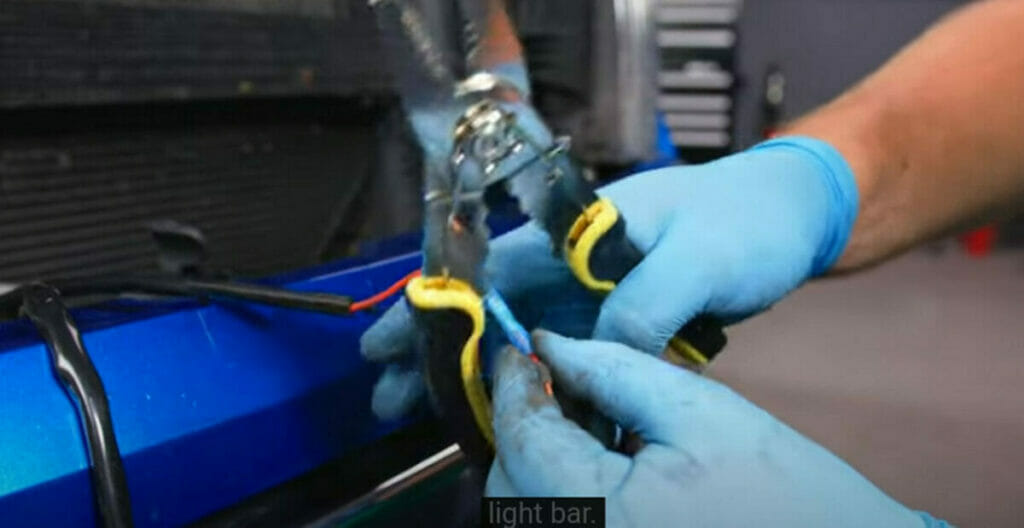
Step 4: Connect the Wires
Connect the Lightbar wires as follows:
- Connect the lightbar’s red (positive) wire to the old light’s red or power wire.
- Connect the lightbar’s black (negative or ground) wire to the old light’s ground wire.
Optionally, solder the wires together and use heat shrink tubing (DWS-x) or perma-seal butt connectors (PSC-x) for more secure connections.
If the LED lightbar has ATP or DT connectors, connect them to the corresponding ATP (ATP-MPT) or DT (DT-MPT) pigtails.
Step 5: Test the Lightbar
Restore the power and test the lightbar.
Frequently Asked Questions
Why Would I Want an LED Lightbar on My Vehicle?
LED lightbars are an excellent addition for those looking to enhance visibility, especially for off-roading, camping, or work. They’re energy-efficient, have a long lifespan, and produce a bright and powerful light.
Is It Hard to Install an LED Lightbar Myself?
With the right tools and by following the step-by-step instructions provided, most vehicle enthusiasts will find the installation process straightforward. However, it’s always best to consult a professional if you’re uncomfortable.
Can I Use My Vehicle’s Existing Wiring for the LED Lightbar?
Absolutely! The article provides two methods: one with a new harness and one using the existing wiring. Using the existing wiring can simplify the process but ensure the existing wires can handle the LED lightbar’s power requirements.
How Do I Ensure My LED Lightbar Is Legal?
Before purchasing and installing an LED lightbar, always check local regulations. Some states or countries have restrictions on the types, placement, or brightness of additional vehicle lights to ensure safety for all road users.
Why Are LED Lightbars Better than CFL or Halogen Bulbs?
LEDs draw less power, produce more light, have a longer lifespan, and don’t generate as much heat as their CFL or halogen counterparts. This makes them a cost-effective and efficient choice for vehicle lighting.
What If My LED Lightbar Doesn’t Turn On After Installation?
First, ensure all connections are secure. Check the fuse and battery connections. If everything seems fine and it’s still not working, consult the manufacturer or a professional.
Can I Add More Than One LED Lightbar to My Vehicle?
You can, but always ensure the electrical system can handle the added load. Also, remember to stay within legal guidelines and consider your vehicle’s weight and balance implications.
Alright, folks, that’s the lowdown on LED lightbars! If you’ve got more questions, don’t be shy. Dive into those resources and videos, and remember, safety first when working on any vehicle project! 🛠️🔆🚗
References
Website Resources:
- LED lightbar on the front grille. https://autolux.com.au/5-ways-to-mount-led-light-bars-to-your-vehicle/
- LED light bar on the roof. https://www.autostore.pk/shop/led-lights/hid-led-smd-lights/180w-smd-bar-light-2-5-foot-31inch/
Video References:
4DIYers
ChrisFix
O’Reilly Auto Parts
Super Bright LEDs