7 min read
How to Wire Rock Lights to a Switch (6-Step Guide)

Rock lights (LED light systems) are really nice to have, especially if you want to improve the driver’s visibility around your car. It is also important for off-roading. In this article, I will teach you how to wire rock lights to a switch in the easiest way. I have installed rock lights in the wheel wells/chassis (the best position) of different vehicle models of my clients, and it is not a difficult task. You can do it at home with little experience.
Quick Summary: To wire rock lights to a switch, at first ensure that your car is off (disconnect the battery) and have it in a safe place with its brakes engaged. Next, prepare a bracket in the wheel well (underneath your car) and mount the rock lights in the wheel liners. Install the switch below the dashboard, where its accessibility is not a problem. Next, locate the firewall and run the wires from the switch. Obtain two red wires, one will fetch power from the battery, and the other will bridge the switch and the rock lights. The third wire (black) should be the ground. Next, install the fuse and test one of the rock lights. If it works, branch the red and the black wires to both sides of the car, and then connect all the rock lights to the wires. Finally, switch on the rock lights and that’s it!
Tools and Materials
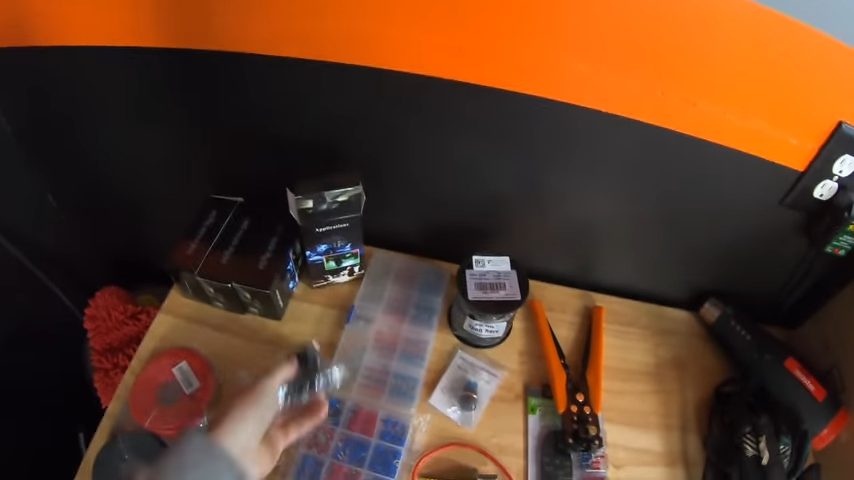
You will need the following tools and materials to install rock lights in your car:
- Rock lights – 8, 16, and 22
- Connecting wires – 50 feet
- Zip ties
- In-line fuse
- Butt connectors
- Switch
- Metal sheet
- A magnet or a wheel liner
- And of course, your car
The Best Way to Mount the Rock Wires
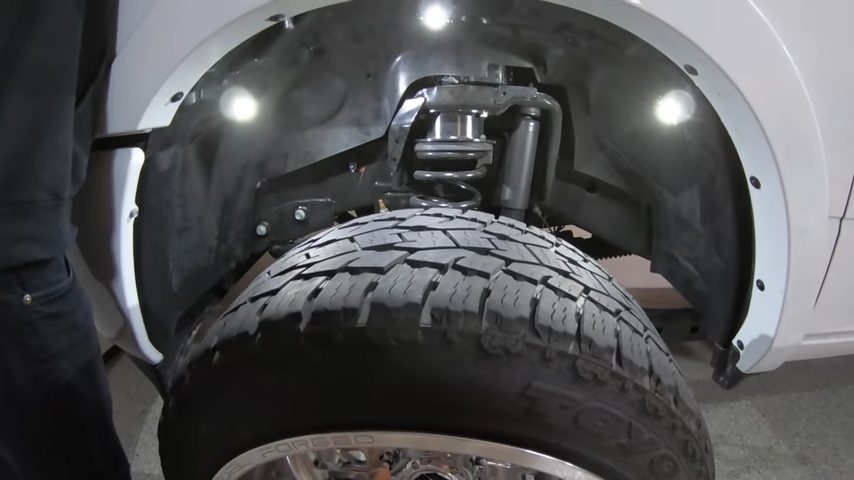
I recommend installing the rock lights in the wheel wells of your vehicle. That is arguably the best way to mount them. You will have a clear view of the area around your car and be able to drive or park your car properly. Some drivers use the rock lights for other purposes like obtaining the rear view while backing up. The LEDs light also keeps the driver safe while driving at night (the lights add on a layer of protection by illuminating the path).
Mounting the rock lights in the wheel wells also has some aesthetic properties. So, if you want your car to stand out from others, you can install the rock lights.
How to Install Rock Lights – Getting Started
Mounting the rock lights in the wheel wells of your vehicle is not difficult. You can easily accomplish the task if you have the necessary tools, materials, and guidelines. The following steps will adequately guide you through installing the rock lights in your car.
Step 1: Mounting the Switch
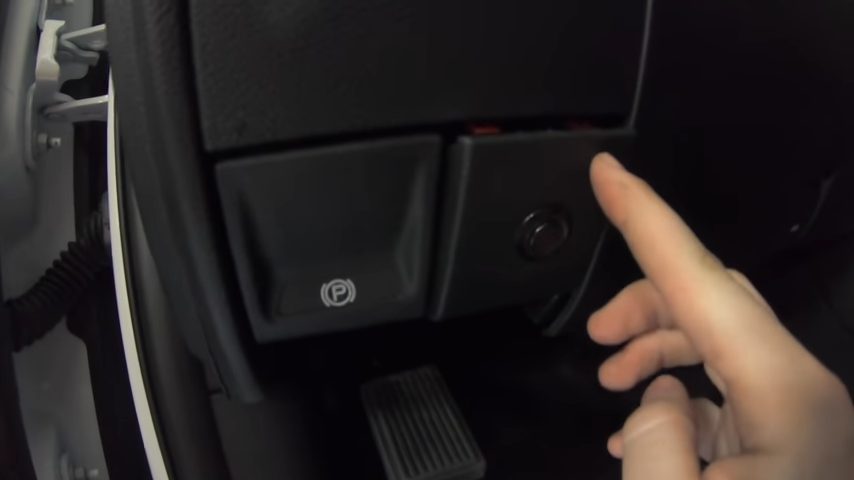
The best place to install the switch is where it will be easily accessible. Most folks prefer just below the dashboard. Alternatively, you can mount it in the cabin. While mounting the switch, prevent the wires from crossing.
Using a driller, make a hole on the switchboard, adjacent to the switch buttons. That will vary depending on the vehicle application, the newer the car the harder the switchboard. Mount the switch and proceed to the next step.
Step 2: Run the Wires from the Switch
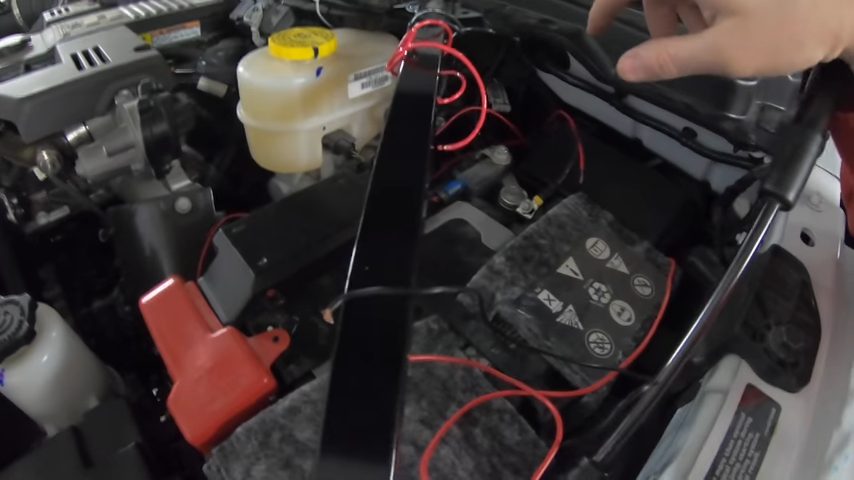
First, locate the firewall. In most vehicles, the firewall is situated near the car’s engine bay. Three wires should go to the switch, of which one is black, and the other two are red.
The main power wire goes into the switch, and another power wire comes out of the switch and goes to the rock lights. The black wire is the ground wire; while the other two power wires are coded red. So, you will end up with a three-prong switch with power in, power out, and a ground connection.
Step 3: Connecting Each Wire
The black wire should be grounded to the frame of the car or the negative terminal of the 12-volt battery.
You will need power and ground connections for each rock light. So, to avoid stacking three wires on top of one bolt, make all the three wires go into one loop.
Step 4: Testing the Switch
At this point, wire the fuse and test one of the rock lights. Reconnect the battery in the accessory mode. As aforementioned, out of the three wires, one red wire will get the power from the car’s 12-volt battery, and then the other red will power the rock lights. And the last one will ground the connections. So, switch on one rock light to test if the switch is working.
Step 5: Branching the Wires
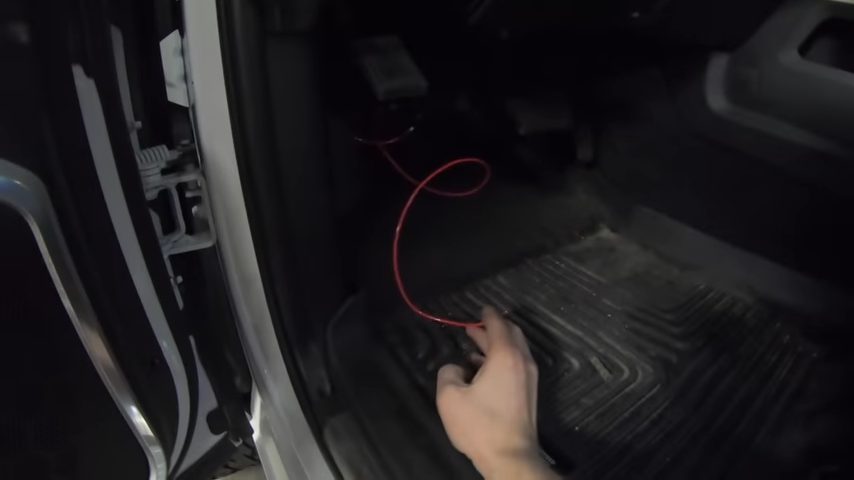
After testing the switch (if it works), put it off and begin branching the wires. From the main lead that comes out of the switch, run one wire on one side of the truck or vehicle and the other branched wire to the other side. That means you will branch the lead wire from the switch into two.
Now go on and branch the ground wire into two, for the two sides of the vehicle. Branching helps you run the wires to both sides of your vehicle. That will help you to power the rock lights located on either side of the truck. (1)
After branching, run the wires along each side of the frame. Follow the factory wiring, and make sure the wires are firmly held. Each wire set (ground and power wire) should be connected to the rock light in the wheel well.
Step 6: How to Mount the Lights
You will need to install the rock lights in the wheel wells as follows:
- Identify the position where you want to install your rock lights. As aforementioned, the wheel well is fine.
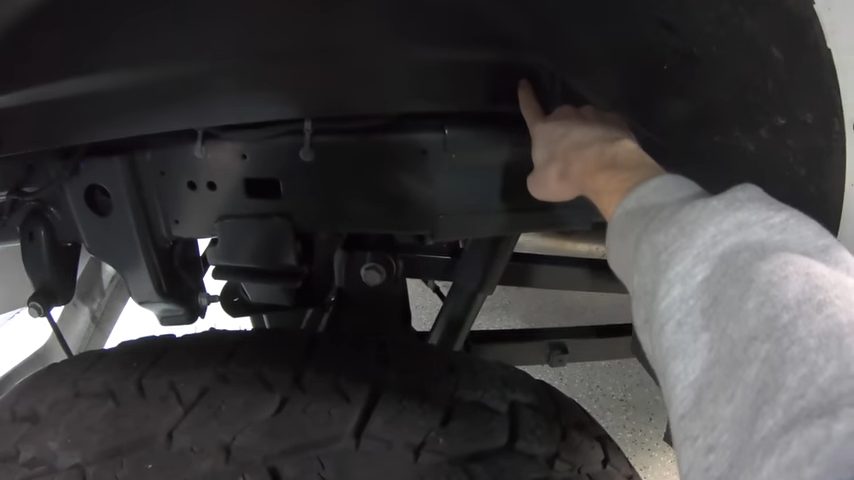
- Drill a hole and install the bracket and the rock lights – you may install them on the wheel liners.
- Attach your LEDs in a proper place and screw them in. (2)
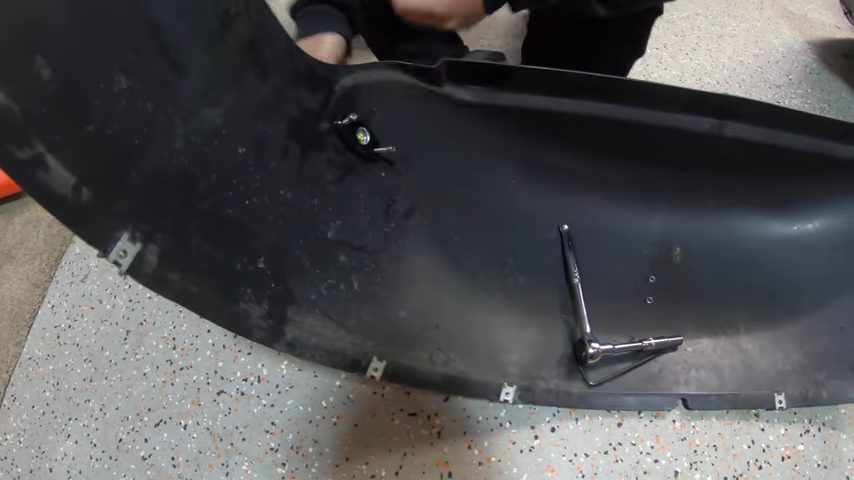
- Connect the wires to the rock light and zip them at 12-inch intervals. That will prevent them from obstructing the moving parts of the car which can create issues.
Take a look at some of our related articles below.
- How to wire a chandelier with multiple lights
- How to hook up 2 amps with 1 power wire
- How to test a car ground wire with a multimeter
References
(1) power – https://www.khanacademy.org/science/physics/work-and-energy/work-and-energy-tutorial/a/what-is-power
(2) LEDs – https://www.britannica.com/technology/LED
Video Reference