8 min read
Trailer Brake Magnet Wiring (How-to Guide)
This article will benefit those having trouble wiring a trailer brake magnet.
Are you experiencing weak or surging brakes in your trailer? When that happens, you might want to replace the entire brake assembly. But in truth, you don’t have to do that. The issue may lie with the trailer brake magnet. And replacing the magnet is much easier and costs less. However, you’ll have to get the wiring part correctly. I’ll teach A-Z about trailer brake magnet wiring and some tips I have picked up over the years.
Generally, to wire trailer brake magnet:
- Gather the necessary tools and parts.
- Raise the trailer and remove the wheel.
- Remove the hub.
- Disconnect the wires and pull out the old brake magnet.
- Connect the new magnet’s two wires to the two feed wires (it doesn’t matter which wire goes to which as long as the wires represent power and ground connections).
- Reconnect the hub and the wheel.
Read the below guide to get a clearer idea.
7 –Step Guide on Trailer Brake Magnet Wiring
Even though this article is about brake magnet wiring, I’ll go through the whole process of removing the wheel and the hub. After all, to be able to wire a brake magnet, you’ll have to remove the hub.
Important: Assume you arereplacing a new brake magnet for this demonstration.
Step 1 – Gather the Necessary Tools and Parts
First and foremost, gather the following things.
- New trailer brake magnet
- Floor jack
- Tire Iron
- Ratchet
- Socket
- Screwdriver
- Hammer
- Putty Knife
- Grease (optional)
- Crimp connectors
- Crimping tool
Step 2 – Raise the Trailer
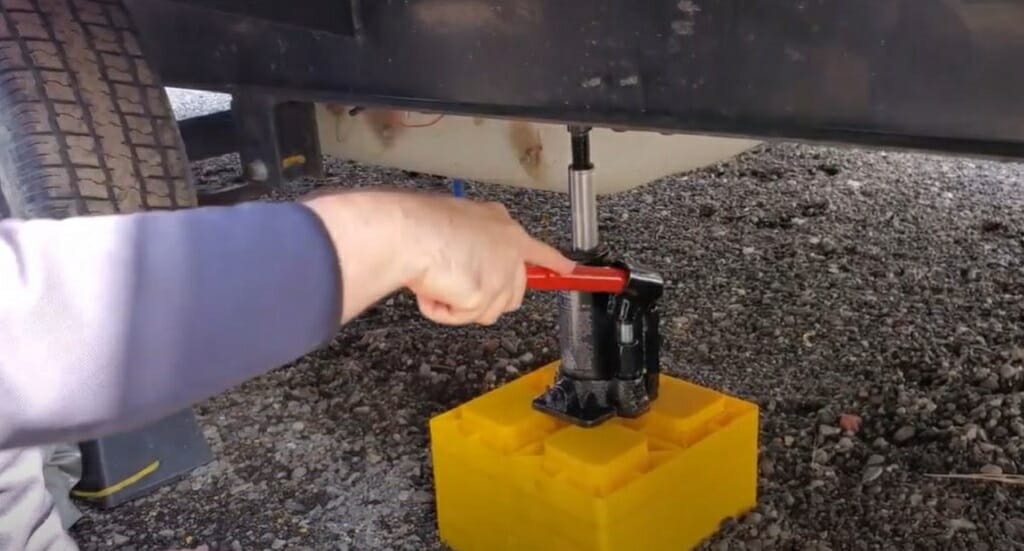
Before raising the trailer, loosen the lug nuts. Do this for the wheel in which you are replacing the brake magnet. But don’t remove the lug nuts yet.
Quick Tip: Loosening the lug nuts while the trailer is on the ground is much easier. Also, keep the trailer switched off during this process.
Then, attach the floor jack close to the tire. And raise the trailer. Remember to position the floor jack firmly on the ground (somewhere that can hold the trailer’s weight).
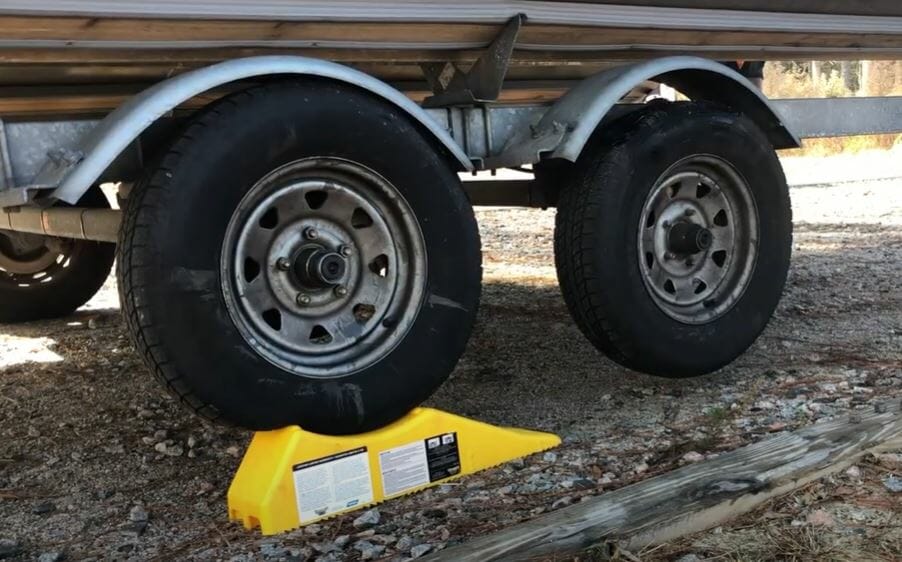
If you have difficulties using a floor jack or cannot find one, use a tire-changing ramp to raise the trailer.
Step 3 – Remove the Wheel
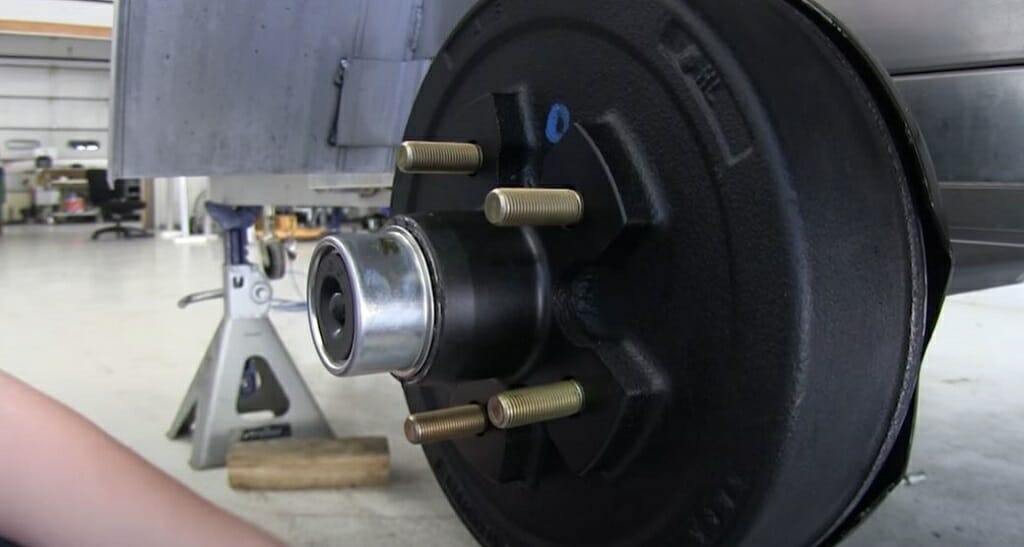
Next, remove the lug nuts from the wheel using the tire iron. And pull out the wheel from the trailer to expose the hub.
Tip of the Day: Never remove more than one wheel at once unless you have to.
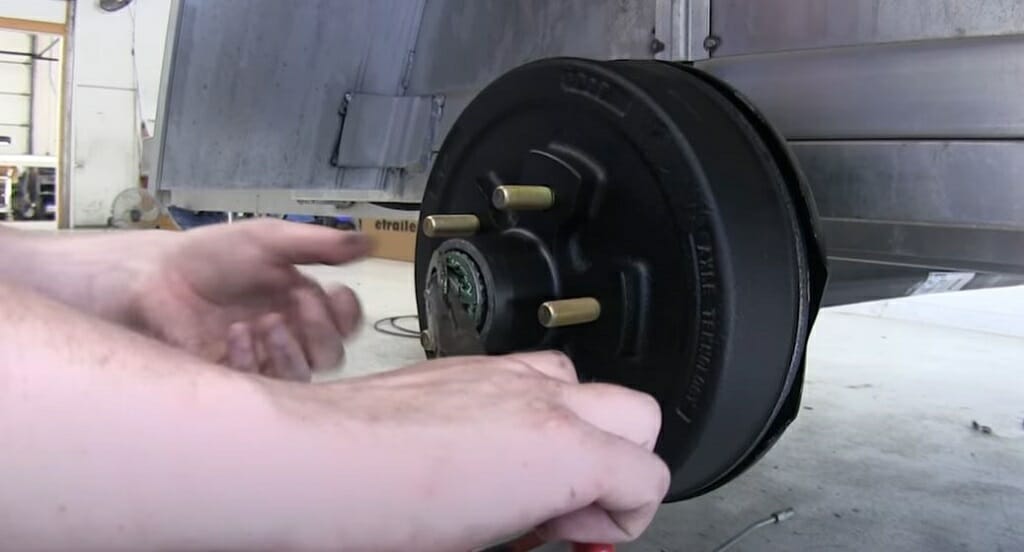
Step 4 – Remove the Hub
Now, it is time to remove the hub. But first, take out the outer cap using the hammer and putty knife. Then, pull out the bearings.
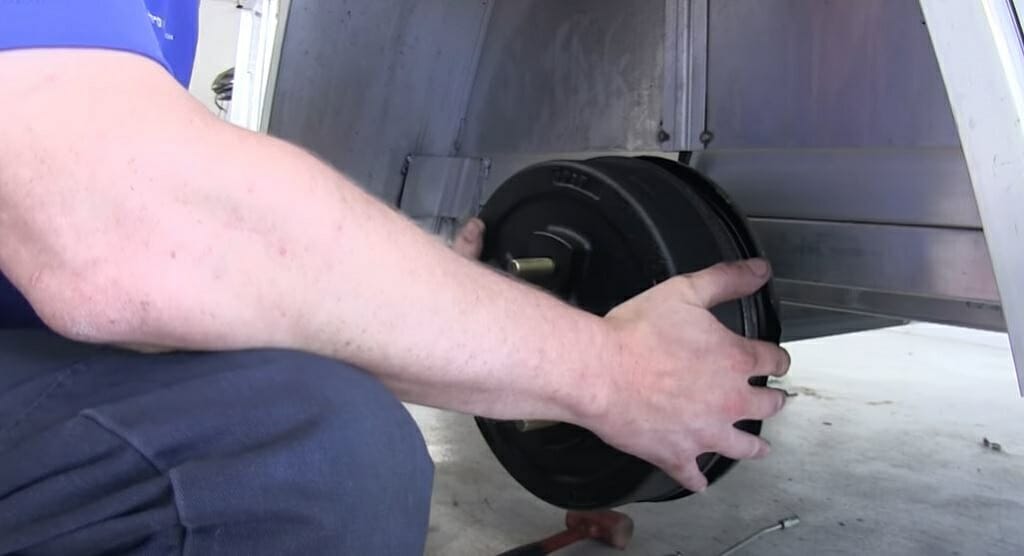
Next, use a screwdriver to unscrew the hub from the brake assembly. Then, carefully pull out the hub toward you.
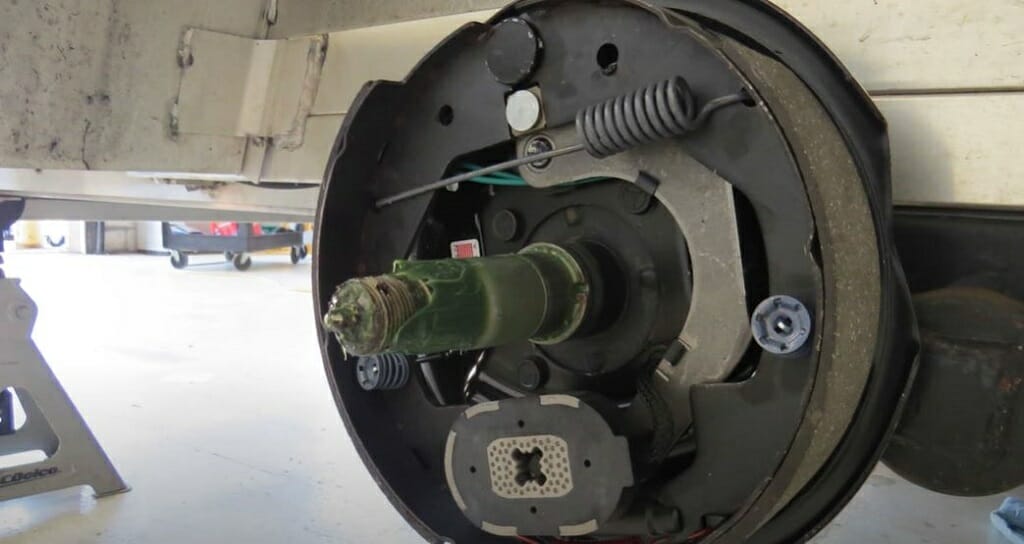
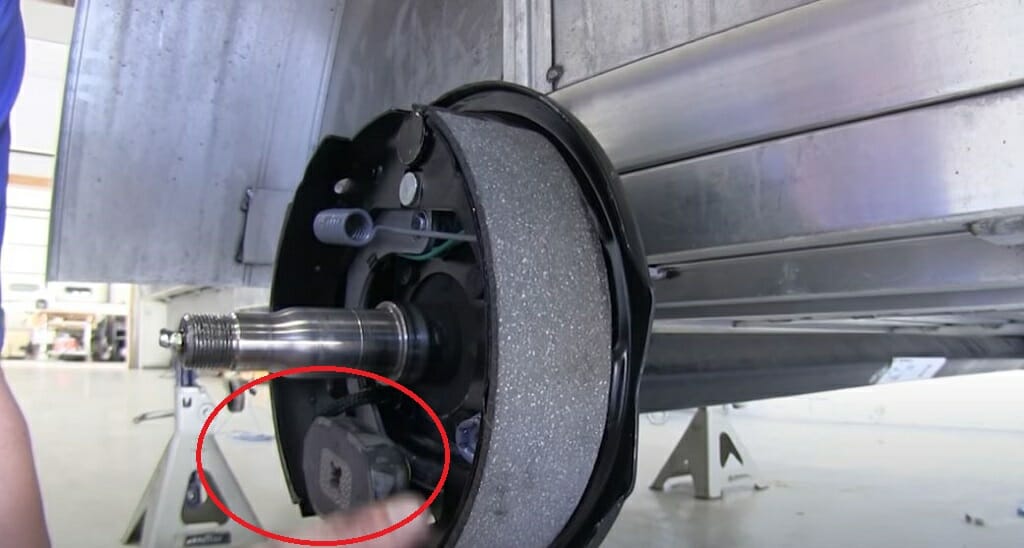
Step 5 – Pullout the Old Brake Magnet
After removing the hub, you can easily locate the brake magnet. The magnet is always at the bottom of the backing plate.
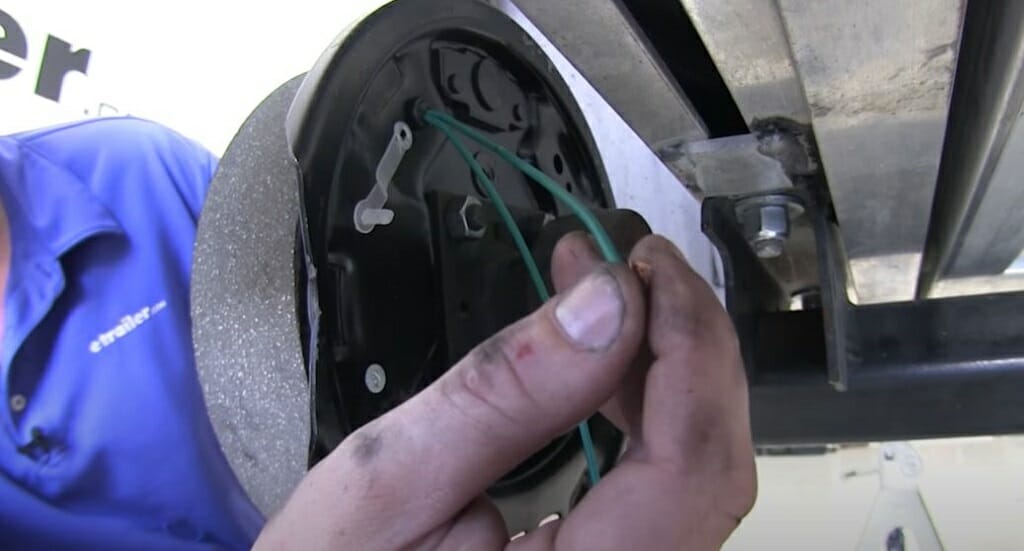
First, disconnect the old magnet’s wires from the feed wires. You can find these wires behind the backing plate.
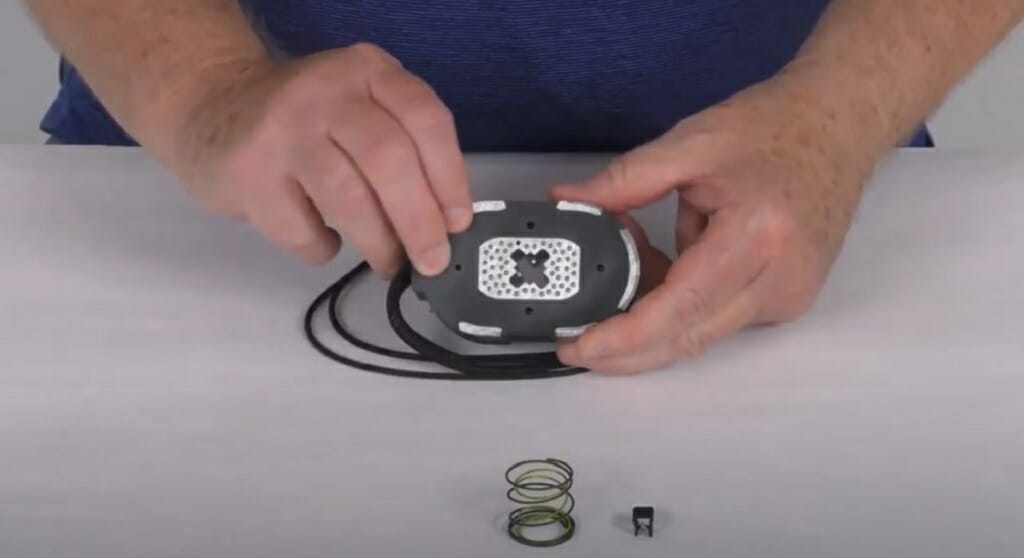
Step 6 – Install the New Magnet
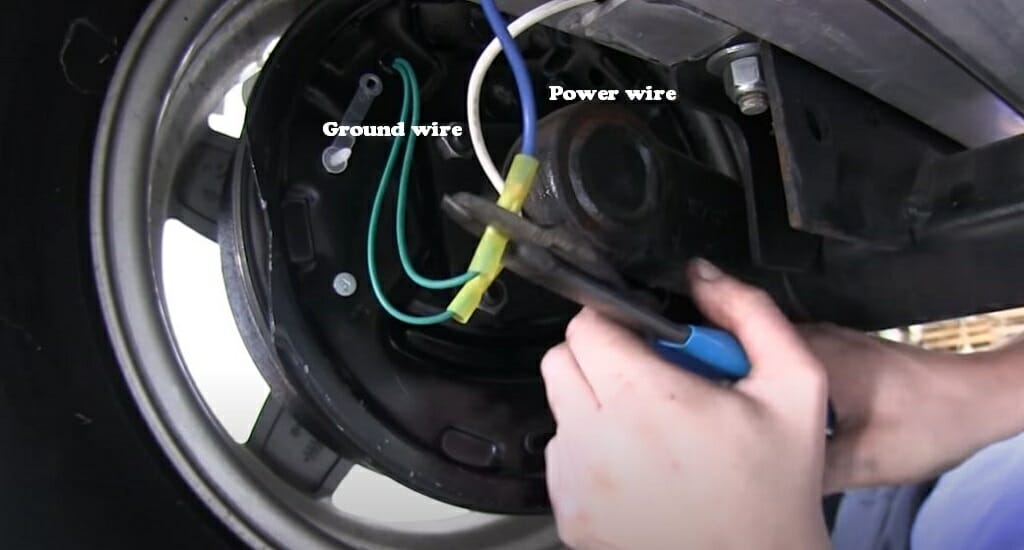
Take the newly bought brake magnet and place it at the bottom of the backing plate. Then, connect the magnet’s two wires to the two feed wires. Here, you don’t have to worry about which wire goes to which. Make sure one of the feed wires is for power and the other is for the ground.
The wires coming out of the magnet aren’t color-coded. Sometimes they might be green. And sometimes, they might be black or blue. In this case, both are green. However, as I said, there is no need to be alarmed. Check the two feed wires and connect the two same color wires to them.
Quick Tip: Make sure that the ground connection is proper.
Use some crimp connectors to secure all the connections.Step 7 – Reconnect the Hub and The Wheel

Connect the hub, bearings, and outer bearing cap. Finally, connect the wheel to the trailer.
Quick Tip: Apply grease to the bearings and the cap if needed.
Where Do the Feed Wires Come from?
The trailer connector provides connections to the brakes and the trailer lights. These two feed wires come directly from the trailer connector. When the driver steps on the brake, the connector sends current to the electric brakes located in the hub.
Mechanism of Electric Brakes
A break magnet is a crucial part of the electric brake. Hence, understanding how the electric brake works will help understand the brake magnets.
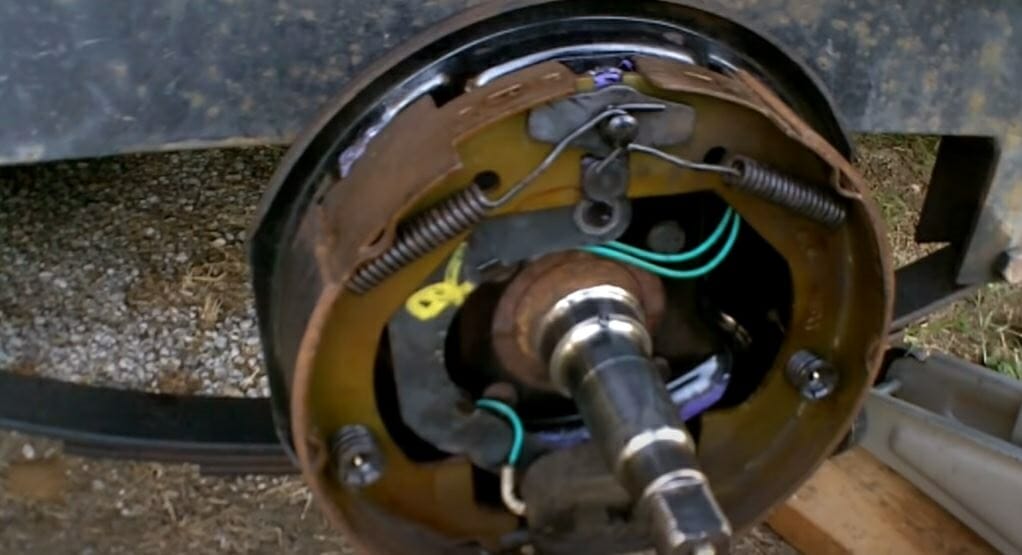
As you already know, the brake magnet is on the backing plate. Also, the backing plate is home to most of the other parts that make the brake assembly. Here’s the complete list.
- Reactor spring
- Primary shoe
- Secondary shoe
- Actuating arm
- Adjuster
- Adjuster spring
- Shoe hold-down spring
- Break magnet
The magnet has two conductor wires connecting directly to the trailer wiring. Whenever you supply electricity, the magnet gets magnetized. Then, the magnet attracts the drum face and starts rotating it. This moves the actuating arm and pushes the shoes against the drum. And shoes prevent the hub from spinning, which means the wheel will stop spinning too.
Quick Tip: The primary and secondary shoes come with brake pads.
What Happens When the Trailer Brake Magnet Goes Bad?
When the brake magnet is bad, the magnetizing process will not happen properly. Hence, the braking process will start to malfunction. You can identify such a situation by these symptoms.
- Weak or surging breaks
- The breaks will start to pull to one side.
However, visual inspection is the best way to identify a worn-out brake magnet. But some magnets might fail without showing any wear and tear.
Is It Possible to Test Brake Magnets?
Yes, you can test them. For this, you’ll need a digital multimeter.
- Remove the brake magnet from the brake assembly.
- Place the base of the magnet on top of the negative battery terminal.
- Connect the multimeter leads to the battery terminals.
- Check the multimeter reading.
If you detect any amperage, the magnet is broken and needs to be replaced as soon as possible.
Take a look at some of our related articles below.
Video References
Canadian Campaholic
Kemp Outside
ghostses