12 min read
How to Install a Wired Garage Door Keypad (Two Methods)

A wired garage door keypad is connected to a control module inside, to the garage door opener, which is connected to garage door sensors, and so on.
If wiring one seems complicated, it’s not. I’ll show you how to do it.
Quick Summary: When installing a wired garage door keypad, attach it outside and its control module inside. Connect the two wires from the keypad to the module by attaching the red one to the R terminal and the white one to the W terminal. Then, connect the control module to the garage door opener by connecting the red wire to the red connector and the white one to the white connector. You then set the number code as instructed in the keypad’s manual, and it should be set and ready to use.
I’ll also show you what else to do to ensure the setup works.
Requirements
General tools: screwdriver, hammer
You will have to drill holes, so you will also need a power drill and drill bits.
Wire, enough to reach from the keypad to the control module and the garage door opener, a wire stripper, and wire clips.
Installing a Wired Garage Door Keypad
Follow these nine steps to install a wired garage door keypad.
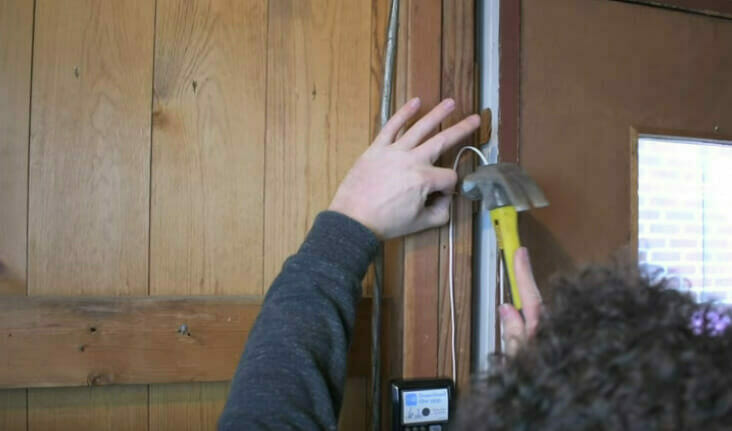
Step 1: Drill a Hole
Drill a hole from the outside where the keypad will be positioned inside the garage door to let the wire go through to the control module.
Ideally, the height should be at least 5 feet.
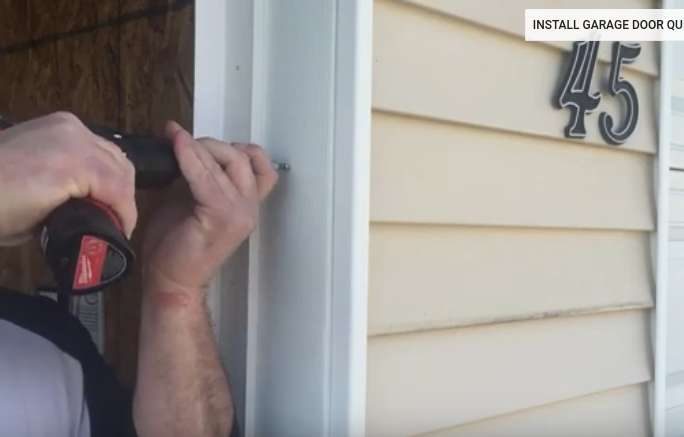
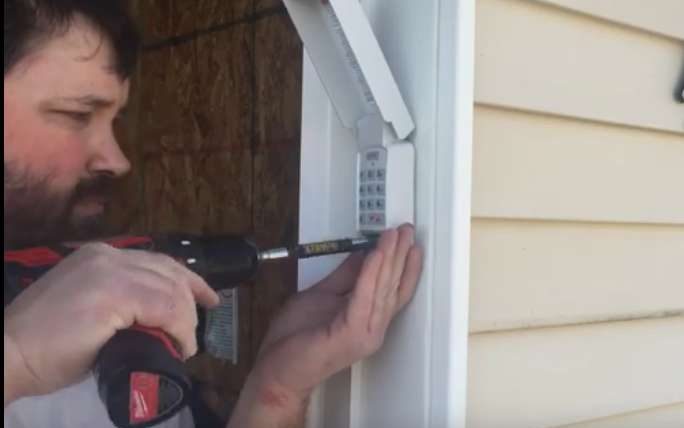
Step 2: Attach the Keypad
Attach the wired garage door keypad. Secure it by tightening the screws.
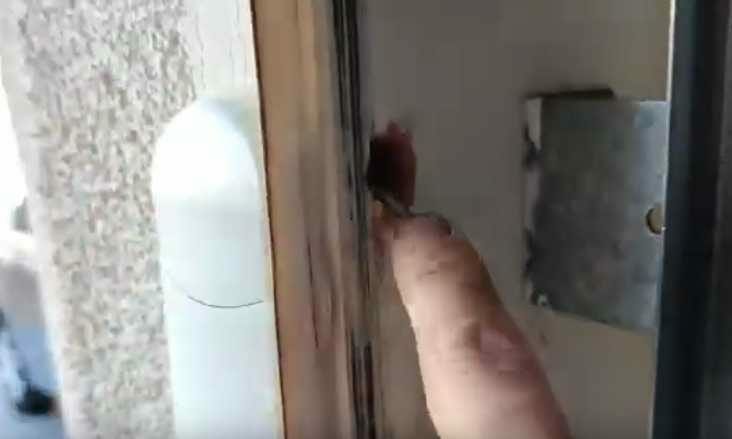
Step 3: Pull Wires Through
Pull the wires through to the inside to connect to the control module.
They are normally a pair of 18-24 gauge, low-voltage wires, so that’s the type to get if yours is damaged or too short.
You may also need to strip both wire ends if not stripped already.
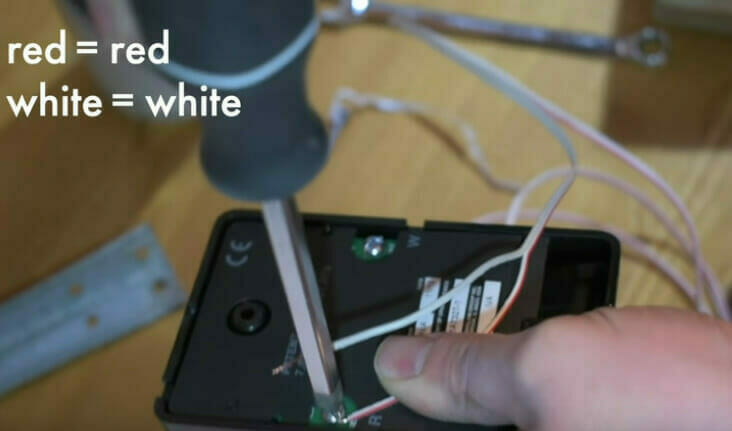
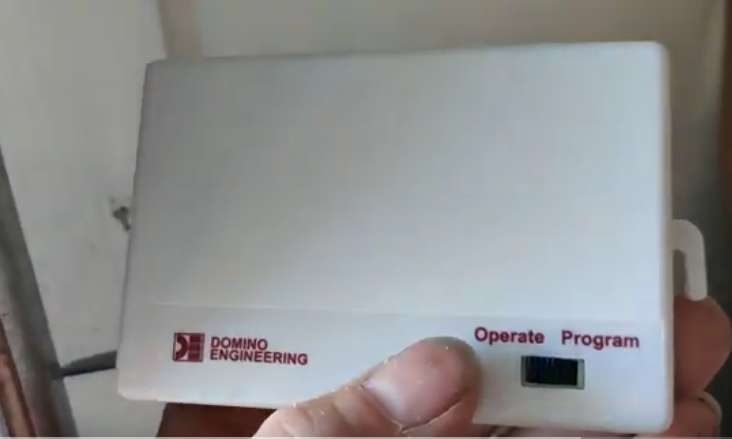
Step 4: Wire the Control Module
Wire the control module (called “Program box”) by attaching the wire from the outside keypad.
Usually, there are two wires – in red (or red and white stripes) and white. The terminals on the module should be marked as “Red” and “White” or “R” and “W.” Connect the red wire to the R terminal and the white wire to the white terminal.
If your wires differ, consult the manual that came with your wired garage door keypad. Otherwise, it should not normally matter which wire goes to which terminal, as the keypad functions like a switch.
Step 5: Attach the Control Module
Attach the control module to the inside wall.
Step 6: Connect to the Garage Door Opener
Attach the wires from the control module to the garage door opener. The wired garage door keypad is compatible with most garage door openers.
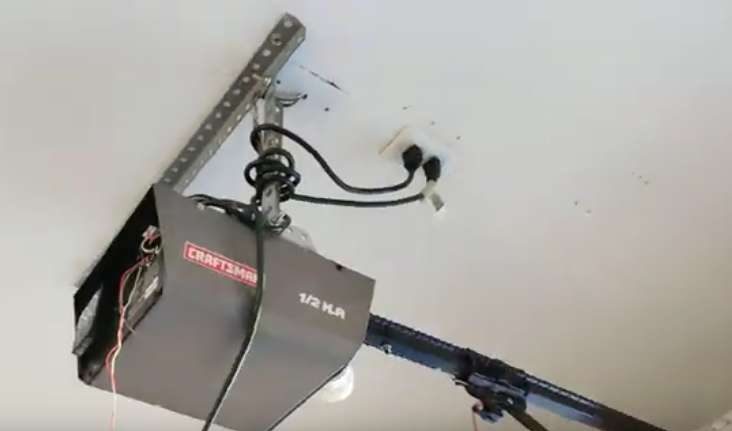
Attach the two wires as follows:
- Attach the red wire to the red (or orange) connector on the back of the garage door opener.
- Attach the white wire to the white connector.
Again, your wiring scheme may differ from this, so consult the manual that came with your wired garage door keypad.
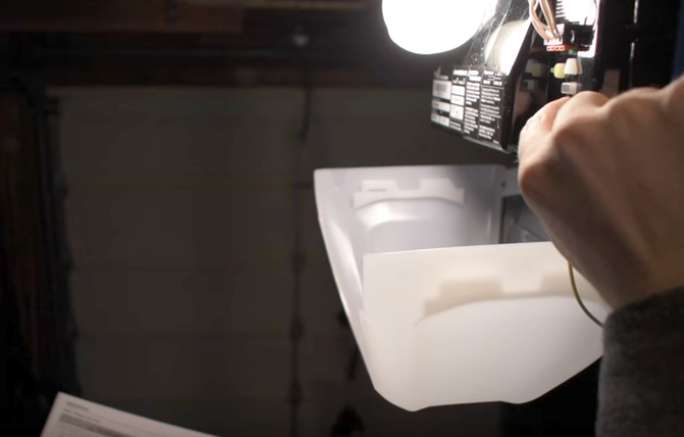
Step 7: Put Batteries Inside
Put a battery into the garage door opener keypad. Usually, it’s either a single 9V one or two AA batteries.

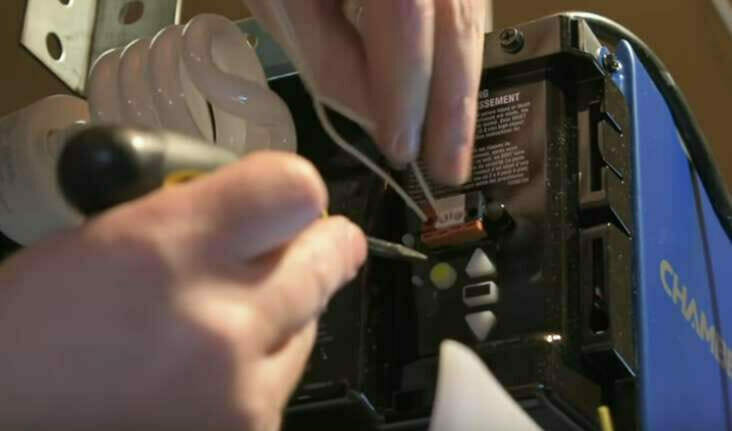
Step 8: Set the Wired Garage Door Keypad
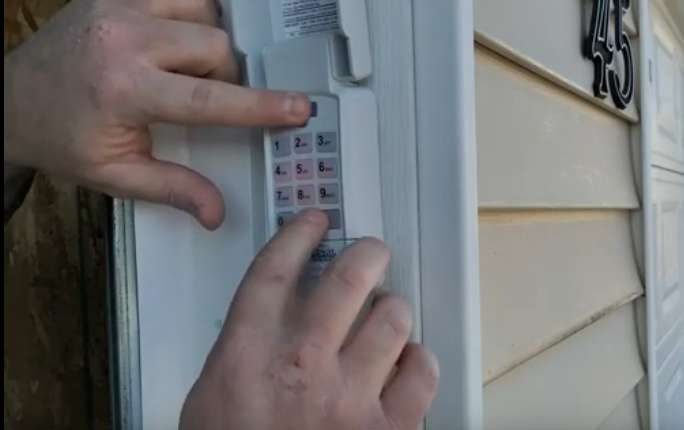
Set the control module switch to “Program” and set up a number code. Usually, you can set up a 6-digit code. Switch back to “Operate” when done.
The instruction to program your particular wire garage door opener keypad may differ. Refer to its manual.
On some models, the setting is done on the keypad outside. In the one shown below, you press and hold down “Program” and the red arrow key together for 5 seconds. Set the code, then press the arrow button again to confirm.
Step 9: Test the Keypad
You should test the wired garage door opener before using it.
You might need to reset the code, or if it fails to work, there might be a loose connection somewhere along the circuit.
Setting the Garage Door Manually
After wiring the wired garage door keypad, if you have to reset the garage door, here’s how to do it manually.
Also, if you’re installing the entire setup for the first time, you must attach the garage door sensors to the garage door opener for the wired garage door opener to perform its function.
This part of the guide will also be helpful if you need to adjust the garage door to work with the keypad to ensure the door opens sufficiently and closes properly.
Step 1: Attach the Garage Door Sensor
Attach the garage door sensors near the floor on each side of the garage door.
Usually, you position them along the frame and turn the wire nut clockwise over the bolt.
Step 2: Wire the Sensor
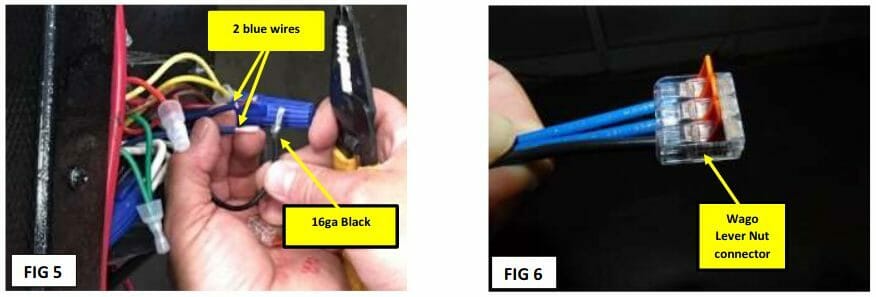
You will see that you have only two wires but four connection points.
The wires are in black and white, but the black one might be white with black stripes.
You achieve this by combining the blacks and the whites. The rest is simple. You put the black wires into the black box and the white ones into the white box.
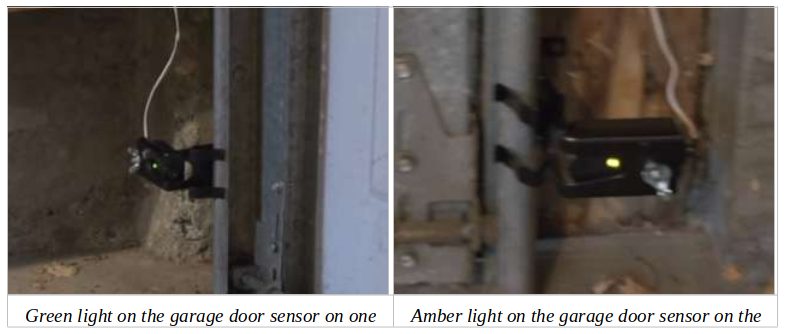
When operational, you will notice amber light on one side and green light on the sensor on the other side of the garage door.
Step 3: Push the Middle Button
Push the middle button (between the two up and down arrow ones) on the garage door opener once. You should hear a beep.
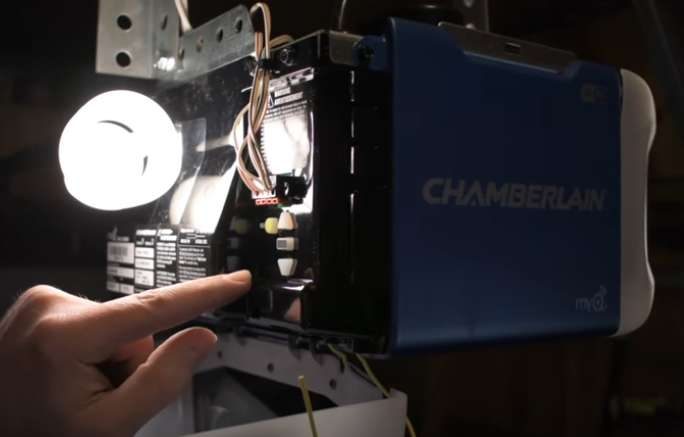
The garage door rail will extend outward, as shown below.
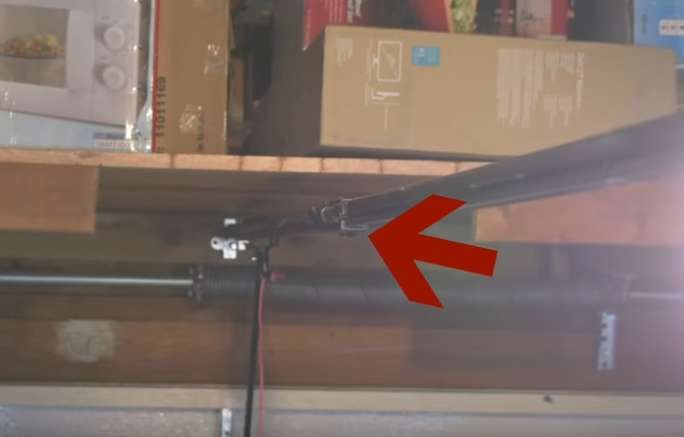
Let it move until it clicks into place and the emergency release is loose.
Step 4: Set the Up Button
Press the UP button until the garage door is fully open, as shown below. Then, release it.
The light will blink when you release the button to confirm.
Step 5: Set the Down button
As in the previous step, also set the DOWN button by pressing and then releasing it at the point when the door is fully down.
Press the middle button again to confirm that both are set. The light will blink to confirm the setting is done. You can press the up and down buttons again to test them.
Troubleshooting Your Wired Garage Door Keypad Installation
Hey folks! So, you’ve got a wired garage door keypad acting funky? Don’t sweat it! I’ve been around the block several times with these and am here to help you. Let’s roll up our sleeves and dive right in!
1. Keypad Acting Shy? Not Lighting Up?
- Power Check: First, ensure those batteries are fresh and sitting right inside the keypad.
- Wiring Tango: Peek the wire connections between the keypad and its little brain, the control module. Ensure they’re dancing well together and not stepping on each other’s toes.
2. Garage Door Doesn’t Open or Close When Code is Entered
- Reset the Code: Sometimes, the code might not be properly set. Try resetting the code following the manufacturer’s instructions.
- Inspect Wiring to Garage Door Opener: Ensure the wires connecting the control module to the garage door opener are secure.
3. Keypad Responds, But Door Doesn’t Move
- Check the Garage Door Opener: The issue might be with the garage door opener. Test the garage door opener with its remote control to determine if the problem is with the opener or the keypad.
- Inspect Sensors: Ensure the garage door sensors aren’t obstructed and are properly aligned. Misaligned or obstructed sensors can prevent the door from operating.
4. Code Works Intermittently
- Interference: Other electronic devices or LED light bulbs can sometimes cause interference. Check for any new electronic installations causing this and relocate them if necessary.
- Memory Issue: The control module might have a memory issue. Reset it according to the manufacturer’s instructions.
5. Keypad Code is Forgotten or Compromised
- Reset and Choose a New Code: For security reasons, if you believe your code has been compromised or if you’ve forgotten it, reset the keypad and choose a new code. Always choose a code that isn’t easily guessable.
6. Door Opens, But Doesn’t Close (or vice versa)
- Sensor Issue: This is typically a sensor problem. Make sure nothing is obstructing the sensors’ path. Clean the sensor lenses and ensure they’re aligned facing each other.
- Check the Wiring to the Sensors: Ensure the sensor wires are securely connected.
7. Keypad Works, But Only From a Close Distance
- Battery Power: A weak battery might reduce the keypad’s effective range. Replace the batteries and try again.
- Antenna Issue: Check the antenna on the garage door opener. It should be hanging down and not obstructed.
8. Garage Door Starts To Close, Then Reverses
- Sensor Obstruction: This is a safety feature. The door will reverse if it senses any obstruction. Clear the garage door’s path and ensure the sensors aren’t being triggered accidentally.
9. Strange Operations or Unusual Noises
- Lubricate Moving Parts: Over time, the moving parts of the garage door mechanism might need lubrication. Apply a suitable garage door lubricant to the tracks, rollers, and hinges.
- Check for Loose Components: Tighten any loose nuts, bolts, or screws.
Remember, every garage door keypad and opener has its own rhythm, so always keep that manual close by. And if the beat’s still off after trying these moves, it might be time to call in a pro to get the band back together. Rock on!
References
Video References:
Colton Crump DIY
Home Repair Hub
Miguel Torres Fish Tank