12 min read
How to Wire Sprinkler Valves (10 Steps)
This guide is all you need to wire your sprinkler wires. It will guide you through the entire process with detailed instructions and illustrations. Once wired and set up, you can enjoy a fresh lawn all summer.
Quick Summary: To wire a sprinkler system, distinguish the zones controlled by an automatic zone valve and arrange for a different colored 18-gauge irrigation wire for each in addition to a common white one. Then:
- Connect the pump start relay to the master valve’s pump relay terminal and the timer’s COM terminal.
- Connect the master valve to the irrigation timer’s MV and COM terminals.
- Connect each valve solenoid’s common wire to the timer and the second colored wire to each other before connecting to the timer. Use silicone-filled or grease-packed wire connectors or heat-shrink tubes.
- Connect the timer’s common wire to the COM terminal.
Continue reading below for more detailed instructions.
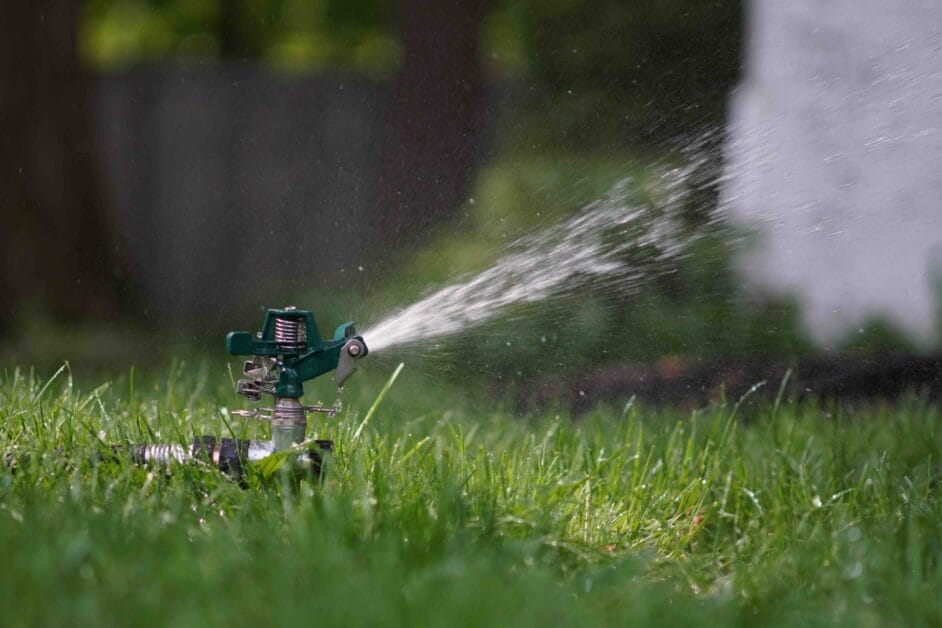
A Sprinkler Irrigation System
Each sprinkler has its own set of wires to turn on or off when selecting its zone.
The key is correctly running the wires to the various zone valves and sprinklers. An electronic timer controls an automatic sprinkler and usually allows for arranging separate zones or coverage areas.
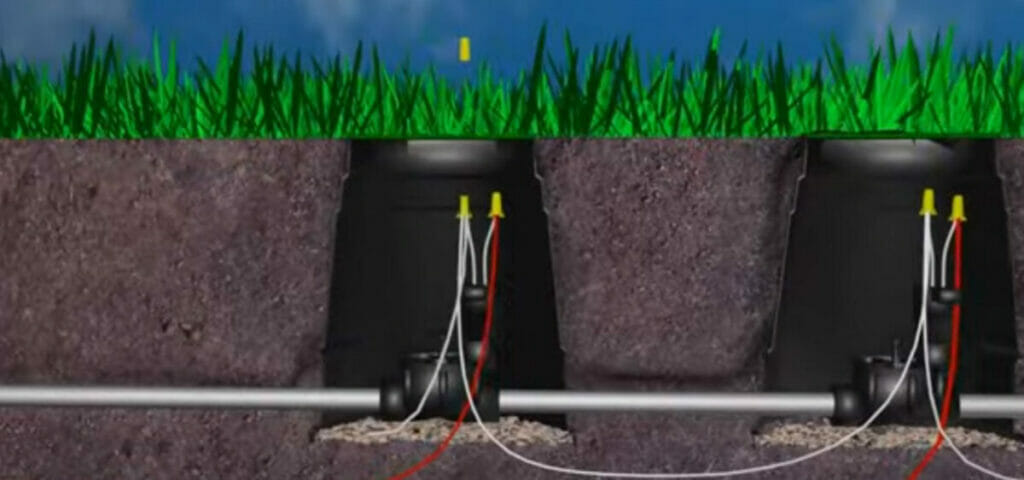
Wiring Diagram
Here’s how the wiring would look for a 3-sprinkler system:
Parts
The important parts of a sprinkler system are its plumbing and electrical subparts:
The electrical subparts are:
- Automatic zone control valves (wired to the controller)
- Controller or timer (aka sprinkler clock) – to control when each sprinkler will operate and turn off (to coordinate the use of the sprinkler system)
- Pump start relay – to allow the irrigation timer to communicate with the pump (necessary if you use a pump or master valve)
- Wires (see below)
- Wire caps (see below)
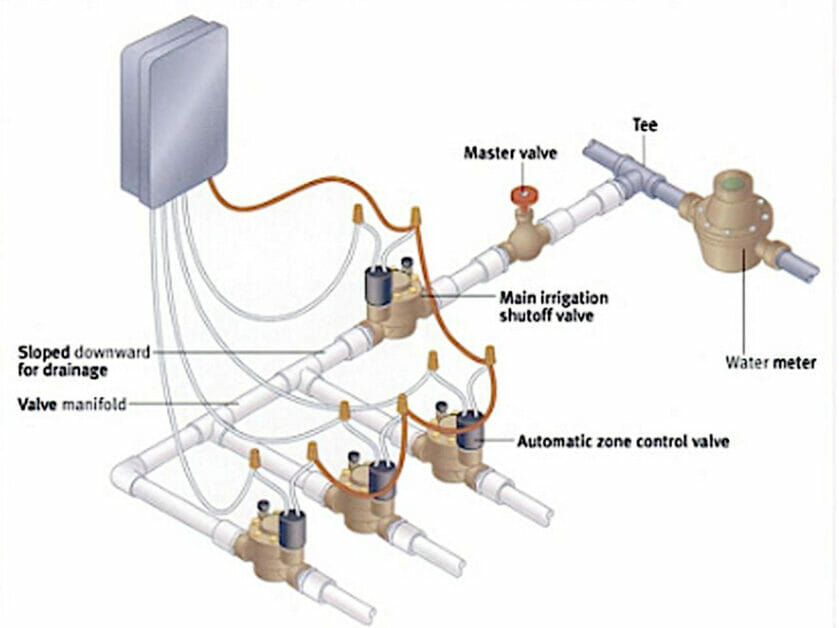
The plumbing subparts are:
- A water meter
- Main irrigation shutoff valve
- Master valve – to open and shut off the water supply
- Tee
- Valve manifolds
We focus on the electrical subsystem to show how to do the wiring.
Wires
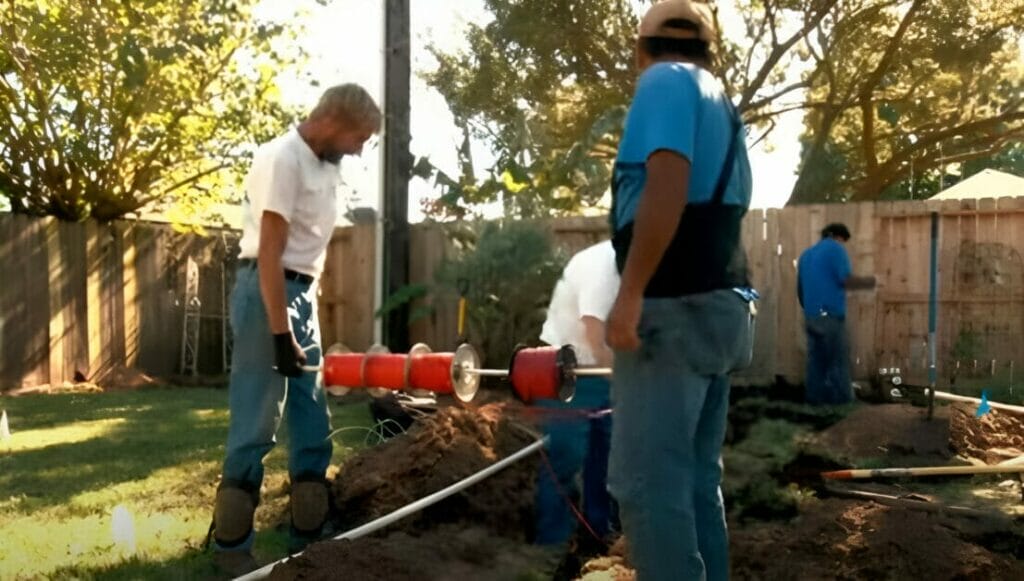
Use direct burial wire for an underground sprinkler system, as it is specially designed for entrenching without a conduit.
Ideally, you should lay the sprinkler system wires when laying the main tubing lines to avoid the need to arrange extra, separate protection for them.
Normally, you need an 18-gauge wire for a sprinkler-based irrigation system. It should be easily available with 2 to 12 conductors, as required.

Color coding the wires helps to distinguish them and the zones. The common wire is usually white, but the others may differ. You can follow any color scheme, but make the distinction obvious to prevent confusion. You should use a separate color for each. So, arrange the following:
- The irrigation cable (multi-core) – See Step 2 to know how many cores it should have.
- Common wire (usually white)
- Heat shrink cable connector
- One different colored wire for each zone (separate coverage area)
Wire Caps or Nuts
Use silicone-filled (or grease-packed) weatherproof wire connectors for your sprinkler irrigation system and wiring landscape lighting.
They provide greater protection against moisture compared to ordinary wire connectors. The grease-packed ones are more expensive than the silicone-filled ones but work better. Use grease-packed ones if the wires are likely submerged in water for extended periods.
Safety
Always turn the power off before working with any live wires, as when finally connecting the sprinkler system to the power source.
Wiring a Sprinkler System (10 Steps)
Step 1: Design the Layout
Design the sprinkler system’s layout and define all the zones for each valve.
The sprinkler systems typically have a large header from which you branch off circuits to the separate zones. A manifold can manage multiple header lines branching from a central location if necessary. In this case, you will need a sire from the controller to the valve manifold.
Otherwise, you will need wire lengths stretching from the main header line to each valve.

Step 2: Determine the Number of Wires
You will need one wire for each zone, i.e., the solenoid valve plus the common wire.
For example, if you’ve defined 4 zones, you will need at least 5 (18-gauge) wires – one white and 4 other colored wires for the separate zones. Red is a common choice for one of the valves, but they can be any set of (ideally, different colored) colors.
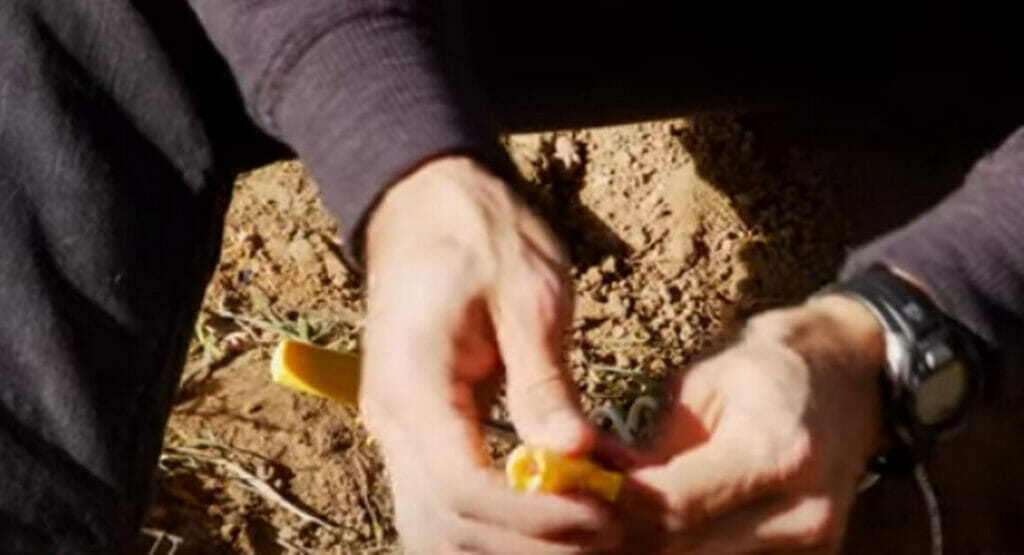
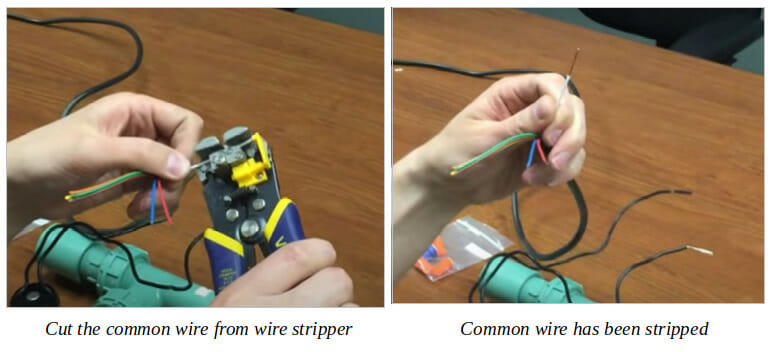
Step 3: Strip the Wires
Strip approximately ¾” of the insulation off all the wires using a wire stripper.
Step 4: Prepare the Common Wire
Prepare the common (usually white) wire by cutting along the middle of the stripped portion.
Step 5: Connect the Pump Start Relay
The pump start relay usually operates on 24 volts to change the irrigation timer voltage to the standard household voltage (120 volts).
Connect the pump start relay to the master valve’s pump relay terminal and the timer’s COM terminal. Use normal irrigation valve wire appropriate to the pump.
Mount the pump start relay at least 15 feet from the timer and pump to avoid electrical interference.
Step 6: Connect the Master Valve
The master valve only opens when the water supply is needed and is shut off to ensure water is not wasted.
It only opens and closes when the system is used (unlike the main shutoff). It doesn’t require a relay. Install the master valve between the main shutoff and irrigation valves in a protected location. Attach the master valve to the irrigation timer’s MV and COM terminals. Use normal irrigation wire.
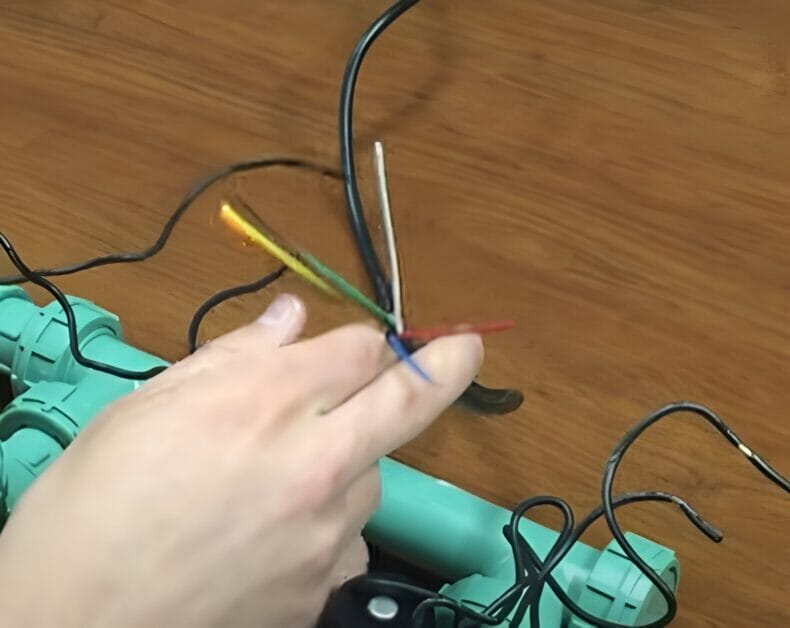
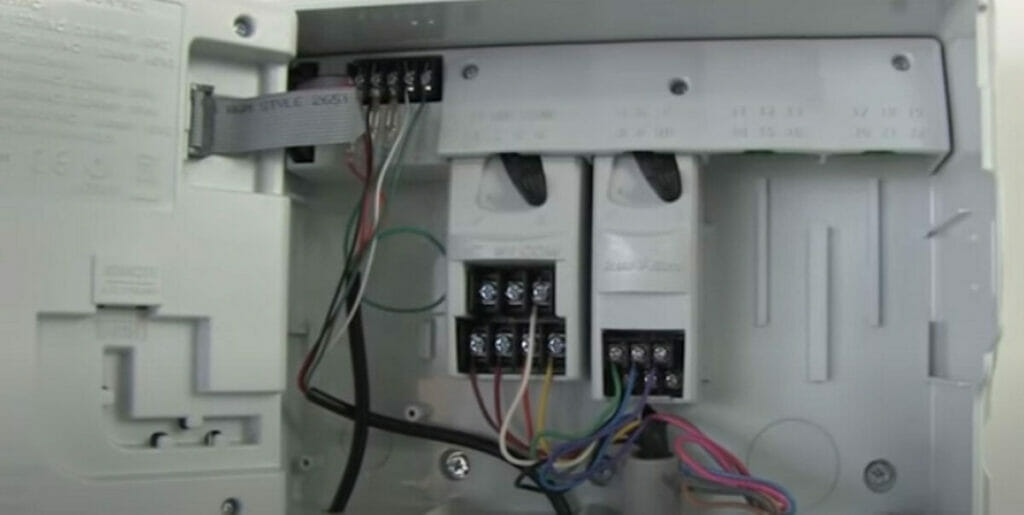
Step 7: Wire the Individual Valves
You will see 2 wires from each valve solenoid.
The polarity doesn’t matter because the wires connect to an electromagnet or coil. Start wiring the individual valves by selecting one from each valve and connecting them to the common terminal.
Then, connect a different colored wire to the second wire from each valve, as explained earlier, before connecting it to the timer. See the above wiring diagram.
Join the same set of wires using silicone-filled or grease-packed wire connectors. You can also use heat-shrink wire connectors.

Step 8: Tuck the Wires
Tuck the wires inside the conduit (if using one).
We are ready to connect the wiring to the sprinkler system’s timer.
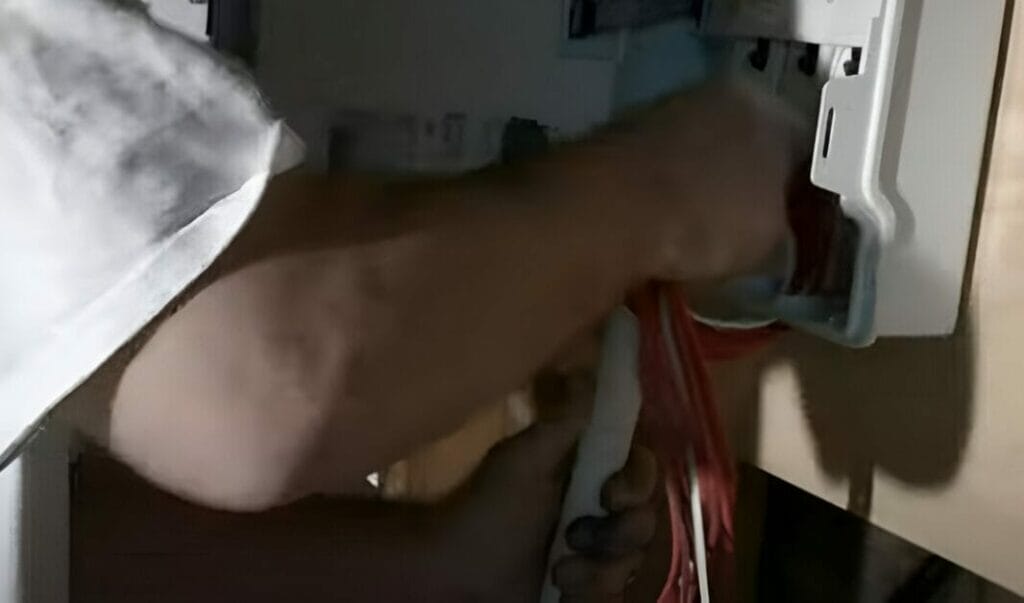
Step 9: Wire the Timer
Connect the common wire to the COM terminal.
It might be labeled as C or COMMON instead, and the terminal may be a screw, slot, or port.
Then, connect the other colored wire to the terminal corresponding to the zone number.
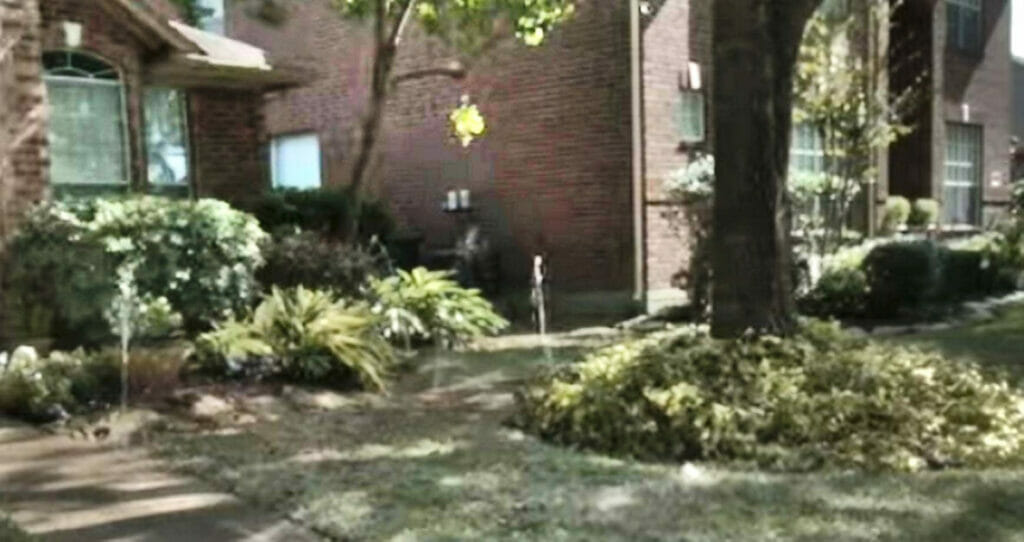
Step 10: Test the Sprinkler System
Testing the sprinkler system is a wise thing to do before letting it automatically manage your lawn’s irrigation.
Set a time for each sprinkler to come on and turn off within the next few minutes (only for testing). If all is well, set the times you would like them to come on and turn off.
Frequently Asked Questions
It’s time to unravel some common curiosities that might spring up while wiring your sprinkler system! And hey, it’s all about keeping that lawn fresh and green, right?
Q1: What type of wire should I use for my sprinkler system?
A: The ideal choice would be an 18-gauge direct burial wire. It’s designed to be buried underground without needing a conduit, making it a solid choice for your sprinkler system.
Q2: How do I decide on the number of wires needed?
A: You’d need one wire for each zone’s solenoid valve plus a common wire. For instance, if you have 4 zones, you’re looking at 5 wires. The common wire is usually white, while each zone wire should be a different color to avoid mix-ups.
Q3: Can I lay the sprinkler wires while laying the main tubing lines?
A: Absolutely! It’s smart to lay the wires alongside the main tubing lines. This way, you save yourself the hassle of arranging extra protection for them later.
Q4: How do I protect the connections from moisture?
A: Using silicone-filled or grease-packed weatherproof wire connectors to shield your connections from moisture. They offer protection that ordinary connectors can’t match, especially if the wires might be submerged in water for extended periods.
Q5: How do I connect the Pump Start Relay?
A: The relay must be connected to the master valve’s pump relay terminal and the timer’s COM terminal. Remember, it is crucial to keep it at least 15 feet away from the timer and pumping to dodge any electrical interference.
Q6: How should the Master Valve be wired?
A: Wire it to the irrigation timer’s MV and COM terminals. This valve is a champ at saving water by only opening when the system is in use.
Q7: Is there any specific method to wire the individual valves?
A: Start by picking one wire from each valve and connecting them to the common terminal. Then, grab a differently colored wire for the second wire from each valve, connecting it to the timer, as shown in the wiring diagram above.
Q8: How do I ensure my sprinkler system works after wiring?
A: A little test run never hurts! Set a time for each sprinkler to turn on and off in the next few minutes. If everything goes as planned, you can set the times for your lawn’s watering schedule.
Q9: Any safety precautions I should be aware of?
A: Safety first! Ensure the power is turned off before you dive into any wiring tasks. We want your lawn to flourish, not sparks to fly!
This sprinkler wiring endeavor is about making smart connections, like the ones between your green lawn and the blue sky! Stay wired and keep those questions coming; we’re here to help navigate the wiry waters!
References
Website Resources:
- Direct Burial18-gauge Wire. https://www.amazon.com/Southwire-Underground-Sprinkler-18-Gauge-4-Conductor/dp/B000BPMQFQ
Books:
- Meredith Books. Scotts Sprinklers & Watering Systems. Meredith Books. 2005. https://books.google.com.ph/books/about/Scotts_Sprinklers_Watering_Systems.html?id=XXJAzN1cBZYC
Video References:
Orbit Lawn Garden Life
Rain Bird
Sprinkler Warehouse