5 min read
How to Wire a 2 Wire Solenoid Valve (Expert Steps)

At the end of this guide, you should be able to wire and operate your 2-wire solenoid valve with ease.
One of the most common issues after purchase is wiring the 2-wire solenoid, which I am going to address in this guide. I will also tackle some FAQs and provide viable solutions. I have over a decade of experience dealing with solenoids and have done a ton of repairs and I want to teach you how to do this so you can save some money on costly repairs.
Let’s get started.
In General, to wire your 2-wire solenoid valve, identify the two terminals on the solenoid – the Start and Battery terminals. Then start connecting the solenoid. Attach the white wire of the multi-conductor irrigation cable to one wire from each of the solenoids. Next, link the other wires to a separate-colored wire. You may record the color for all the zones for future reference. Finally, ground the pull in and hold windings appropriately.
I’ll go into more detail below.
Getting Started: What the Two Wires on a Solenoid Represent
There are two terminals on a solenoid valve; the battery or B terminal and the start or S terminal.
Terminal B/battery Terminal
This terminal represents the direct connection to the live cable of the solenoid.
Terminal S/start Terminal
This is where power flows from the ignition system/switch.
What is the Best Method to Connect the Solenoid Valve?
Follow the procedure below to wire your solenoid valve accurately:
Step 1
Identify the common wire of the multi-conductor irrigation cable – it is usually colored white.
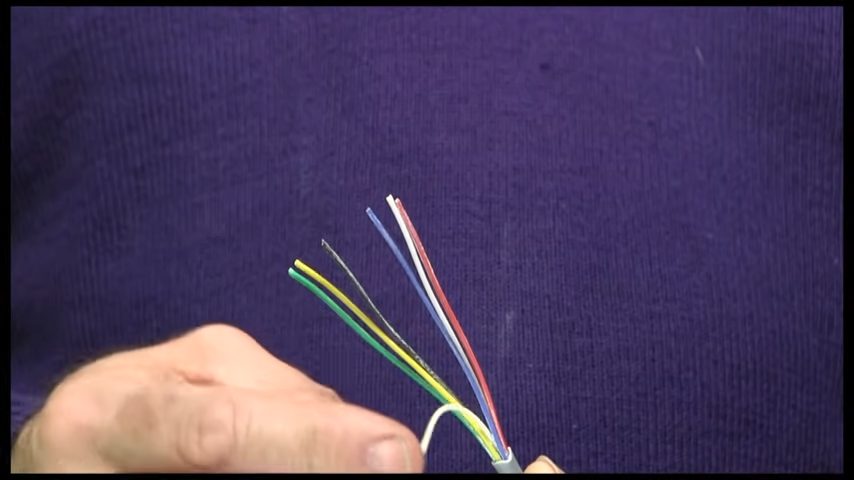
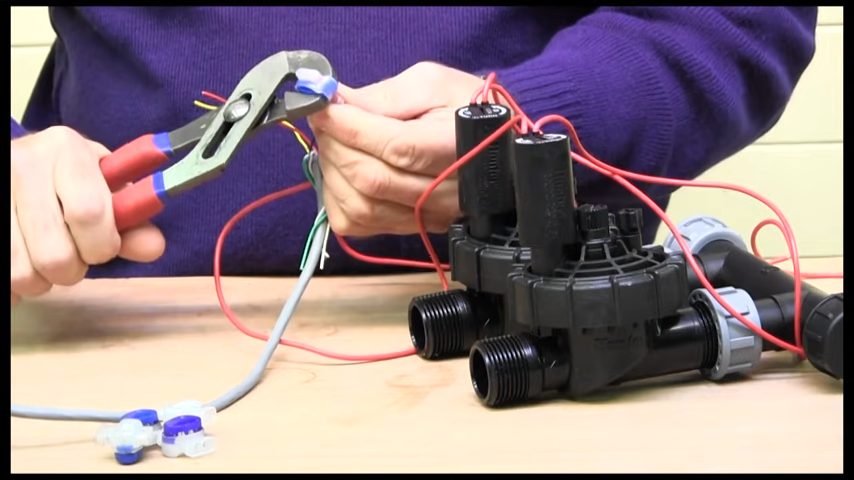
Step 2
Use a wire stripper to remove the insulation coating to about 0.5 inches from the wires.
Step 3
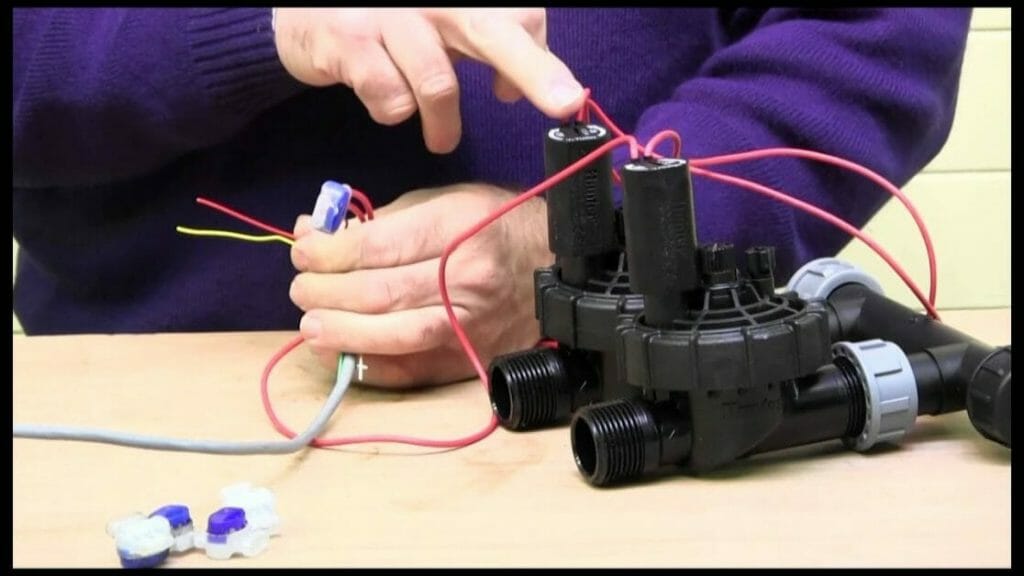
Connect it (common cable) to one wire from each solenoid by twisting them.
Step 4
Nest the twisted end in a wire cap and reinforce the connection with duct tape.
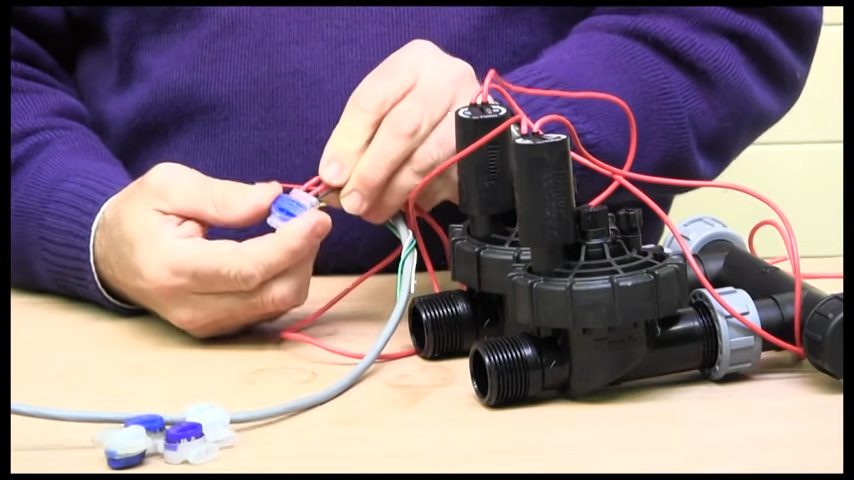
Step 5
Connect the other wires to a separate-colored cable.
Step 6
Then, record the colors for each zone in a book or phone for future reference. (1)
Do the Sides of Solenoid Valves Have Positive and Negative Terminals?
The presence of positive and negative connections or surfaces in the circuit indicates electrical polarity.
One common solenoid FAQ is about the solenoid valve sides having electrical polarity. No, electrical polarity does not matter in solenoid valves. So, you can connect the hot and ground cables on either side of the valve interchangeably. (2)
Why Should you Ground your Solenoid?
The hold and pull-in wire turns on the solenoid and requires grounding. There are two circuits in the solenoid; one is a heavy pull in the winding, and the other is a lighter hold winding.
If the heavy pull-in winding has an open circuit, the starter cannot engage.
Wires on The Starter Solenoid
This is another FAQ; most people cannot trace the wires connecting to the solenoid’s starter. Here is the solution:
A typical starter has one small white connector for the starter control cable, and two large terminals: one for the thick wire that powers the starter motor, and the other for the hot cable of the battery.
Why Do Solenoid Valves Have Three Cables Connected to Them?
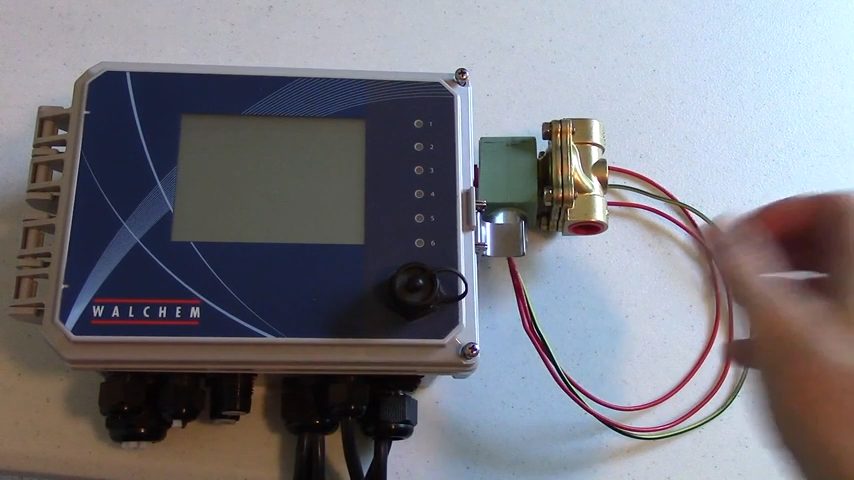
The XR33 actuator controls the position of the valve, and it connects to three cables. The ground is attached to the neutral cable – black wire. The power flows to the positive wire – the red wire. And finally, the green wire is the control wire, changing the position.
Take a look at some of our related articles below.
- What wires go to the starter solenoid
- How to connect ground wires together
- How to tell negative and positive wire
References
(1) phone – https://www.pcmag.com/picks/the-best-phones
(2) electrical polarity – https://www.techtarget.com/whatis/definition/polarity
Video References
Access Irrigation Ltd
Walchem