12 min read
How to Wire an Alternator to Charge a Battery (DIY Guide)
The alternator is like the heart of your car’s electrical system. It’s responsible for generating electricity when the engine is running, and it keeps the battery charged so that all those nifty systems, like headlights and air conditioning, can function properly. Your battery will die quickly without a properly wired alternator, stranding you.
Wiring an alternator involves connecting the positive and negative terminals of the alternator and battery, ensuring the charging output, and troubleshooting any issues.
I will go into full detail below.
Understanding Alternator and Battery Basics
Before we jump into wiring an alternator to charge a battery, let’s take a step back to understand the basics of alternators and batteries. Trust me; it’s going to be worth it!
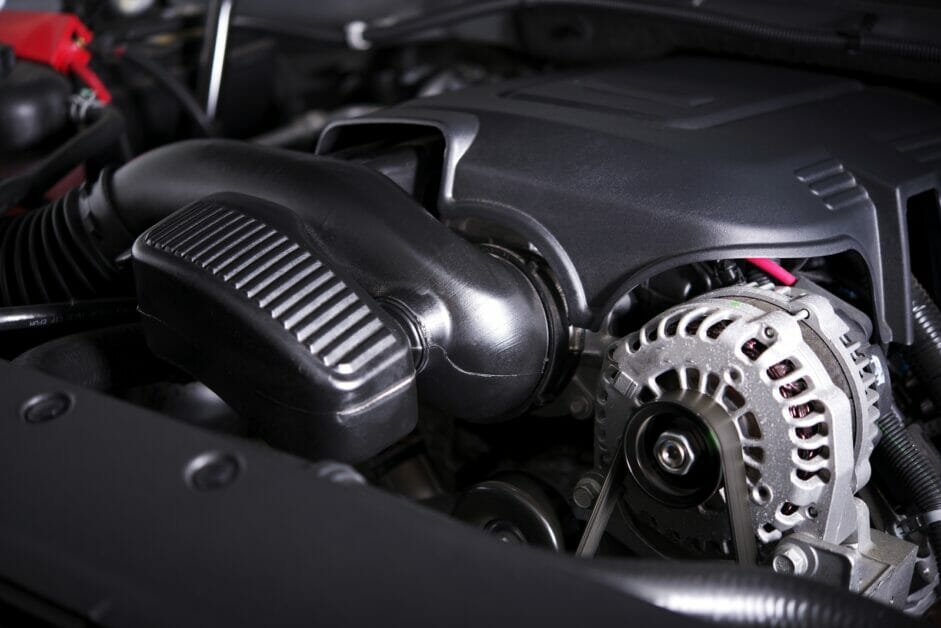
Components of an Alternator
An alternator is a vital part of your car’s electrical system. It converts mechanical energy into electrical energy, provides a stable voltage, and keeps the battery charged. There are three main components in an alternator:
- Rotor: The rotor spins inside the alternator, creating a changing magnetic field that generates electricity.
- Stator: A stationary set of windings around the rotor, where the electricity is generated.
- Voltage Regulator: This is the brains of the operation! It monitors and adjusts the output voltage to meet your car’s electrical needs.
Battery Types and Capacities
Moving on to batteries, there’s more going on than you might think.
So, which type do we usually find in our vehicles? Two words: lead-acid.
Regarding capacity, it’s all about the ampere-hours (Ah). In simple terms, the larger the capacity, the longer your battery can provide power.
Anywhere between 40 to 100 Ah is a common range for car batteries.
Preparing for Wiring Installation
Gathering Necessary Tools
Here’s a quick list to get you started:
- Screwdriver set
- Pliers
- Wrench set
- Multimeter
- Wire cutter/stripper
- Electrical tape
Having these tools handy will make the wiring installation much smoother. I always like to have everything within arm’s reach when working on a project like this.
Safety Precautions
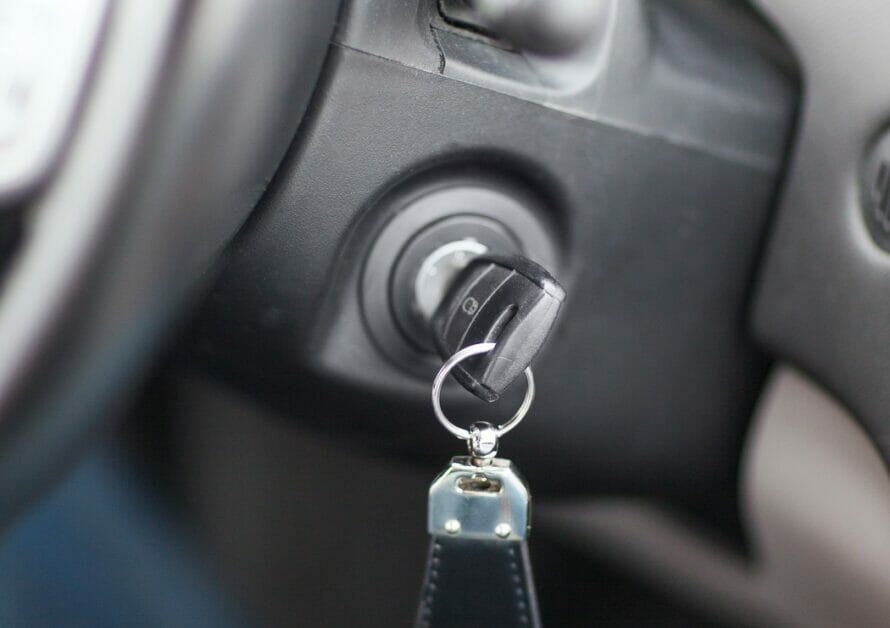
- Disconnect the negative battery terminal: Before starting any work on your wiring system, always disconnect the negative battery terminal. This prevents any accidental short circuits and keeps you safe.
- Use proper safety gear: Wear insulated gloves, safety goggles, and closed-toe shoes to protect yourself from mishaps. You don’t want to learn the hard way.
- Never work on a hot engine: Give the engine enough time to cool down before you start working on it. An overheated engine may cause burns or injuries.
Wiring the Alternator to the Battery
Let’s break it down into a few simple steps, so you can get your system up and running quickly.
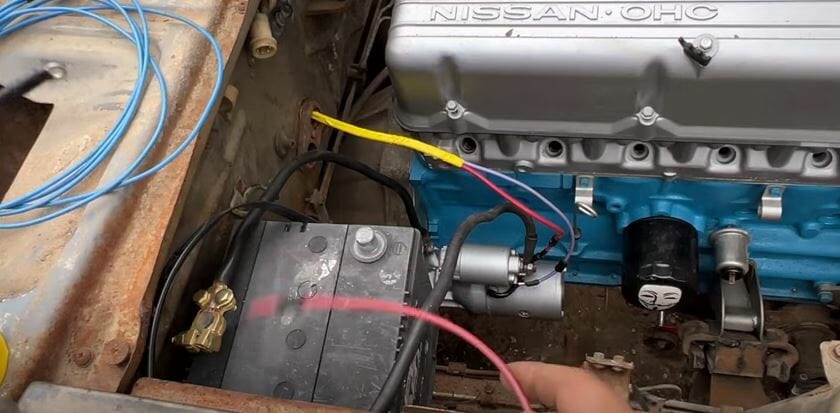
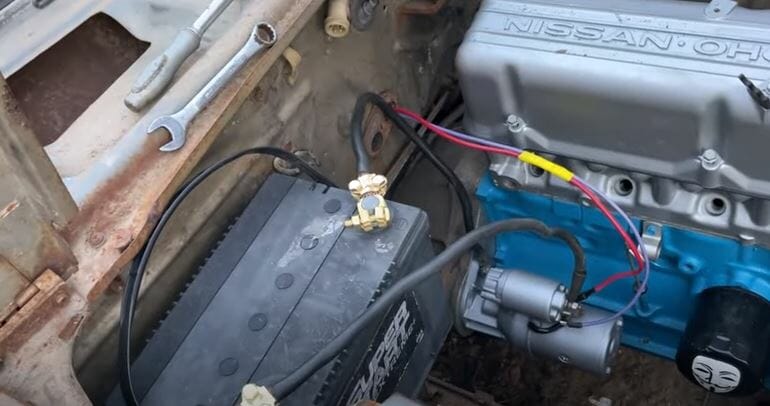
Step 1: Disconnect the Battery Before starting any work on the electrical system, it is essential to disconnect the negative terminal of the vehicle’s battery. This precautionary measure ensures safety and prevents accidental short circuits.
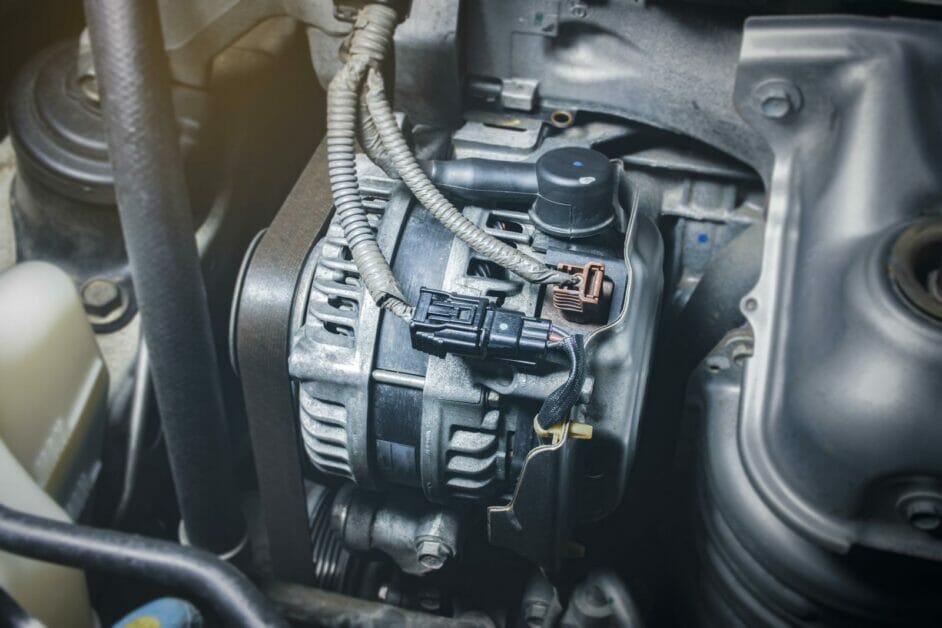
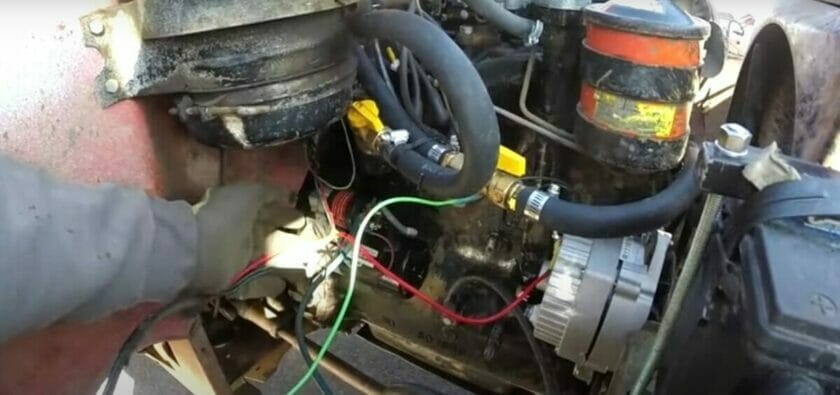
Step 2: Identify Wiring Terminals. Locate the wiring terminals on the alternator. There are typically three main terminals:
- B (Battery): This terminal connects to the battery’s positive terminal.
- S (Sense): This terminal connects to the battery or electrical system’s voltage sensing point.
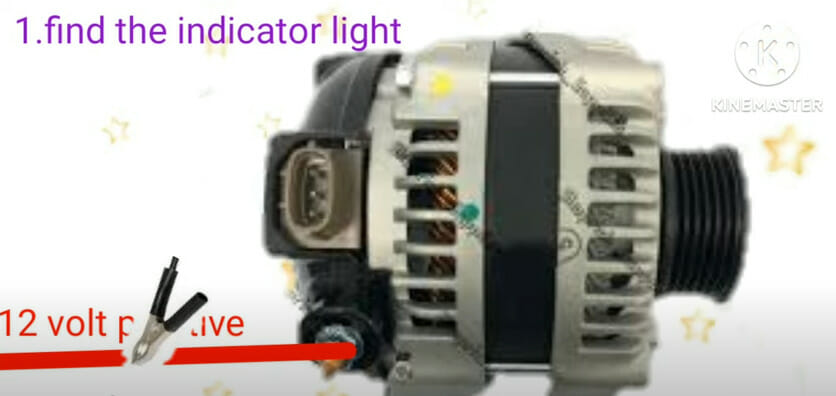
- L (Indicator): This terminal connects to the warning light or gauge on the dashboard.
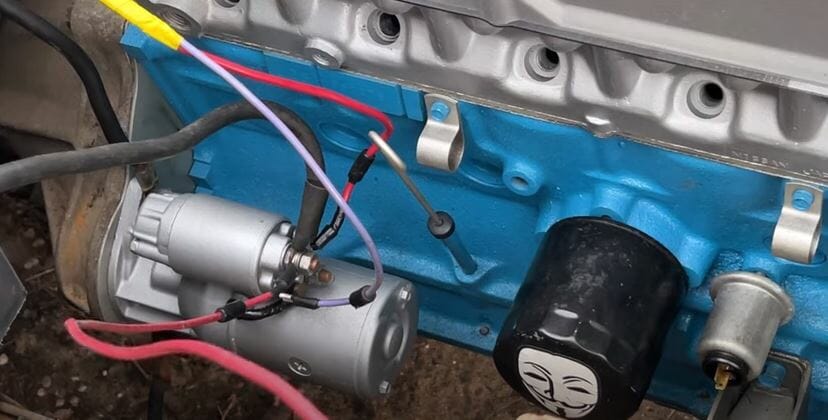
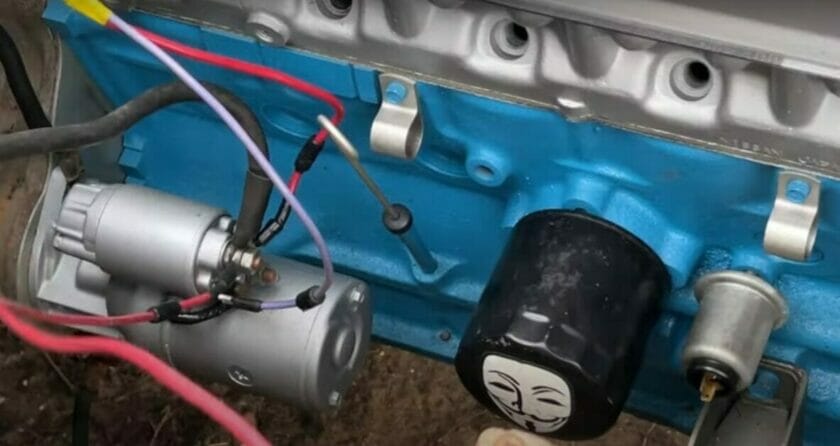
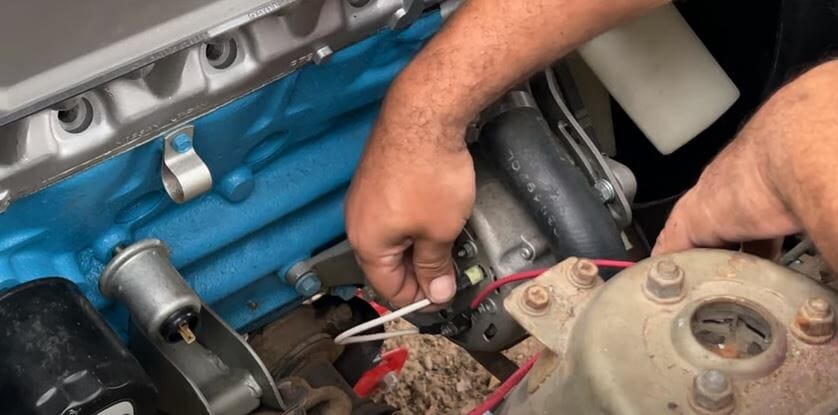
Step 3: Prepare the Wiring Harness. If your alternator did not come with a pre-wired harness, you must prepare one. Cut the appropriate lengths of wire and strip the insulation from the ends.
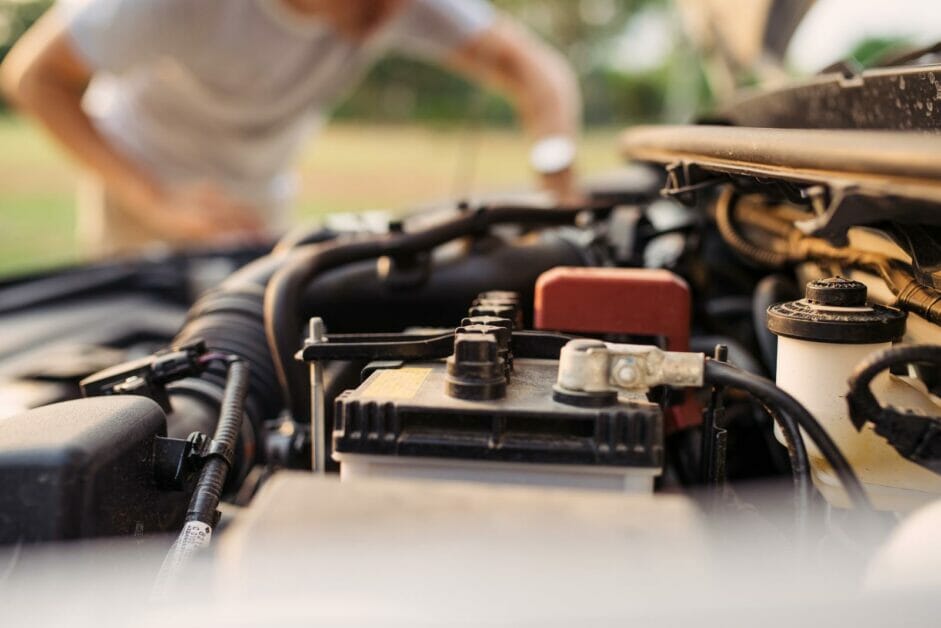
Step 4: Connect the Battery Terminal (B). Connect one end of the wire from the B terminal on the alternator to the battery’s positive terminal. Ensure a secure connection using an appropriate-sized ring terminal and a wrench.
Step 5: Connect the Voltage Sensing Terminal (S). If your alternator has a separate voltage sensing terminal (S), connect one end of the wire from this terminal to the battery’s voltage sensing point. This point is usually the battery-positive terminal or the starter solenoid’s main power connection.
Step 6: Connect the Indicator Terminal (L). Connect one end of the wire from the L terminal on the alternator to the indicator light or gauge on the dashboard. This connection allows the alternator to activate the warning light or provide information to the gauge.
Step 7: Verify Connections Double-check all the wiring connections, ensuring they are securely fastened and free from any loose strands or frayed insulation. Use electrical tape or heat shrink tubing to insulate and protect any exposed wire connections.
Step 8: Reconnect the Battery Reconnect the negative terminal of the battery, ensuring a tight connection. This restores power to the vehicle’s electrical system.
Step 9: Test the Charging System Start the vehicle and use a multimeter to check the alternator’s charging voltage. Measure the voltage at the battery terminals while the engine is running. It should typically read between 13.8 to 14.4 volts, indicating that the alternator is functioning correctly.
When wiring an alternator to charge a battery, there are other ways, depending on your vehicle and electrical system. Here are some other common methods:
- Wiring with an Isolator or Battery Separator:
- An isolator or battery separator is a device that allows you to charge multiple batteries simultaneously. This setup is commonly used in vehicles with dual battery systems.
- Start by disconnecting the negative terminal of the battery.
- Install the isolator or battery separator according to the manufacturer’s instructions. Typically, this involves connecting the input side of the isolator to the alternator and the output side to the batteries.
- Connect the alternator’s positive terminal to the isolator’s input side or battery separator using a thick gauge wire.
- Connect the positive terminal of each battery to the output side of the isolator or battery separator.
- Finally, connect the battery’s negative terminal to the alternator’s negative terminal for grounding.
- Reconnect the negative terminal of the battery.
- Wiring with a Battery Management System (BMS):
- A battery management system is a more advanced setup that monitors and controls the charging of your battery bank.
- Disconnect the negative terminal of the battery.
- Install the battery management system according to the manufacturer’s instructions. This may involve connecting various wires, sensors, and control modules.
- Connect the positive terminal of the alternator to the input side of the battery management system using a thick gauge wire.
- Connect the positive terminal of each battery to the output side of the battery management system.
- Connect the battery’s negative terminal to the alternator’s negative terminal for grounding.
- Reconnect the negative terminal of the battery.
- Wiring with a Voltage Sensing Relay (VSR):
- A voltage-sensing relay allows for the automatic charging of auxiliary batteries in a dual-battery setup.
- Disconnect the negative terminal of the battery.
- Install the voltage sensing relay according to the manufacturer’s instructions. This typically involves connecting the relay between the alternator and the auxiliary battery.
- Connect the positive terminal of the alternator to the input side of the voltage sensing relay using a thick gauge wire.
- Connect the positive terminal of the auxiliary battery to the output side of the voltage sensing relay.
- Connect the auxiliary battery’s negative terminal to the alternator’s negative terminal for grounding.
- Reconnect the negative terminal of the battery.
Always follow proper safety precautions, use appropriate tools, and consult your vehicle’s wiring diagram or a professional if you’re unsure about specific wiring connections.
Testing and Troubleshooting
Checking Charging Output
First things first, folks! You’ll want to check your alternator’s charging output. Grab your trusty multimeter, and let’s get started. Set it to voltage, and adjust it to 20 DC volts. If your multimeter doesn’t have incremental settings (2,20,200,2000), just set it to DC volts.
Now, touch the probes to your battery terminals (engine off). You should see a reading between 12.5 and 12.8 volts. If it’s lower, no worries! Just charge your battery with a battery charger before conducting the test again.
Diagnosing Common Issues
Alright, let’s take a look at some common issues that might be preventing your alternator from charging the battery:
- The Power Cable and Fuse: Examine the large power cable connected to the alternator and the fuse (typically a 40-60 amp fuse near the battery). Make sure they’re in good shape.
- Ground Cable: Inspect the cable between the engine and the body for any damage or looseness. A bad ground can wreak havoc on your charging system.
- The Serpentine Belt: This bad boy is what spins your alternator. Ensure it’s in good condition and properly tensioned. If it’s slipping or damaged, your alternator won’t charge correctly.
- Power Supply and Charging Light Wires: Check the small power supply wire and the charging light wire. These are crucial for your alternator to work properly.
This table provides a concise overview of common issues, their possible causes, and the corresponding solutions for troubleshooting the wiring of an alternator to charge a battery.
| Issue | Possible Cause | Solution |
|---|---|---|
| No Charging | Loose or faulty wiring | Check and secure all connections |
| Defective alternator | Test alternator output or replace | |
| Faulty voltage regulator | Inspect and replace if necessary | |
| Broken serpentine belt | Replace the faulty regulator or adjust it | |
| Blown a fuse or relay | Replace damaged fuse or relay | |
| Overcharging | Malfunctioning voltage regulator | Replace the faulty regulator or adjust it |
| Incorrect wiring | Verify correct wiring connections | |
| Defective alternator | Test alternator output or replace | |
| Dim or Flickering | Loose or corroded connections | Clean and tighten wiring connections |
| Headlights | Weak battery | Charge or replace the battery |
| Faulty alternator | Test alternator output or replace | |
| Poor grounding | Ensure proper grounding of components |
In case you’re more of a visual learner, I found this video you might find helpful. It shows how to test and troubleshoot an alternator problem using a multimeter.
Remember, folks: it’s a process of elimination. Be methodical, take your time, and, as always, stay safe. Good luck!
Maintaining an Efficient Charging System
As a DIY enthusiast and mechanic, I know the importance of a reliable charging system for your vehicle to keep running smoothly. An efficient charging system saves you from unexpected breakdowns and improves your car’s overall health. In this section, let’s discuss maintaining an efficient charging system through regular inspection and preventive measures. Trust me – with just a little effort, you’ll keep your car’s charging system tip-top!
Regular Inspection
I recommend performing regular inspections to keep your charging system in perfect condition. This includes checking the alternator, battery, and wiring connections. Look for wear and tear, loose connections, or corrosion on the battery terminals.
- Inspect the alternator belt for any cracks, fraying, or glazing. If needed, adjust the tension or replace the belt.
- Examine the alternator’s output voltage to ensure it produces enough power to charge the battery. When the engine runs, it should have a voltage between 13.5 and 14.5 volts.
- Test the battery’s state of charge with a multimeter or battery tester. The optimal voltage for a fully charged battery is around 12.6 to 12.8 volts.
Preventive Measures
Aside from regular inspections, there are a few preventive measures you can take to ensure a healthy charging system:
- Keep your battery clean and corrosion-free. You can clean the battery terminals with baking soda and water to eliminate any corrosion.
- Secure all connections between the alternator, battery, and starter. This helps maintain proper voltage flow throughout the system.
- Install a good quality alternator if you need to replace it. This ensures optimal performance and longevity of the entire charging system.
- Avoid overloading your vehicle’s electrical system with too many additional accessories, as it puts extra strain on the alternator.
By following my tips for regular inspection and proactive preventive measures, you’ll maintain an efficient charging system, ensuring your vehicle performs at its best. Remember, a happy car means a happy driver – and who wouldn’t want that? So, let’s keep those wheels turning!
References
Automotive Aftermarket Suppliers Association (AASA). https://www.mema.org/
Society of Automotive Engineers (SAE). https://www.sae.org/
Video References
Craft Customs
Bad Hombre Garage