7 min read
How to Wire an Aftermarket Fuel Gauge (Guide With Photos)
Having been in auto repairs I know what chaos a faulty fuel gauge can bring, you are essentially flying blind and don’t know it. Compared to other parts of your car, the fuel gauge might seem like a small accessory. But, having an accurate fuel gauge is extremely important.
If you’re looking into purchasing a new aftermarket fuel gauge you can already tell wiring may not be as easy as it appears since the installation may be slightly different than the original wiring. Don’t worry we’re here to help.
In general, to wire a fuel gauge, go through these steps.
- First, find a suitable location for a new fuel gauge
- Then, identify the four wires that are connected to the fuel gauge.
- Ground the wire by using the car’s metal surface.
- Figure out the power-carrying wire from the fuse box and connect the + wire to it.
- Connect the S wire to the fuel pump sending unit.
- Finally, connect the gauge light wire to the fuse box.
In the article below we’re going to cover how to wire an aftermarket fuel gauge in detail.
How Does the Fuel Gauge Work?
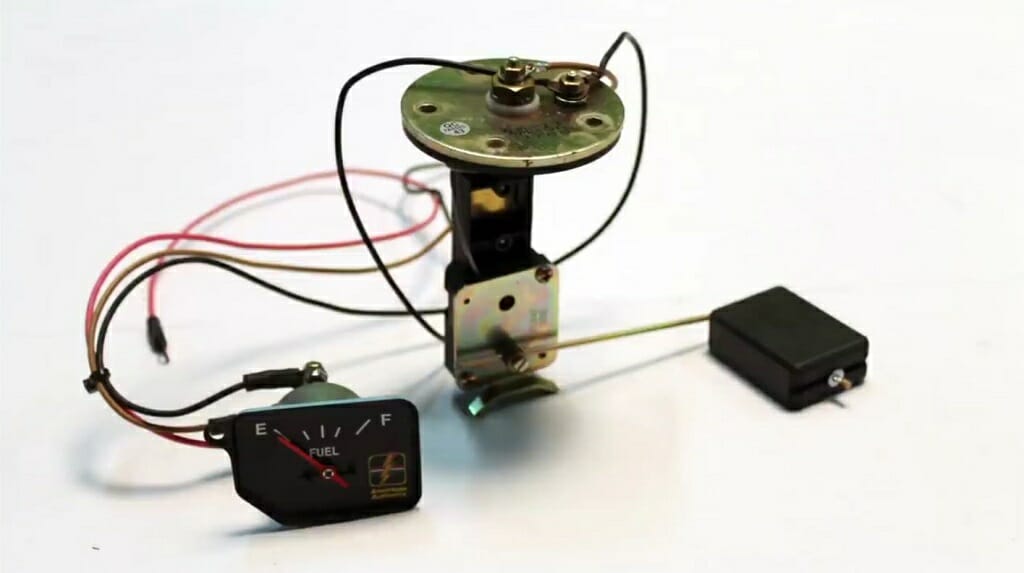
The fuel gauge measures voltage using the fuel level sender that comes with a variable resistor. After that, the level of the fuel tank will be shown on the dashboard indicator. The fuel level sender has three parts; a metal rod, a variable resistor, and a float.
The above process will run smoothly if all the wire connections are perfect. There is a total of four different wires that connect to a fuel gauge. So, before rushing into anything, you need a better understanding of them.
Must-Know Wire Connections of a Fuel Gauge
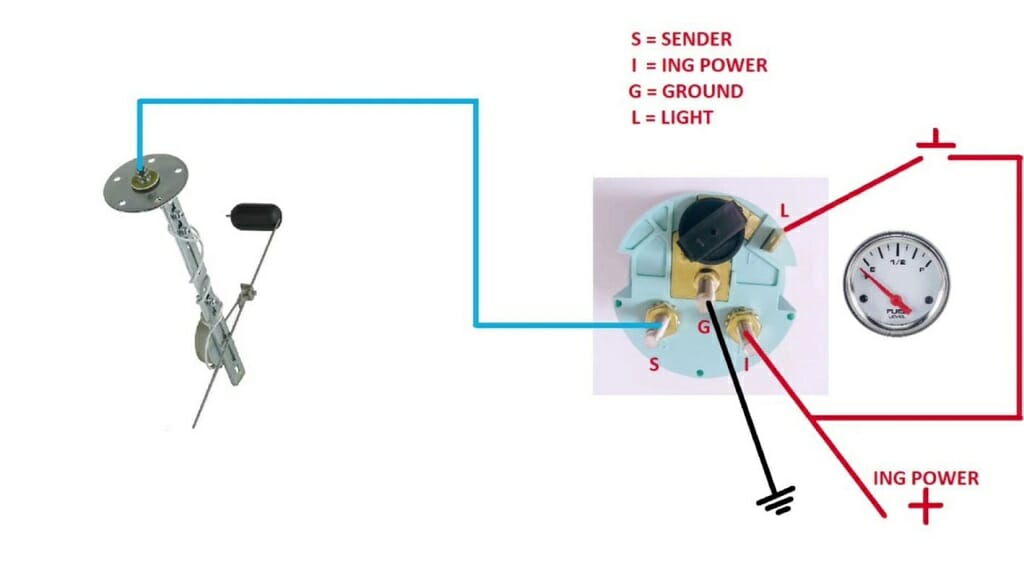
As mentioned above, there are four wires. Usually, these wires are labeled accordingly and located on the rear side of the gauge pod. Here is a simple explanation of those four wires.
S Wire: This is the fuel sender signal wire. It connects to the fuel pump sending unit.
+ Wire: The positive wire. Connects to the power-carrying wire or fuse.
– Wire: The negative wire acts as the ground wire.
Gauge Light Power Wire: Capable of powering up the small light located inside the fuel gauge.
5 Step Guide on How to Wire an Aftermarket Fuel Gauge
Things You’ll Need
- Bracket to hold the fuel gauge (optional)
- Test lamp
- Alligator clamps
- Tester
- Electrical tape or wire nuts
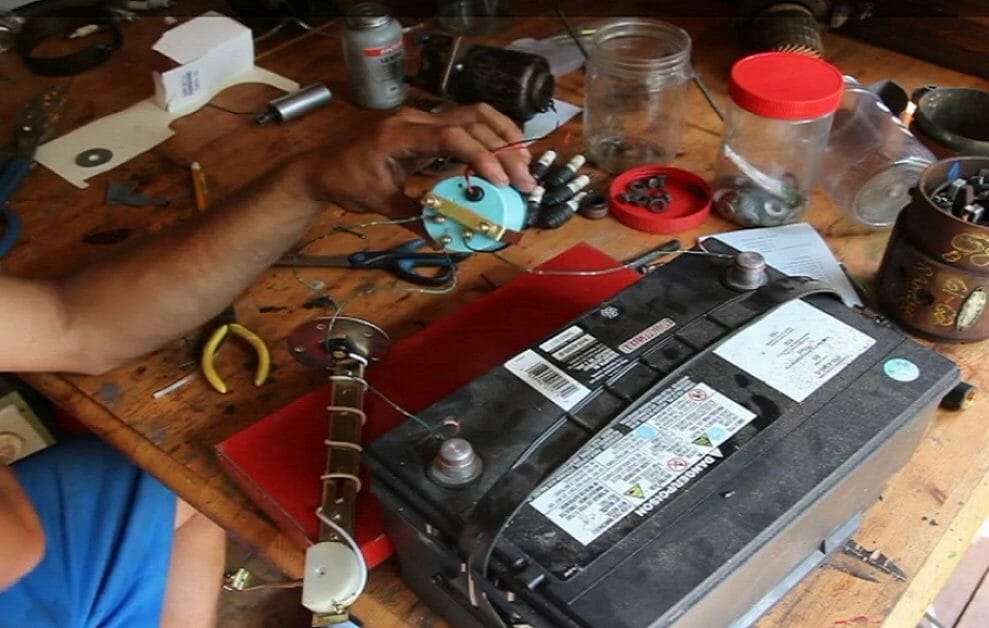
Step 1 – Find a Suitable Position for the Fuel Gauge
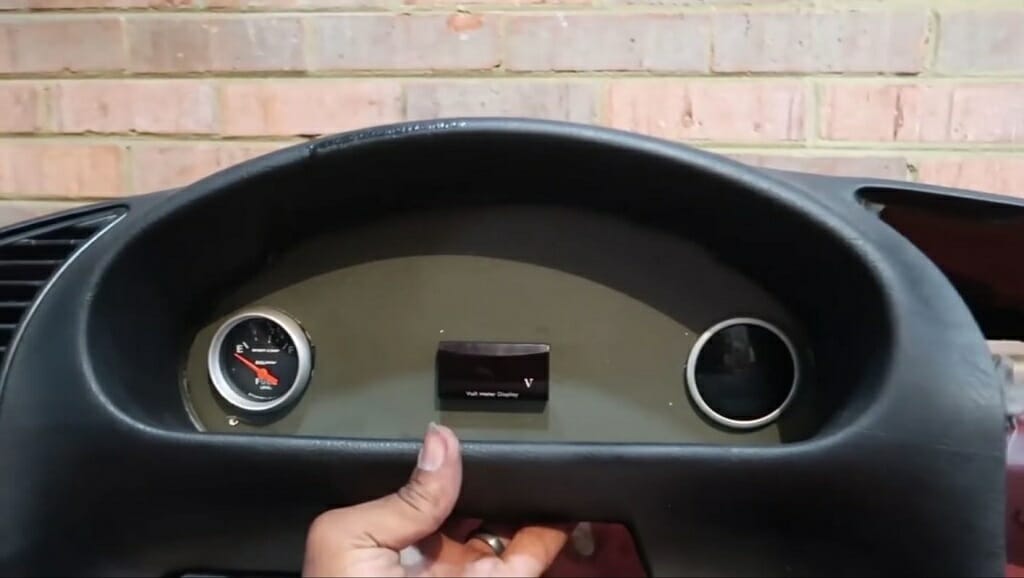
First, find a good spot to mount the new fuel gauge. Try to place it in the dashboard; If the dashboard does not have enough space, use a bracket to set up the fuel gauge.
Note: Remember to switch off the engine during these steps.
Step 2 – Identify the Wires
Identify the four wires correctly. There should be an S wire, + wire, – wire, and a gauge light power wire. Most often, they are labeled. So, identifying them won’t be difficult at all.
Tip: There is no exact color code for these four wires. the colors might change according to the manufacturer. (1)
Step 3 – Take Care of the Ground Connection
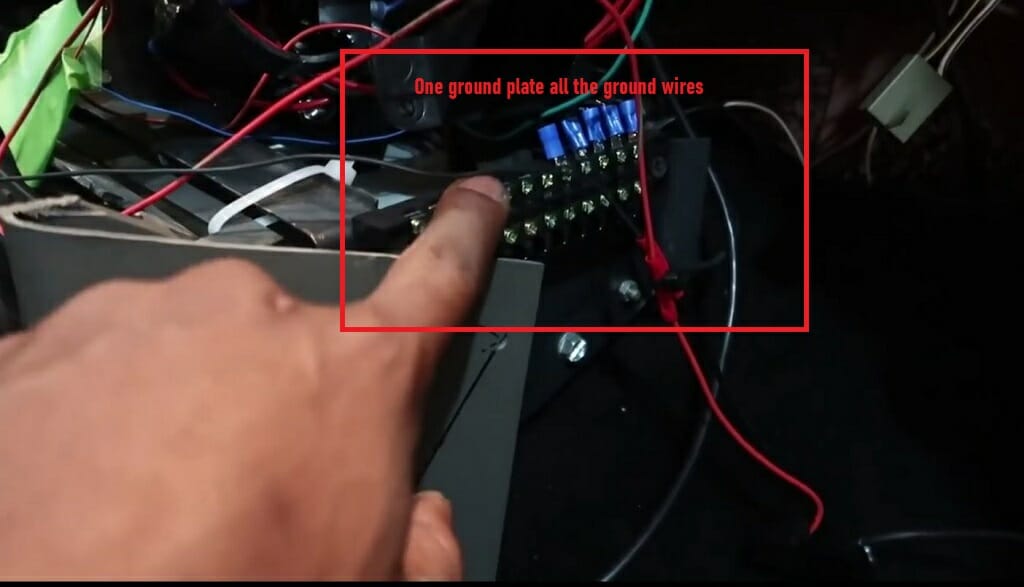
Now, take the negative wire and connect it to the metal surface of the vehicle. You can choose any location for this as long as the wire is properly grounded. If you can build one location for all your ground connections, it will be excellent (Check the above image).
Step 4 – Connect the + Wire
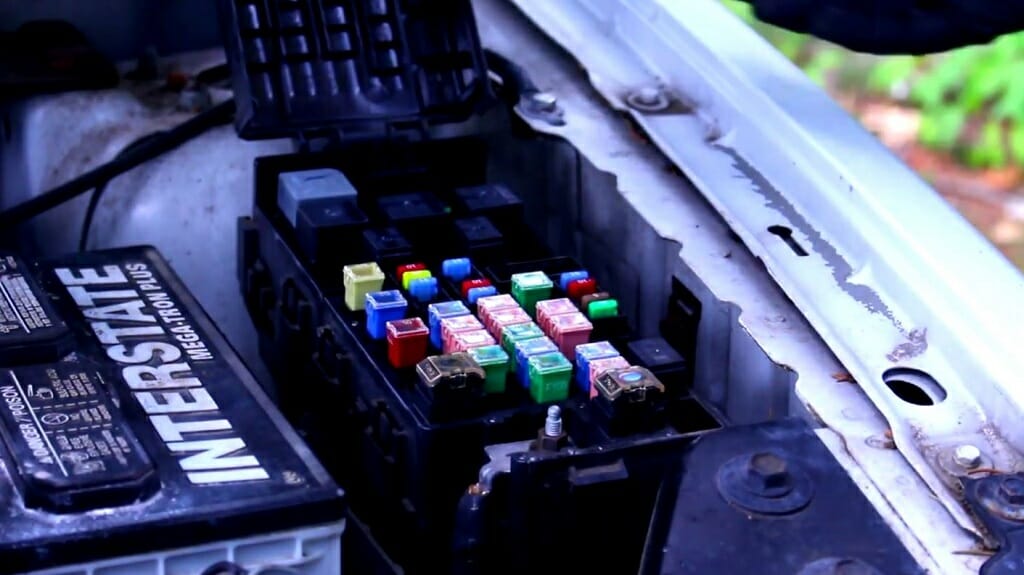
Connecting the + wire is a little tricky. First, you must locate the power wire from the Fuse box. To do that, you’ll need a test lamp. After acquiring the test lamp, follow these steps.

- Connect an alligator clamp to the lamp and ground that alligator clamp.
- Turn on the ignition key (not to the start position).
- Then, open the fuse box.
- Next, connect the other end of the test lamp to each fuse until the lamp lights up.
- Identify the fuse that has the power-carrying wire.
- Check the identified fuse when the engine is off (when the engine is off, the current should not come to the fuse).
- Connect the + wire to the power carrying wire (or fuse).
Tip: If needed, use electrical tape or a wire nut to secure the connection of the two wires.
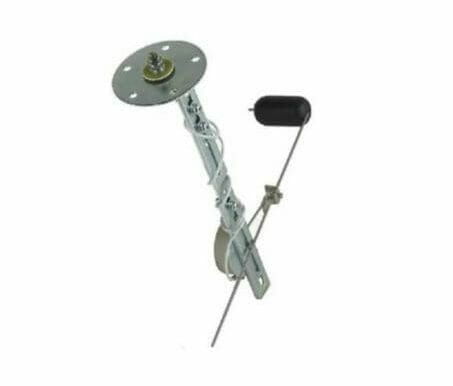
Step 5 – Connect the S Wire
The S wire should connect to the fuel pump sending unit. So, locate the sending unit and connect the S wire to its post. This unit is located inside the fuel tank. (2)
Step 6 – Connect the Gauge Light Power Wire
In this step, you’ll have to identify the fuse for dashboard instrument lights. So, follow the same process as in the 4th step.
- Turn on the Ignition key.
- Test the lamp on the fuses while turning the car lights on and off.
- Identify the fuse that power up the dashboard lights.
- After that, connect the gauge light power wire to the corresponding fuse.
Take a look at some of our related articles below.
- How to test a fuel gauge with a multimeter
- What gauge wire to connect two 12v batteries in parallel
- What to do with ground wire if no ground
References
(1) color code – https://txwes.libguides.com/c.php?g=978475&p=7075536
(2) fuel – https://www.britannica.com/technology/fuel
American Autowire
Joe The Boat Guy
Old Crow’s Classic Cars
Cars Simplified
1A Auto: Repair Tips & Secrets Only Mechanics Know