8 min read
How to Wire a Light Switch Single Pole (6 Steps)

So, you want to learn how to wire a single-pole light switch? Well, you’ve come to the right place! I’m here to guide you through this seemingly tricky task.
Key Takeaways – To wire a single-pole light switch, gather essential tools like screwdrivers, wire strippers, electrical tape, wire nuts, lineman’s pliers, and a voltage tester. Start by ensuring safety: Turn off the power and test for voltage. Wear protective gear, and keep your workspace clean and well-lit. Understand wire connections: the power source (usually black or red), circuit ground wire (green or bare), and load wire.
So, let’s dive in and start wiring!
Tools Required
When wiring a single-pole light switch, the right tools are essential. Trust me, not forgetting one of these makes the job a whole lot easier. Here’s a list of the tools you’ll need:
| Tool | Function |
|---|---|
| Screwdrivers | Phillips-head and flat-head for screw removal and attachment |
| Wire strippers | Easily strip insulation from wires |
| Electrical tape | Insulate connections and prevent electrical contact |
| Wire nuts | Yellow (2 conductors) and red (3 conductors) for wire joining |
| Lineman’s pliers | Cut and bend wires with ease |
| Utility knife | Alternative for stripping wires |
| Circuit breaker | Turn off the power supply before working |
| Voltage tester | Ensure there is no live voltage before working |
Now that you’re ready with all your tools let’s dive into wiring a single-pole light switch.
Safety Measures
Safety should always be the top priority before starting any electrical project, like wiring a single-pole light switch. Let me guide you through some essential safety measures you should follow.
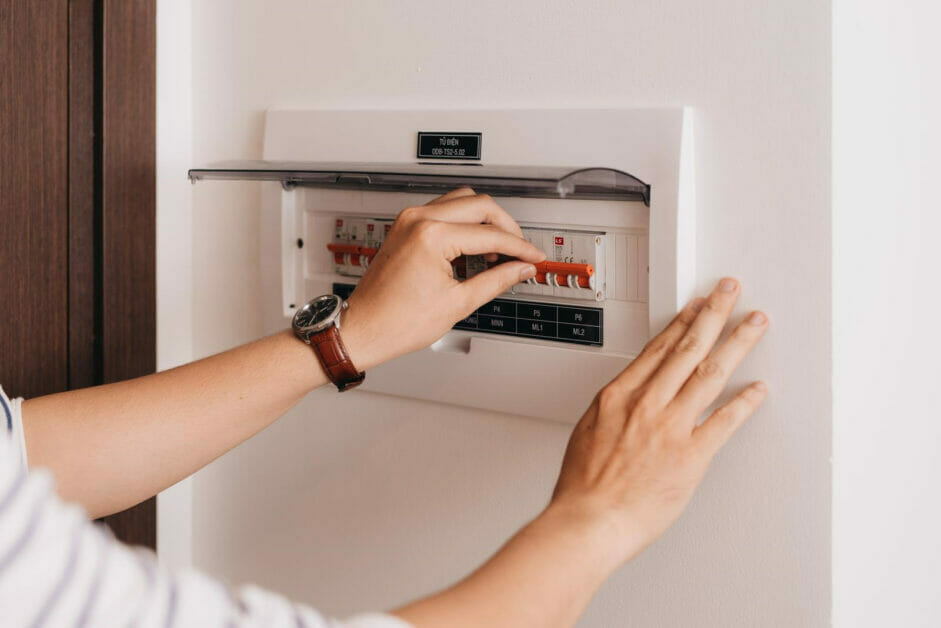
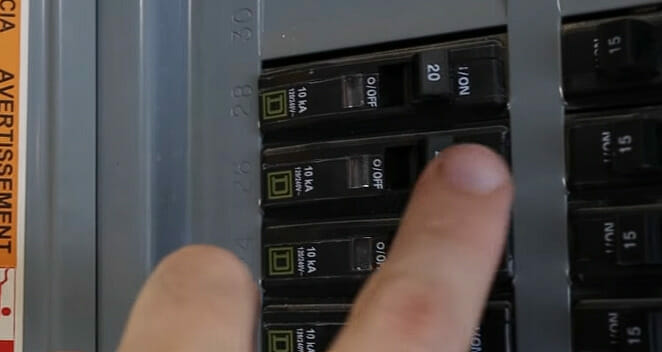
Step 1: First and foremost, always turn off the power at the service panel or breaker box. Locate the circuit associated with the switch you’re working on. Flip the circuit breaker or remove the appropriate fuse to cut off the power supply.
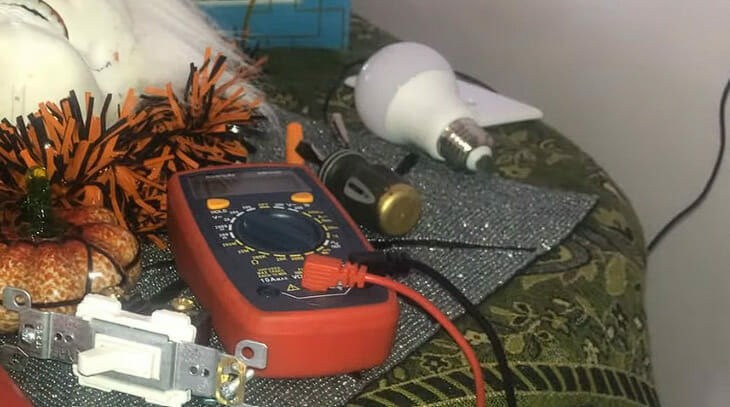
Step 2: To ensure your safety, test for voltage before touching wires. Use a voltage tester to confirm there’s no electrical current running through the wires.
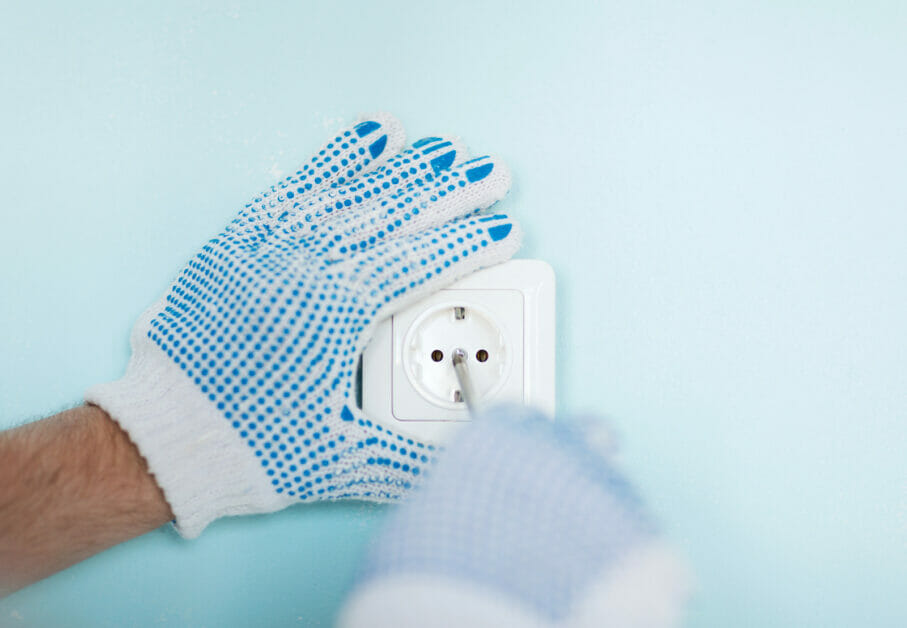
Step 3: When working with electrical wiring, you should wear protective gear. This includes safety glasses, gloves, and closed-toe shoes to avoid any potential injuries.
Step 4: Always keep your workspace clean, dry, and well-lit. This helps minimize the risk of accidents caused by a cluttered or poorly lit environment.
Now, let’s talk about the proper connection of wires. When wiring a single-pole light switch, there are three essential components you should be aware of:
- Power Source: The live wire carries electricity from the service panel to the switch.
- Circuit Ground Wire: This provides a safe path for electricity if a fault occurs, preventing electric shocks and fire hazards.
- Load Wire: This wire carries electricity away from the switch to the light fixture or device being controlled.
Make sure you identify the wires correctly before connecting them. Most often, the power source wire is black or red, the circuit ground wire is green or bare, and the load wire is black, red, or sometimes white.
By following these safety measures and understanding wiring basics, you’ll be on your way to installing a single-pole light switch like a pro!
Remember, the key to a successful project is always putting safety first.
Disconnecting the Old Switch
Single-pole switches are the most common and simplest type of switches used in home wiring. They control a single fixture and only have two connections for electricity flow.
Since we’re working with a single-pole switch, it has two traveler screws and a ground screw.
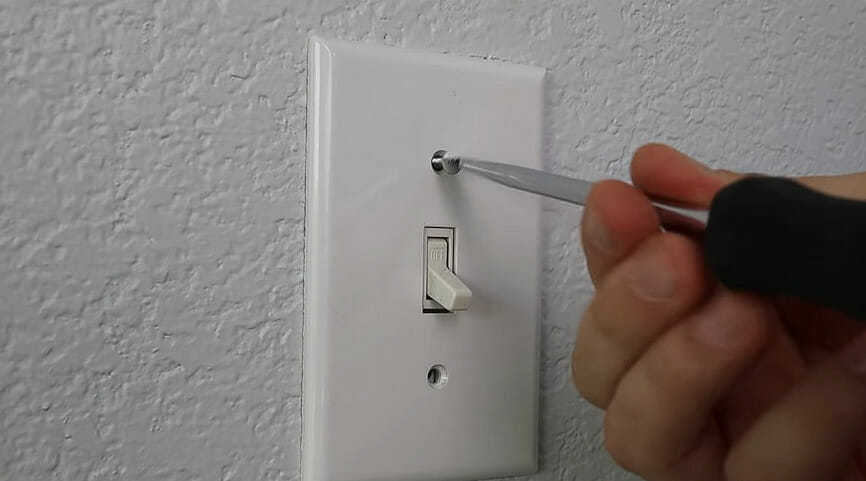
Step 1: Unscrew the switch from the electrical box and carefully pull it away from the wall.
Step 2: Take note of the positions of the wires connected to the switch, as you’ll connect them to the new switch similarly. Taking a photo of the connections is a good idea for reference.
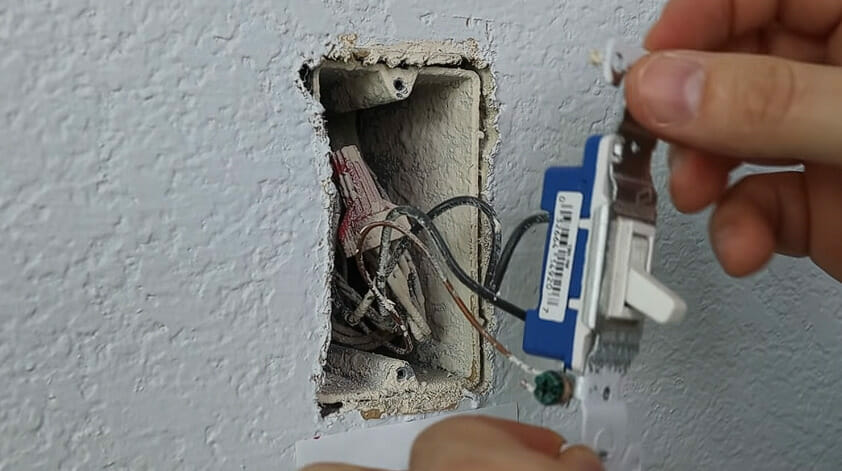
Step 3: Using needle-nose pliers or a suitable flathead screwdriver, loosen and disconnect the two hot (black) wires from the traveler screws on the sides of the existing switch. These are the wires controlling the flow of electricity.
Step 4: Now, disconnect the ground wire (usually green or bare copper) from the ground screw at the switch’s bottom.
And there you have it! We’ve successfully disconnected the old standard light switch. Next, we’ll connect and install the new single-pole switch.
Wiring the New Switch
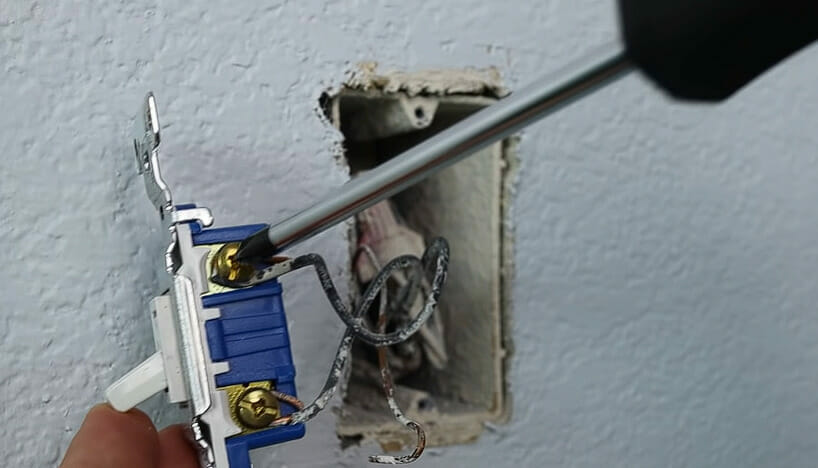
Step 1. Prepare the New Switch: Grab your new single pole switch and check that it has three terminals: two brass ones and a green one for the ground. Some models might also have a push-in wire connector, but that’s optional.
Step 2. Connect the Ground Wire: Attach the green or bare copper ground wire to the green ground screw on the new switch.
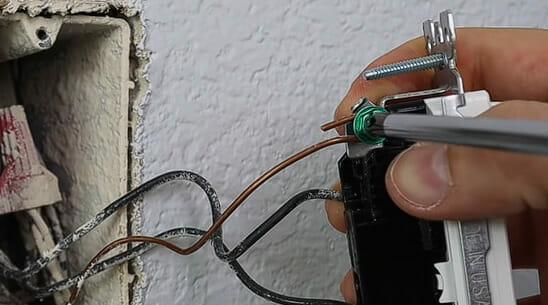
Step 3. Connect the Hot Wires: It’s time to connect them to the brass terminal screws on the new switch. To do this, loosen the screws, wrap the wire around each screw in a clockwise direction, and then tighten the screws back down. Make sure to get a snug and secure connection.
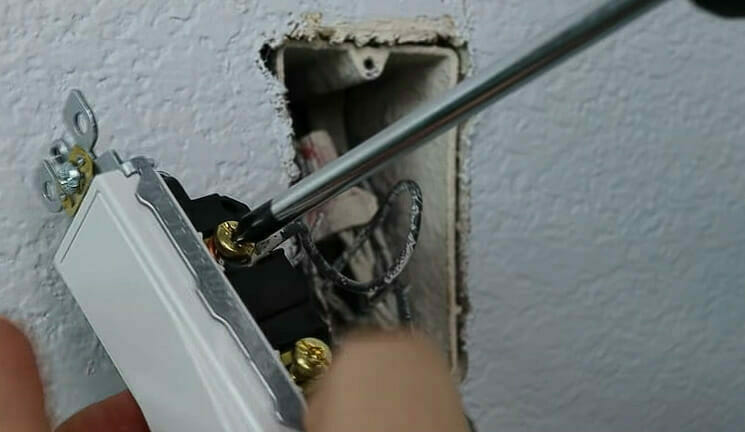
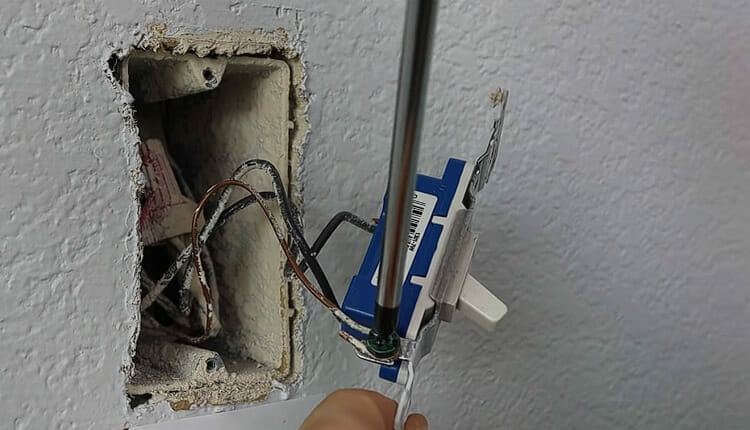
Step 4. Double-check your Wiring: Take a quick look at your connections to ensure everything is secure and in the right place.
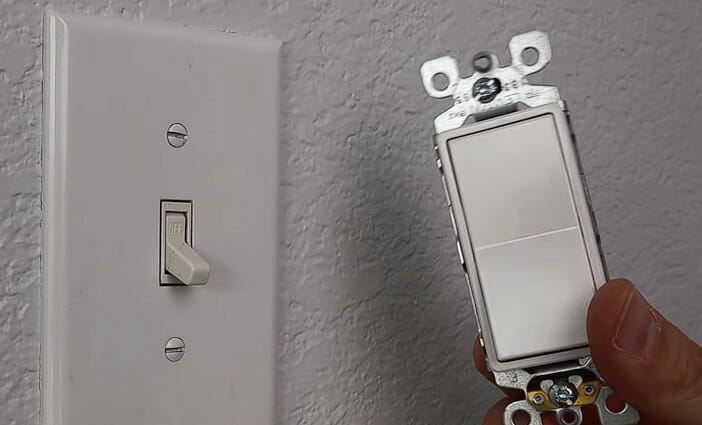
Step 5. Install the New Switch: Carefully place the new switch back into the electrical box, tucking the wires neatly inside. Screw the switch into place and attach the cover plate.
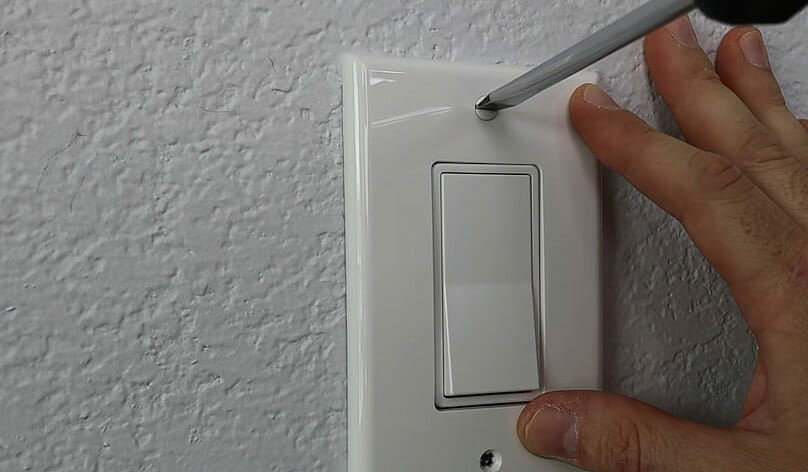
Step 6. Power Up: Finally, turn the electricity back on at your electrical panel and test your new switch!
So there you have it! You’ve successfully wired your single pole light switch by carefully following these steps and using a little DIY spirit.
Just remember always to prioritize safety and double-check your work along the way.
References
Websites:
- The Spruce. https://www.thespruce.com/
- How to Geek. https://www.howtogeek.com/
Video References:
Vincent Stevenson
The BeefMaster