14 min read
How to Wire 3 Lights to One Switch (5-Step Method)
Have you ever grappled with wiring multiple lights to a single switch? If that’s you, then you’re in luck. I’ll guide you through this simple process.
In general, wiring 3 lights to one switch is a straightforward process that follows these simple steps:
- Turn off the circuit breaker for safety.
- Wire the lights in series by connecting black wires with wire nuts.
- Connect lights to the switch by attaching a new black wire and securing it under a screw terminal.
- Create a neutral path by twisting white wires together.
- Testing the setup by flipping the breaker on.
- Ensure safety measures while working with electrical wires.
I will go into more detail below.
What You’ll Need
Before starting this wiring project, ensure you have the right tools. Grab the essentials needed:
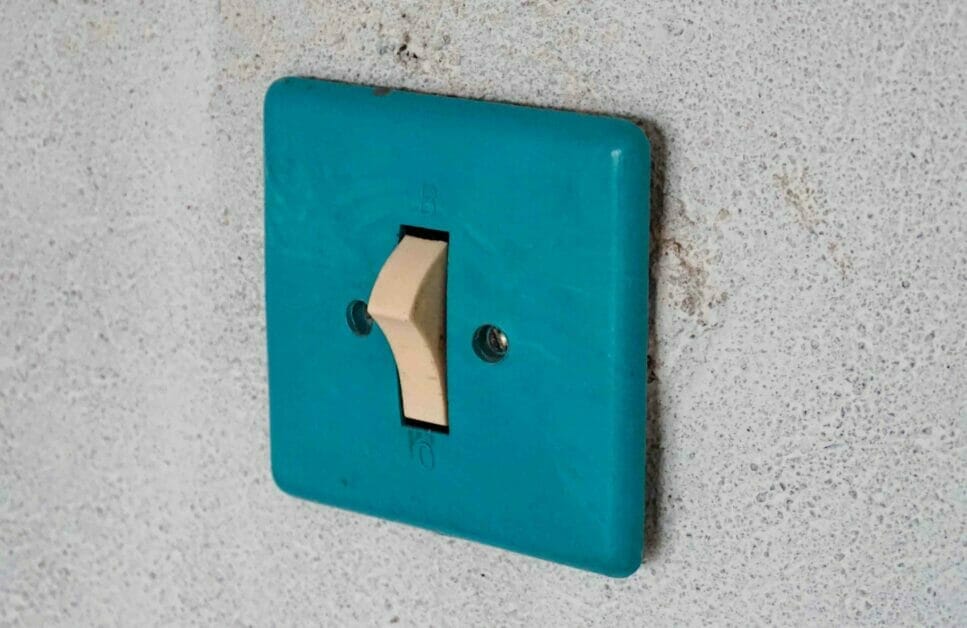
- Single-Pole Light Switch
- Light Fixtures
- Electrical Wire
- Wire Nuts
- Electrical Tape
- Wire Cutters/Strippers
- Screwdriver
Step-by-Step Wiring Process
Let’s dive into the step-by-step process of wiring three lights to one switch. You might think it’s daunting, but I’m here to tell you that it isn’t as tricky as it seems.
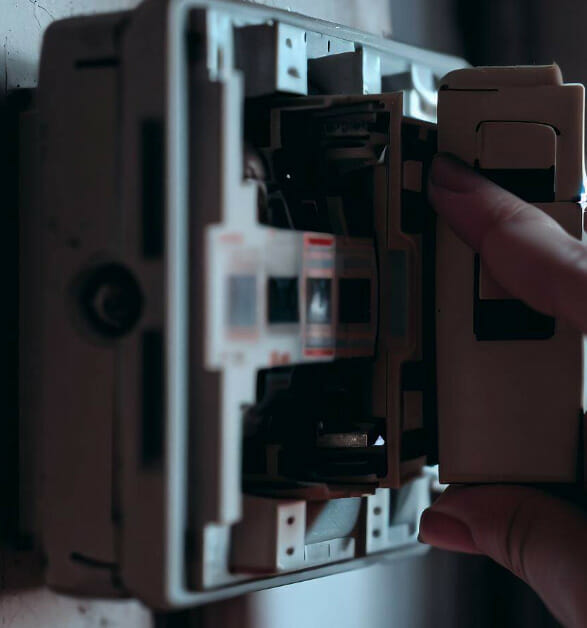
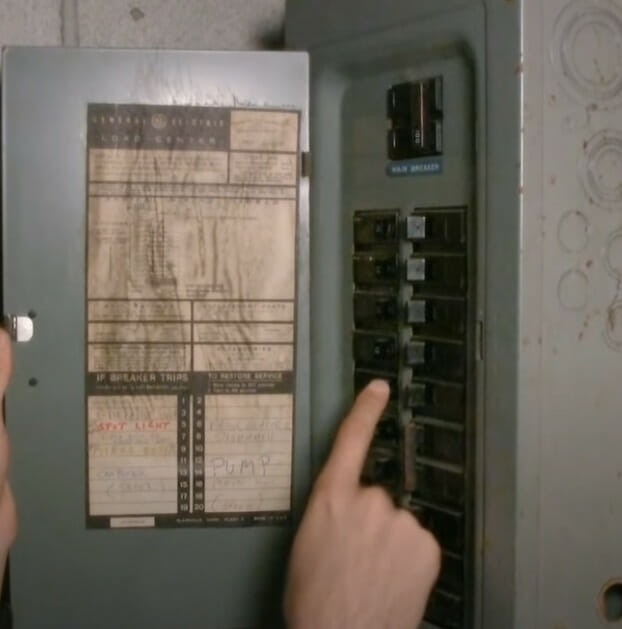
Step 1: Turning off the Circuit Breaker
Before touching any electrical components or wires, ensure the power is turned off at the main circuit breaker.
- Locate the Main Electrical Panel: This is usually a metal box in basements, utility rooms, or garages. It houses the circuit breakers or fuses that control the power supply to various parts of your home.
- Identify the Correct Breaker: Each breaker should be labeled to indicate which room or appliances it controls. Find the one corresponding to the area you’ll be working in.
- Flip the Breaker: Switch the identified breaker to the “OFF” position. This cuts the power supply to the circuit you’ll be working on.
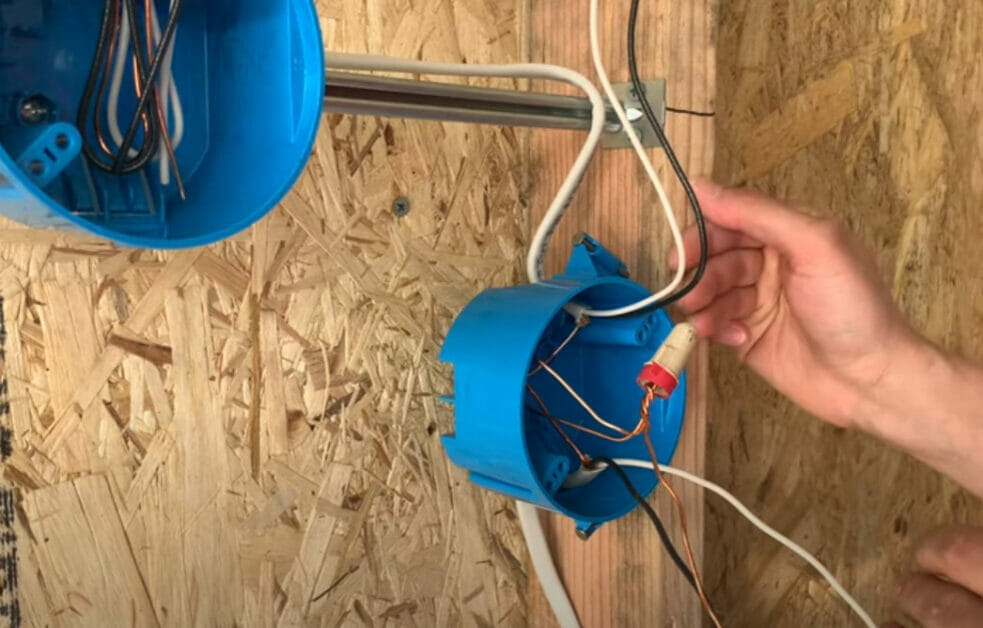
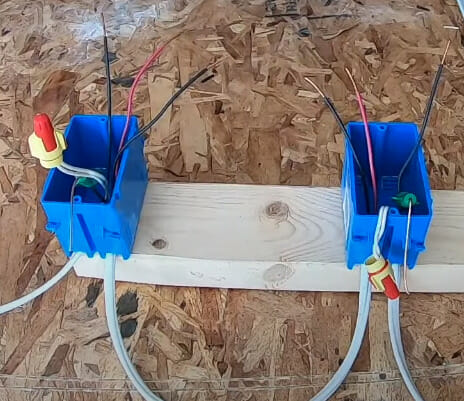
Step 2: Wiring the Lights in Series
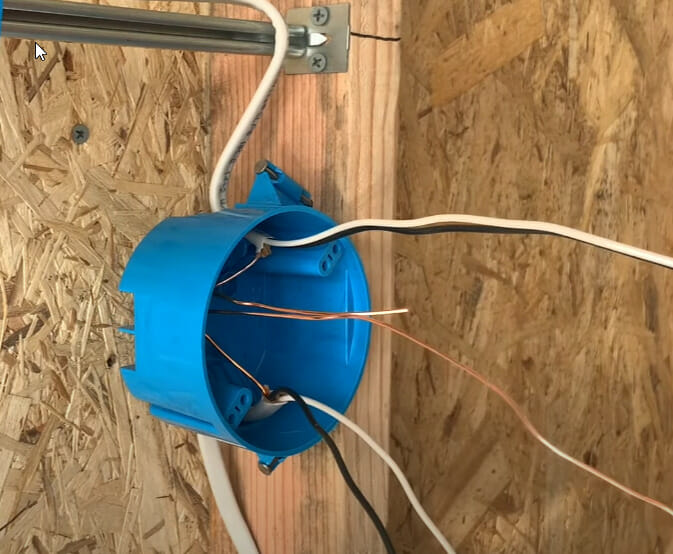
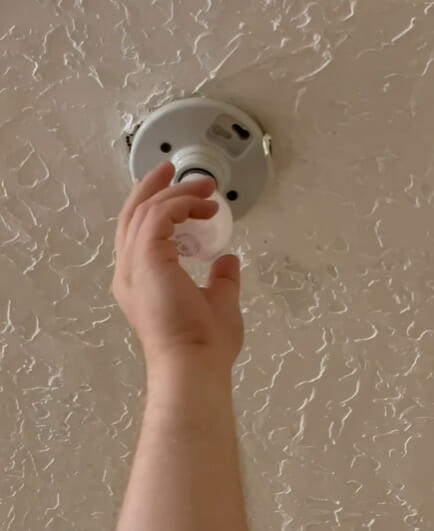
Start by exposing the ends of the wires using the wire cutters/strippers. We’ll begin with the first light fixture:
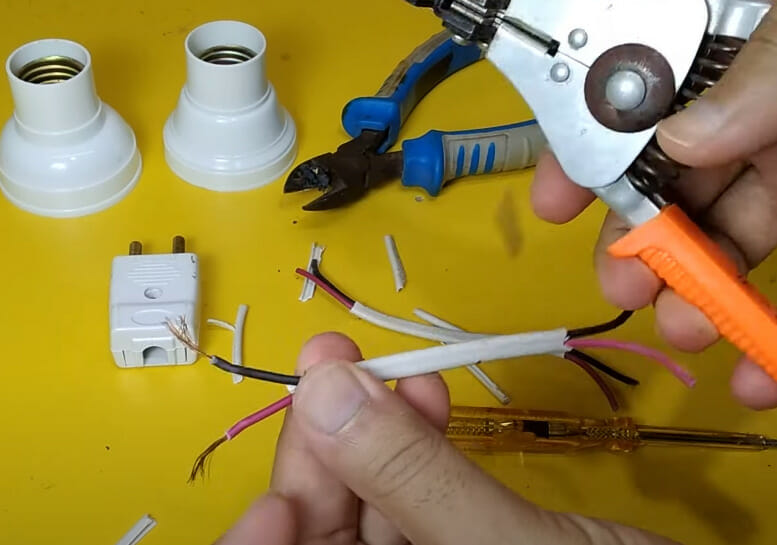
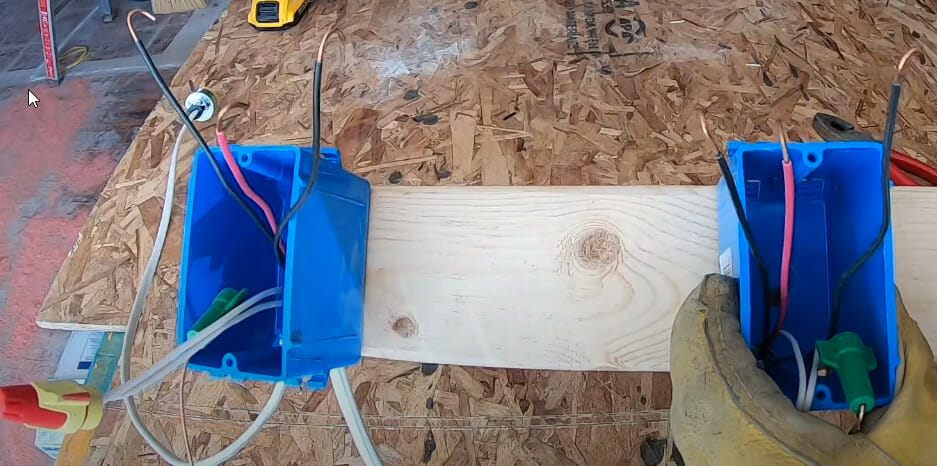
- Prepare the Wires: With wire cutters/strippers, expose about an inch of the copper wire at the ends of the electrical cables of your first light fixture.
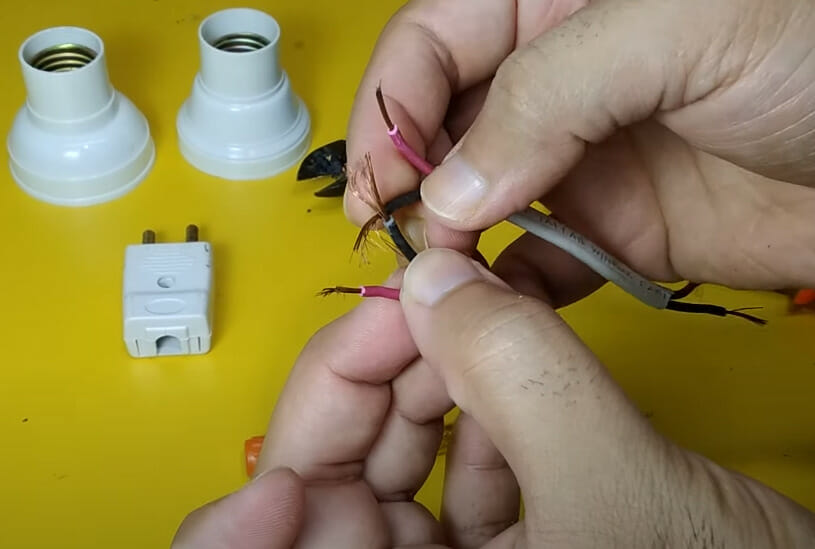
- Connect the Wires: Take the black (or red, depending on the wiring color in your country) wire from your electrical cable and join it to the black wire from your light fixture.
- Secure the Connection: Using a wire nut, ensure both wires are firmly twisted together. This ensures a stable connection and minimizes the risk of wires getting loose over time.
- Bridge to the Next Light: Connect an additional piece of black wire to the wire nut. This will bridge the connection to the next light fixture in the series.
- Repeat for Each Light: Connect each light in the series until you get to the last one.
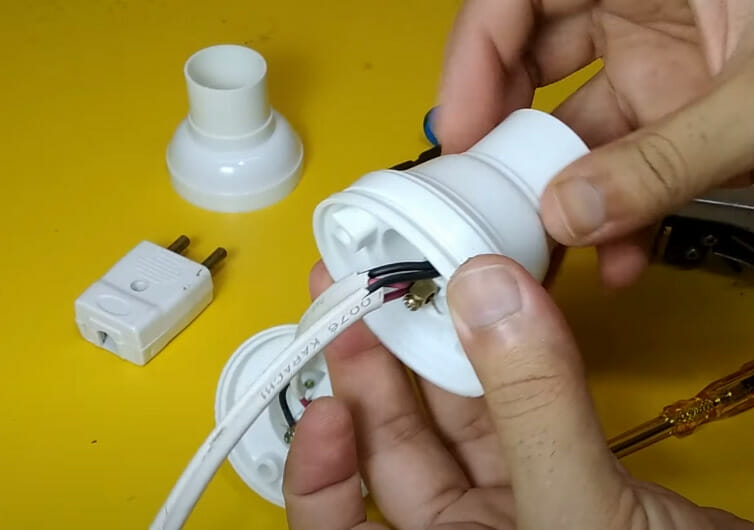
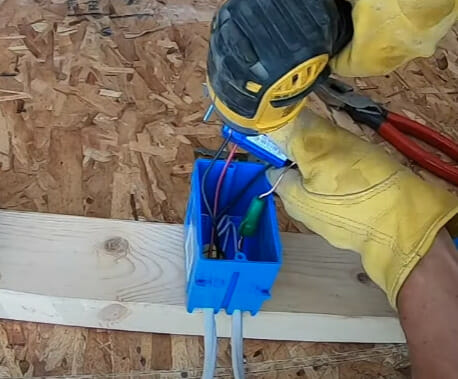
Step 3: Connecting the Lights to the Switch
Now connect the lights to our switch:
- Prepare the Switch Wire: Strip the ends of the black wire from the last light fixture in the series.
- Run Wire to the Switch: Extend this wire to your switch location, ensuring no strain or tugging on the wire.

- Attach to the Switch: At the switch, wrap the stripped end of the black wire around one of the screw terminals on the side. Tighten the screw to ensure a firm connection.
- Grounding: If there’s a green or bare copper wire (the ground wire), attach it to the grounding terminal of the switch. This is crucial for safety, as it reduces the risk of electric shocks.
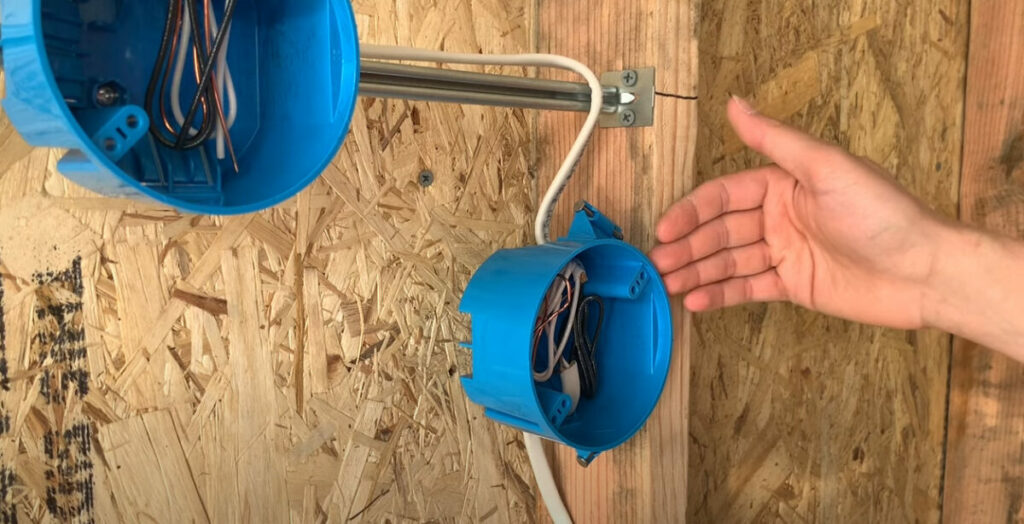
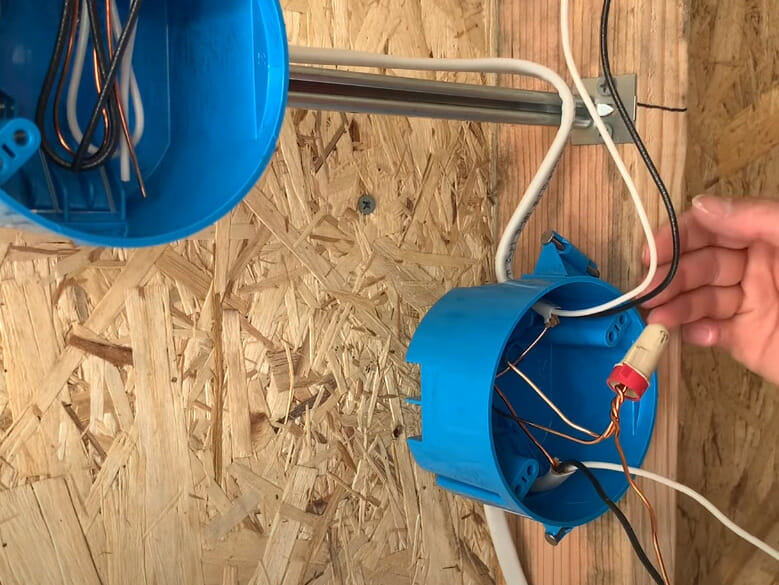
Step 4: Creating a Neutral Path
To complete our circuit, we need a neutral path back:
- Gather Neutral Wires: From each light fixture, group together all white wires (or blue, depending on your region).
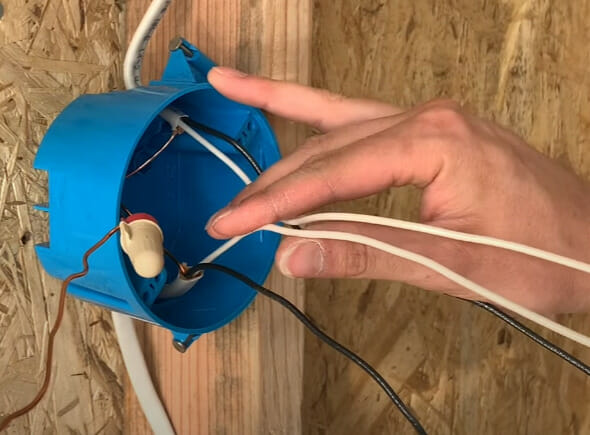
- Strip and Connect: After slightly stripping the ends, twist them together to form a single connected bundle.

- Secure the Neutrals: Secure all these white wires with a wire nut larger than previously used.
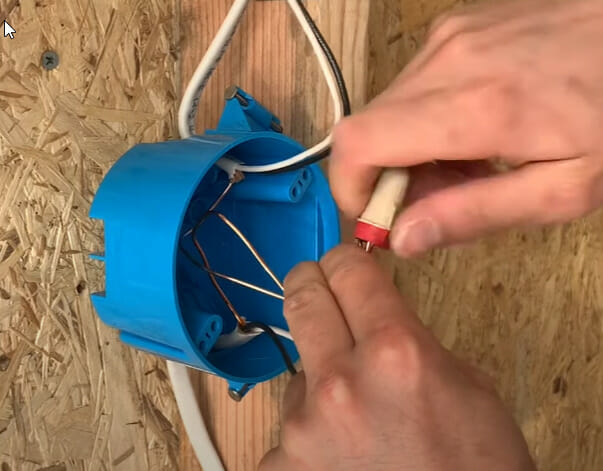
- Ground Wires: Similarly, bundle and twist together all green or bare copper wires (ground). Ensure they’re also snugly capped with a wire nut. If a ground terminal or screw is in the switch box, connect a piece of the ground wire.
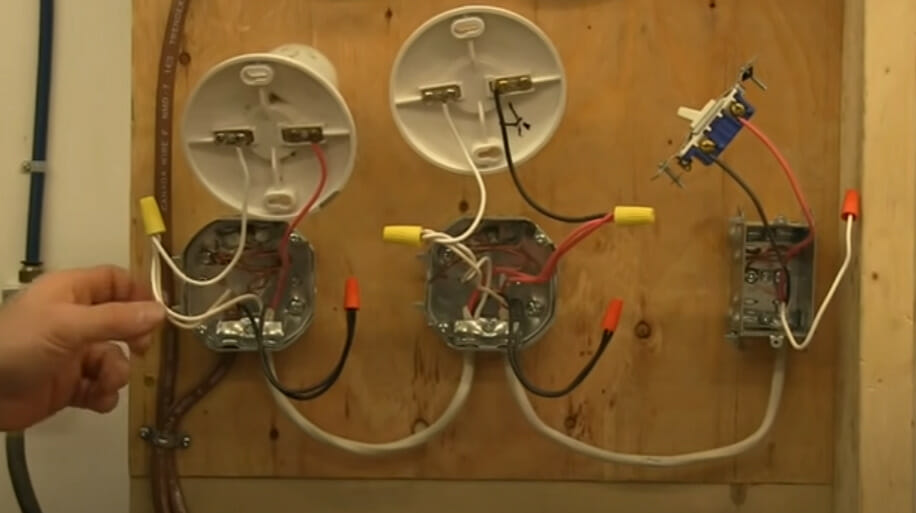
Step 5: Testing
It’s time to test your circuit after confirming all connections are properly fixed and tight.
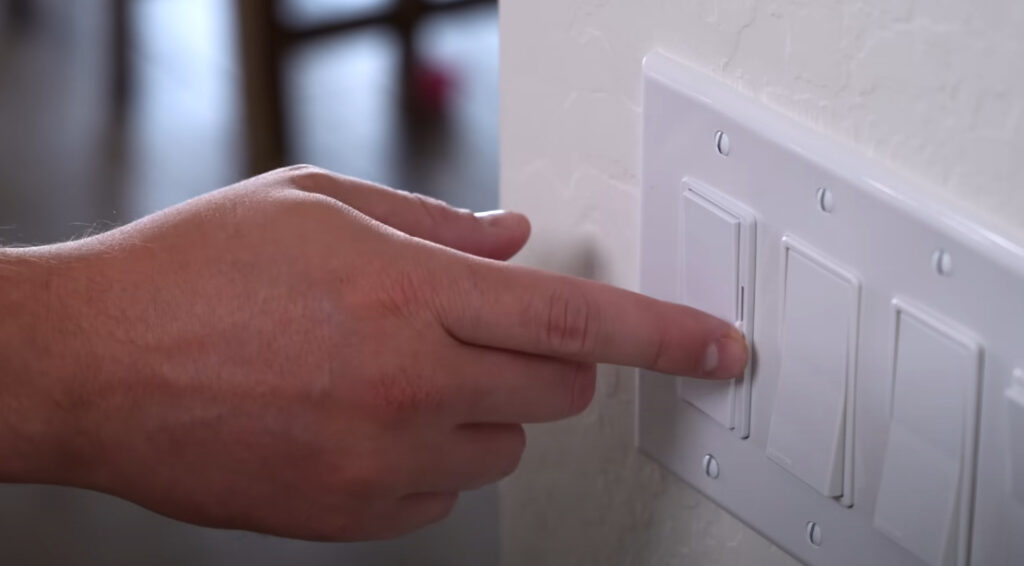
- Restore Power: Return to your circuit breaker and flip the breaker to the “ON” position.
- Observation: Test the lights using the switch. All three lights should turn on and off simultaneously.
Let’s Breakdown the Cost
Here’s a quick look at the average price ranges for our toolkit essentials:
| Tool | Approximate Price Range |
|---|---|
| Single-Pole Light Switch | $5 – $25 |
| Light Fixtures | $15 – $150+ (each) |
| Electrical Wire | $30 – $100 (per roll) |
| Wire Nuts | $2 – $10 (pack of 100) |
| Electrical Tape | $3 – $10 (per roll) |
| Wire Cutters/Strippers | $10 – $40 |
| Screwdriver | $5 – $25 |
Remember, prices can vary based on brand, quality, and where you’re shopping. Shopping around and finding the best deals is always a good idea!
Maintenance and Care
Maintaining and caring for your electrical systems is crucial for safety and longevity. Here are some recommendations specific to the setup of wiring 3 lights to one switch:
- Regular Inspections:
- Check the switch and light fixtures periodically for signs of wear, damage, or discoloration.
- Check for Exposed Wires:
- Periodically inspect for any exposed wires or wire nuts that might have come loose.
- If you find any, turn off the power and secure them with a wire nut or electrical tape.
- Clean Light Fixtures:
- Dust and debris can accumulate on light fixtures, reducing their brightness and efficiency.
- Clean them regularly, but make sure the power is off before you begin.
- Replace Burnt-Out Bulbs Promptly:
- Leaving a burnt-out bulb in the socket can sometimes lead to circuit imbalances.
- Replace with bulbs of the correct wattage.
- Stay Alert to Warning Signs:
- Be cautious if you notice a burning smell, buzzing sounds, or consistent flickering. These could be signs of electrical issues that require attention.
Essential Safety Precautions for Electrical Wiring
- Always Turn Off Power: Before starting any electrical work, turn off the power at the main circuit breaker. Confirm that there’s no electricity using a voltage tester.
- Use Proper Tools: Ensure you use tools designed for electrical work. This includes insulated screwdrivers and wire cutters/strippers.
- Avoid Overloading: Never exceed the total wattage rating for your switch or circuit. Overloading can lead to overheating and potential electrical fires.
- Secure All Connections: Any loose connections can be potential fire hazards. Always ensure wire nuts are tight and no bare wire is exposed.
- Check Wire Colors: Different colored wires typically indicate different functions. Generally, black or red is hot, white is neutral, and green or bare is ground.
- Stay Grounded: Grounding is crucial for safety. Ensure the ground wires are connected properly to prevent potential electrical shocks.
- Get Professional Help When in Doubt: If you’re unsure about any steps, don’t hesitate to consult with or hire a certified electrician. It’s always better to be safe than sorry.
Advanced Variations for Wiring Lights to a Switch
As you grow more confident in your wiring skills, there are several advanced setups and variations you can explore to make your lighting more versatile and adaptable:
- Dimmer Switches:
- Instead of a simple on/off switch, install a dimmer switch. This allows you to adjust the brightness of the lights to create the desired ambiance.
- Three-Way and Four-Way Switches:
- If you’d like to control your lights from multiple locations (like both ends of a hallway), you’ll need to look into three-way and four-way switch installations.
- Motion-Sensor Switches:
- Great for outdoor lights or security purposes, these switches will automatically turn on the lights when motion is detected.
- Timer and Smart Switches:
- If you’d like your lights to turn on and off at set times or be controlled remotely via a smartphone app, consider integrating timer switches or smart switches into your setup.
- Parallel Wiring:
- Instead of wiring lights in series, wire them in parallel. This ensures that if one bulb goes out, the others still operate.
- LED Strip Lighting:
- For a modern twist, consider integrating LED strip lights, which can be connected to a single switch but offer flexibility in terms of placement and are often used for under-cabinet lighting or accent lighting.
Frequently Asked Questions (FAQs)
- Can I wire more than three lights to a single-pole switch?
- Yes, you can wire multiple lights to a single-pole switch. The process would remain similar; you’d extend the series. However, always ensure the total wattage of all lights does not exceed the switch’s or circuit’s rating.
- How can I ensure no electricity in the wires before working on them?
- After turning off the circuit breaker, always use a voltage tester or multimeter to check the wires you’ll work on. This ensures there’s no active electricity, and it’s safe to proceed.
- Do I need to use both electrical tape and wire nuts for connections?
- Wire nuts, when used correctly, are typically sufficient. However, some electricians use electrical tape to reinforce or insulate the connection.
- What’s the purpose of the neutral path?
- The neutral path is vital for completing the circuit. It provides a return path for the electrical current, ensuring smooth and safe operation of your fixtures.
- What should I do if the lights don’t turn on after completing the wiring?
- Ensure your circuit breaker is on. If the lights still don’t work, recheck all connections, especially wire nut connections, to ensure they’re secure and correct. If unsure, consult with a professional.
References
Website Resources:
- Conquerall. https://conquerallelectrical.ca/how-to-wire-multiple-lights-to-one-switch/#How_to_Wire_Multiple_Lights_to_One_Switch
- The Spruce. https://www.thespruce.com/anatomy-of-a-three-way-switch-1152436
- Electrical Construction & Maintenance (EC&M). https://www.ecmweb.com/content/article/20887240/everything-you-need-to-know-about-switches-and-more
Video References:
Daily Electrician
House Improvements
How Cast
Umair’s Workshop
Today’s Task
Smart Home Solver
Blue Collar Handyman
Small & Simple Stuff