How to Test an Ethernet Cable with a Multimeter (Quick Guide)

Ethernet cables are perfect for providing a hardwired internet connection. They are much faster than a Wi-Fi connection and more reliable when connected to the same router. So, if you need a faster and more stable internet connection for your devices, then you should consider an Ethernet cable. However, like other cables, Ethernet cables can get damaged and need troubleshooting. Faulty cables provide poor internet speed or can fail to offer internet connectivity.
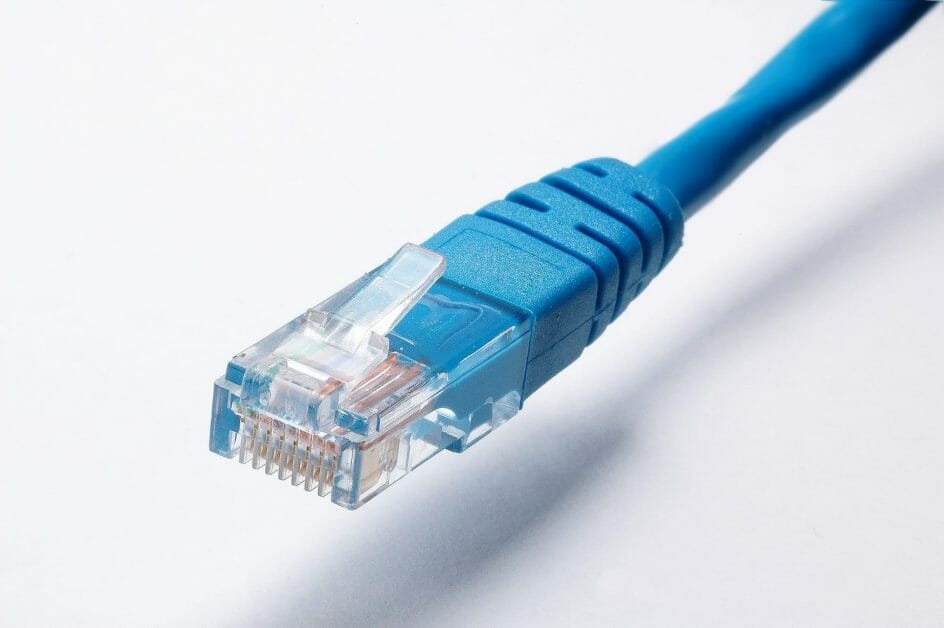
To test your ethernet cables, use a multimeter. Ethernet cables have a metallic part encased in a sheath or jacket. So, set your multimeter to ohms and check the continuity between the portends and plug. The resistance or Ohm value should either be zero or very little due to the resistance of the wire. If the Ohms reading is large, you must purchase another Ethernet cable.
So, what steps must you follow to test your Ethernet cable? I will guide you through every step in detail below. This method is very useful, especially if you do not have a conventional Ethernet cable tester.
Setting your Ethernet Cable
Before you set your Ethernet cable for testing, note the internet connection on your device. Poor signals are the primary indicators of a faulty Ethernet cable. First, check the right-hand side of your computer on the taskbar section. Most computers will show a red ‘exclamation mark’ icon. If this is the case, get your Ethernet cable ready for testing.
Ensure the portends and plugs are properly connected to set your Ethernet cable. Again, an unstable connection between the ports and the plugs can lead to a poor internet connection.
You can do this by separating the portends and the plug. Then, reconnect them by ensuring the plugs and the ports are properly linked.
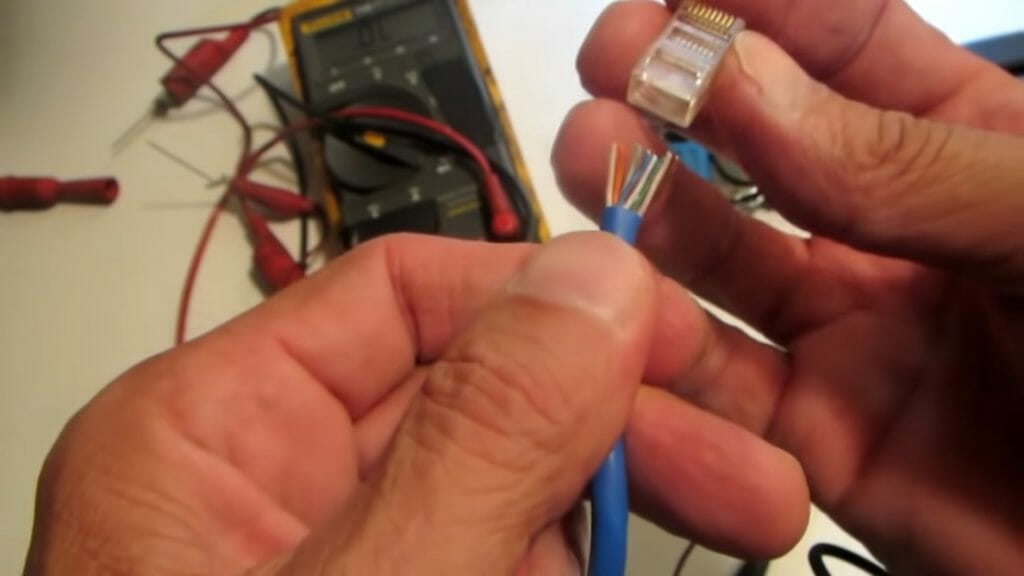
Now, Set your Multimeter
We will be performing a continuity test for your Ethernet cable. Continuity measures the resistance (in Ohms) of electrical conductors. Therefore, you must set your multimeter to Ohms for this test.
The multimeter has a selection knob with a pointer (like a handle) that is used to set it to measure various electrical properties. So, turn the selection knob to point to the Ohms reading, usually denoted by the Ω symbol.

After setting your multimeter to Ohms, plug the probes into the following ports. Just plug the black probe (ground connection) into the port labeled COM and the red probe into the port with a V label next to it.
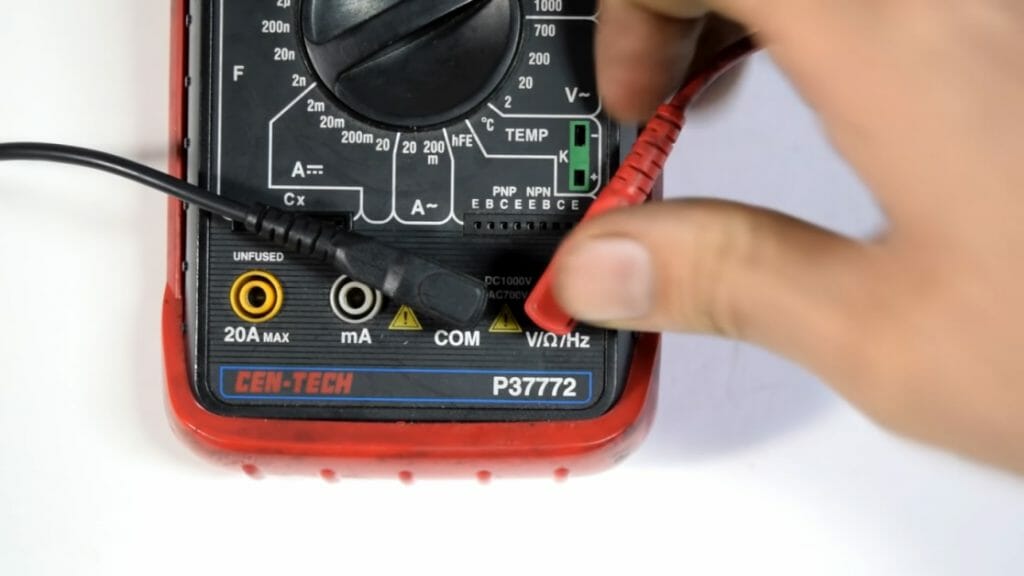
You can ping the probe leads together to check whether the multimeter works. Most digital multimeters will beep if they are in optimal conditions.
Now, Let’s Test an Ethernet Cable
So, you have your multimeter and the Ethernet cable ready for testing. Proceed as follows to verify continuity for your Ethernet cable:
- Clamp your Ethernet cable ends together using the leads. You may attach alligator clamps or sewing needs to the end of the meter leads.
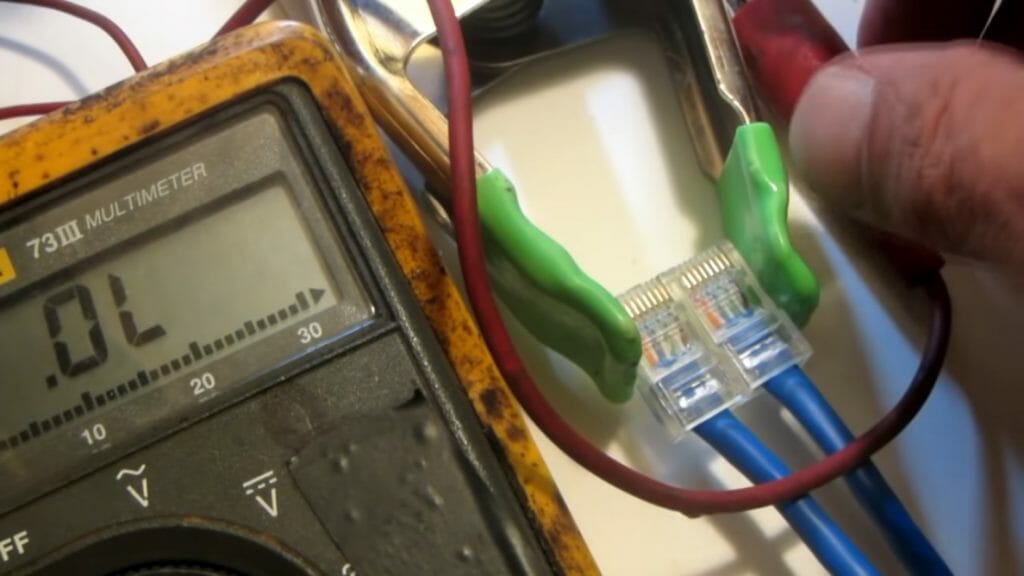
- After securing your Ethernet cables and attaching the sewing needles to the meter leads, connect the needles to the Ethernet cable ports. Connect both probes (fastened to the needles) to the Ethernet cable ends – the port terminals.
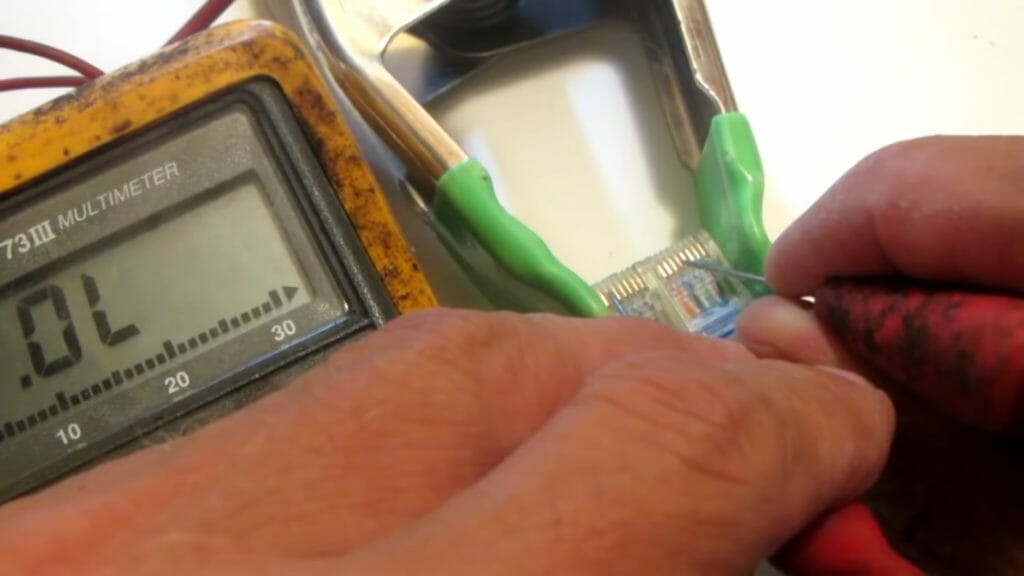
- Check the display unit. You will get a zero or small reading for well-functioning Ethernet cables. If the display reading is high, your cable is faulty or damaged. You need a new one.
- Test all the terminals on the two ports with various labels. Ensure you do it simultaneously, as each probe needle goes to the port terminals. You need to place a black probe needle on terminal A of port 1 and the other probe needle on terminal A of port 2.
- Note all the readings. Any high reading shows discontinuity on that port terminal you are testing.
References
Website Resources:
- Ethernet. https://www.networkworld.com/article/3657734/what-is-ethernet.html
- computer. https://www.britannica.com/technology/computer
Video References:
Bill Eaglerunner
Ratchets And Wrenches

Well only one end of the cable is available and we would like to test the voltages that should be present.