10 min read
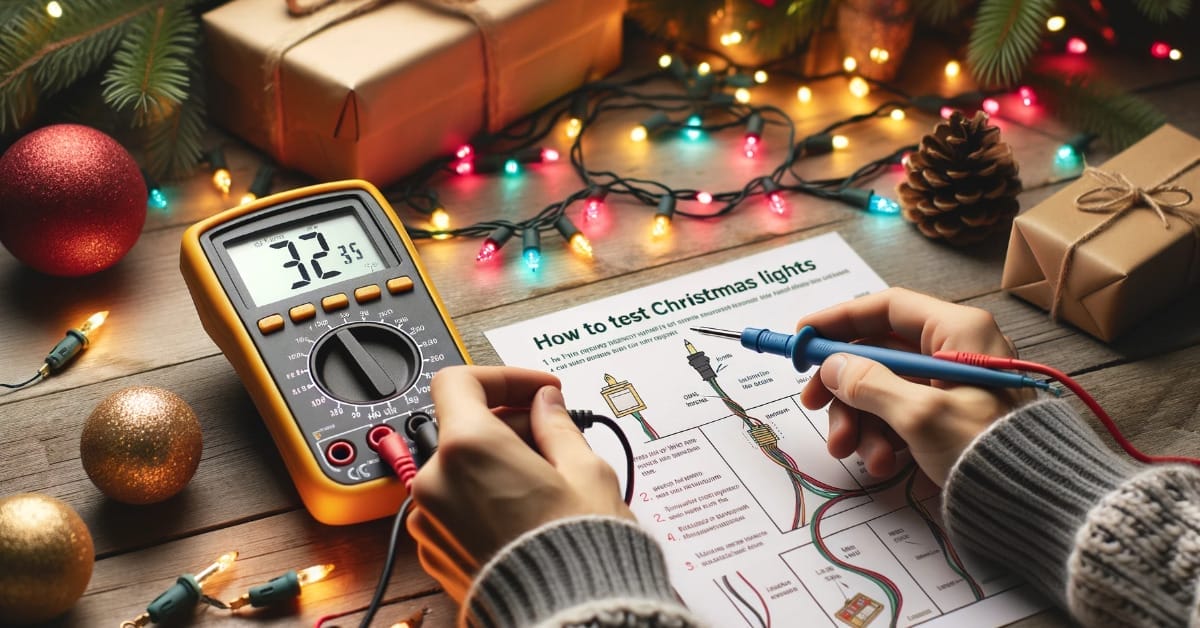
How to Test Christmas Lights with a Multimeter (Guide)
Hey there! If you’re like me and love decorating your home with Christmas lights, you know the frustration of finding a string that won’t light up. But don’t worry, I’ve got a nifty solution for you.
Below, we go through the steps and give you a guide so you can ensure all your lights are working:
- Step 1: Start by setting your multimeter to the 20-ohm resistance setting.
- Step 2: Carefully touch the multimeter’s probes to the wire contacts of each bulb you want to test.
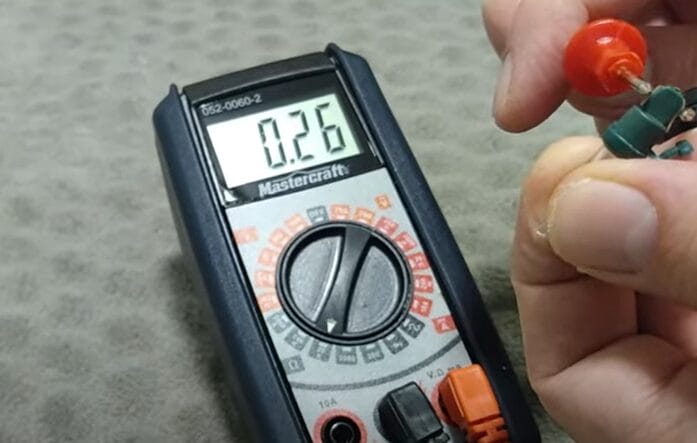
- Step 3: A working bulb will show resistance on the multimeter (around 0.26 ohms), while a burnt-out bulb will show no change.
- Step 4: Identify and replace any burnt-out bulbs with spare ones.
- Step 5: Patiently test each bulb in the string to catch any that are not working.
- Step 6: Use a power bar to connect your lights, which helps protect them from electrical surges.
This article will show you how to test your Christmas lights with a multimeter. So grab your tool, and let’s get those lights ready to shine bright for the holiday season!
Understanding the Basics of Christmas Lights and Multimeters
Let’s dive into the world of Christmas lights and multimeters, a combo that might not seem obvious initially, but trust me, it’s a game changer when December rolls around.
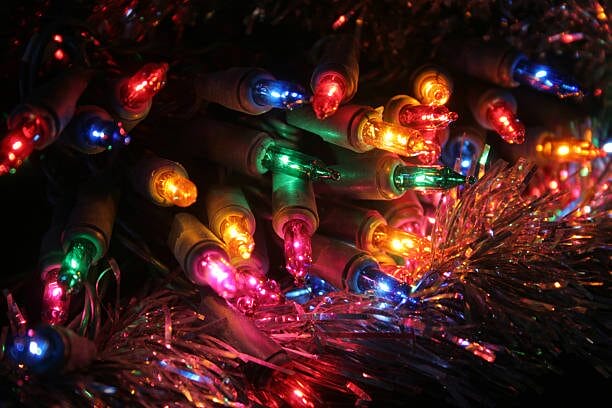
Christmas lights, whether simple string types or the more elaborate icicle lights, work on a pretty straightforward electrical principle. They’re a series of small light bulbs connected by wires, and if one bulb goes out, it can affect the entire string. This is where a multimeter comes in handy.

Now, a multimeter can seem a bit daunting if you haven’t used one before. It’s a tool that measures electrical values – voltage, current, and resistance. We’re interested in the continuity function, which checks if there’s a complete path for the current to flow.
My first experience with a multimeter was a bit of trial and error. I had to familiarize myself with terms like ‘resistance’ and ‘continuity.’ But testing each bulb became a breeze once I got the hang of it.
In the simplest terms, you use the multimeter to determine whether electricity can pass through the bulb. If it can’t, you’ve found your culprit.
So, grab a multimeter before you start untangling that huge knot of lights. It could save you a lot of time and frustration. And hey, there’s nothing like the satisfaction of fixing those lights yourself and lighting up your space just the way you envisioned.
Step-by-Step Guide for Testing Christmas Lights
I will walk you through how to test your Christmas lights using a multimeter. This is a handy trick for finding that string of lights that won’t light up. Let’s get into it!
Step 1: Setting Up the Multimeter
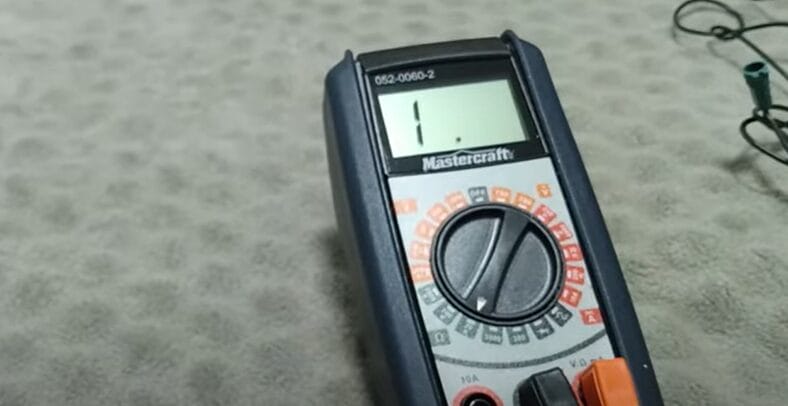
First things first, grab your multimeter. We will set it to measure resistance, which is measured in ohms. On your multimeter, you’ll want to set it to the 20-ohm setting.
Step 2: Testing the Bulbs
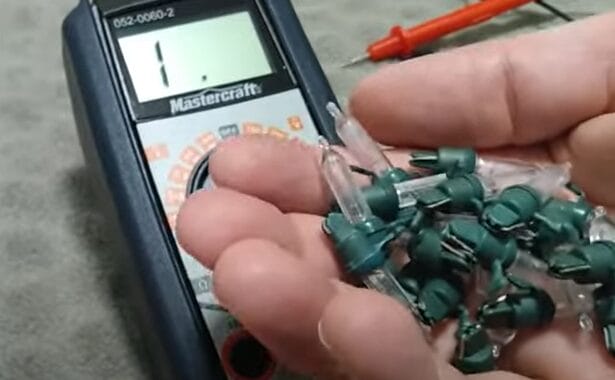
Now, take the bulb you want to test. We’ll need to check each bulb individually.
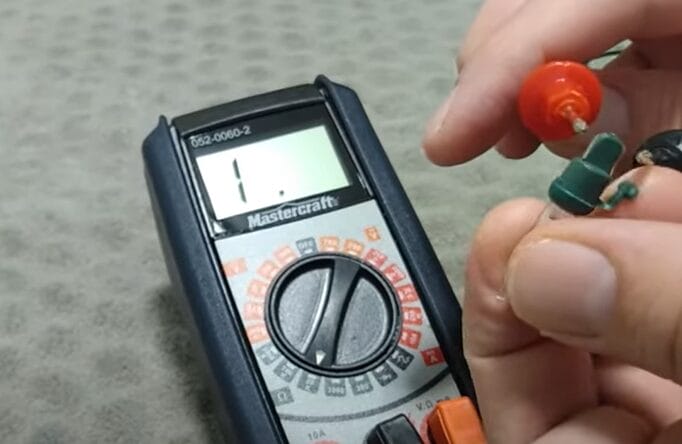
Hold the two probes of the multimeter to the two wire contacts of the bulb. This can be tricky because they’re small, but take your time.
Step 3: Reading the Results
If the bulb is good, the multimeter should show some resistance. For example, you might see a reading of around 0.26 ohms.
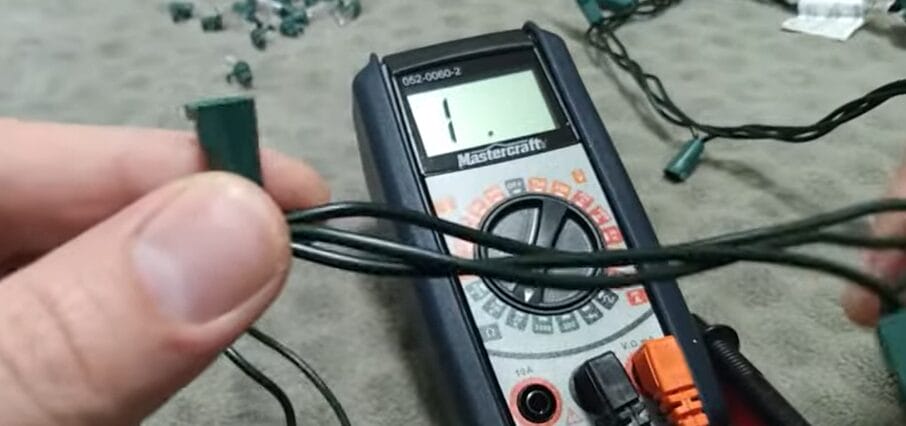
However, if the bulb is burnt out, you won’t see any change in the multimeter’s reading. It’s like completing a circuit – if the bulb is good, the circuit is complete, and you’ll see a reading.
Pro Tip: If unsure about the multimeter reading, you can test the probes by touching them together. This should bring the resistance reading down to zero, indicating that the circuit is complete.
Step 4: Replace the Faulty Bulbs
Once you identify the burnt-out bulbs, carefully replace them. You might want to keep some spare bulbs handy for this.
Step 5: Check Each Bulb
Be patient and test each bulb in the string. It’s a bit of a process, but it’s the best way to find the culprit.
Step 6: Protect Your Lights
- Consider connecting your lights to a power bar to protect them from surges.
That’s it! A bit of patience and a multimeter are all you need to fix that string of Christmas lights. Remember, safety first – always unplug your lights before you start testing.
Troubleshooting Tips: What to Do When a Bulb Doesn’t Light Up
When you’re faced with a bulb that won’t light up on your Christmas light string, it can be a bit of a head-scratcher. But don’t worry. I’ve been there and have some tips to help you sort it out.
First things first, make sure your lights are unplugged. Safety is key in any DIY project. Once that’s done, the detective work begins.
Start With a Visual Check
- Sometimes, the issue is as simple as a loose bulb. Give each bulb a gentle wiggle to ensure it’s snug in its socket. I remember finding a bulb that was just slightly askew, and a quick adjustment was all it took to bring the whole string back to life.
Multimeter to the Rescue
- If a visual check doesn’t solve it, bring out your multimeter. Set it to the continuity test mode. Remove the non-working bulb from its socket and test it with the multimeter probes. No beep or no change in reading? It’s time for that bulb to go.
Replacing the Bulb
- Always have spare bulbs handy. I can’t tell you how many times I’ve been thankful for that little bag of extra bulbs. Gently replace the faulty bulb with a new one. Make sure it’s the correct type for your string.
Check for Other Issues
- If replacing the bulb doesn’t do the trick, there might be a deeper issue, like a wiring problem. This is where checking each segment of the light string comes in. It’s a bit time-consuming, but thoroughness is key.
Fuses Might be the Culprit
- Don’t forget to check the fuses in the plug. A blown fuse can stop the whole string from lighting up. These are usually easy to replace, and most light sets have replacements.
Last Resort
- If all else fails, it might be time to retire that string of lights. But hey, it’s a great excuse to go light shopping!
Remember, troubleshooting is part skill, part patience. Take your time, and you’ll get those lights shining bright. Happy decorating!
Maintaining Your Christmas Lights for Longevity
When it comes to keeping your Christmas lights twinkling year after year, a little maintenance goes a long way.
I’ve learned through my own experiences that properly caring for your lights can significantly extend their lifespan and save you the hassle (and expense) of replacing them frequently.
Let’s dive into this maintenance guide to keep those lights shining bright for many seasons.
| Maintenance Task | Frequency | Details |
|---|---|---|
| Visual Inspection | Before Each Use | Give your lights a once-over before you hang them. Look for any frayed wires, loose connections, or broken bulbs. I’ve seen a few lights saved just by catching these issues early. |
| Testing with a Multimeter | Annually | Before the decorating season kicks off, test each string with a multimeter. This helps identify any potential electrical issues. I make it a part of my pre-season ritual – it’s like tuning an instrument before a big concert. |
| Gentle Cleaning | After the Holidays | Dust and debris can accumulate on your lights, affecting their performance. Gently wipe them down with a dry cloth after taking them down. Avoid using water or harsh cleaners. |
| Proper Storage | After Each Season | Avoid the dreaded tangled light mess! I wind each string around a piece of cardboard or a reel. Store them in a cool, dry place to avoid moisture damage or extreme temperatures. |
| Bulb Replacement | As Needed | Keep a stash of spare bulbs and replace any that burn out promptly. This keeps the rest of the string from being overworked. Plus, it’s always good to have spares on hand. |
| Checking for Updates | Every Few Years | Technology changes, and so do light sets. Check every few years to see if more efficient, durable options are available. It’s a great way to stay up-to-date and maybe even save on energy. |
Regular maintenance keeps them shining bright and extends their life, saving you time and money in the long run. Happy decorating!
Frequently Asked Questions
- How Many Lights Can Get Hooked on One Power Outlet?
- The LED string lights can have up to 43 end-to-end Christmas lights connected using only one power outlet. This is the number that they can take at a time.
- Can you String Too Many Christmas Lights Together?
- Yes, you can. However, this will depend on the bulb type and the power supplied to the strands. I would recommend you connect a maximum of five strings. Today, there are some lights that you can connect up to 50 lights.
- Is It Better to Repair or Replace Old Christmas Lights?
- It depends on the extent of the damage. If it’s a few bulbs, repair is fine. But replacement might be safer if the wiring is damaged or there are multiple issues.
- Can Test with a Multimeter Damage My Christmas Lights?
- No worries here! Using a multimeter for testing is a safe and non-invasive method. It’s all about detecting issues without causing any harm to the lights.
- Are LED Christmas Lights Easier to Test and Maintain?
- In my experience, yes. LED lights are more durable and energy-efficient, making them less likely to have issues.
References
Organizations:
- Underwriters Laboratories (UL). https://www.ul.com/solutions
- Electrical Safety Foundation International (ESFI). https://www.esfi.org/
Books:
- “The Complete Guide to Wiring” by Black & Decker
- “Practical Electronics for Inventors” by Paul Scherz and Simon Monk
Website Resources:
- EnergyStar.gov. https://www.energystar.gov/
- Popular Mechanics. https://www.popularmechanics.com/
- Instructables.com. https://www.instructables.com/
Video References
John Smith