9 min read
How to Test a Ballast with a Multimeter (7 Step Guide)
Hey everyone! Today, I will show you how to tackle a common issue that can be a real headache: testing a ballast with a multimeter.
You know the frustration if you’ve ever dealt with flickering or non-functional fluorescent lights. But don’t worry, I’ve got your back! Let’s quickly run through how to test a ballast with a multimeter:
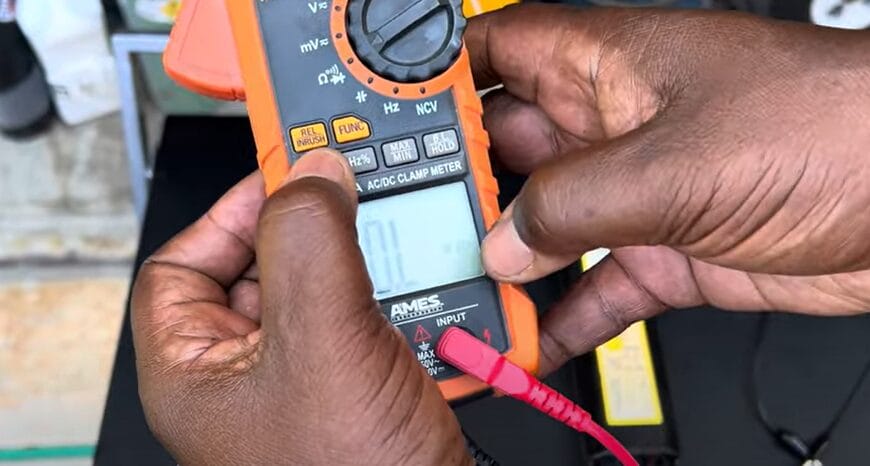
- Step 1: Switch your multimeter to the ohms (Ω) setting, focusing on the ‘k’ symbol.
- Step 2: Attach an alligator clip to the multimeter’s black (negative) lead for easier handling.
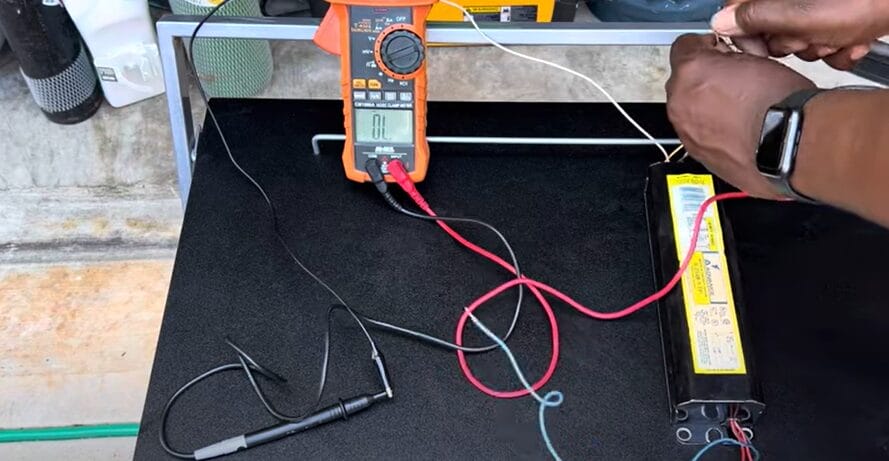
- Step 3: Link the black lead with the alligator clip to the ballast’s white (neutral) wire.
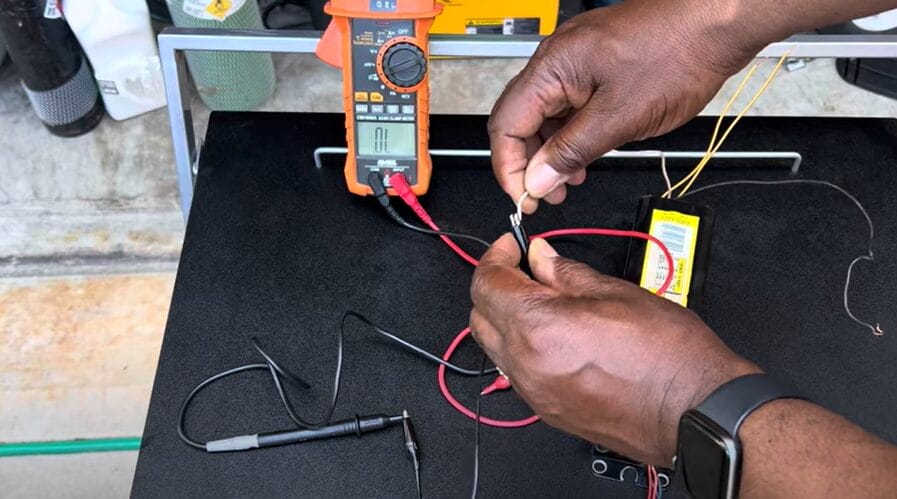
- Step 4: Use your multimeter’s red (positive) lead to test the ballast’s red, yellow, and blue wires.
- Step 5: Probe each wire with the red lead; no reading on the multimeter indicates a good ballast.
- Step 6: A beep or reading on any wire suggests a potential issue with the ballast.
- Step 7: Double-check your findings and replace the ballast if necessary, matching it to your fixture’s requirements.
We will dive into a simple yet effective way to check if your ballast is the troublemaker. So, grab your multimeter, roll up your sleeves, and let’s get to the bottom of those pesky lighting issues. Ready to become a ballast-testing pro? Let’s do this!
Detecting a Bad Ballast: A Practical Guide
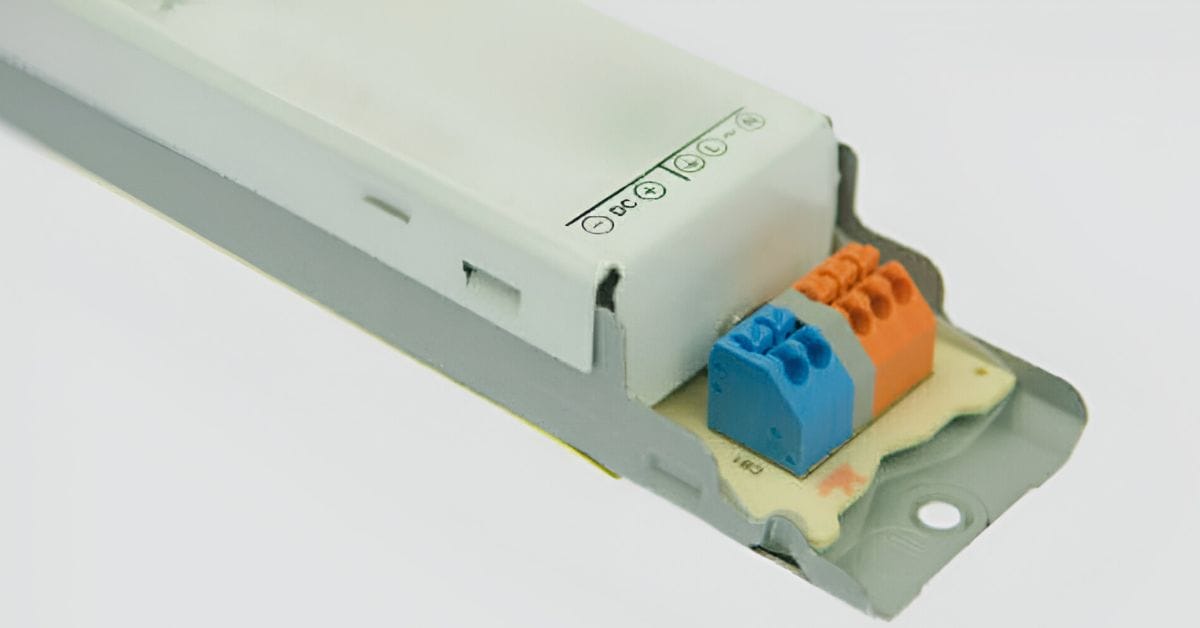
Let’s talk about figuring out if you’ve got a bad ballast on your hands. If you’ve ever dealt with fluorescent lights, you know the ballast is the unsung hero. It keeps the current in check and ensures your bulbs don’t turn into mini fireworks.
Why Check the Ballast?

In my time, I’ve seen plenty of fluorescent bulbs go kaput; often, the culprit is the ballast. The component steps up the voltage to start the bulbs and then regulates the current for smooth operation. Without it, you’re feeding raw 120-volt power to your bulbs, and trust me, they don’t like that.
The Telltale Signs
- Buzzing Noise: This is your first clue. A healthy ballast is like a good friend – supportive and silent. If it starts buzzing, it’s time to take a closer look.
- Flickering or Dimming Lights: If your lights are putting on a disco show without your consent, it could be a sign of a ballast issue.
- No Light at All: When the lights don’t come on, and you’ve ruled out the bulb as the problem, the ballast might be the next suspect.
How to Check It
- Safety First: Always, and I mean always, turn off the power before you start poking around. Safety glasses and gloves aren’t a bad idea either.
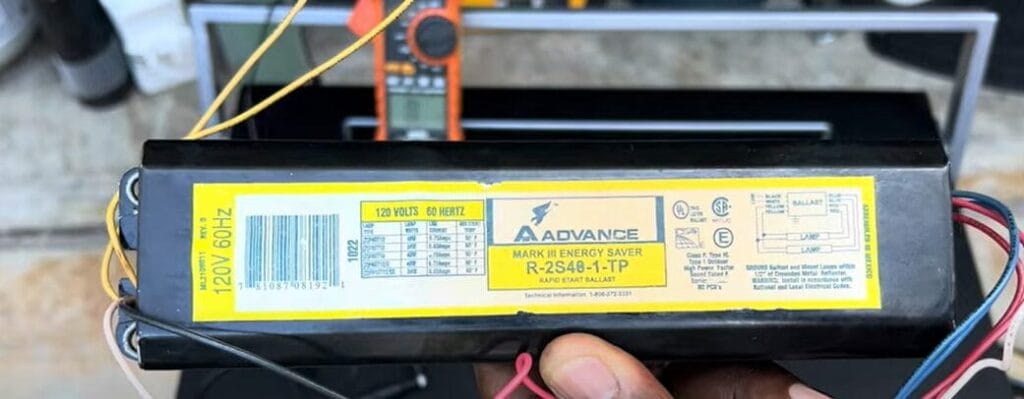
- Visual Inspection: Sometimes, the problem is as clear as day. Look for any signs of damage or discoloration on the ballast.
- The Multimeter Test: This is where it gets technical. Grab your multimeter and set it to the ohm setting. Disconnect the ballast and test the wires. If you’re getting weird readings or no continuity, the ballast likely has seen better days.
- Swap Test: Swap the ballasts if a similar light fixture works fine. If the problem follows the ballast, you’ve got your answer.
In conclusion, keeping an eye (and ear) on your ballasts is key to maintaining a happy, well-lit space. Remember, if your lights start acting up, don’t just blame the bulbs – give the ballast some attention, too.
Step by Step in Testing A Ballast with a Multimeter
Today, we’ll dive into a task that might seem daunting at first, but trust me, it’s a breeze with the right tools and a bit of know-how. We’re talking about testing a ballast with a multimeter.
Grab your multimeter, roll up your sleeves, and let’s get started. It’s time to turn those confusing numbers and wires into a straightforward, successful DIY project. Ready? Let’s do this!
Step 1: Set Up Your Multimeter
- First, grab your multimeter and set it to the ohms (Ω) setting. Look for the ‘k’ symbol next to ohms.
Step 2: Prepare for Testing
- Attach an alligator clip to your multimeter’s black (negative) lead. This makes it easier to handle.
Step 3: Connect to the Ballast
- Connect the other end of the black lead with the alligator clip to the white wire on the ballast. This is your neutral or common wire.
Step 4: Test the Ballast Wires
- Now, use your multimeter’s red (positive) lead to test the wires from the ballast. You’ll typically have red, yellow, and blue wires.
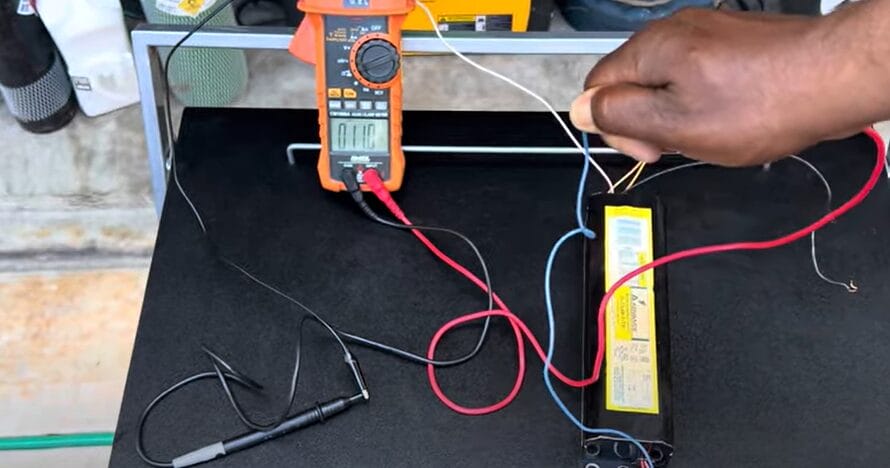
Step 5: Check for Continuity
- Touch the red lead to each wire. A good ballast will show no reading or continuity on the multimeter for each wire.
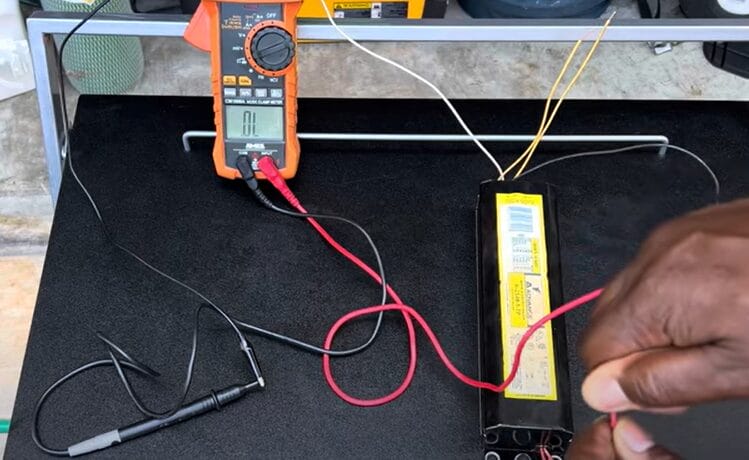
Step 6: Identify Any Faults
- If the multimeter beeps or shows a reading on any wire (indicating continuity), it suggests a problem with the ballast.

Step 7: Confirm and Take Action
- Double-check your readings for accuracy. If the ballast is faulty, consider replacing it. Ensure you get the right type for your fixture.
And there you go! Just seven steps to test your ballast. Safety is paramount, so if you’re uncomfortable doing this, don’t hesitate to seek help. Happy fixing!
Troubleshooting Tips
Let’s investigate some troubleshooting tips for testing a ballast with a multimeter. I’ve encountered my fair share of hiccups and picked up a few tricks.
| Common Problem | Description | Solution |
|---|---|---|
| Incorrect Multimeter Setting | Not setting the multimeter to measure resistance (ohms), leads to incorrect readings. | Double-check that your multimeter is set to the correct measurement mode before starting. |
| Inconsistent Readings | Possible loose connections can cause fluctuating or incorrect readings. | Check all wire connections to ensure they are secure and properly connected. |
| Aging or Worn Ballast | Older ballasts can fail or provide misleading readings. | Consider the age and physical condition of the ballast. It might be time for a replacement. |
| Low Resistance Reading | A very low resistance reading often indicates a short ballast. | Investigate for a potential short in the ballast. Replacement might be necessary. |
| Safety Concerns | Risk of electric shock or short circuits while testing. | Always turn off the power supply before beginning any testing to ensure safety. |
Remember, these tips come from personal experiences and common scenarios encountered in the field. Safety should always be your top priority; consulting a professional is best if you’re ever in doubt.
Comparison of Ballast Testing Methods
When testing ballasts, you can use a couple of methods. I’ve had my fair share of experiences with these, and each has pros and cons. Let’s break them down:
Multimeter Method
Pros:
- Accuracy: Using a multimeter for testing ballasts is highly accurate. You get precise readings on resistance, which is crucial for diagnosing issues.
- Versatility: Multimeters aren’t just for testing ballasts; they’re handy for a whole range of electrical diagnostics. So, it’s a tool with multiple uses.
- Immediate Feedback: You get real-time readings, which is great for quick diagnostics.
Cons:
- Learning Curve: If you’re new to using multimeters, there’s a bit of a learning curve. Understanding how to interpret the readings can take some time.
- Safety Risks: Direct contact with electrical components is required, so there’s a higher risk if improperly handled.
Lamp Swap Method
Pros:
- Simplicity: This is as straightforward as it gets. Swap the lamp from a fixture that’s not working with one you know is working. If the lamp lights up, the ballast is likely fine.
- No Special Tools Required: You don’t need any specialized equipment, just another working lamp.
Cons:
- Limited Diagnostics: This method only tells you if the ballast is completely dead. It won’t help in identifying issues like reduced efficiency or impending failures.
- Time-Consuming: If you have multiple fixtures, this method can be time-consuming.
Ballast Testing Device
Pros:
- Specificity: These devices are designed specifically for testing ballasts, so they can sometimes provide more detailed diagnostics than a general-purpose multimeter.
- Ease of Use: They’re often more straightforward than a multimeter, especially for those unfamiliar with electrical diagnostics.
Cons:
- Cost: These specialized tools can be more expensive than a standard multimeter.
- One-Trick Pony: Unlike a multimeter, a ballast testing device is only good for this specific task.
In my experience, while the multimeter method requires a bit more know-how, it’s the most versatile and informative approach. However, the lamp swap can be a handy alternative for quick checks or if you’re uncomfortable with a multimeter.
And if you’re doing this kind of work regularly, investing in a ballast testing device might be worthwhile. Remember, the right tool for the job can make all the difference.
References
Organizations:
- Illuminating Engineering Society (IES). https://www.ies.org/
- National Electrical Manufacturers Association (NEMA). https://www.nema.org/
Books:
- “Handbook of Practical Electrical Design” by Joseph F. McPartland and Brian J. McPartland. https://www.abebooks.com/9780070466425/Handbook-Practical-Electrical-Design-McPartland-0070466424/plp
- “Electrical Wiring Commercial” by Ray C. Mullin and Phil Simmons. https://www-origin.abebooks.com/servlet/BookDetailsPL?bi=31661907133
Website Resources:
- Fluke Corporation Website. http://www.fluke.com/
- The Spruce. http://www.thespruce.com/
- All About Circuits. http://www.allaboutcircuits.com/
Video References:
Welding and stuff