5 min read
How to Solder Speaker Wire (Guide with Photos)
Whether you are someone who loves doing DIY projects or are excited to learn something new, soldering speaker wires is something you can do without being a professional electrician. This guide will show you how to solder speaker wire in detail and give you some helpful tips to avoid oxidation(rust).
The easiest way to solder a speaker wire is to begin by putting a shrink wrap tube on the wire before striping the end of the wire. Next, work on the pre-tin process by using a suitable solder. After that, you simply need to crimp the wire into a banana clip, solder the crimp, and to wrap it off, shrink wrap the crimp area to fend off oxidation.
What are the Materials Needed to Solder a Speaker Wire?
Before starting to solder the speaker wires, it’s important to have all the required materials and tools to avoid unnecessary delays and interruptions.
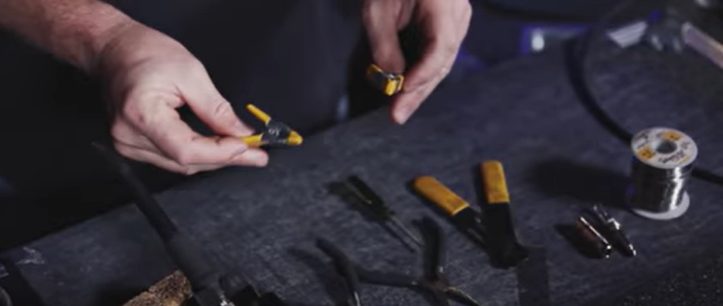
Here’s a list of the materials needed to solder a speaker wire which you can easily purchase from a hardware store or online:
- Soldering iron
- Suitable solder
- Flux that matches with the solder
- Wire cutters or wire strippers
- The right gauge speaker wire
- Heat shrink tube
- Heat gun or an alternative source of heat for shrinking the tubes
What are the Recommended Fluxes and Solders?
- KappZapp7 is best suited for copper or copper paired together with Kapp Copper Bond Flux.
- KappAloy9 is best suited for aluminum, aluminum paired, or copper paired with Kapp Golden flux.
What is the Procedure for Soldering the Speaker Wire Directly to Speaker Tabs?
Soldering speaker wires to speaker tabs might seem like a complex technical task that would require the assistance of mechanics or technical experts but this is not the case. With the right instructions and required materials and tools, you can solder a speaker wire all by yourself.
Follow the steps listed below to solder your speaker wires quickly and easily:
Step 1 – Firstly turn down the sound system power.
Step 2 – Next make sure to disconnect it from the electrical outlet. Make sure there is no power flowing through the sound system before continuing.
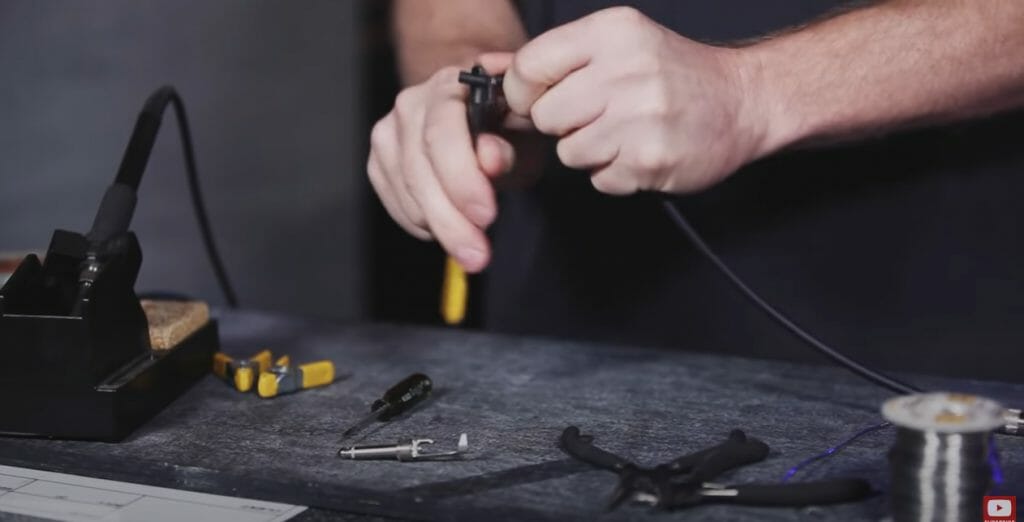
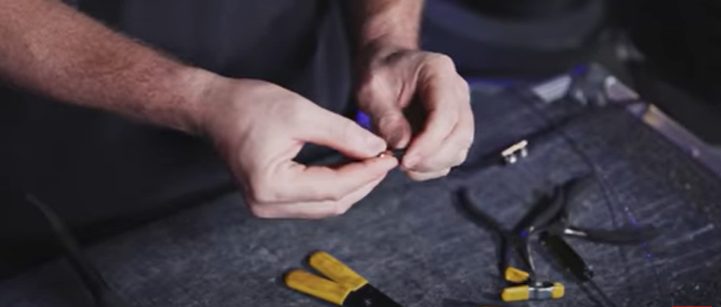
Step 3 – Slowly start splitting the ends of the new wire a few inches downwards. Then start stripping the wire endings. Before soldering, always place the heat shrink tube on top of the wires.
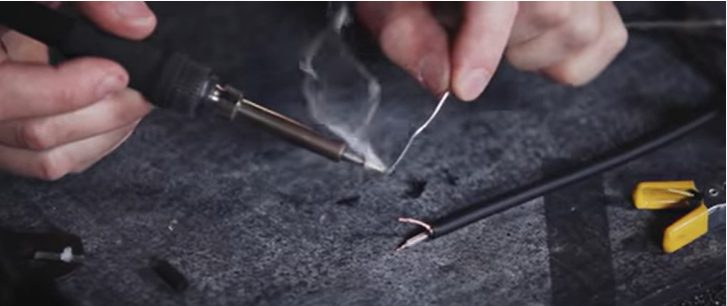
Step 4 – With the help of a heated soldering iron operating at the right temperature, apply some Kapp flux to the wires. Do not overdo this. The purpose of applying flux is to get rid of the oxide coating and a minimal amount of flux would suffice for this. (1)
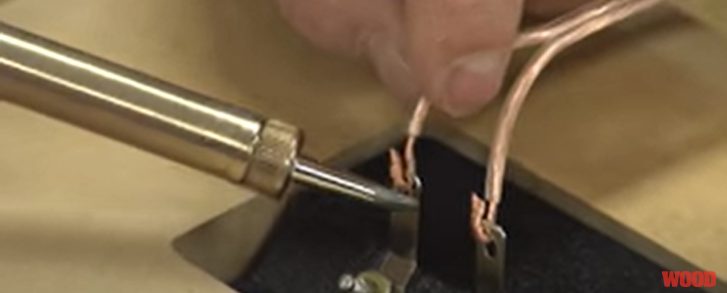
Step 5 – It is best to place the soldering iron at a level lower or below the wires to ensure that it gets heated to the ideal temperature for soldering.
Step 6 – The flux will start boiling and changing color from its original color to a darker, brown shade once the wires have started heating up. To solder the wires, touch the solder wire to the speaker wire and associated tabs. Avoid melting the solder with the soldering iron as this would ruin any attempts at soldering the speaker wires. (2)
Step 7 – Give it a few minutes for the heated solder wires to cool down completely. Use a wet rag or Q-tip to get rid of any flux residue. Once the joint is well dried, slide the heat shrink tube over the joint with a heat gun.
Step 8 – Connect the ends of the new speaker wire to the amplifier.
Step 9 – Now you have completed the soldering process. Simply get the sound system started and enjoy to your heart’s content.
Wrapping Up
Soldering is a simple process that can be done from the comfort of your own home using commonly available materials and tools. I hope you found this step-by-step guide on soldering speaker wires helpful and useful.
Take a look at some of our related articles below.
- How to wire speakers with 4 terminals
- How to cut wire without wire cutters
- What gauge speaker wire for subwoofer
References
(1) oxide coating – https://www.sciencedirect.com/topics/materials-science/oxide-coating
(2) boiling – https://www.thoughtco.com/definition-of-boiling-604389
Video References
Full Sail University
WOOD magazine