14 min read
How to Extend Speaker Wire (4-Methods)
You have your speakers and stereo set up and ready to connect, but you find out that your speaker wire isn’t long enough. Of course, the quick fix is to twist the wires and tape them. However, this is not the best long-term option because the wires can come apart and disrupt your system. The good news is that there is a permanent solution to extend speaker wires.
In this post, we will look at four methods to extend your speaker wire.
Let’s check these methods out below!
You can extend a speaker wire using the following four methods.
- Cut and strip
- Twist and tape
- Crimp the connector
- Solder the wire
With these four easy methods, you can extend speaker wires on your own and without the need for an electrician.
Method 1: Cutting and Stripping
Step 1: Check to see that the speaker is not connected. This is important as you can get seriously injured if the speaker is connected to power while working on it. First, unplug the speaker from the power source and disconnect the wire from the amp.
Step 2: Get a replacement speaker wire that is the same size as the existing wire. To extend the speaker wire and get the best output, use stranded wire that is the same AWG as the existing wire. To check the gauge size, check the side of the wire.
Some speaker wires have the gauge printed on them. If yours doesn’t have it printed, put the wire in the hole of the wire cutter to see if the hole fits the best. When you have found the hole that best fits, check the printed number beside the hole.
That is the number of the wire gauge. Note that speaker wires vary from 10 AWG to 20 AWG. However, 18 AEG is the most popular of all sizes and it is often used for distance connections of up to 7.6 meters.
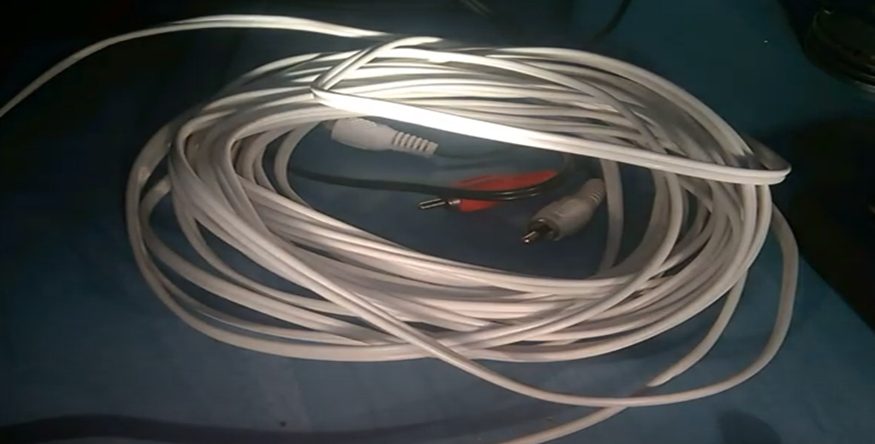
Step 3: Using a tape measure, measure the speaker wire to find the length of wire that you need. Make sure you add a minimum of one to two feet to the measurement you get.
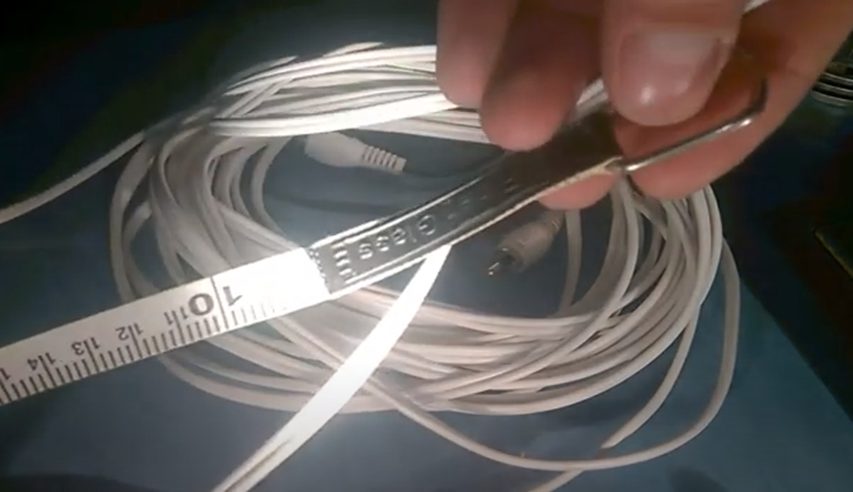
That is because you will need extra slack in the wire so as not to put too much tension on it as this can damage the speakers’ or amp’s connection. It can also make the wire pull free apart. After measuring, use a wire cutter to cut the wire to the measured length.
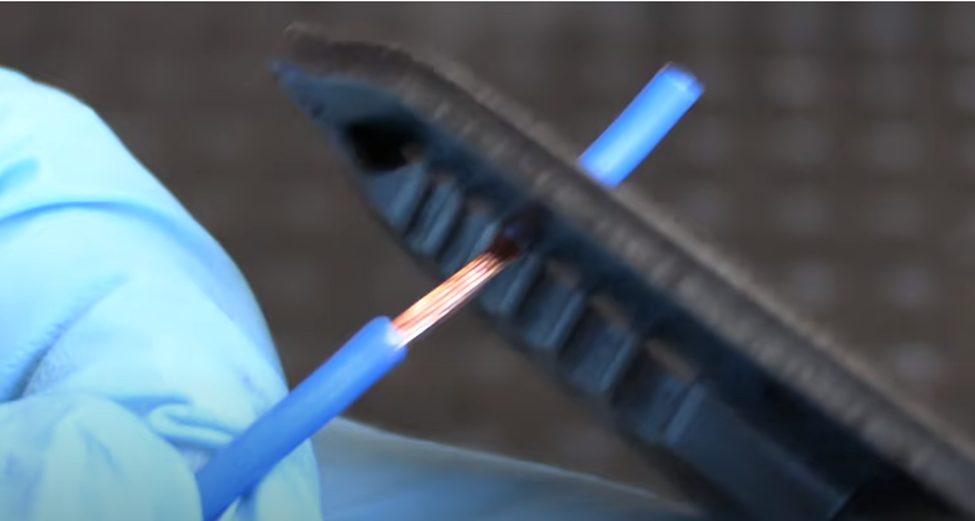
Step 4: Now, the loudspeaker cable should look like two small connected tubes. Separate them carefully to form a “Y” shape. Next, clamp a wire stripper to about a half from the wire’s end and squeeze it firmly to hold it in place.
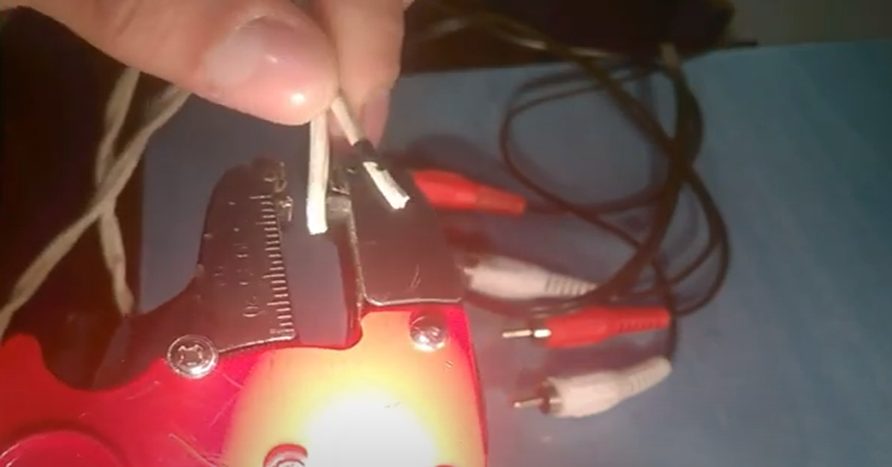
Do not hold it too tightly so it doesn’t destroy the wire. Next, firmly pull at the wire to let the insulation slide off. This will expose the bare wire. You should do this for the negative and positive sides of the extension wire.
Method 2: Twisting and Taping
Step 1: Locate the positive ends of the existing wire and the extension and using your fingers, carefully spread the strands apart to extend the speaker wires‘ contacts. Next, interlace both bare wire pieces through each other to make a “V” shape at the base.
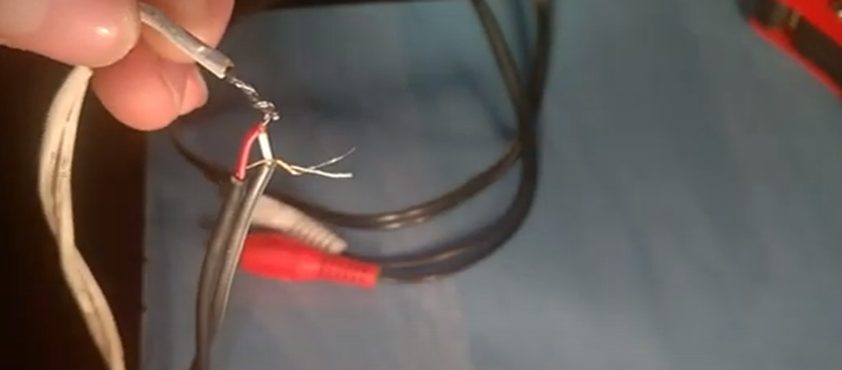
Now, twist them clockwise until they are tightly connected. If you notice any colors on the sides of the wire, take note as those indicate negative and positive. If one side is gold and the other is silver, the gold is the positive and the silver is negative.
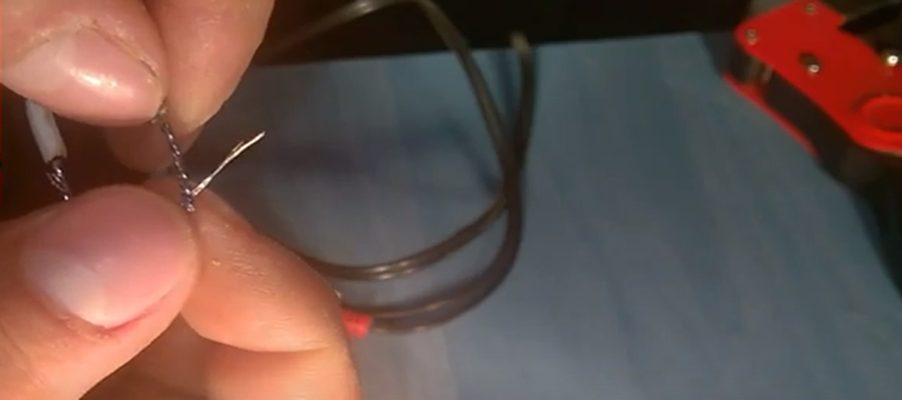
Step 2: The next step is to take the remaining two pieces of bare wire, which are the negatives. Twist both together as you did for the positives by interlacing the strands to achieve a “V” shape. Next, spin the wires and wound them tightly together.
Step 3: Pick the positive wires and wrap the tape around the insulation continuously to create a spiral shape. Make sure you cover all parts of the bare wire on the side of the twist connector. Repeat this same step for the negative side.
Ensure that no part of the bare wire is showing. If any part is bare and the negative and positive sides touch, the speaker can short out and damage permanently. You can also get shocked if you mistakenly touch the bare wire when the speaker is working. Also, ensure that the speaker wires are properly taped by tugging at them.
Step 4: Combine the taped negative and positive wires and let the tape go around the wire one more time. This is to join the separate wire pieces together so you don’t have any weak spots on the wire.
Make sure you press the two sides of the wire together as you wrap them with more electrical tape and make turn them into a single secure wire. Make sure you use enough tape pieces to secure and stabilize the wire.
Also, keep an eye on the wire because it can loosen with time if you move it around a lot or put too much pressure on it. If you notice that it is loosening, wrap it again with tape to secure it. A loosened wire can lead to a short that may destroy your speaker and stereo equipment. (1)
Method 3: Crimping the Connector
Step 1: Using your fingers, tightly twist the negative and positive ends of the wire pieces until they both merge into a single strand of wire.
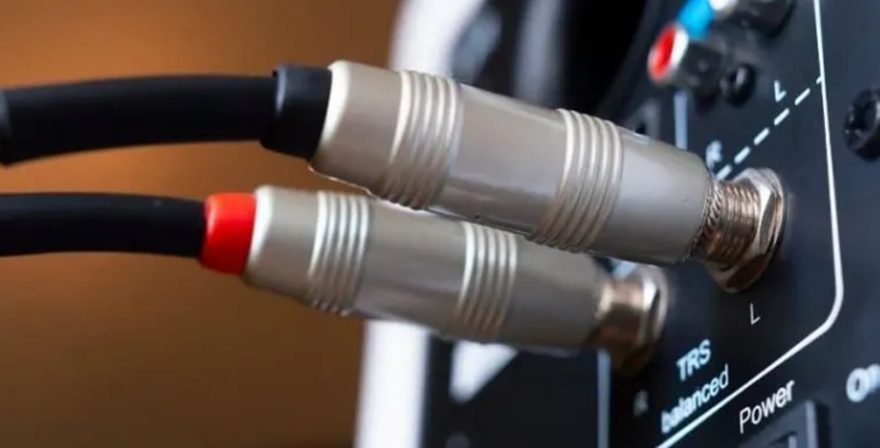
Step 2: Look at the speaker wire to locate the side that is stamped, gold, red, or printed. If you see any of these colors or features, know that it is the positive side. Next, look for the negative end of the extension wire.
Make sure you keep a tab on the side that is positive and the negative. This is to ensure that you don’t attach a negative wire to a positive one as this can permanently damage the speakers.
Step 3: Next, place the positive end of the existing wire into the first crimp connector. Let the wire go as far as the bare wire can go. Next, insert the positive extension wire end into the other end of the crimp connector.
Now place the negative ends of the speaker wires into the second connector like you did the first. Make sure that no part of the bare wire is showing on both sides. If you notice any, pull out the end of the wire where it is showing and cut the bare to make it shorter.
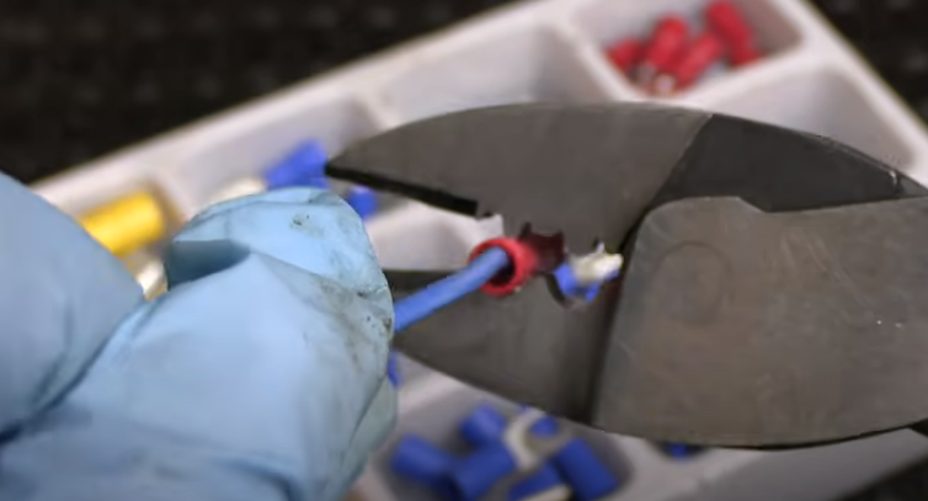
Also, ensure you select the right crimp connectors for the type of wire you are using. Crimp connectors are often color-coded. Red is for 18-22 AWG while Blue is for 14-16 AEG and Yellow for 10-12 AWG.
Another thing you may want to take note of is the naming of the crimp connectors. They can sometimes be referred to as butt splices or butt connectors. If you see either of these names, know that they are referring to the same thing.
Step 4: You need a crimp tool to complete this fourth step. A crimp tool looks like a wrench but with spaces in-between the jaws for placing wires. Now put one end of a crimp connector into the space in-between the haws and clamp down hard to crimp the connector to the wire.
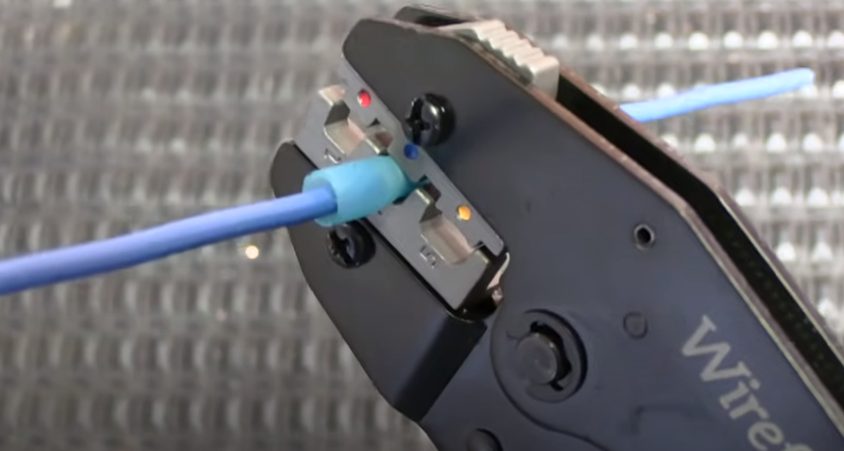
Repeat the process for the other side of the crimp connector. When you crimp the connector, the process locks it to the wire, which will create a permanent splice. You should not use pliers or other tools to crimp the wires as they would not securely hold the connector in place.
Step 5: Now that you have the wire in the crimping tool, pull at the wire gently to see if it is properly secure. If it is loosened, then it is not secure properly and you have to start again with a new set of connectors. If the wires are secure, wrap the connectors using electrical tape. This will give it additional stability.

Step 6: If you do not have a crimp connector, you can use a wire nut as a fast alternative. Wire nuts function like crimp connectors but are not as secure. To use a wire nut, push the positive ends of your speaker wires side-by-site into the wire nut and turn the nut in a clockwise motion to intertwine them. Repeat the process for the negative ends.
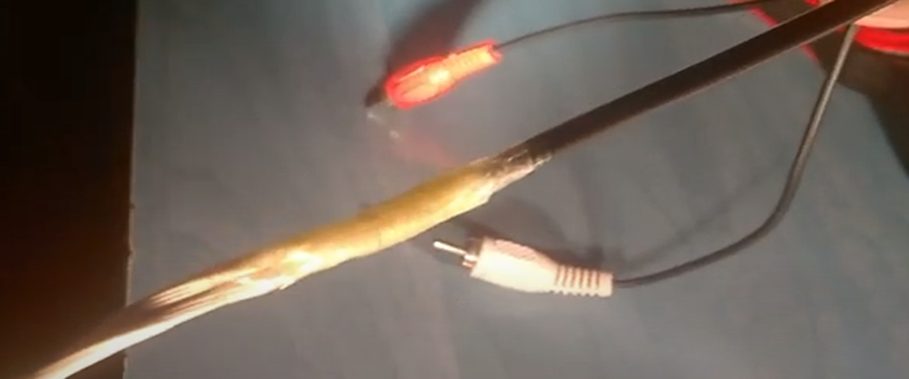
Method 4: Soldering the Wire
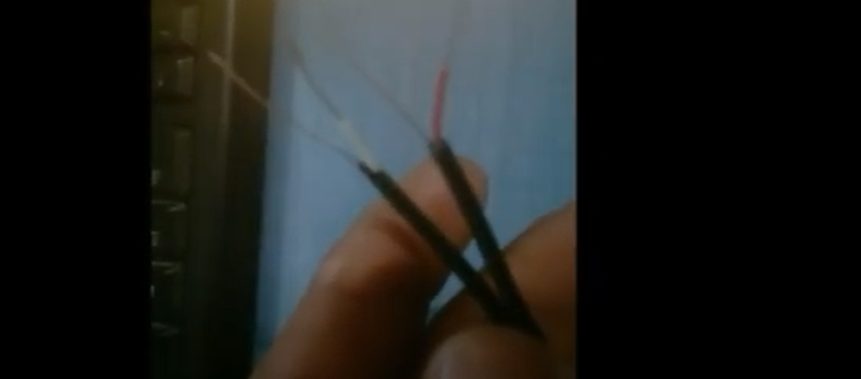
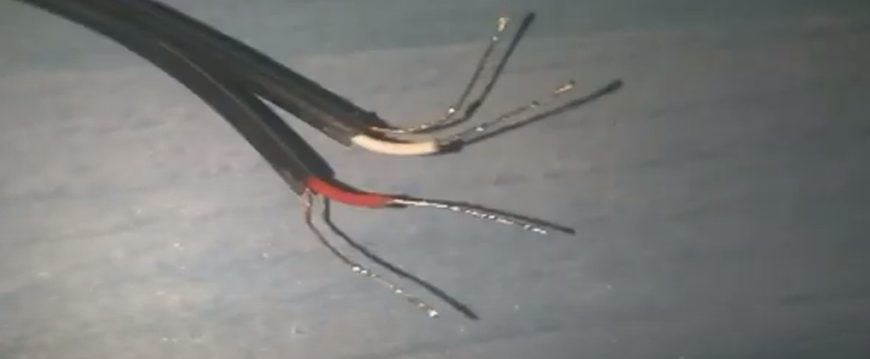
Step 1: First, locate the positive ends of the wires. You will know the positive wires by the stamped or printed label on them. The positive side may be red and the negative black or it can be gold and the negative will be silver.
Gently place the bare ends of each positive over each other to create an “X”. Next, move one side of the wire to your side and the other away from you and twist both wires. Continue twisting until both wires are firmly connected.

Now, neatly tuck in the ends of the wire and ensure that they are not sticking up. They can pierce through the tape you will use at the end if they stick up.
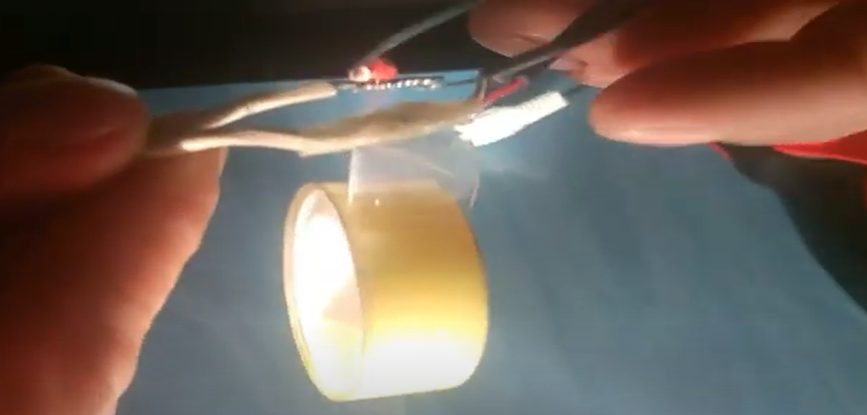
Step 2: Hold the wires off from the work surface with clamps. You should make sure that the wires are not directly placed on a surface that can be damaged, such as a wooden table. That is because solder often generates and uses high heat, which can burn wood or melt plastics.
Clamps are hand devices that you can use to lift the wires. If you don’t have this, you can always improvise. Using two alligator clips; gently clamp the wire and stand the clips on end. Try to avoid bumping the wire or clips as you work because the alligator clips would not tightly secure the wires and bumping the clips can make them come off.
Step 3: Next, put the tip of a hot solder iron on the twisted bare wire and put a stick of solder on the wire. Wait for the iron to heat the solder properly. The solder will melt when it gets very hot and you will see it flowing over into the speaker wire. Completely coat the wire from one end to the other with the solder.

Step 4: Now unclamp the wire and turn it gently over to expose the bottom. Next, melt the solder again and place it over this side until you completely cover the bare speaker wire. If you have ample space to maneuver the wire, simply hold the soldering iron and solder the underneath part of the wire, and wait for it to melt.
When you are done soldering the wire, wait for it to cool for about ten minutes before you hold it. Do this for the negative sides to connect the wire.
Step 5: Although you have the solder coating on the wire, you should still insulate it. That is because the solder is conductive and if the negative and positive sides of the wire touch, it will short out. Therefore, use electrical tape to wrap the splice going from one end to the other until the insulation is fastened in place.
Repeat the process for both the negative and positive sides of the speaker wire. You can pinch the negative and positive sides together and wrap both in electrical tape again to create a neat look. An alternative is to use heat shrink tubing for insulating the speaker wires.
To do this, put the tubing on the wires before splicing the ends. However, make sure you keep the wires away from the soldering iron heat. When the solder is cool, put the tubing on the splice. Next, use a hair dryer or heat gun to shrink it over the bare wire. (2)
Wrapping Up
There you have four different solutions to the question of how to extend the speaker wire. With this detailed guide, you should be able to extend your speaker wires on your own at home.
Take a look at some of our related articles below.
- How to wire speakers with 4 terminals
- What gauge speaker wire for subwoofer
- What gauge wire from battery to starter
Video References
Crazy Explosive Hacker
Make It Easy Mechanic