How to Mount Pegboard without Drilling
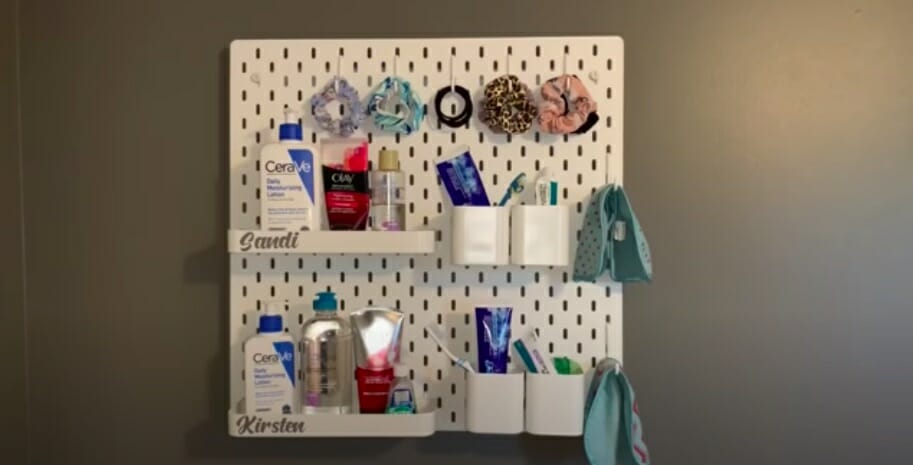
Installing a pegboard may sound straightforward, but it’s quite a process. In each step, precision is required to properly separate the command strips. Similarly, the bar and the spacers need to flush to avoid ending up with an inclined pegboard that cannot hold accessories well.
Being a handyman that’s done this before, I will take you through installing a pegboard using command strips.
In general, hanging a pegboard can be accomplished as follows:
- Inspecting the board to remove blemishes
- Install the bar and the spacers
- Install the command strips on the pegboard
- Use a level to establish the straight wall
- Clean the wall with alcohol – isopropyl
- Hang the pegboard
I will go into more detail below.
How to Install Pegboard Without Screws
What You Need
Get the following tools and materials:
- Pegboard piece
- Four screws
- Two spacers (should go under the board)
- A bar to seat on top of the pegboard
- Command strips
- Screwdriver
- A level
Step-by-Step Guide to Installing a Pegboard
Step 1: Inspect the Pegboard
Make sure you check for blemishes on your board, especially on the corners. Do it on either side so that you can rule out the best side to mount on the wall.
Step 2: Install the Bar on The Pegboard
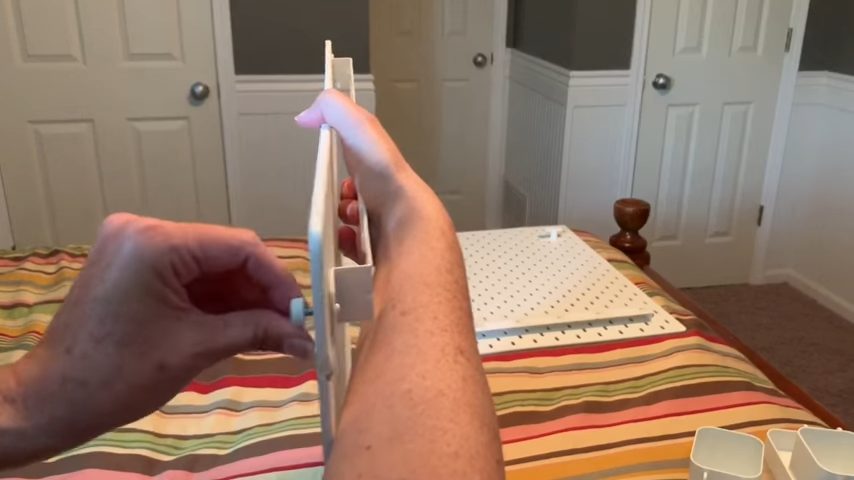
Attach the bar on the backside. Install it a few slots down from the edges. That way, you won’t have to install the bar on the holes to be used to hang your buckets or any other item.
To attach the bar, grab your screws and push them through the hole in front of the bar. Ensure the bar is firmly attached to the pegboard. Redo the procedure on the other side of the bar.
Step 3: Install the Spacers on The Bottom of The Board
The spacers will make the board flush with the wall. Otherwise, the board will hang on the wall carelessly or at an angle. Since you require something neat, ensure that you install the spacers as follows:
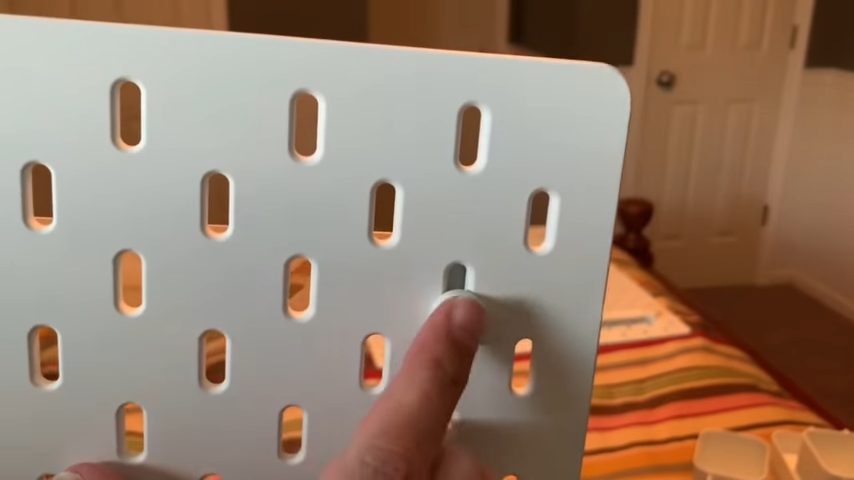
Identify the best location to install the spacers. I prefer near the edges. So, push the spacers through the back on the bottom side of the pegboard, and screw the spacer cover through the front side until it fits snugly. Install another spacer on the other end of the pegboard like you did the bar.
Hanging the Pegboard with Command Strips
After installing the bar and the spacers on the top and the bottom sides respectively, double-check if they flush so you don’t have an awkwardly dangling pegboard on the wall.
Well, it’s now time to mount the pegboard. I will use command strips in this guide. Follow the steps below to accurately hang your pegboard:
Step 4: Get-Command Strips
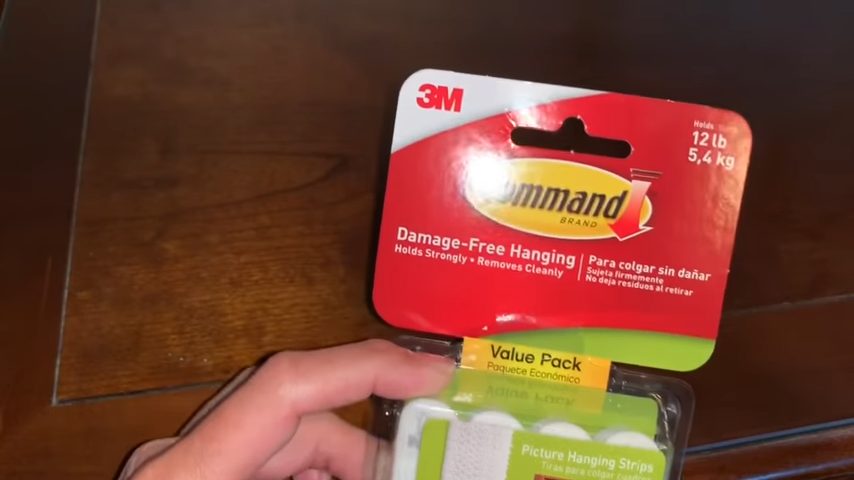
You may use 3M command strips or any others available to you. On the command strip package box, identify the maximum weight it can hold comfortably without falling apart. That way, you will avoid overloading the pegboard.
The command strips I’m using hold a maximum of 12 lb. or 5.4 kg and contain 12 pairs of command strips.
Step 5: Separate the Command Strips
The command strips are usually perforated. Get them out and separate them by wiggling — folding them back and forth. They tear up easily so you don’t have to worry about that.
You require six sets. So, tear apart 12 pieces of the velcro strips. Then, grab any two pieces of the velcro strips, align and push them together to make six sets.
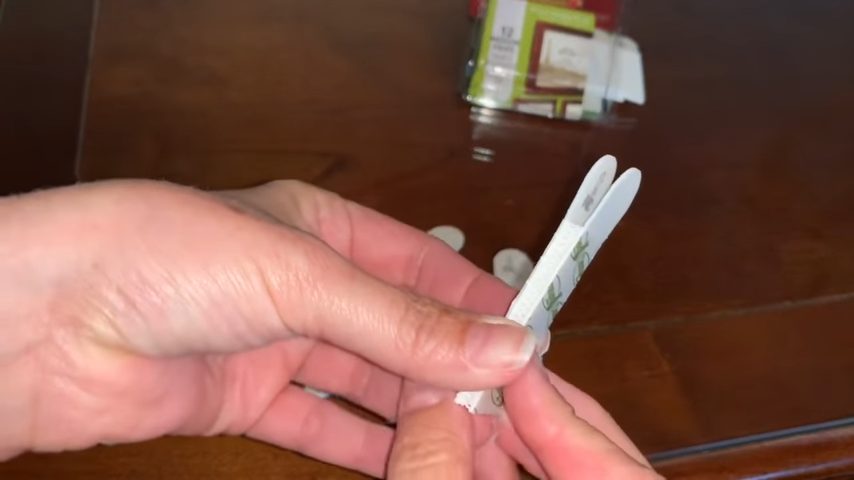
Tip. Squeeze the command strips until you hear them snap. That’s how you know they have held together.
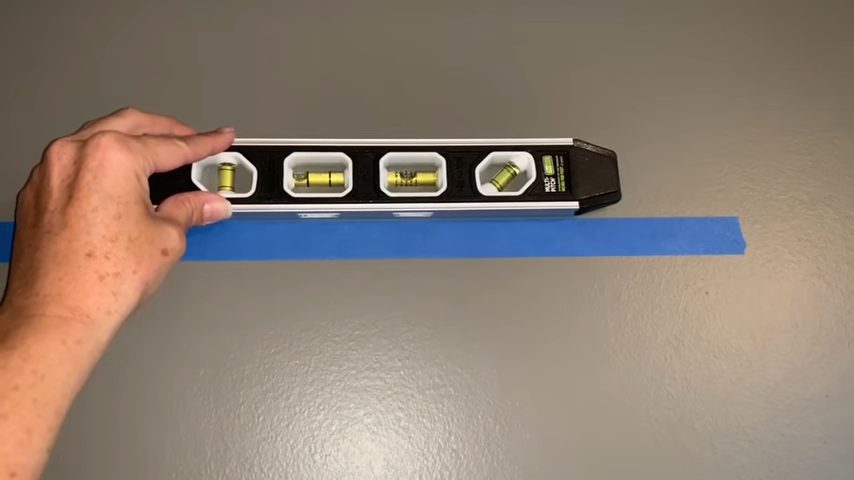
Step 6: Use a Level to Establish Straightness Before Pegboard Installation
Use blue strips to mark your levels.
Step 7: Clean the Wall with Isopropyl or Any Other Relevant Alcohol
Pour isopropyl on a rag and cleanse the wall. Oils, dirt, and another sort of debris tend to hinder proper hold.
Step 8: Install the Command Strips on The Pegboard
Install the six pieces of command strips on the bar (that you just installed on the pegboard).
To do that, peel the strip on one side of the command strip and press it down on the bar. Use enough pressure to press the command strips to make them adhere to the bar. The rule is simple, the harder you press the stronger the grip. The estimated time for pressing the command strips on the bar is 30 seconds. The process is bound to take some time since you have to install all six pieces of command strips.
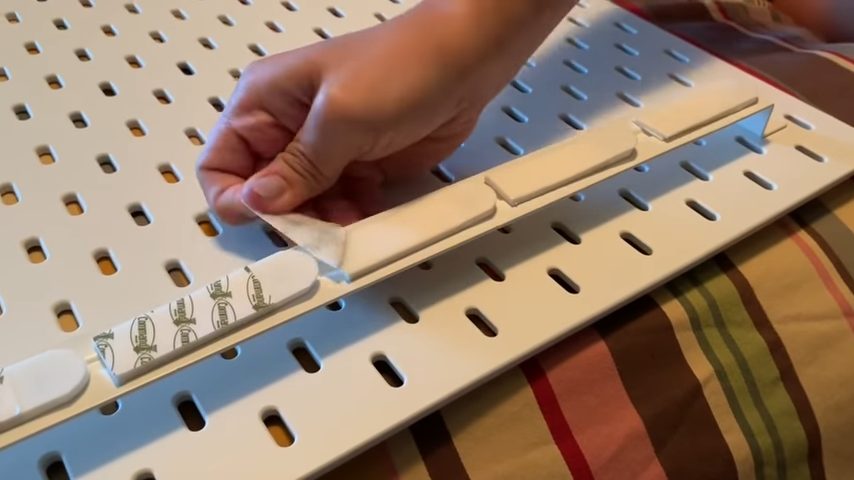
Tip. You can install some strips on the spacers for a better hold. Since the command strips are a bit longer, you could use scissors to split them into two, peel off the strip, and install the command strip on each spacer on the back of the pegboard.
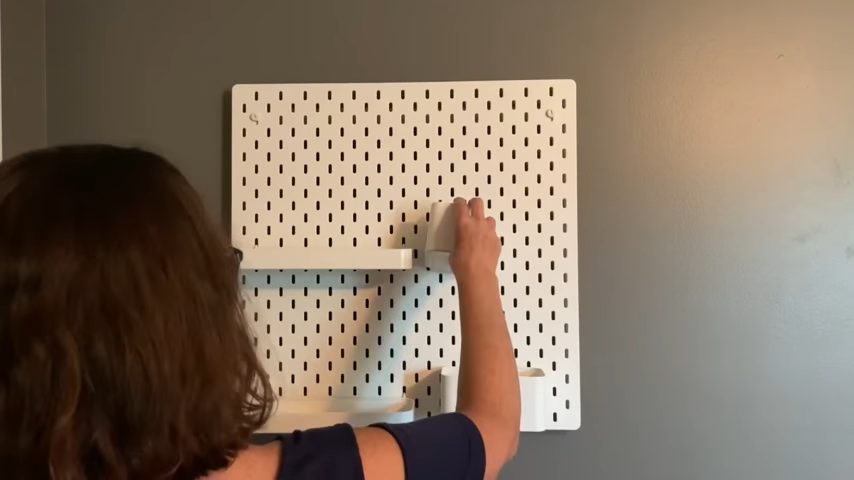
Step 9: Hang the Pegboard
Now that you have the command strips installed on the bar and the spacers, it’s time to mount them on the wall.
So, pull the backing sheet or strips from the command strips to expose the other side of the command strips.
Next, pick up the pegboard carefully and press it on the marked space on the wall. Gently but firmly, press along the bar on the top and the spacer on the bottom. After pressing the pegboard for some time, pull the board out of the wall, ensuring the velcro strips stick to the wall – the velcro tabs should split so that the other half remains on the pegboard. Put down the board and keep pressing the velcro tabs for about 45 seconds. Now press the other set of velcro tabs that remained on the pegboard.
Wait an hour for the velcro tabs to adhere to their respective surfaces – the wall and the pegboard.
Step 10: Wrap up The Pegboard Installation
Unscrew the bar from the pegboard and align it with the velcro tabs on the wall. Press it until you hear the strips snapping. Keep pressing the bar back and forth until you are happy.
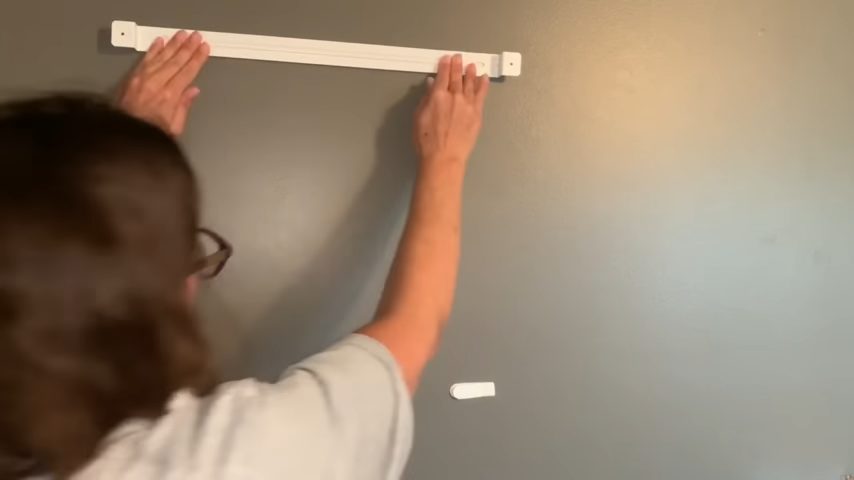
Now, lift the pegboard and install it on the bar by screwing it back just as you did before. Tighten it with a screwdriver.
Now you have your pegboard installed and you can add on all your favorite accessories. Again, while adding on accessories, don’t forget how much weight the strips can comfortably sustain.
Take a look at some of our related articles below.
Video Reference
My Inspiration Corner
