19 min read
How to Install Window Blinds Without Drilling? (4 Methods)

Hey everyone, are you looking to give your windows a fresh look but dread the thought of drilling holes into your beautiful walls? I get it.
As someone always tinkering around the house, I know the value of keeping things simple and clean. I’m excited to share some fantastic ways to install window blinds without drilling.
- Use magnetic blinds
- Use adjustable tension rods
- Use command strips/hooks
- Use self-adhesive blinds
We will explore four different methods with unique advantages, ensuring you find a solution that fits your windows and lifestyle. So, let’s dive in and transform those windows with ease and style!
4 Methods for Installing Window Blinds (Without Drilling)
This section will teach you methods to hang window blinds (without a power drill). I know there are many different internet techniques regarding this matter. But these are the most practical methods suitable for all DIYers.
Method 1 – Using Magnetic Blinds
Let’s dive into something that’s going to knock your socks off. We’re talking about installing window blinds without even thinking of a drill. Yes, you heard me right.
Magnetic blinds are the game changers here. No worries if your tool kit’s gathering dust because you won’t need it.
First off, let’s get our hands on some magnetic blinds. What are these, you ask? They’re just like your regular blinds, but instead of hooks or screws, they’ve got magnets.
Step 1 – Assemble the Magnetic Brackets
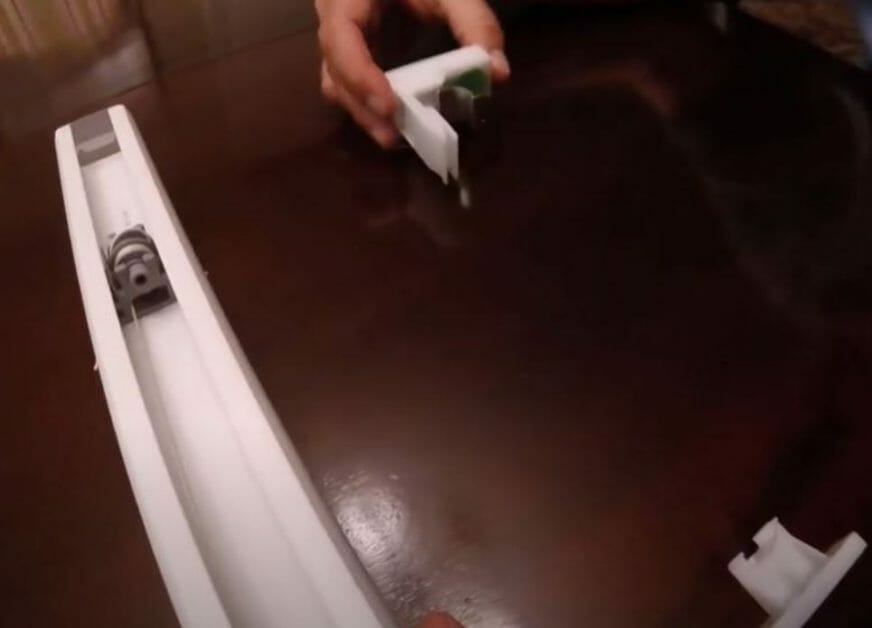
Start by grabbing the magnetic bracket. These usually come in two easy-to-handle pieces. No tools are needed here, just your hands. For this demo, I’m working with a Magna blind with three magnetic brackets. It’s as simple as connecting these two parts together.
Step 2 – Attract the Brackets to the Blind
Next up, you’ll attach these magnetic brackets to the window blind. It’s important to look at the user manual to see exactly where these magnets should go. Every blind is different, so a quick check ensures you’re spot on with the placement.
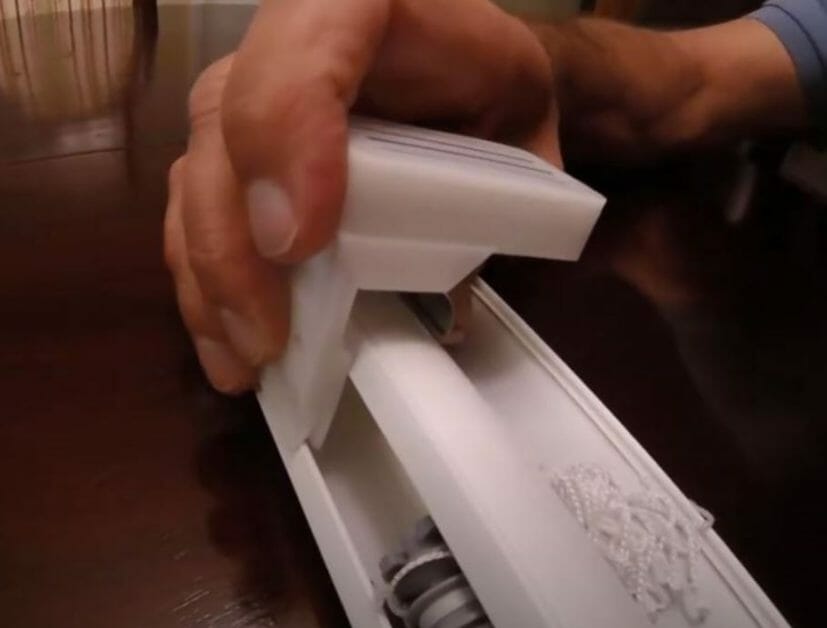
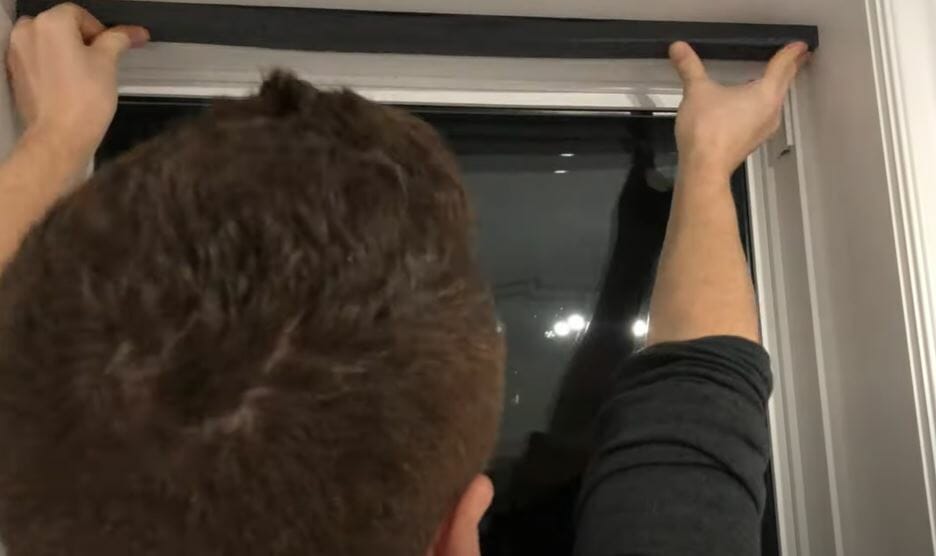
Step 3 – Attach the Blind to the Window/Door
The final step is what brings it all together. Take your blind, now with brackets attached, and align it with your window or door. The magnets do the heavy lifting here, snapping into place against the metal surface.
So there you have it. Magnetic blinds could very well be your next weekend project. Transform your space, let in the light on your terms, without making a single hole in the wall.
Method 2 – Using Adjustable Tension Rods
Let’s dive into another innovative solution for hanging those window blinds without turning your walls into Swiss cheese: using adjustable tension rods.
You can find them in various sizes, so ensure you’ve measured your window frame to get the perfect fit. Trust me, accuracy here is key.
Step 1 – Measure
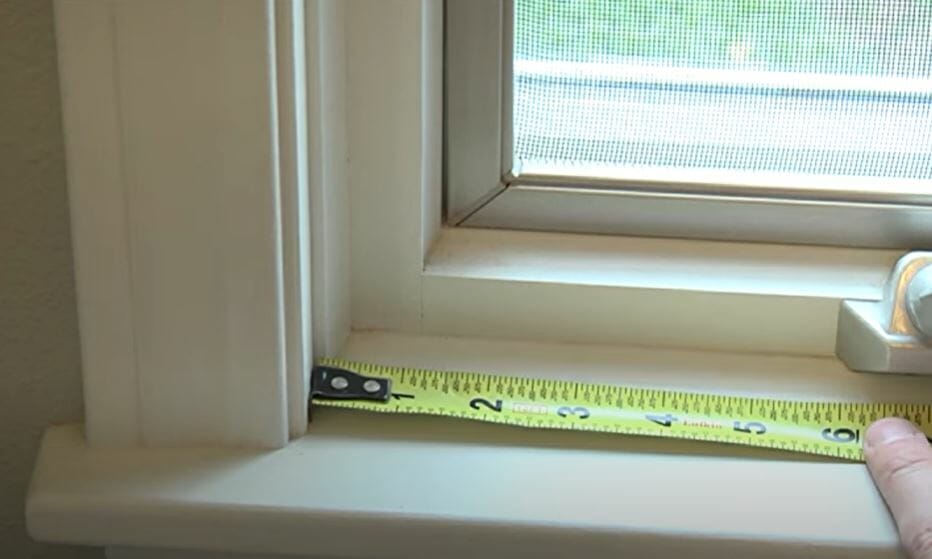
Start by measuring the inside width of your window. This is crucial for getting a snug fit. Once you’ve got that number, adjust your tension rod, making it slightly shorter—about two or three inches less than the window’s width. This little adjustment is key for a secure hold.
Step 2 – Place the Rod
Now, nestle that tension rod right into the window frame. You’ll want to ensure it’s level, parallel to the floor. This isn’t just about looks; it’s about balance and ensuring that your blinds hang correctly.
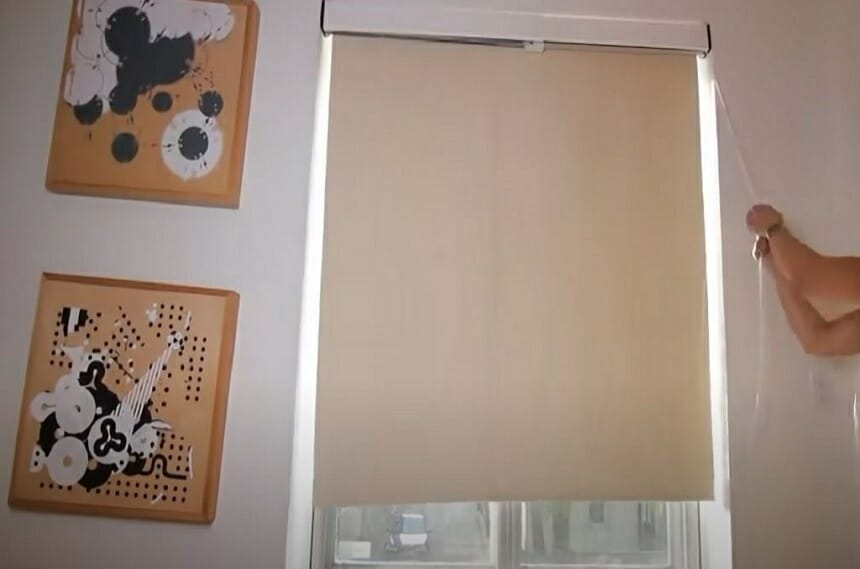
Step 3 – Tighten the Rod Properly
Here’s where it gets a bit technical, but stick with me. Extend the rod until it’s just the right width for your window. Then, find that locking mechanism—usually a string or a twist lock—and tighten it up.
This step is all about making sure that the rod doesn’t budge. If it’s loose, your blinds might take a tumble, and we don’t want that. Once everything’s tight and right, you’ll hang those blinds and let them do their thing.
Remember, the beauty of using adjustable tension rods lies in the simplicity and gentleness of your walls. It’s a brilliant solution for temporary spaces or anyone who’s a bit commitment-shy about permanent changes. Plus, who doesn’t love a quick and easy home update?
Method 3 – Using Command Strips/ Hooks
Let’s dive into a nifty little trick that will change the game for you – using Command Strips or Hooks to hang window blinds without making a single hole in your wall. This method is incredibly helpful, especially for renters or anyone hesitant to leave permanent marks on their walls.
Step 1 – Clean the Surface
First up, we have to prep the surface. Grab a clean cloth and give the area a good wipe to remove dust. Then, hit it with some rubbing alcohol. This step ensures that the command strips will stick properly and stay put.
Step 2 – Mark the Spots
Now, whip out your measuring tape. You’re going to measure where you want those strips to go. Mark it clearly on one side, then do the same on the other end of the window. Precision here means your blinds will hang straight and look sharp.
Step 3 – Attach the Command Strips
The next step is all about sticking things together. Peel off the protective cover from the command strip and press it firmly onto your marked spots. Make sure it’s secure before moving on to the next one.
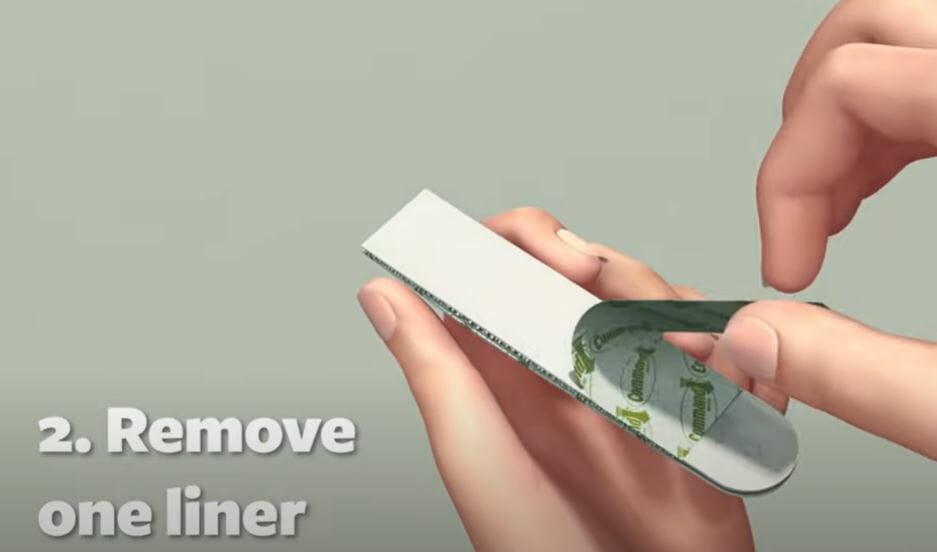
Step 4 – Peel off the Cover
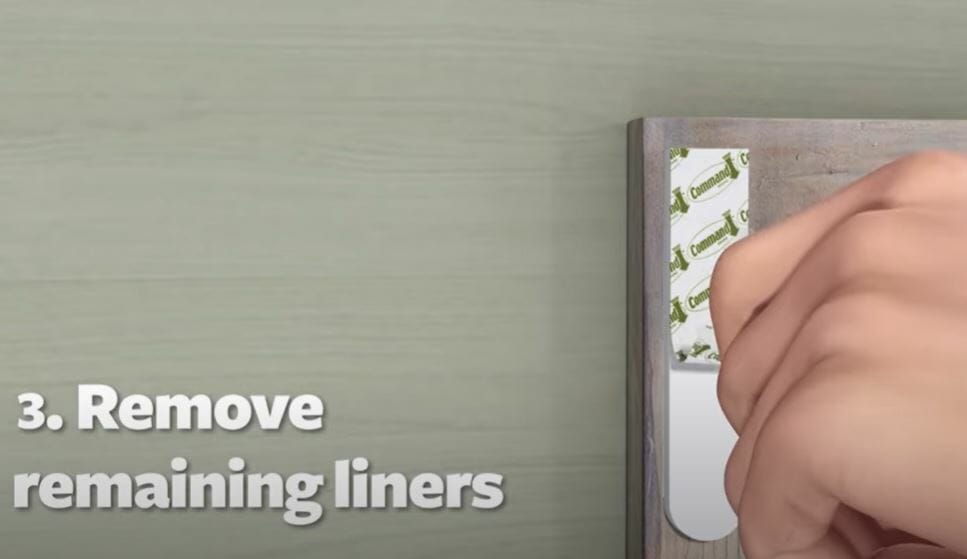
Here’s where the magic happens. Peel off the other side of the strip to reveal the sticky part. This will hold your blinds in place, so ensure you’ve got it exactly where you want it.
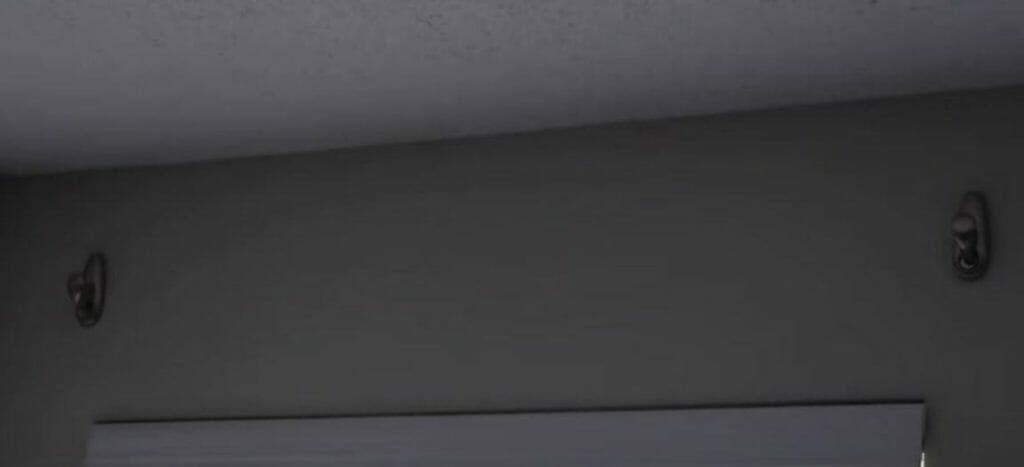
Step 5 – Hang the Window Blind
It’s time to get those blinds up. You can either stick the blind directly onto the strip or use a command hook for a bit more flexibility.
The beauty of this method? Flexibility. Want to change the style or color of your blinds? No problem. It’s as easy as unhooking one set and hooking on another. And when it comes time to move or remove them, No Trace is left behind – no filling holes, no touch-up paint needed.
So, there you have it—another clever, no-fuss way to upgrade your space without worrying about damaging your walls.
Method 4 – Using Self-Adhesive Blinds
This is a game-changer for everyone who wants to avoid the whole drill and hammer debacle. Self-adhesive blinds are not only super simple to install but also incredibly versatile. They’re like the duct tape of the window treatment world; they stick to pretty much anything!
So, here’s the scoop. These blinds come with a strong adhesive backing. It’s just a case of peeling the protective layer off and pressing them firmly against your window frame.
But wait, it’s not all about sticking them up and hoping for the best. There’s a bit of a trick to getting it just right.
Step 1 – Clean the Window Frame
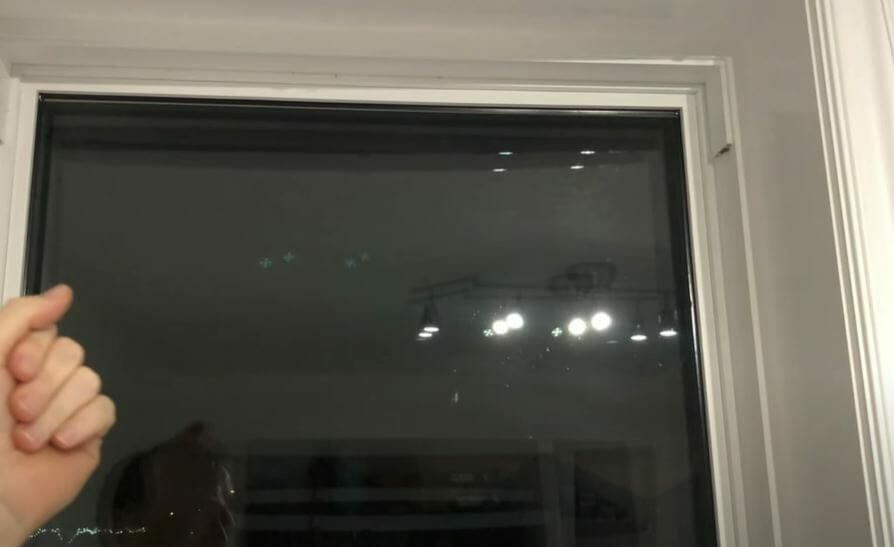
Let’s kick things off by giving that window frame a good scrub. The goal here is to ensure the adhesive sticks like it’s supposed to, so dust and grime have to go
Grab a cloth and some rubbing alcohol to get that frame sparkling. And hey, here’s a little pro tip for you: steer clear of regular household cleaners. They might leave the surface too slick for the adhesive to do its job.
Step 2 – Remove the Protective Strip
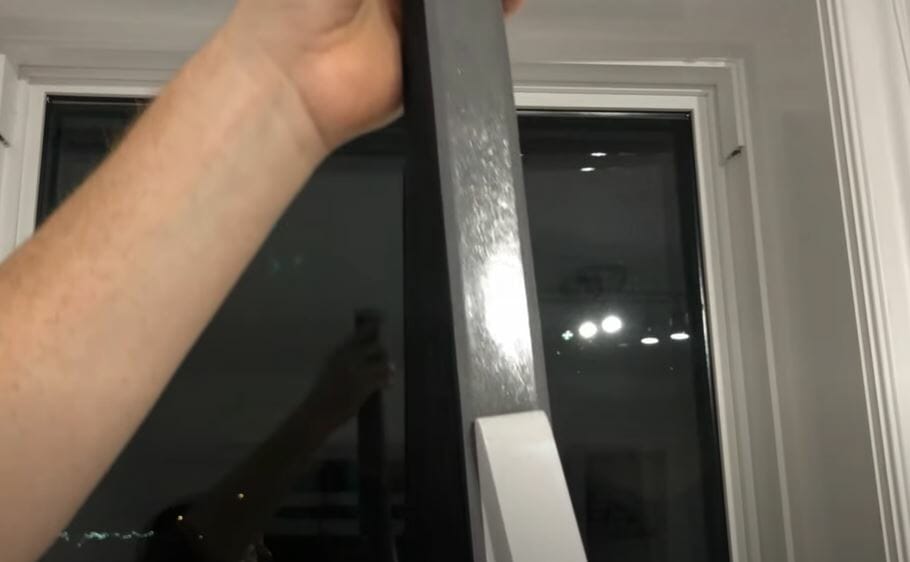
Now, onto the protective strip, keeping our adhesive nice and fresh. Gently peel that strip away to reveal the sticky side holding your blinds. This step feels like unwrapping a present – what you’re left with is the key to hanging your blinds without any drilling fuss.
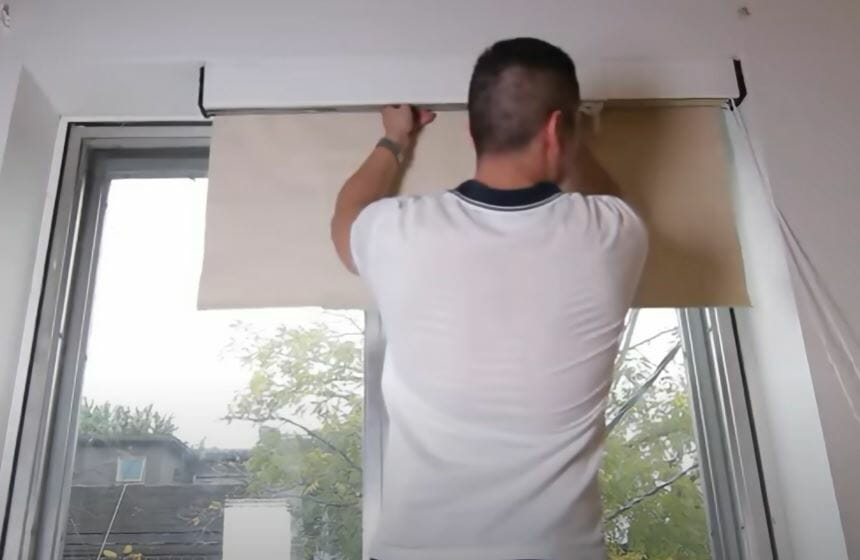
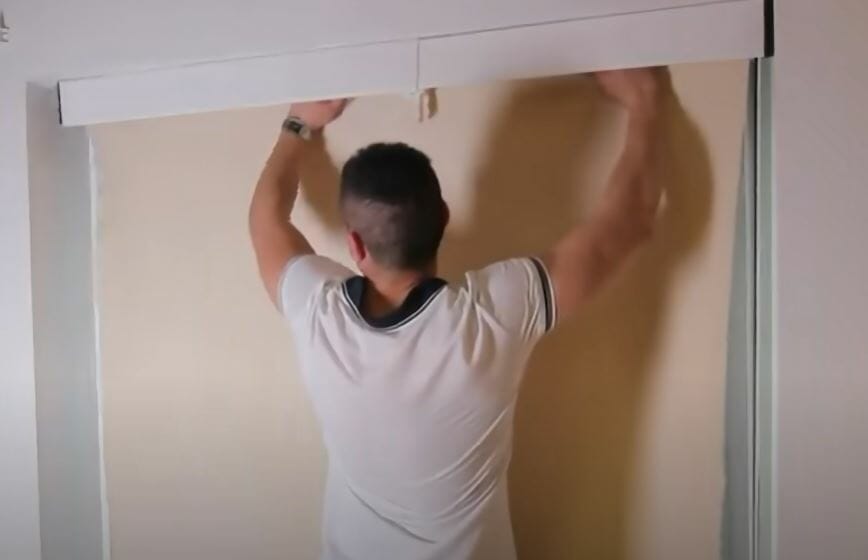
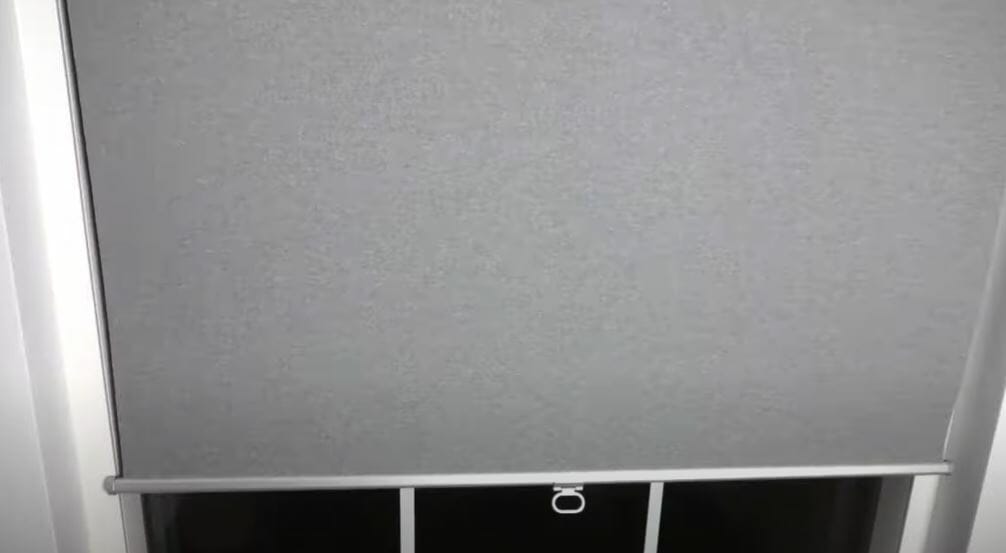
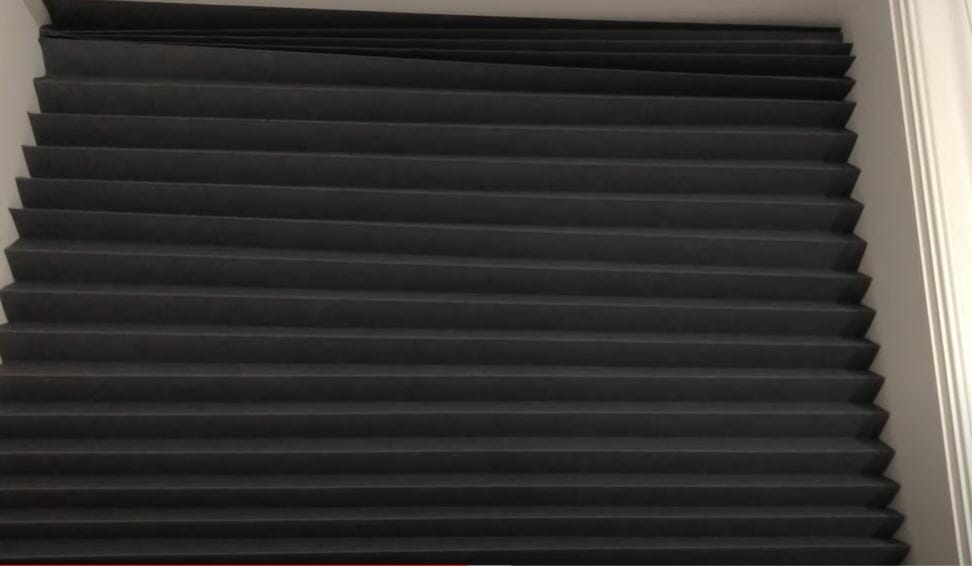
Step 3 – Attach the Window Blind
Here we are, the moment of truth. Take your self-adhesive blind and press it firmly against the upper part of the window frame. And if your blind comes with a buddy for the bottom, stick that part on as well.
Just remember to use both hands for a balanced and even attachment. Trust me, a little care here makes all the difference in getting a smooth, professional-looking result.
Installation is a breeze, and the best part is If you ever decide to switch things up, these blinds are just as easy to remove as they are to install. No fuss, no muss, and no damage to your walls or windows. How’s that for convenience?
A Few Things You Should Pay Attention To While Installing Window Blinds
Let me tell you, installing window blinds without drilling isn’t just about avoiding holes in your walls; it’s about doing it right. So, grab your notebook because I’ve got some tips you’ll want to pay close attention to.
- Cleanliness for Adhesive and Magnets: When using magnetic blinds or adhesive-backed options, ensure the window frame is spotless. Dust or grime can weaken the adhesive or magnets. Wiping down with isopropyl alcohol ensures a secure hold.
- Accurate Measurements: Use a reliable tape measure for exact measurements of your window’s width and height. This is key for the perfect fit and functionality of the blinds. Measure twice or thrice to get it right the first time.
- Consideration of Lighting: Remember how the blinds will interact with your room’s natural lighting. Choose the material and color of the blinds based on your desired light filtration, whether you prefer a bright room or a cozier ambiance.
- Safety with Cordless Blinds: Opt for cordless blinds if you have kids or pets. They are safer and add a sleek, modern look, eliminating the hassle of tangled cords.
Remember, patience is key. Whether you opt for tension rods, magnetic, sticky backs, or another drill-free method, taking your time during installation pays off. A rushed job isn’t something you’d be proud to showcase.
Window Blinds Installation Methods: Pros and Cons Comparison
Let’s break down these no-drill installation methods for window blinds into a simple chart. This way, you can quickly see which method fits your needs best. Here we go:
| Installation Method | Pros | Cons |
|---|---|---|
| Magnetic Blinds | Super easy to install and remove. Great for metal doors/windows. No damage to surfaces. | It is limited to metal surfaces. Magnets can weaken over time. |
| Adjustable Tension Rods | Versatile for different window sizes. Sturdy and long-lasting. There is no surface damage. | Not suitable for very thin frames. It can slip if not tightened properly. |
| Command Strips/Hooks | Easy to apply and remove. No residue or damage. Good for temporary setups. | Weight limit varies. It can weaken in high humidity or temperature changes. |
| Self-Adhesive Blinds | Simple installation. No additional tools or accessories are needed. | Adhesive can weaken or leave a residue. Not ideal for textured surfaces. |
Each method has its perks and limitations. Think about your window type, the blind’s weight, and your living conditions to choose the best fit. And remember, a little patience and creativity can make a big difference in your DIY projects!
Troubleshooting Common Installation Issues for Window Blinds
Have trouble with your window blind installation? Don’t sweat it! I’ve encountered my fair share of hiccups while setting up blinds, especially when you’re avoiding drilling.
Here’s a handy table to guide you through solving some common issues:
| Problem | Troubleshooting Tips |
|---|---|
| Uneven Window Frames | Use shims to level out the frame before installing the blinds. |
| Blinds Falling Down | Tighten tension rods; ensure a clean adhesive surface, and consider extra strips. |
| Different Window Types | Adjust methods based on window style – lighter blinds for sliding windows, careful placement for casements, and individual blinds for bay windows. |
| Weak Adhesive | Clean the surface thoroughly; use stronger adhesive or additional hooks for heavy blinds. |
| Tension Rod Slipping | Use rubber bands or non-slip tape on the ends for extra grip and adjust for a tight fit. |
| Magnetic Blinds Issues | Clean the magnetic surface, and add extra magnetic strips or adhesive putty for better hold. |
| Incorrect Blind Fit | Double-check measurements; trim blinds if too wide, and center and decorate if too narrow. |
| Self-Adhesive Blinds Problems | Clean the surface before applying, reinforce with extra adhesive strips, and remove residue with a mild soap solution. |
Dealing with these challenges can be a part of the fun of DIY projects. It’s all about thinking on your feet and coming up with creative solutions. Remember, there’s always a workaround, and sometimes the best solutions are born out of necessity!
Should I Get a Professional for This Job?
So, you’ve decided to give your windows a fresh look, but the thought of drilling holes through your beautiful walls doesn’t sit right with you. I get it.
Installing window blinds without drilling is a fantastic way to keep your walls intact, but it also begs the question: should you bring in a pro or tackle it yourself?
Well, let’s break it down. Installing these types of blinds can be pretty straightforward. Most of the time, the process is as simple as peeling off the adhesive backing and sticking the blinds onto the window frame.
Sounds easy, right? However, not every situation is the same, and sometimes, what seems like a breeze could turn into a howling wind.
Complex window shapes, oversized windows, or the desire for absolute perfection could mean a DIY attempt might not cut it.
Plus, improper installation can lead to blinds that easily fall down or, even worse, damage to the window frame from adhesive products. That’s where a professional might save the day.
Professional installers have the experience and tools to ensure everything’s measured to a T, aligned perfectly, and sticks like it’s meant to be there forever.
They can easily tackle tricky situations and ensure your window coverings are functional and a fabulous addition to your room’s decor.
However, if you love a DIY challenge, feel confident following instructions, and perhaps have done a similar project before, you might not need a professional.
A good rule of thumb is to assess the complexity of the project, your own skill level, and whether the peace of mind of a professionally done job is worth the cost.
In many cases, the satisfaction of doing it myself is enough to push me to give it a go. But I always remind myself that it’s okay to ask for help. After all, at the end of the day, we all want our homes to look their best, don’t we?
Frequently Asked Questions
- How Long Do These No-Drill Installation Methods Last?
- The longevity of no-drill installations can vary. Magnetic and tension rod setups can last years if installed correctly and not overloaded. Adhesive methods, while effective, may need more frequent checks and possible readjustments, especially in high-humidity or temperature-fluctuating environments.
- Are These Methods Suitable for All Climates?
- In high humidity, adhesives might weaken, so it’s wise to opt for stronger adhesives or consider tension rods or magnetic blinds. In colder climates, ensure the materials can withstand temperature changes without losing their integrity.
- Can I Use These Methods for Different Window Types?
- However, each window type might need a slight tweak in the installation method. For example, sliding windows work well with lighter blinds, while casement windows require careful placement to not interfere with the opening mechanism.
- Are There Any Safety Concerns with These Installation Methods?
- Generally, these methods are safe if you follow the instructions and don’t overload the blinds. Ensure that the tension rods are secure and that the adhesive is strong enough to hold the weight of your blinds. Regular checks for stability are recommended.
- Do These Methods Work for Door Blinds as Well?
- Yes, they can! Magnetic blinds are particularly great for metal doors. You can explore tension rods or adhesive methods for non-metal doors, choosing a method that aligns with the door’s material and usage.
- What Maintenance Is Required for These Installations?
- For tension rods and magnetic blinds, periodic checks are sufficient to ensure they are secure and haven’t shifted. For adhesive methods, you might need to replace the strips over time or reinforce them if they start to lose their grip.
- How Do I Adjust These Installations for Child Safety?
- Ensure that the blinds and installation methods are securely out of reach for child safety. Avoid long, dangling cords, and consider cordless blind options. Regular checks to ensure everything is firmly in place are also good practices.
- What If My Window Frame Is Non-Standard or Unusually Shaped?
- For non-standard windows, consider custom solutions like adjustable tension rods that fit various sizes or magnetic blinds with flexible placement options. It may require more creativity, but there’s usually a workaround for most window types.
References
Organizations:
- American Society of Interior Designers (ASID). https://www.asid.org/
- National Association of Home Builders (NAHB). https://www.nahb.org/
Books:
- “Window Treatments Idea Book” by Sue Sampson and Ellen DeLucia. https://www.barnesandnoble.com/w/window-treatments-idea-book-ellen-delucia/1140375252
- “DIY Home Repairs: 100 Fix-It-Yourself Projects” by Sarah Beeny. https://www.abebooks.com/DIY-Home-Repairs-100-Fix-It-Yourself-Projects/31038996468/bd
Website Resources:
- IKEA Hackers. http://ikeahackers.net/
- Apartment Therapy. http://apartmenttherapy.com/
- Instructables. http://instructables.com/
Video References:
#CreativeResourcesBD
Magne Brands
Mom Can Fix It

Lia Lavon
Do it Do it