7 min read
How to Hang a Shelf on Tile without Drilling (11 Methods with Instructions)
In this article, I’ll teach you how to hang a shelf on a tile without drilling!
Most rental units do not allow renters to cut holes in the walls to hang shelves. As a professional interior designer, I use a few tricks to hang shelves on tiles without drilling. Hanging shelves are an important part of planning your home, dorm room, or apartment. They aid in keeping your home clean, organized, and gorgeous.
In general, there are tons of techniques that you can use to hang shelves on tiles without cutting holes:
- Use Adhesive Mounting Strips
- Use Hooks & Clips
- Use Screwless Pegboard
- Use Wooden Planks
- Use Magnetic Strips
- Use Hangers
- Utilize Hooks
- Employ Adhesive Glue
- Consider Double-Sided Tape
- Use Velcro Clips
- Use Cables
I will cover more detail below.
How to Hang a Shelf on Tile without Drilling
There are tons of techniques that you can use to hang shelves on tiles without cutting holes. I will cover a bunch of them below.
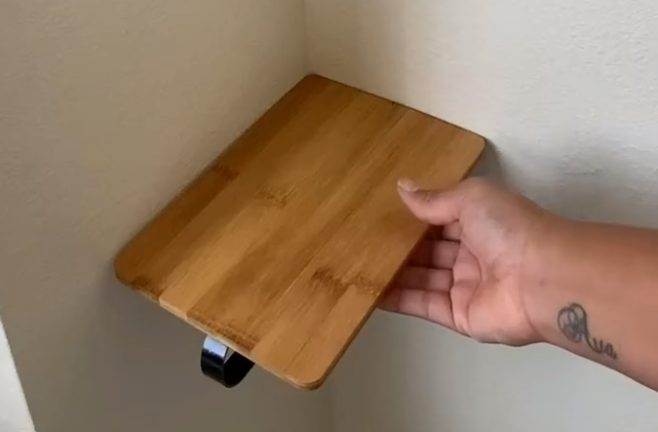
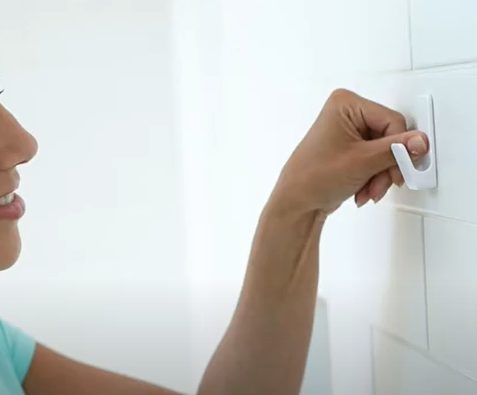
1. Use Adhesive Mounting Strips
Without cutting holes in the tiles, adhesive mounting strips can enable you to install shelving units quickly.
Step 1: Clean the Tile with Isopropanol
Isopropanol can be used to wash your shelf alongside the wall.
Soak a new cleaning cloth in isopropanol.
Rub the cloth gently against the wall and the mounting side of your shelf. Allow 5 minutes for the tile to dry before applying the adhesive strips.
- This will help remove grease, oil, and wax from the surfaces, making it easier to mount the adhesive strips.
- Isopropanol can be found in big-box and drug stores.
Step 2: Press the Mounting Strips Down for 30 Seconds to Secure Them to A Shelf
Press the velcro fastening sides of two mounting strips if they aren’t already. Then, peel off the protective liner from one of the strips. Now press the newly-exposed adhesive side to the mounting space of your shelf. hold the connected adhesive strips in place for about 30 seconds. Repeat the process with the rest of the strips.
Step 3: Keep the Shelf Along the Wall for 30-Seconds
Take the remaining adhesive strip liners and place your shelf along the wall after you’ve attached the adhesive strips.
Then, for about 45 seconds, press your shelf against the wall to secure it.
Step 4: Remove the Shelf and Clutch Each Band for 30-Seconds
Pull the edges of the shelf away from the tile slowly. Each pair of strips should be separated so that one side is attached to the tile (wall) and the other to the shelf.
Then, for 30 seconds, press down on each adhesive strip to ensure complete adhesion.
Step 5: After 1 Hour, Substitute the Shelf
Allow 1 hour for your adhesive strips to set and solidify. Then, reconnect your shelf by connecting the adhesive strip sets.
Step 6: Load the Shelve
Remember, do not exceed recommended weight; otherwise, your shelve will fall off.
Tips
- Spread your strips uniformly to give the shelf the most hanging strength possible.
- Attach your strips to wooden shelves with staples.
- If your shelves weigh more than 10 pounds, do not hang them with adhesive strips.
- Find hollow floating shelves or light wood planks at the closest furniture or hardware stores.
2. Use Hooks and Clips
Due to their simplicity, hooks and clips are ideal for attaching shelves to tiles.
Hook the Hooks or Clips to The Backside of Your Shelf, Then to a Wall.
This method is most effective when installing shelves in small spaces. Because no screws are used, it also helps to prevent wall scratches.
3. Use of Screwless Pegboard
Given that they are made of wood and metal and do not require drilling holes in the wall, pegboards are ideal for installing shelves on tiles.
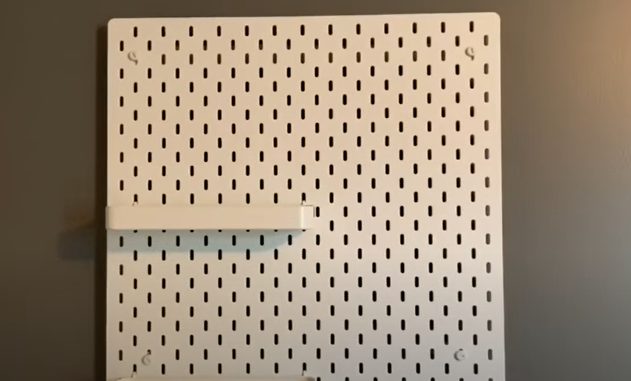
Simply cut the pegboard pieces to size and place them against the wall. Then, through the slots, insert pegs and secure them to the wall.
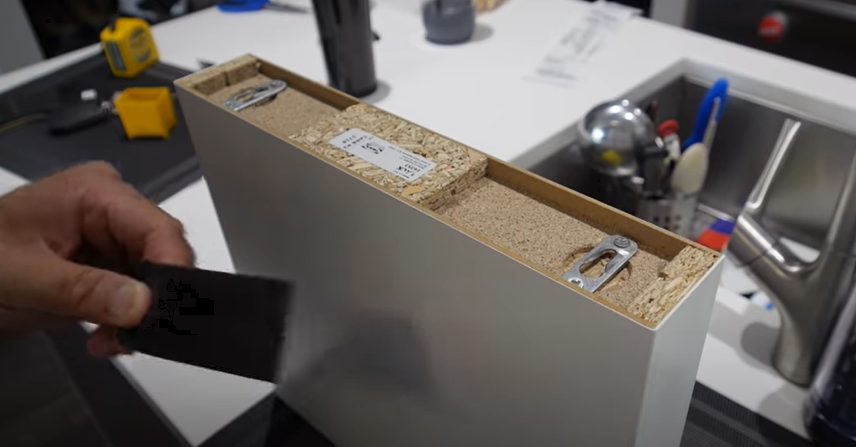
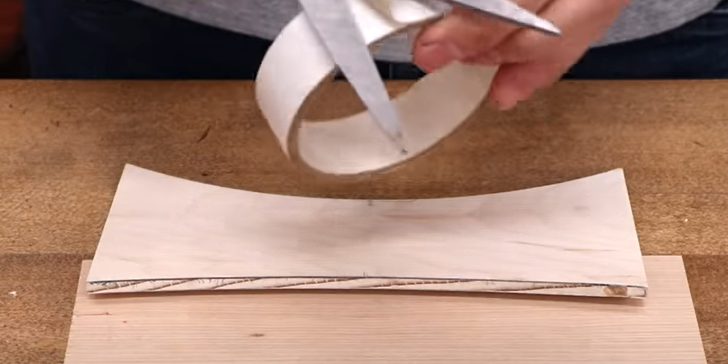
4. Use of Wooden Planks
Another viable choice for hanging shelves on tiles without damaging the wall is to use wooden planks:
- Cut the wooden boards to the required length and width.
- While nailing them down, use clamps to keep them firmly against the wall.
- If you hammer too hard at first, the tiles may crack.
- Apply additional pressure until the board is firm.
5. Use Magnetic Strips
Magnetic strips are an excellent alternative to traditional nails, particularly if you want to install shelves without drilling holes.
The disadvantage of this method is that the shelves cannot be moved quickly once installed. However, it might work fine if you plan on making frequent changes.
6. Use Hangers
If you prefer to use hangers instead of nails, try adjustable hangers. The height can be easily adjusted by turning the knob.
The only disadvantage is that it takes longer to set up than other options. Customizable hangers may be worth considering if you’re looking for something quick and easy.
7. Use Hooks
Consider using hooks instead of drilling into the wall. Hang them directly onto the tile surface to reduce the possibility of scratching the flooring.
You can also shift them around as needed.
8. Use of Adhesive Glue
Adhesive glue has become extremely popular for attaching shelving units to tiles without the need for drilling holes.
It makes no difference where you want to install the unit or whether you want to avoid using screws. You can stick any shelf anywhere with adhesives! It is most effective when applied to smooth surfaces such as glass or ceramic tiles.
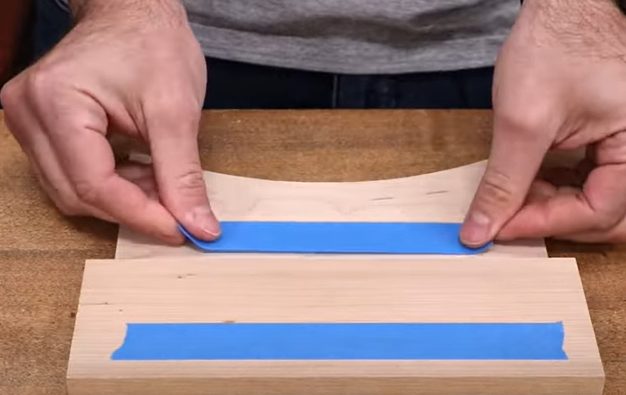
9. Use Double-Sided Tape
By tearing off the backing paper and pushing the adhesive side against the wall, double-sided tape works brilliantly for attaching shelves to tiles.
Remove the backing paper from your frame and place it on the double-sided tape. Finally, use standard screws to secure the shelf to the wall.
10. Use Velcro Clips
Another simple method for hanging shelves on tiled walls is to use Velcro straps. Remove the strap and wrap it around the back of the shelf.
You can now secure the entire thing by attaching knots at both ends. Ensure not to tie the knot too tightly, or you risk tearing the fabric.
However, since glues dry quickly, you may re-apply more frequently than necessary.
Remove the protective layer before adhering the clip to the backside of the shelf. Pull the Velcro strip tight along the edge of the wall. Then, snap the clip shut, and you’re done! Your shelf is now complete.
11. Use Wires/Cables
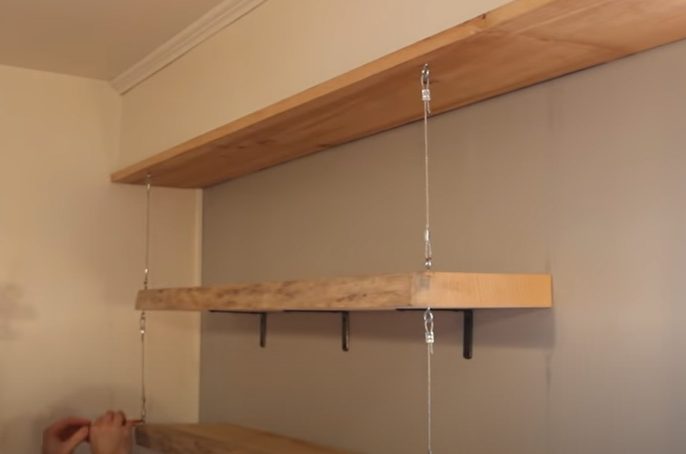
You could also use cables to attach a shelf to the wall. Simply cut some cable lengths to the height you would like the shelf to reach.
Fasten one cable end to the shelf’s bottom and tie the two ends together. Lift the cords crisply across the room and secure them.
Take a look at some of our related articles below.
- How to screw into concrete wall without drill
- How to hang wall shelves without drilling
- How to attach trellis to wall without drilling
Video Reference
kenVersus