6 min read
How to Mark Blind Holes for Drilling (10 Expert Methods)
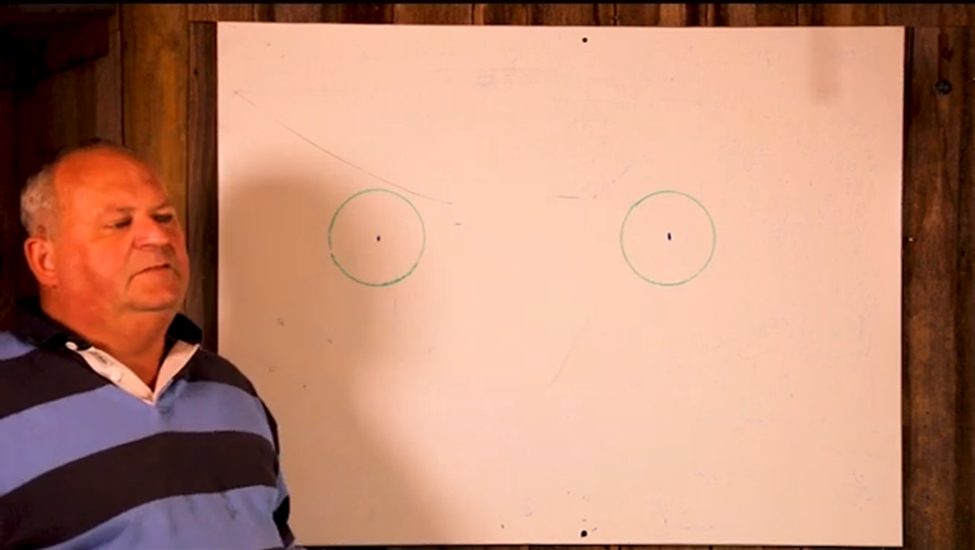
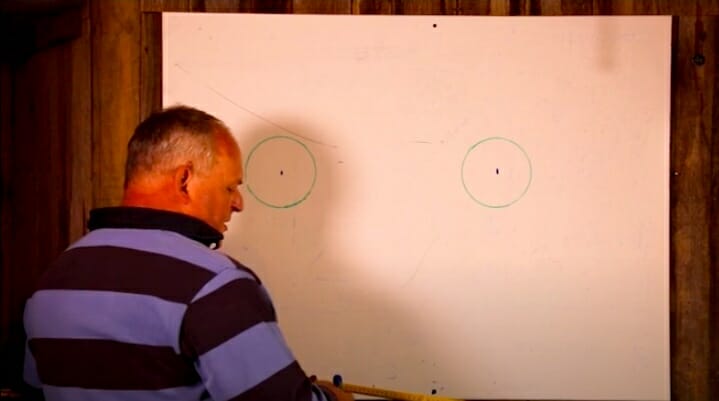
In this article, I’ll teach you how to mark blind holes for drilling.
Cutting holes in walls is a common task. The procedure is usually the same whether to attach a pegboard or any other item. But what if the exact location of the hole is unknown? Being an expert handyman, I know a few tricks to mark holes before drilling. This way, you avoid cutting holes in the wrong locations— which can deform your wall.
Quick Summary: I have specified some handy, easy-to-follow techniques to mark blind holes before cutting holes on walls and any other similar surface:
- Probing with sharp objects
- Using a tape
- Making minute pilot holes
- Using a chisel or knife
- Making a cardboard template
- Using Nails and screwdrivers
- Using a wire or bent paper clip
- Using a string or anchor pointer
Detailed description below.
Ways of Marking Blind Holes for Drilling
There are several approaches you can take, and which one you choose will depend on your situation. This guide will go over a few methods for marking drill locations from blind holes. I also give you pointers for each method to ensure your drill locations are precise.
Method 1: Probing the Wall with a Sharp Object
You can use a sharp object, such as a nail or a screwdriver, to probe the wall surface around the blind hole until you hit metal. Once you’ve located the hole, use a marker to define it.
Method 2: Mark the Edge of the Hole with Tape
Tape can also be used to mark the drill location. To begin, wrap a strip of tape around the hole’s edge and secure it to the surface. Then, using a marker, draw a line on the tape where you want to drill.
Method 3. Create a Small Pilot Hole
Use a small drill bit to cut a pilot hole in the exterior of the blind hole if you have one on hand. That will provide you with a better understanding of where the actual hole should go and make drilling more accurate.
Method 4: Utilize a Chisel or a Knife
You can also label the drill locations with a chisel or a knife. Put the chisel into the wall surface of the wood at the desired location, then draw a line around it with a pencil. Do not further damage the wood by doing this, so proceed with caution.
Method 5. Create a Cardboard Template
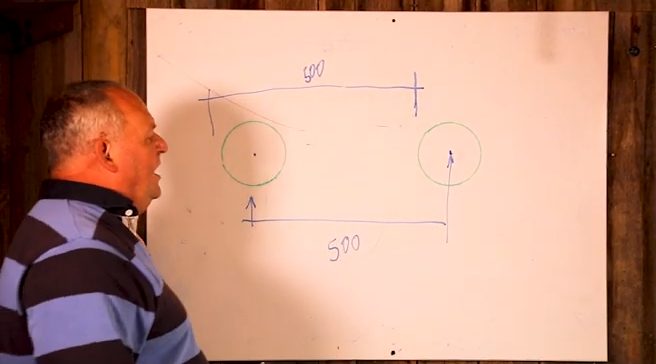
Step 1. You may use a cardboard piece (the same size as the hole) as a template to help label the drill locations. Label the center of the hole on the cardboard first.
Step 2. Next, use a ruler or straight edge to make equal-distance marks around the hole’s edge.

Step 3. Finally, draw straight lines to connect the marks.
You can now use the template to help you mark the drill locations on the surface you’re drilling on.
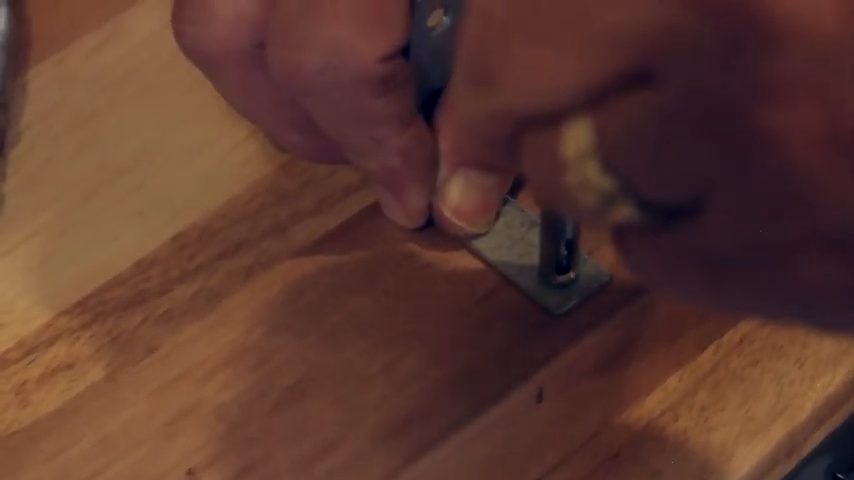
Method 6. Consider a Nail or a Screwdriver
You can label the drill location with a nail or screwdriver. Cut a small hole in the center of the location you want to mark, then indent the metal with a nail or screwdriver. If you make the indentation too deep, you may destroy the drill bit.
Method 7: Use a Nail to Locate the Center of the Hole
Once you’ve established the center of the hole, place a nail in the center and use it as a guide to uniformly space out your drill holes. That ensures the screws are straight and equally spaced. When using a hand drill, deploy a level to keep the drill level. This is particularly important when drilling into a non-flat surface.
Method 8. Utilize a Bent Paper Clip and/or a Piece of Wire
Step 1. You may use a piece of wire or a bent paper clip to trace the drill location.
Step 2. Prick the wire or paper clip through the hole to serve as a pointer — where the drill bit should go.
Hint: Be advised, this technique can be daunting because you must be careful not to move the pointer while drilling. You could also use a piece of tape to secure the wire or paper clip.
Method 9: Make Use of a String
A piece of string can be used to identify or mark the drill location.
Step 1. Just tie one end of the string to the drill bit while grabbing the other end against the wall.
Step 2. Then, make a dot on the wall where the string crosses it with a pencil.
Tip: Again, stop drilling into wiring or plumbing behind the wall.
Method 10. Insert an Anchor Point or Bot
If you have to place a drill on a piece of material, but don’t have reference points, it can be tricky to get your drill in the right place. Inserting a bolt or other anchor point into the material and utilizing it as a guide is wise. That way, the drill is in the right location and will help to curb errors.
Wrapping Up
It’s possible to precisely mark drill locations from blind holes. You can ensure that the drilling operations are as effective as possible by using the techniques outlined in this guide. When identifying drill locations, keep in mind the limitations of your equipment as well as the nature of the material you’re working with.
You only require little practice to consistently produce accurate marks that will assist you in completing your next drilling project successfully. If you have any questions or want to learn more, leave a comment!
Take a look at some of our related articles below.
- Can you drill holes in apartment walls
- How to drill a hole in plastic
- How to drill hole in granite countertop
Video Reference
Ian Malcolm