7 min read
How to Install a Spoiler Without Drilling?
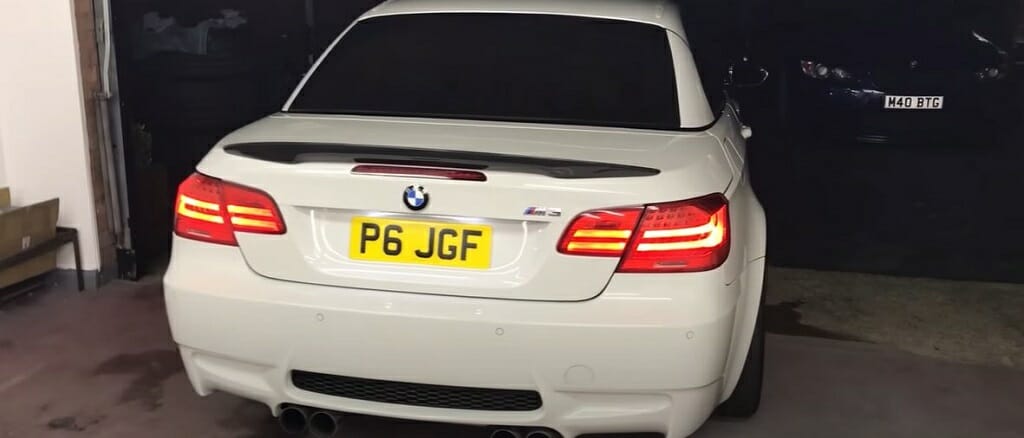
In this article, you’ll learn how to install a spoiler without drilling or making holes.
Drilling and making holes in your car can lower its value and cause irreparable damage. That is why I choose to drill as my last method whenever I install rear spoilers. You might ask, what is the first choice? I’ll explain everything I know about installing a spoiler without drilling below.
In general, to install rear spoilers without drilling (no holes rear bumper), you can use adhesive double-sided tape, and here’s how you can do that.
- Clean the deck lid area with rubbing alcohol.
- Place the spoiler and mark the edges with marking tape.
- Attach the double-sided adhesive tape to the spoiler.
- Apply adhesive silicone to the spoiler.
- Install the spoiler on the car.
- Wait until the adhesive tape bonds properly.
Read the full guide for a better understanding.
6-Step Guide on How to Install a Spoiler without Drilling
Installing a spoiler on your car without using any drill is not a difficult task. All you need is the right type of double-sided tape and proper execution. With that in mind, here are the things you’ll need for this process.
Things You’ll Need
- Rear spoiler
- Masking tape
- Double-sided adhesive tape
- 70% rubbing alcohol
- Silicon adhesive
- Clean towel
- Heat gun(optional)
- Box cutter
After gathering the above items, you can start your car’s spoiler installation process.
Remember: 70% rubbing alcohol is a good choice for alcohol paint prep. Don’t go over 70 (for instance, 90% rubbing alcohol), which might damage the car.
Step 1 – Clean the Deck Lid
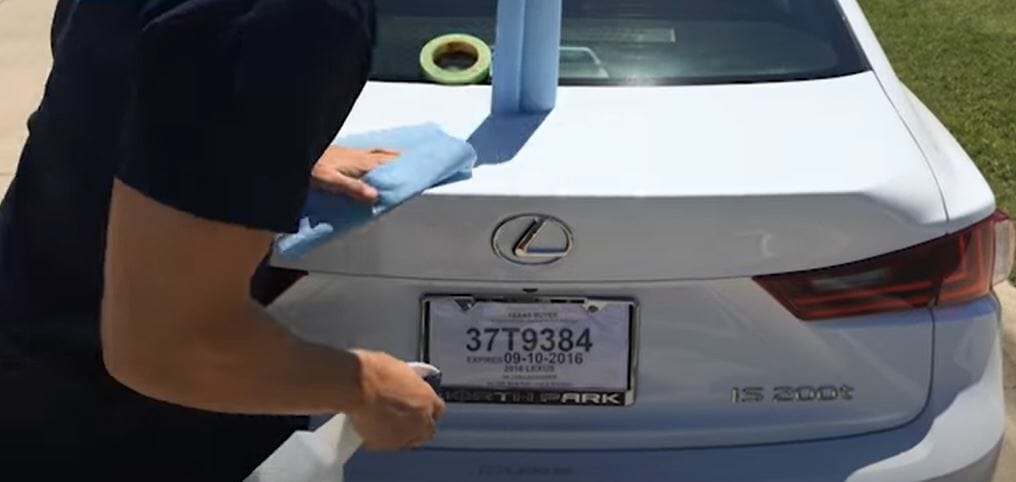
First and foremost, take some rubbing alcohol and pour it on the towel. Then, use the towel to clean the deck lid of your car. Make sure to clean the deck lid area where you plan to install the spoiler.
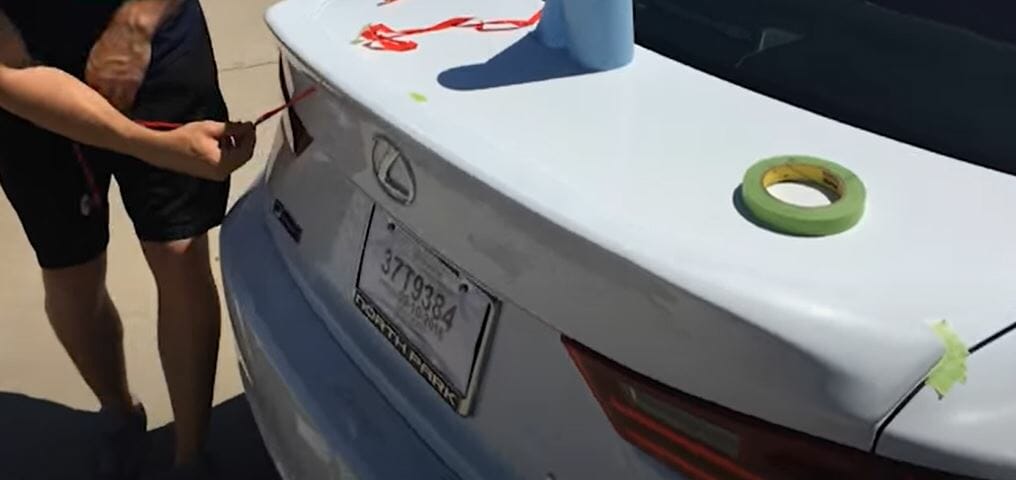
Step 2 – Place the Spoiler and Mark the Edges
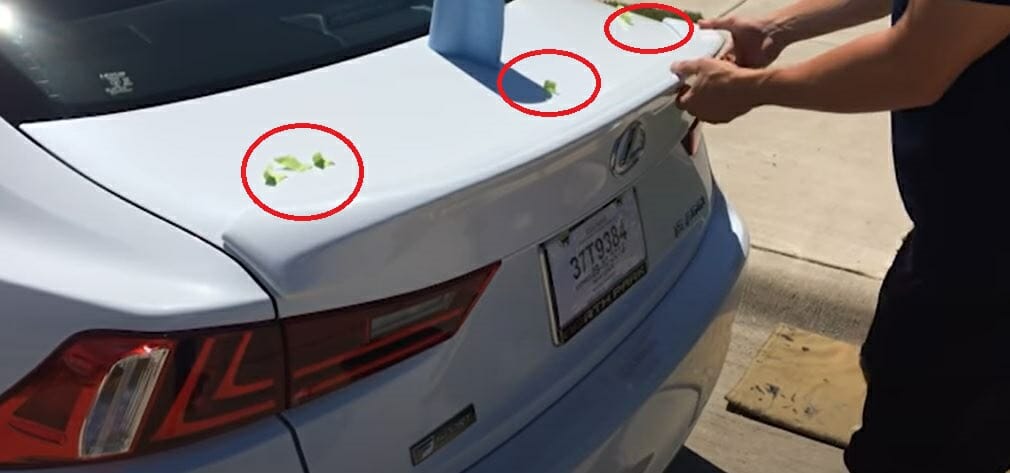
Next, place the spoiler on the deck lid and hold it tightly. Then, mark the edges using marking tape. Mark at least three spots.
This is a must-follow step since installing the spoiler with adhesive tape should be done with caution. Otherwise, you won’t get the correct alignment.
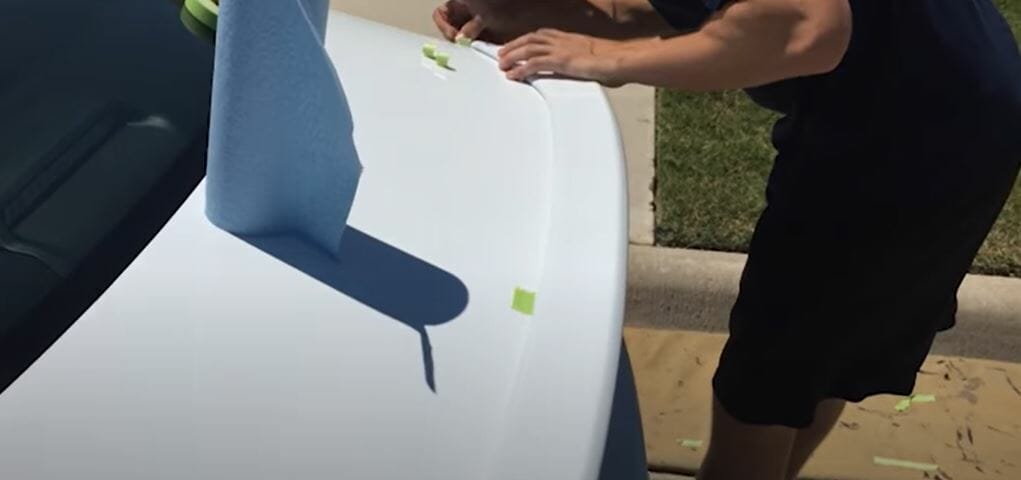
Step 3 – Attach the Adhesive Tape
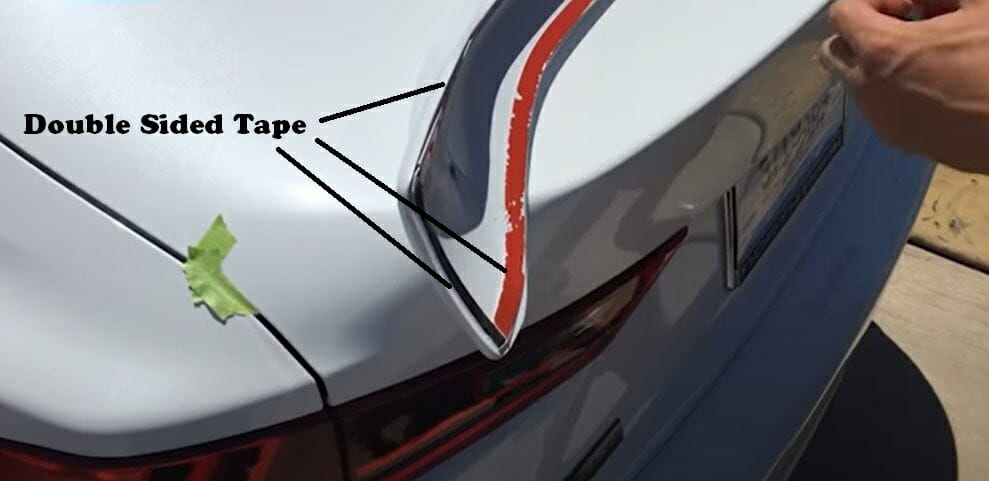
Then, take the double-sided adhesive tape and attach it to the spoiler. Peel off one side of the tape and place it on the spoiler. Now peel off the outer adhesive tape cover too.
However, keep the spoiler’s bottom edge adhesive tape cover (red-colored part) intact if needed. You can peel off that after correctly placing the spoiler.
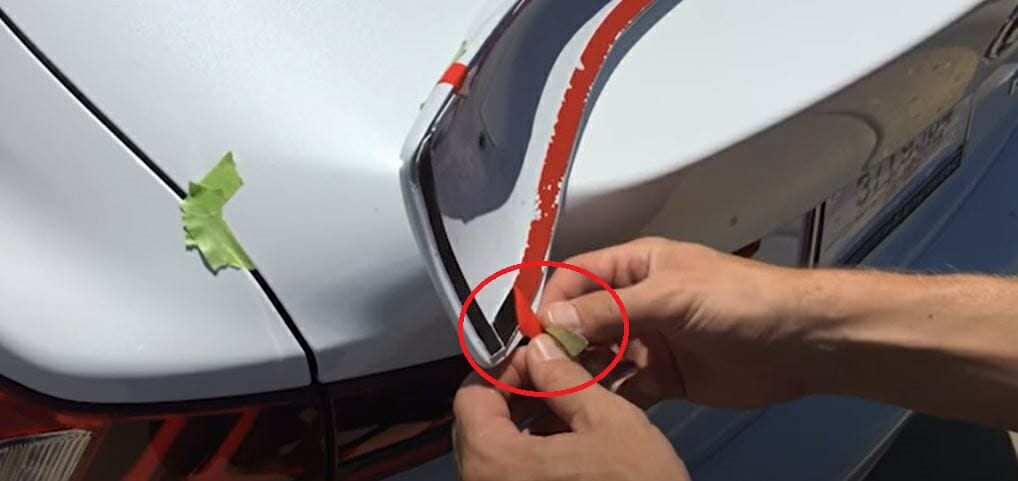
Important: Remember to attach a piece of masking tape, as shown in the above image. It will help you peel off the outer adhesive cover after placing the spoiler on the car.
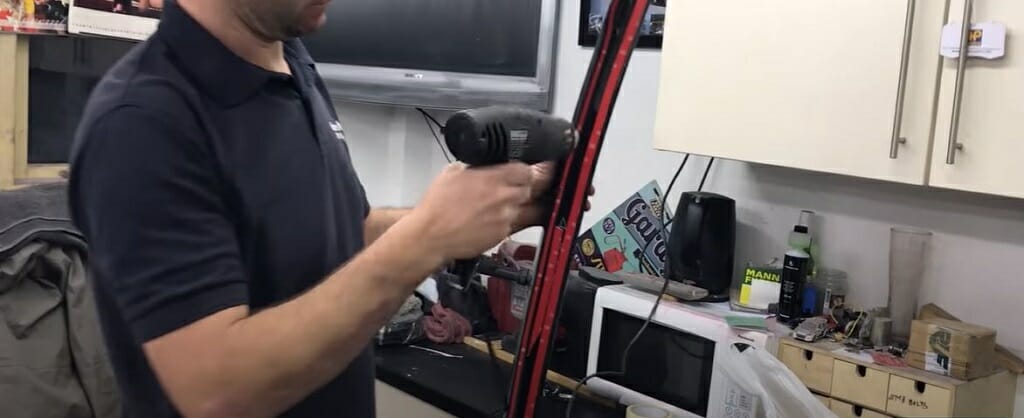
If the temperature is low, the adhesive tape might have difficulty bonding with the spoiler. So, use a heat gun and apply some heat to the tape, which will speed up the bonding process.
However, if the temperature is ideal to the instructions, you don’t need to use a heat gun. Most often, the ideal temperature is printed on the adhesive tape container. So, there won’t be any trouble while you sort out this issue.
Quick Tip: Use the box cutter if you need to trim the adhesive tape.
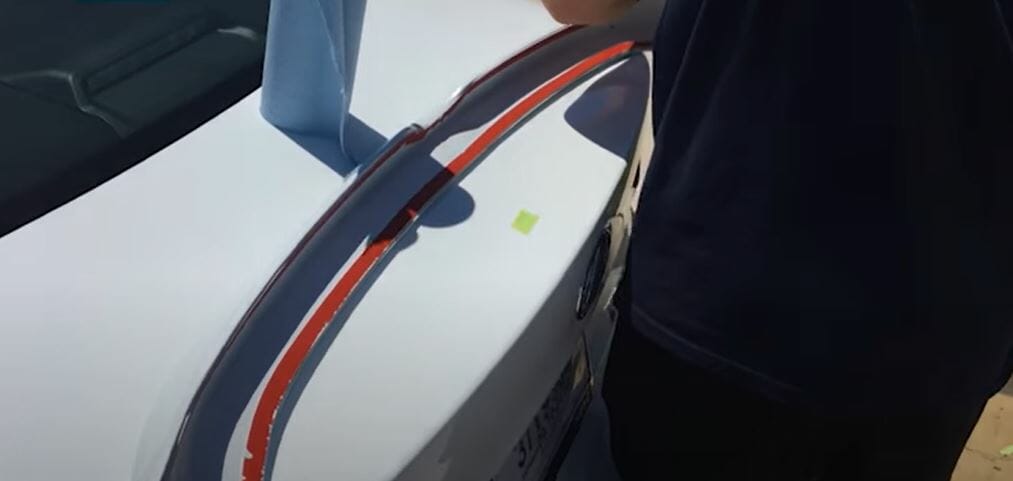
Step 4 – Apply Adhesive Silicon
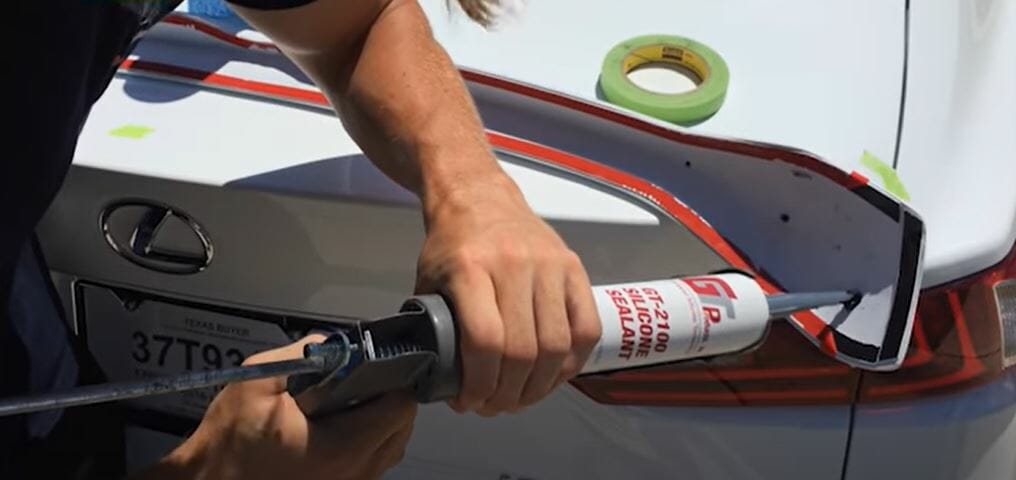
Now, take the adhesive silicone and apply it to the spoiler, as shown in the above image. Two or three silicone spots are more than enough. This will help the bonding process nicely.
Step 5 – Install the Rear Spoiler
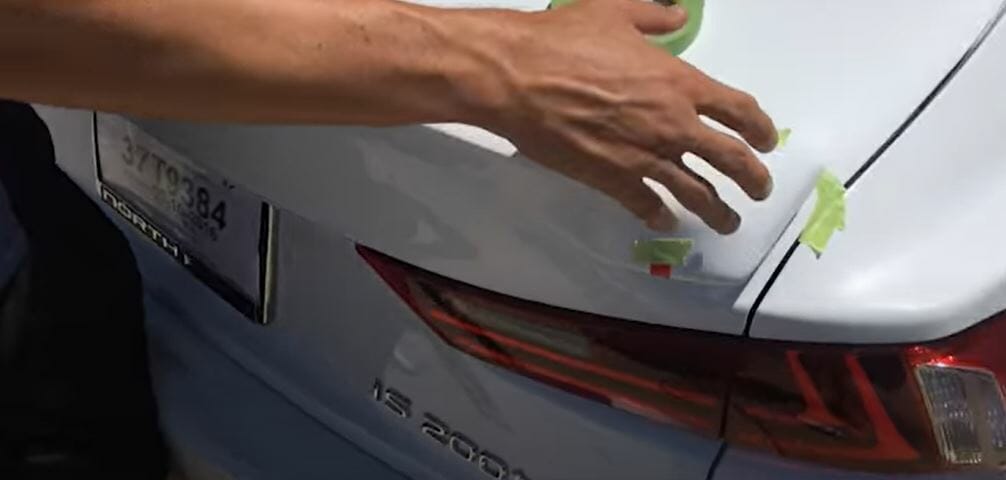
Then, carefully take the spoiler and place it in the previously marked location. Make sure the spoiler is aligned with masking tape.
Remove the adhesive tape cover from the spoiler’s bottom edge.
Next, apply some force to the spoiler and make the connection tight. If needed, use the heat gun like in step 3.
Step 6 – Let It Bond
Finally, wait until the adhesive tape gets bonded to the spoiler properly. Depending on the type of adhesive tape, the waiting time might vary. For instance, you might have to wait 2 or 3 hours, or sometimes it might take 24 hours.
So, read the instruction on the adhesive tape container or obtain the necessary details from your local hardware store while buying the tape.
What is the Best Double-Sided Adhesive Tape for the Above Spoiler Installation?
There are lots of double-sided tapes in the market. But for this process, you’ll need special adhesive tape. Otherwise, the spoiler might fall off while you are driving. So, which brand is suitable for such a task?
3M VHB double-sided adhesive tape is the best choice. I’ve been using this tape for years now, and they are highly reliable. And much better brand than the most advertised internet brands.
On the other hand, 3M VHB tape is specially made for cars and offers one of the strongest bonds.
Quick Tip: 3M VHB tape can work under extreme temperatures. Therefore, you don’t have to worry about losing the spoiler on a highway.
Take a look at some of our related articles below.
- How to install water hammer arrestor
- How to install window blinds without drilling
- How to install smoke detector without drilling
Video References
CarLubeTv
DAR Spoilers