11 min read
How to Hide TV Wire in Wall (5 Steps)
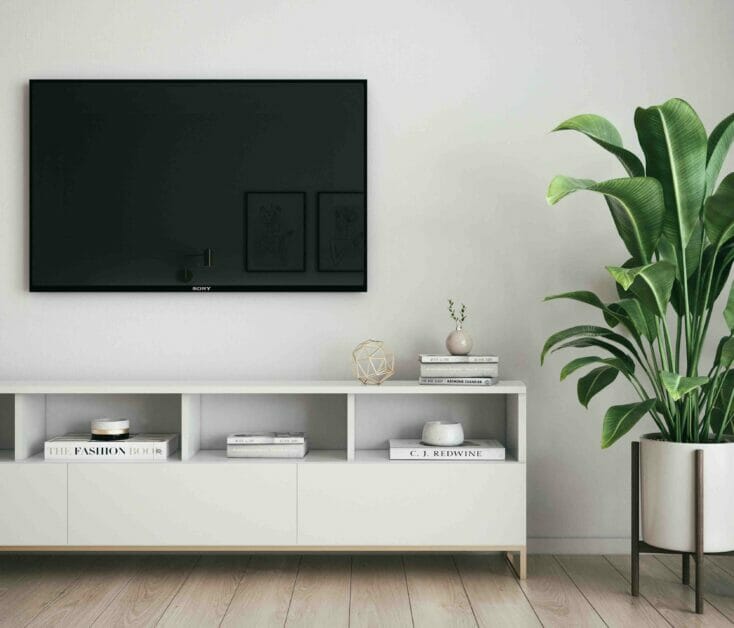
If you’re anything like me, a tangle of TV wires is your worst nightmare. Clutter-free living is the goal, but those pesky wires seem to pop up from nowhere, don’t they?
Well, I’ve got some good news for you – there’s an easy and stylish solution: hiding them in the wall! With just a few tools and some patience, anyone can do it. And guess what? You’ll save yourself some money, too.
Quick Overview
| Step | Description |
|---|---|
| 1 | Understand Wall Types: Identify your wall type (drywall, plaster, paneling, or masonry). |
| 2 | Select Tools & Materials: Gather tools like stud finder, drill, fish tape, screwdrivers, wall grommets, recessed cable plates, and UL-rated wire hangers. |
| 3 | Plan & Measure: Determine TV placement, measure for precise drilling, and locate studs using a stud finder. |
| 4 | Install Wall Plate & Thread Wires: Drill a hole near an electrical outlet, attach the wall plate, and thread the wires using fish tape. |
| 5 | Seal & Patch the Wall: Apply joint compound, drywall tape, and sandpaper to achieve a seamless finish. |
Understanding Wall Types and Their Differences
So, you’re ready to hide those pesky TV wires in the wall, huh? But before drilling holes willy-nilly, let’s take a moment to understand our canvas – the wall.
Not all walls are created equal. We’ll deal mainly with various types of walls.
Drywall is pretty common in modern houses.
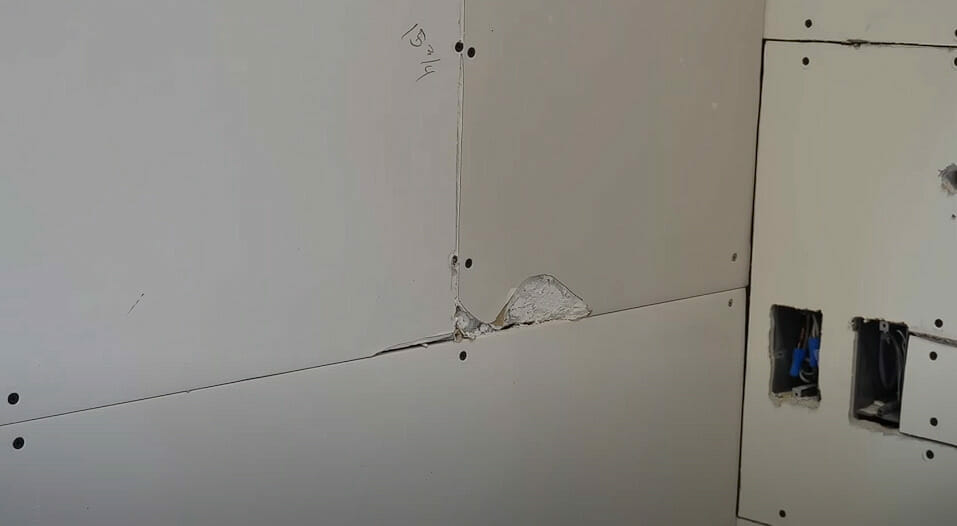
It comprises panels of gypsum board covered on both sides by heavy paper. What’s cool about it is that it’s easier to work with because it’s softer.
You can easily cut through it with a utility knife—no sweat! Remember to handle it carefully because this stuff can crumble or crack if you aren’t gentle.
Now, onto plaster walls—these bad boys were popular before the 1950s. They’re harder than drywall and thicker, too!
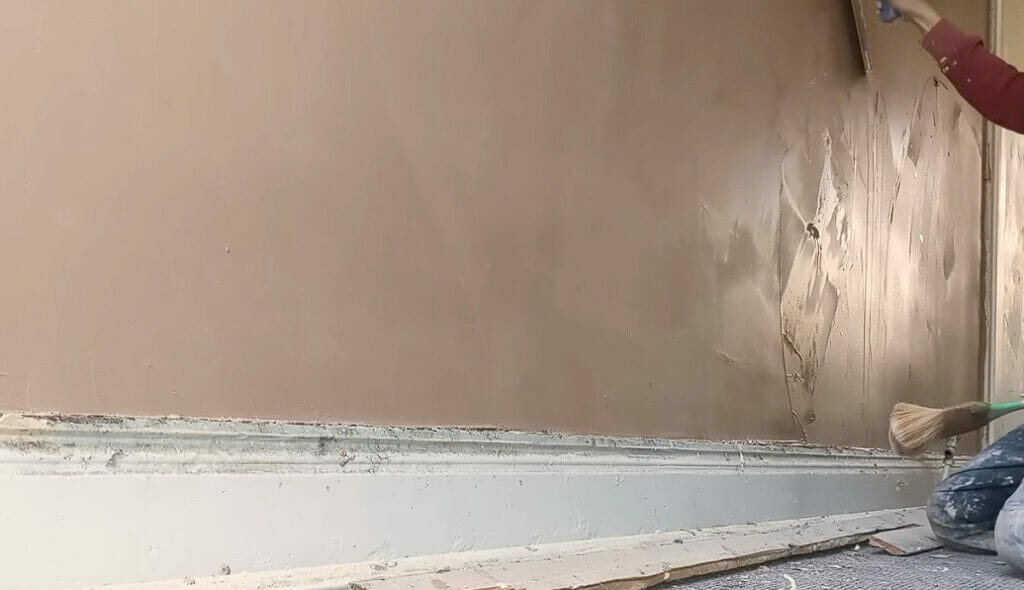
Made from layers of wood lath coated in plaster, they provide our homes with good insulation and soundproofing.
Working on them might need some elbow grease; they’re tougher to cut into, but nothing a sturdy hand saw can’t tackle!
There’s also something called paneling—yeah, like old-school wood paneling!
It’s usually found in older homes or basements. It comes off easily, so you can access your wall cavity.
And then there are masonry walls – brick or concrete block walls – not as common for interior residential use.
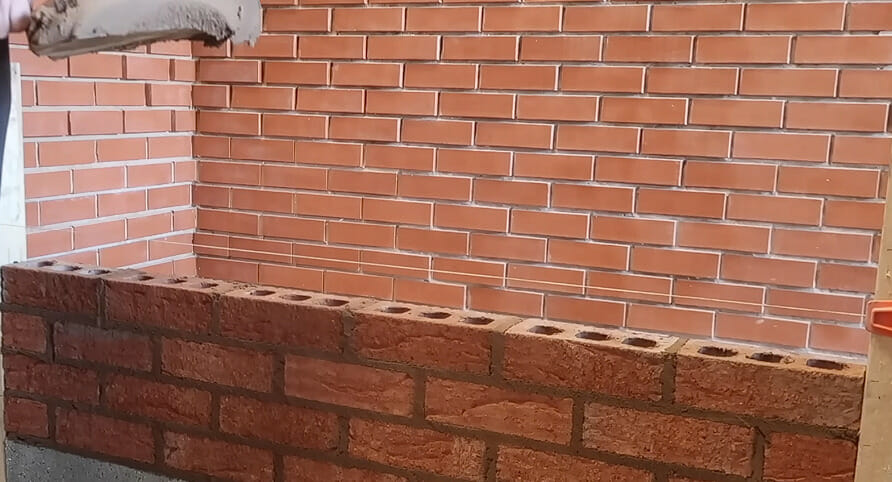
But if you’re living in an old loft converted from a factory building…well, hiding wires behind these will be quite challenging.
Remember, knowing your wall type helps determine your tool selection and how careful you must be when drilling or cutting into them. Don’t worry, though; we’ll guide you through each step!
Step 1. Selecting the Right Tools and Materials
So, you’ve decided to hide those unsightly TV wires in the wall? Well, first things first! You need to get ahold of the right tools and materials.
Let’s start with tools. Here’s what we’re looking at:
| Item | Purpose |
|---|---|
| A stud finder | Detect studs in the wall before running wires |
| A drill | Create holes in the wall for wiring |
| Fish tape | Pull wires through walls |
| Screwdrivers or an electric screwdriver | Remove and secure wall plates |
Okay, now let’s talk about materials:
| Item | Purpose |
|---|---|
| Wall grommets or bushings | Protect cables from sharp edges of the drywall |
| Recessed cable plates | Provide tidy entry and exit points for cables in the wall |
| Cable ties | Organize cables as they pass into the wall |
Remember, always keep SAFETY FIRST when using any power tools. It can’t hurt to throw on some safety goggles or gloves if needed.
Also, one more thing: it’s crucially important that you use UL-rated wire hangers instead of regular plastic ones. They are designed specifically for this purpose and meet all fire safety regulations.
It might feel like a lot, but hang in there! Take it step by step, and before you know it, those messy wires will be out of sight!
Step 2. Planning and Measuring for Accurate Placement
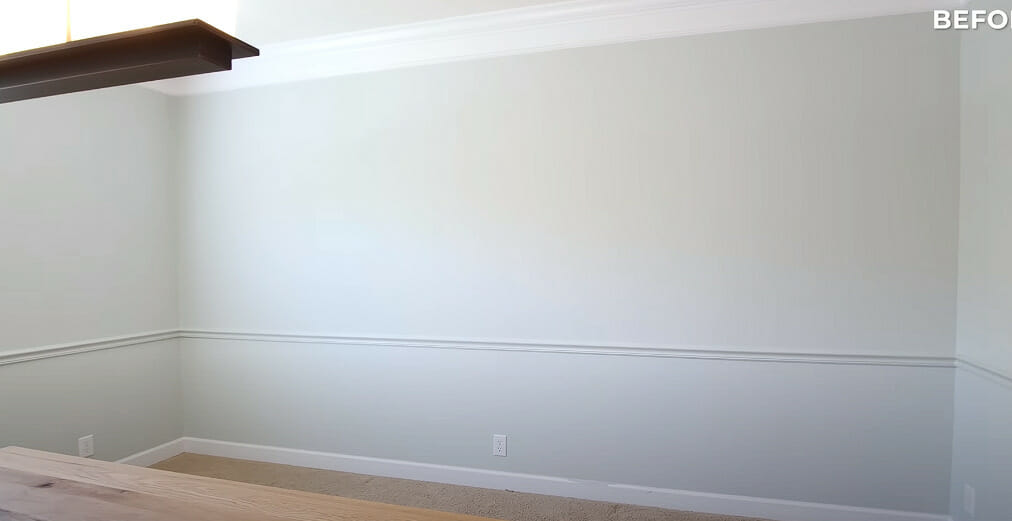
The first thing you’ll need to do is plan out where your TV is going. This isn’t just about ensuring it’s at the perfect height for comfortable viewing.
It’s also about ensuring the wires have a clear path to follow through your wall.
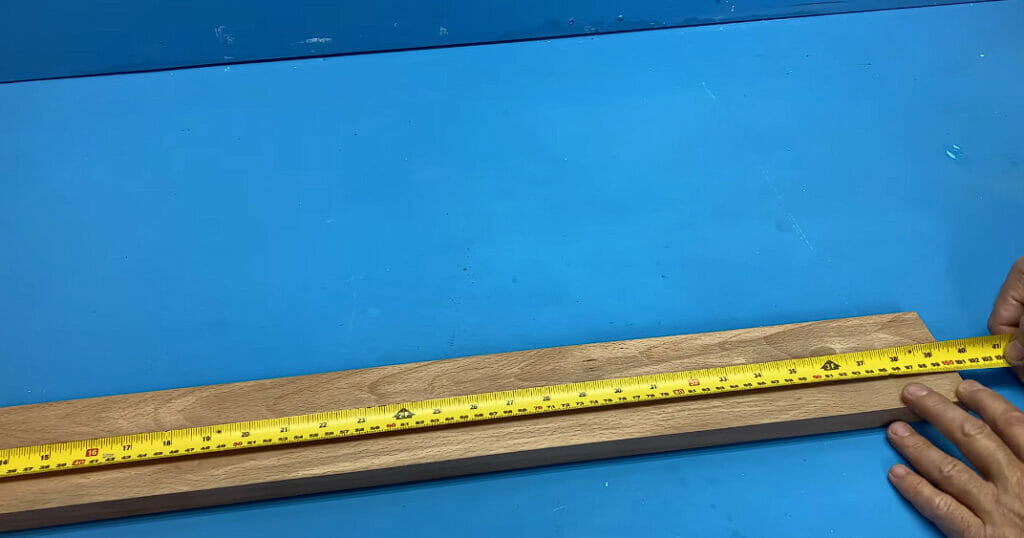
Take a good look at your space. Which wall would work best for your TV? Once you’ve got that figured out, it’s time to take some measurements. When it comes time to drill holes for those pesky wires, you’ll need these.
1. Here’s a quick tip: measure twice, cut once. Trust me, there’s nothing worse than drilling a hole in the wrong spot!
2. Next up, you will want to locate any studs behind the wall using a stud finder. Why? Because if you accidentally drill into one of these bad boys, it will be tough going, and you might end up damaging something important! Stud finders are easy to use and can save you from potential headaches.
3. Remove some painter’s or masking tape Once you’ve located the studs and taken all necessary measurements. Using this tape, mark exactly where you want your TV and bracket to go on your wall – including where those wires will be snaking their way through.
Step 3. Installing the Wall Plate and Thread Wires
Now, we’re going to install that wall plate. I know it doesn’t sound very safe, but trust me, it’s a piece of cake!
1. Start by drilling a hole in your wall – make sure it’s near an electrical outlet so you can plug in your TV.
2. Next up is securing your wall plate into place. Just align it with the hole you’ve drilled and screw it tightly onto the wall. This thing isn’t going anywhere! Using a level here is super beneficial to ensure everything aligns perfectly.
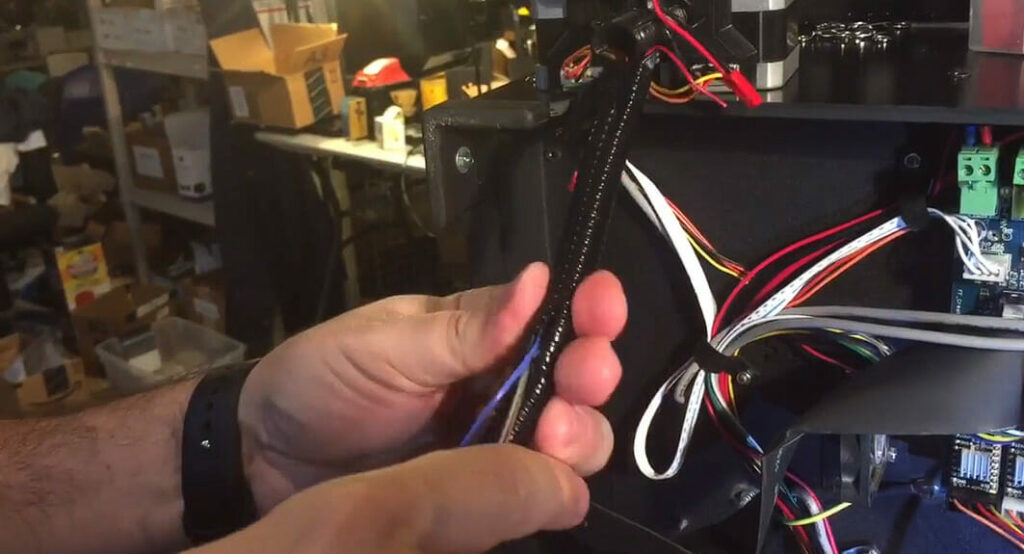
3. Now comes the part where we thread those pesky wires through the wall. You’ll need what we call a wire fish tape for this job. Attach your TV wires to one end of the tape and feed them through the hole until they come out at the bottom near your outlet.
| Step | Description |
|---|---|
| 1 | Go slow! Take your time ensuring each wire fits snugly within its little tunnel. This isn’t a race, folks. |
| 2 | Use a small chisel or flathead screwdriver and gently tap it with a hammer along the marked path. |
| 3 | Go slow! Take your time ensuring each wire fits snugly within its own little tunnel. This isn’t a race, folks. |
Here are some quick tips:
- Always double-check all connections before hiding them away.
- Use cable ties or Velcro strips to keep things tidy inside.
- Try color-coding cables if there are too many—save hassle later!
There you go! Remember, take your time, and don’t rush things. The more care you put into this process, the better results you’ll get!
Step 4. Sealing and Patching the Wall
Now that we’ve got those pesky wires tucked away, there’s one last step to make everything look seamless – sealing and patching the wall.
Yeah, you heard it right! I’m talking about covering up all evidence of your little DIY adventure.
Here’s what you’ll need:
- A small tub of joint compound (also known as drywall mud)
- Drywall tape
- A putty knife
- Sandpaper
| Step | Instructions |
|---|---|
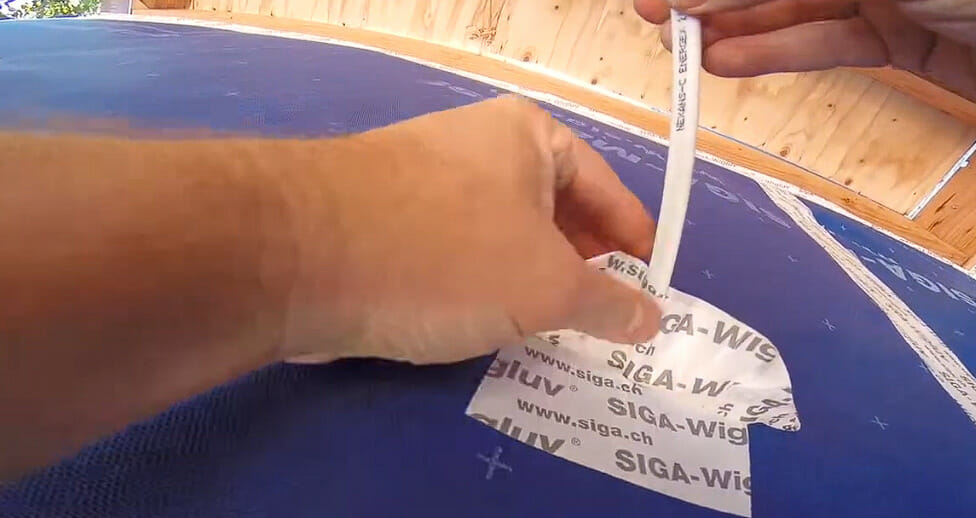
| 1 | Apply a thin layer of joint compound over the hole. This material is excellent at concealing wall imperfections. |
| 2 | Place drywall tape over the smooth layer to reinforce the area and prevent future cracks. |
| 3 | Apply another layer of joint compound, creating a “sandwich” with drywall tape in between. Two layers are recommended for durability. |
| 4 | Allow the compound to dry completely. Proceed to the final step: sanding. Gently sand the surface with sandpaper until it’s smooth. |
| Taking time for these finishing touches can transform the result from ‘just okay’ to impressive. Avoid cutting corners. |
Trust me when I say that taking care of these finishing touches makes all the difference between ‘just okay’ and ‘wow.’ So don’t cut corners here!
References
Organizations:
- The National Electrical Contractors Association (NECA). https://www.necanet.org/
- Consumer Electronics Association (CEA). https://www.cta.tech/
Websites:
- Houzz Forums. https://www.houzz.com/discussions
- Lifehacker. https://lifehacker.com/
Video References:
Vancouver Carpenter
Ryan Seeley Plastering
Fix This Build That
stu crompton
The Maker
3d Genera
SIGA North America