12 min read
How are Electrical Wires Run in Walls? (Methods & Steps)
You can run electrical wires through a stud wall, whether open or finished.
I’ll show you both situations for stud walls by highlighting good practices for a newly constructed (unfinished) stud wall and giving a series of steps to follow if it’s a finished wall.
Electrical wires are run through stud walls by drilling approx. ¾” holes, 1¼” away from the front edge, using a speedbor, spade drill bit, or an arbor drill bit, if necessary, with a right angle drill attachment. I recommend attaching hole protectors, too.
Use a stud finder and an endoscope before marking the drilling spots for a finished stud wall. Align them horizontally about 8” above the outlet boxes. Cut the area around the marked spots, drill the holes carefully, and pass the wires through.
I’ve given detailed illustrations for the second scenario of a finished wall because it involves extra tools and effort below.
Running Electrical Wires in Walls
We can consider two types of walls (stud and brick) and two phases (new construction and a finished wall). This makes 4 possibilities, but we will detail how to run electrical wires through a new stud wall construction and cover wiring through a finished study wall step-by-step.
Running Electrical Wires in New Stud Walls
If the stud walls are new or uncovered, some good practices exist.
Good Practices
One concern is how far to run the wire from the edge. Don’t drill the hole any closer than 5/8” from an edge. The NEC is even stricter in stipulating 1¼” to protect the wire.
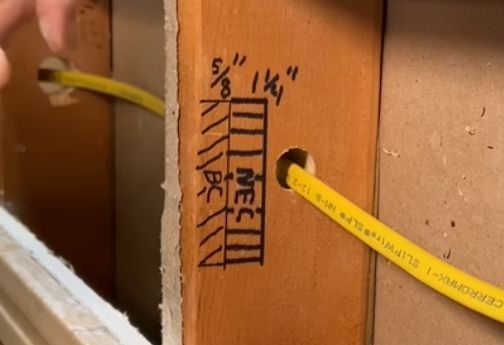
This rule protects the wire from nails and screws penetrating the studs, as shown in the picture below.
Another concern is how big the hole should be.
As a general rule, you shouldn’t remove more than 40% of a stud in diameter. That means about ¾” on a 3½” wide stud. Consult your local code if you need to drill a larger hole. Some allow a larger hole for plumbing, up to 60%, if it’s a non-load-bearing wall.
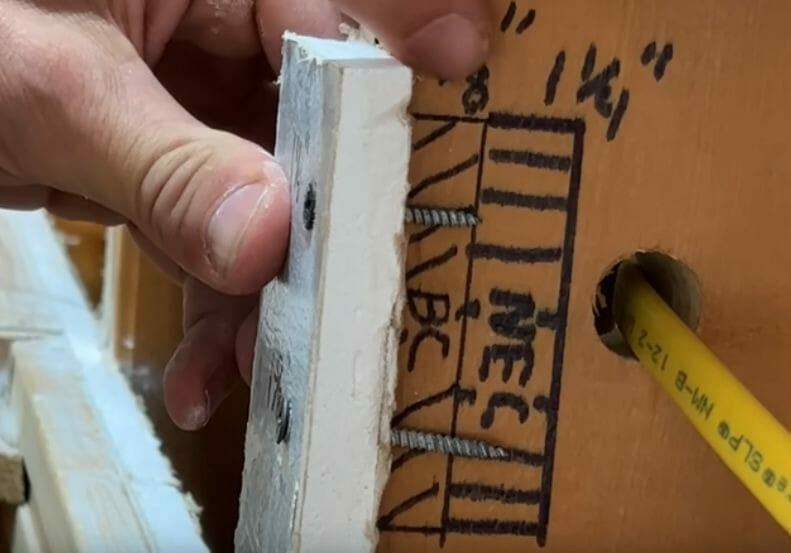
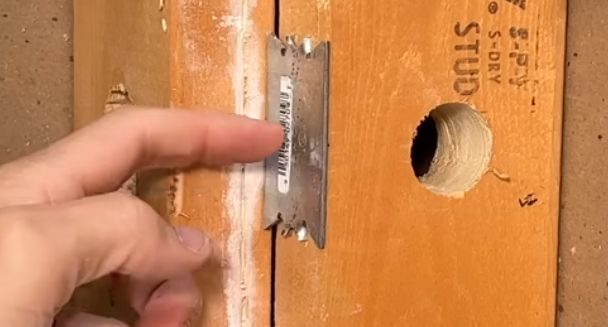
If, for some reason, you need to drill closer to an edge, you can use a nail plate to protect the stud as shown below, i.e., prevent accidentally nailing close to a wire running through the wall.
Tools
I suggest using a speedbor bit, as shown below, to create a smooth hole quickly. Alternatively, as shown on the right, you can use a standard spade bit.
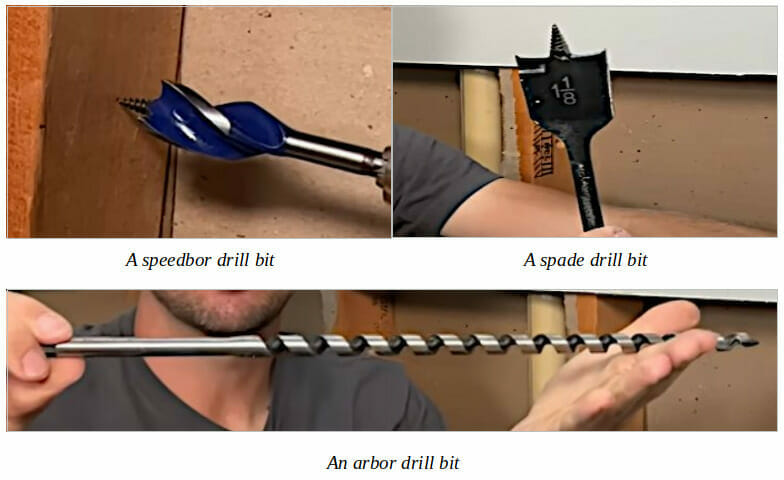
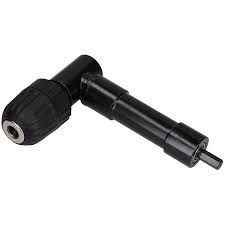
Another useful tool if you have narrow-spaced studs is to use a 90-degree drill attachment like the one below.
Hole Protectors
Another good practice is to insert easy guards into the hole to protect them. It provides a plastic bushing and an integrated metal nailer plate around its sides.
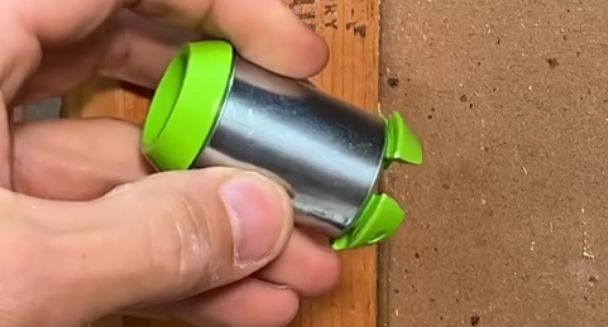
Place the adjustable end into the hole and gently tap using a hammer to use one.
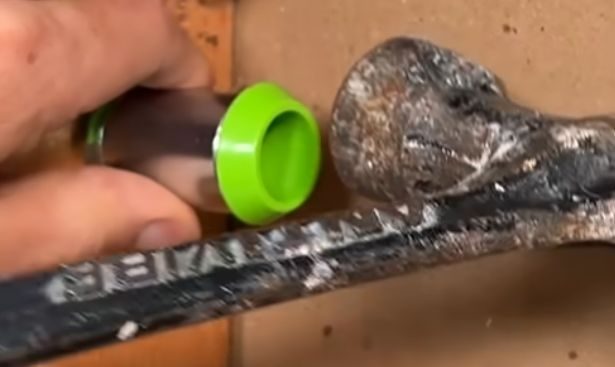
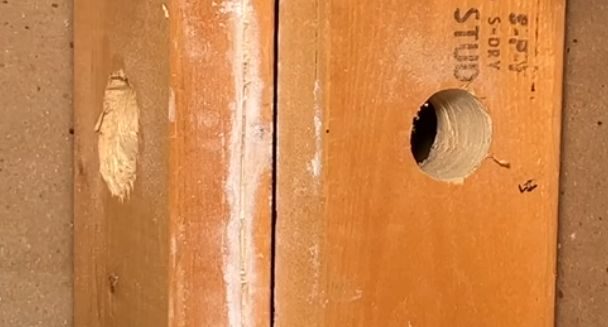
The end result from one end after attaching a hole protector would look something like this:
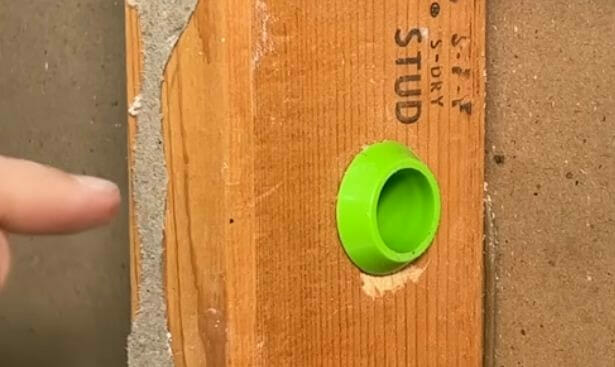
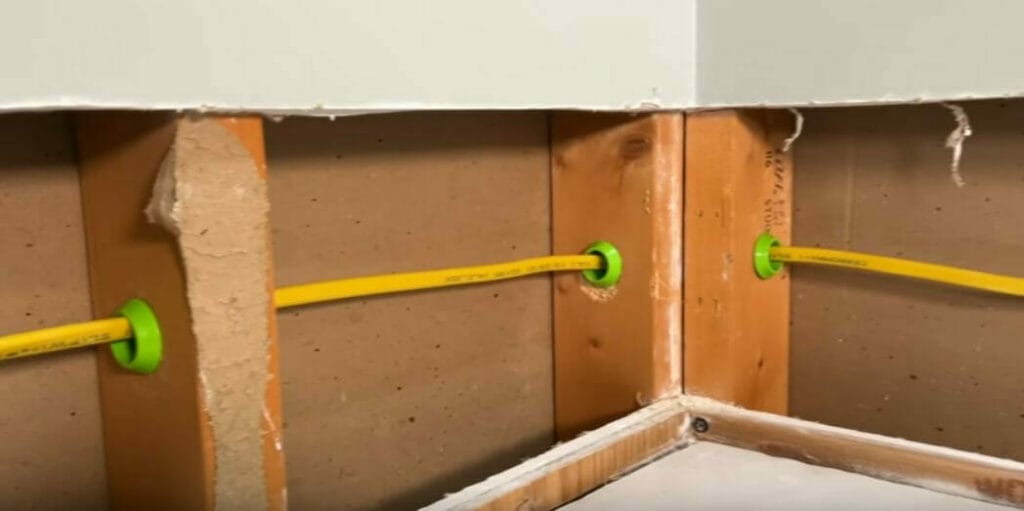
The Final Result
The final result should look something like this after running a wire through the wall’s studs:
Running Electrical Wires in Finished Stud Walls
When running electrical wires in finished stud walls, the same good practices apply, which were given above, but you will need a few extra items. Particularly useful items are:
- A stud finder to find the studs behind the outer surface of the wall
- An endoscope for looking inside the wall
- A right-angle drill attachment
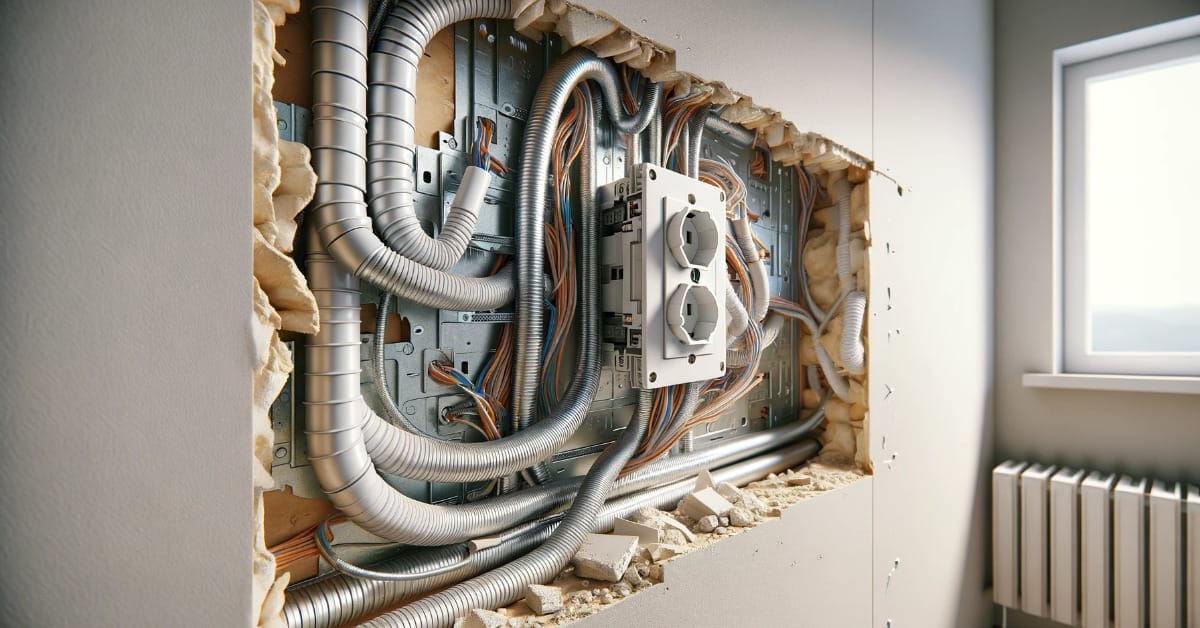
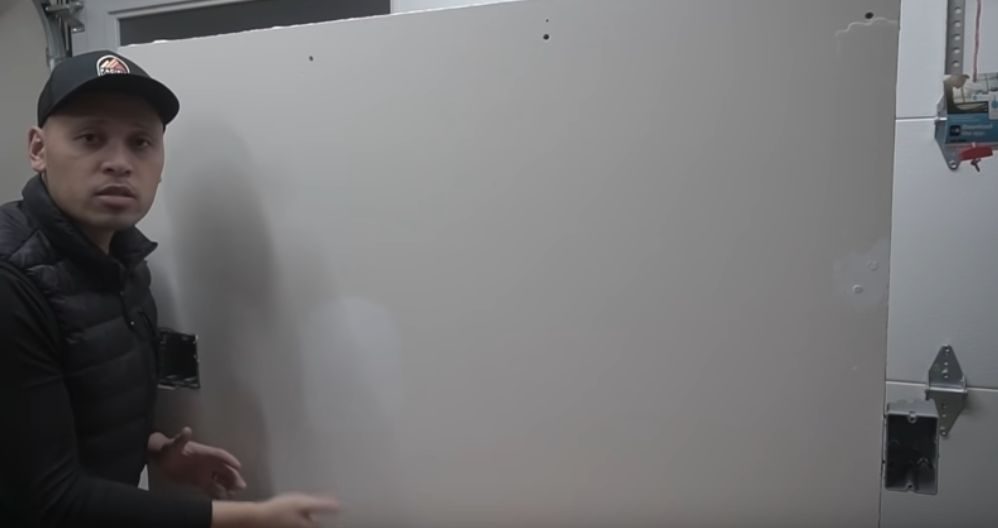
To show how to run a wire in a finished stud wall, we will follow a demonstration for extending power to another nearby outlet, as shown below. The boxes are at the bottom left and right ends of the picture.
Step 1: Find the Studs
Use a stud finder to find where the studs are.
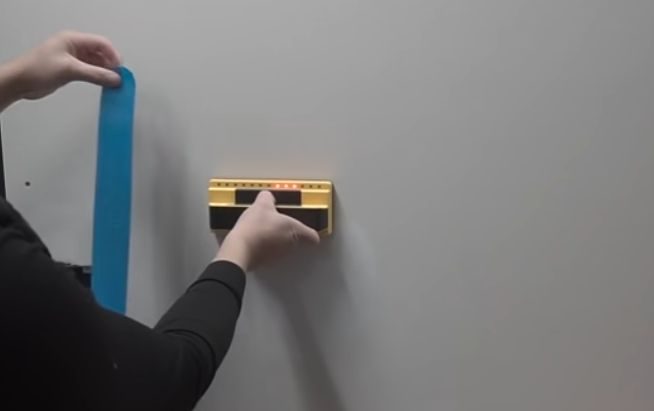
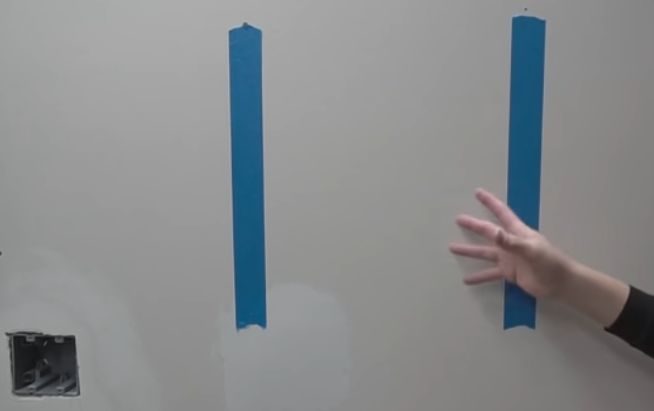
Step 2: Mark the Studs
Mark the studs using a pencil or masking tape.
Step 3: Make a Hole
Make a hole above one of the outlet boxes as shown.
Follow the good practices given earlier about how far from the edge and how wide the hole should be. In this case, the hole is ¾”, drilled using a spade bit 8 inches above the top of the outlet box.
Don’t make the hole too close to the box because the bend would be too sharp for the wire.
Step 4: Run the Wire
Run the wire through the hole you made in Step 3. Leave some slack for it.
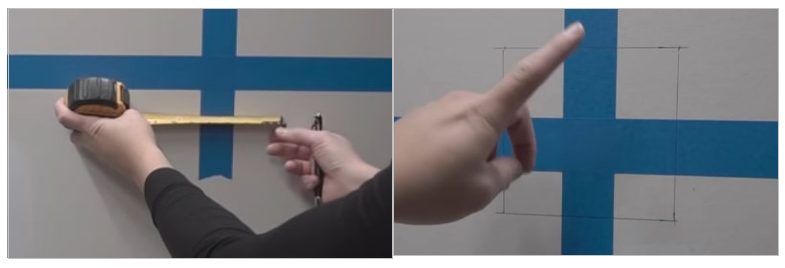
Step 5: Mark the Horizontal Lengths
Mark the horizontal length going across between the two outlets, which in this case is at a height of 8”.
Also, mark approximately 2” on either side of each stud, as well as above and below, as shown in the picture below.
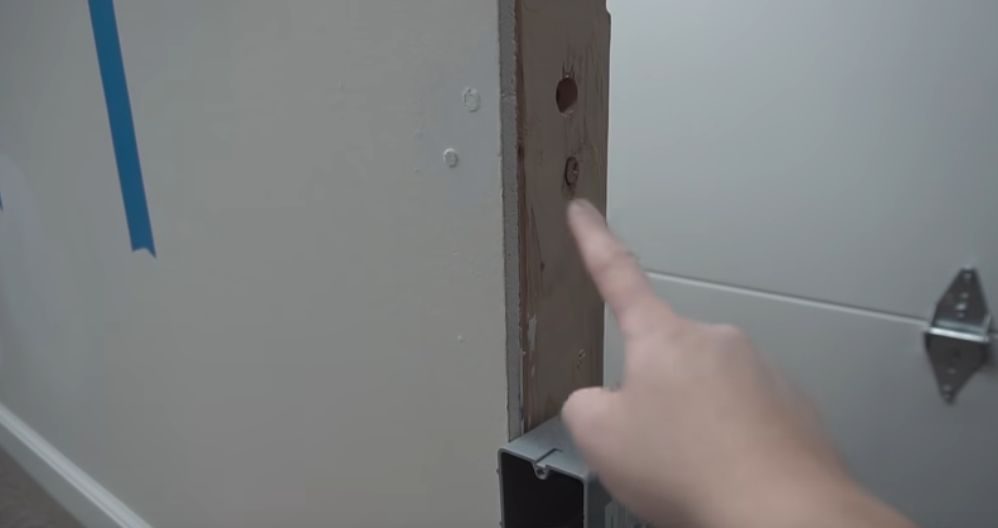
Step 6: Drill a Pilot Hole
We don’t know what’s behind the wall at this stage. We must protect any existing wiring and plumbing.

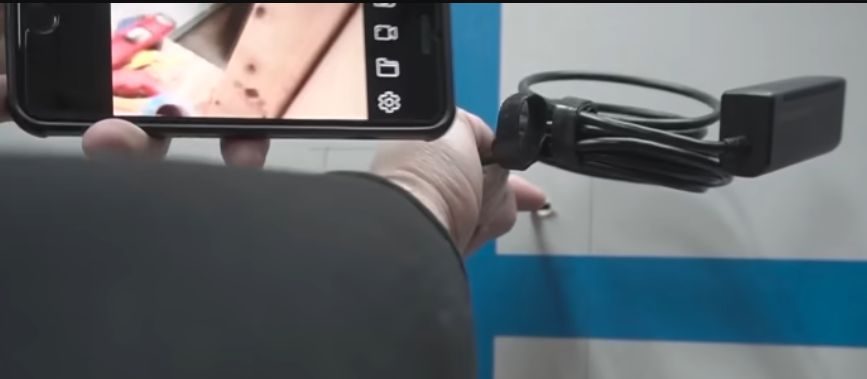
Step 7: Use the Endoscope
Use the endoscope to see the other side of the wall.
Step 8: Cut the Holes
Let’s assume the studs are clear, i.e., there’s no other wire or pipe behind the stud wall portions you marked for cutting. If there are, you may need to choose different points or implement a workaround and be extra careful.
Cut the holes along the square marks you made in Step 5 using a jab saw.

Step 9: Knock Out the Holes
Knock out the holes carefully without damaging the knockouts because we will attach them back later.
Step 10: Get the Power Drill Ready
Get the power drill ready with an extra long attachment on the chuck, attached at the other end to the spade drill bit.
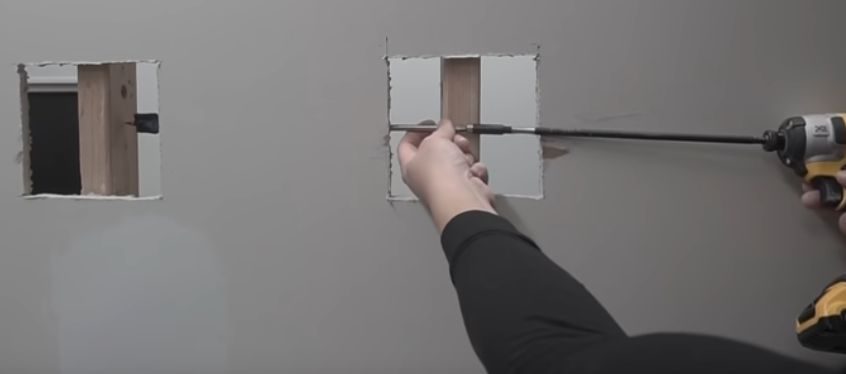
Step 11: Drill the Holes
Drill the holes through the points you marked for drilling.
Step 12: Feed the Wire
Feed the wire from Step 4 through to come out of the outlet box. Use one hand to push through the hole you cut and one hand at the outlet hole to pull the wire through.
Feed the wire further through the hole on the back of the outlet box.

Step 13: Reattach the Plaster Blocks
Reattach the plaster blocks you cut and knocked out in steps 8 and 9. Repair the wall.
Step 14: Wire the Outlets
You have successfully passed the wire through the finished stud wall and can now proceed to wire the outlets and repair the wall.
FAQs for Running Electrical Wires in Walls
Alright, team! Let’s break this down! Running electrical wires through walls might sound tricky, but you can prepare this “Move That Bus!” project with a few tips and tricks. Here’s a quick FAQ to help you out!
Q1: When drilling, how do I ensure I won’t hit any existing wiring or pipes?
Great question! Always, and I mean always, use a stud finder and an endoscope to peek behind the walls before you drill. And remember, measure twice, drill once!
Q2: I’m a little nervous about drilling near the edge of a stud. Any tips?
Hey, no worries! Stick to the rule of thumb – keep the hole at least 1¼” away from the edge. If you need to get closer, slap on a nail plate to protect your wires. Safety first!
Q3: Why should I use a hole protector?
Those little devices protect your wires against any future nails or screws that might penetrate the stud. Think of them as the extra padding on a football player; they’re there to keep the important stuff safe!
Q4: What if I don’t have a right-angle drill attachment?
You can still manage without one, but let me tell you, they can be a game-changer in tight spaces! If you’re serious about DIY, it might be a good investment.
Q5: Can I skip the endoscope step if I’m sure there’s nothing behind the wall?
While I love a confident DIY spirit, it’s always best to check. Walls can hide a lot of surprises, and an endoscope is like your X-ray vision. Don’t skip on this one!
Q6: I’m done running the wire. How do I patch the holes and make it look like nothing happened?
Just like a makeover! First, reattach those plaster blocks you cut out. Then, smooth over with joint compound, sand it down once dry, and finish with a fresh coat of paint. Boom! Brand new wall.
RELATED Can You Drill into Metal Studs?
References
Website Resources:
- Right angle drill attachment. https://www.diy.com/departments/aluminium-right-angle-drill-attachment-bit-3-8-chuck-key-adaptor-adapter/5056133347524_BQ.prd
Video References:
Everyday Home Repairs
Fix This House