4 min read
How to Charge Hyper Tough Drill? (3 Simple Steps)
I’ll teach you how to charge a Hyper Tough drill easily and effectively in this article.
Being a handyman, one of my favorite drills is the Hyper Tough drill. It’s an amazing and inexpensive drill. However, knowing how to charge the drill is key to properly maintaining it and its performance.
In general, the process of charging a hyper-tough drill is to:
- Eject the battery by pressing the button below the grip.
- Place the battery inside the charger.
- Plug in the charger.
- Switch on the power.
- Wait for 3 to 4 hours.
I will cover more details below.
Charging a Hyper Tough Drill Battery
Follow the steps below to charge your Hyper Tough Drill battery:
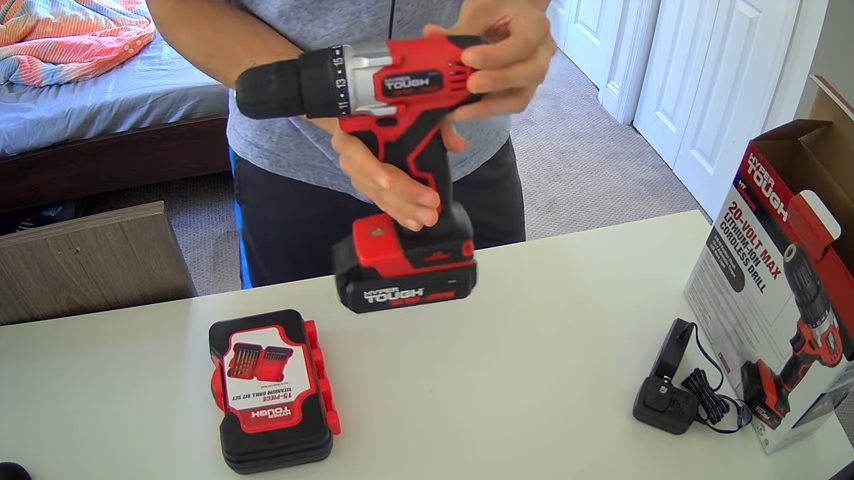
Step 1: Eject the Battery
Press the lock spring button below the grip section on the hyper tough drill to eject the battery.
If it’s a drill rotation switch, rotate it to the neutral or lock position while removing (and inserting) the battery.
Hyper Tough drills use Hyper Tough 20-volts MAX, 2.0 amps, lithium-ion batteries.
Once fully charged, they can last for a considerable time (around 1000 times), depending on how heavily you use them.

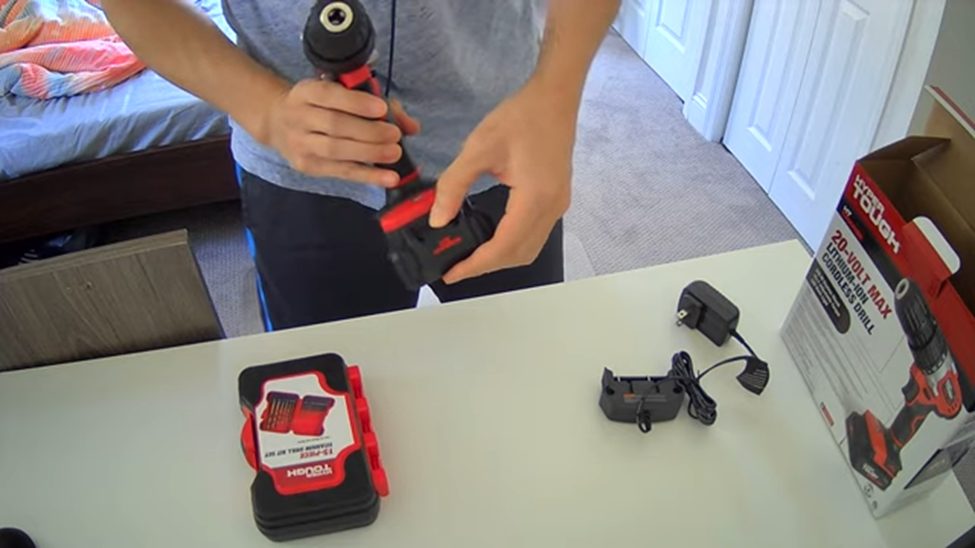
Step 2: Place the Battery in the Charger
Place the battery inside the charger to make it ready to be charged.
Note the positive and negative terminals on the battery. Align them with the corresponding markings on the charger. The battery will only charge if the polarity is matched. Push the battery in until the lock spring clicks.
Use the supplied charger kit. If you don’t have one, get a 20V lithium-ion Hyper Tough drill charger online or from a local electronics shop.
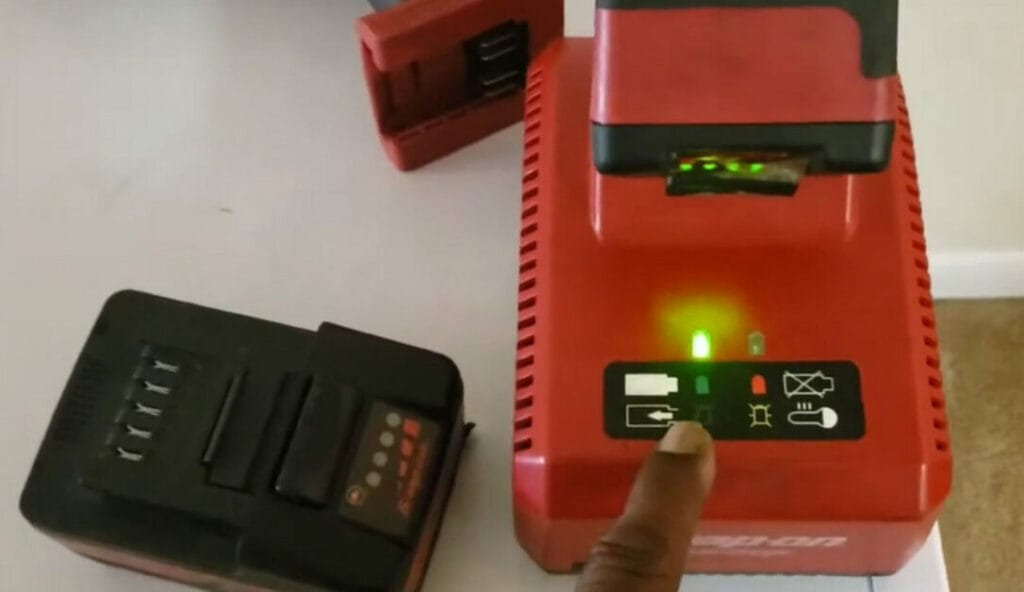
Step 3: Plug in the Charger
Plug in the charger and flip the switch to the on position to charge the battery.
A red light is a power indicator, confirming that you inserted the battery into the charger properly. The green light should then come on when it starts charging to indicate that the battery is good and being charged.
If the charger blinks red instead, it’s either fully charged or finished charging, or there is something wrong with the battery.
Step 4: Stop the Charging
Stop the charging once the red LED light turns on. The red light means the charging is complete.
The charging time for a 20V lithium-ion Hyper Tough drill battery is usually between three and four hours, depending on the battery level. I recommend charging the battery overnight to charge fully, especially if the drill is new.
The battery typically lasts approximately 1000 charging cycles, so you can charge it this many times before needing to replace the battery.
Step 5: Put the Battery Back In
Remove the battery and let it cool for a few minutes before placing it back into its port on the hyper tough drill.
If charging more than one battery continuously, let the charger cool for 10 to 15 minutes before inserting the next battery.
References
Website Resources
- Max cordless drill user manual. https://manuals.plus/hyper-tough/hyper-tough-20-volt-max-cordless-drill-user-manual?expand_article=1#axzz8I5Z1lGil
Video References:
Just Vlad
Allen W
Adam LaBaud