8 min read
How is a 50 Amp RV Plug Wired? (Guide, Steps, Safety)
When I got this question from our content team, I am not going to lie; I was excited. As an electrician and someone who owns an RV, this is my Shangrila :).
Key Takeaways – Essential tools for wiring a 50 amp RV plug include a proper screwdriver, wire stripper or cutter, and specific 6/3 + 8/1 diameter wires. Before starting, ensure safety by unplugging the RV, wearing gloves, and using protective eyewear. The wiring process involves correctly connecting hot, neutral, and ground wires to their respective terminals.
Let’s start—your inner electrician is waiting to shine!
Wiring Color Codes and Their Significance
First off, let’s talk black wires. You’ll often find these fellas in your RV wiring system. Black stands for hot or live. It’s a primary feed that carries power from the source to the device.
Next up is white. White wires signify neutral or grounded conductors. They’re like peacekeepers, providing a safe path for unused power to return to the service panel.
Now onto red and blue wires. Like our buddy black, they also represent hot wires but with a twist! These guys are secondary feeds and usually carry power between switched devices.
Choosing the Right Tools and Materials for the Job
Alright, let’s roll up our sleeves and dive right into it. We’re about to tackle a 50 amp RV plug wiring project, but before we get started, we need to ensure we have all the right tools and materials on hand.
First off, you’ll need a screwdriver. I can’t stress enough how important it is to have one that fits properly. You don’t want to be that person who strips a screw because they were using the wrong size!
Next up is your wire stripper/cutter. Trust me, this little tool will be your best friend during this project!
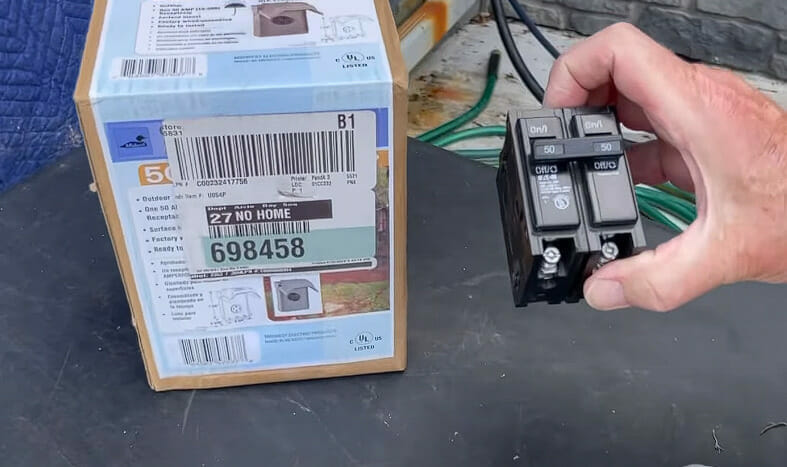
Now let’s talk materials. You’ll need some wire, but not just any wire will do. For this job, you’ll need 6/3 + 8/1 diameter wires (6 gauge for three wires and 8 gauge for one). It might seem like overkill but remember, safety first!
Here’s what you should have:
| Tools/Materials | Why You Need It |
|---|---|
| Screwdriver | To tighten and loosen screws |
| Wire Stripper/Cutter | To prepare your wires |
| 6/3 + 8/1 Diameter Wires | The correct size for a 50amp RV plug |
Apart from these basics, there are a few more items that’d come in handy:
- Electrical tape (for insulation)
- Wire nuts (for securing connections)
- A multimeter (to test voltages)
Now that we’ve got our toolkit sorted out stay tuned as I walk you through the next steps of this project.
Safety Precautions When Wiring an RV Plug
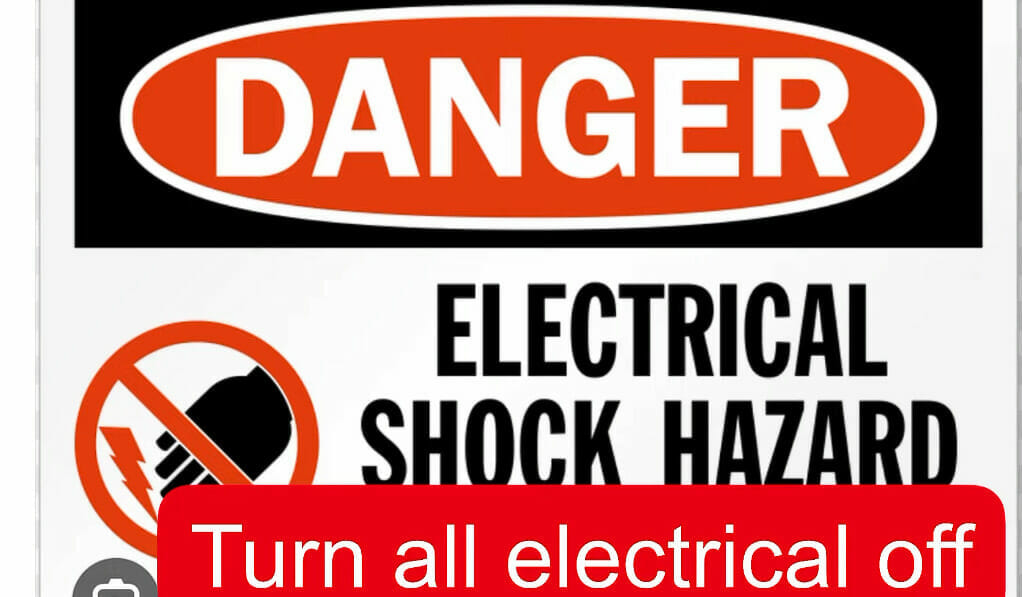
First, before you even think about starting this project, ensure your RV is unplugged from any power source. It might seem obvious, but you’d be surprised how easy it is to forget.
Next up on our list – gloves and protective eyewear are non-negotiables here. You don’t want accidental shocks or stray bits of wire poking where they shouldn’t be!
Remember these points:
- Unplug your RV
- Wear gloves
- Protect those eyes!
Speaking of poking around where things shouldn’t be, let me remind you that if you’re not confident in what you’re doing or anything seems off – get professional help immediately.
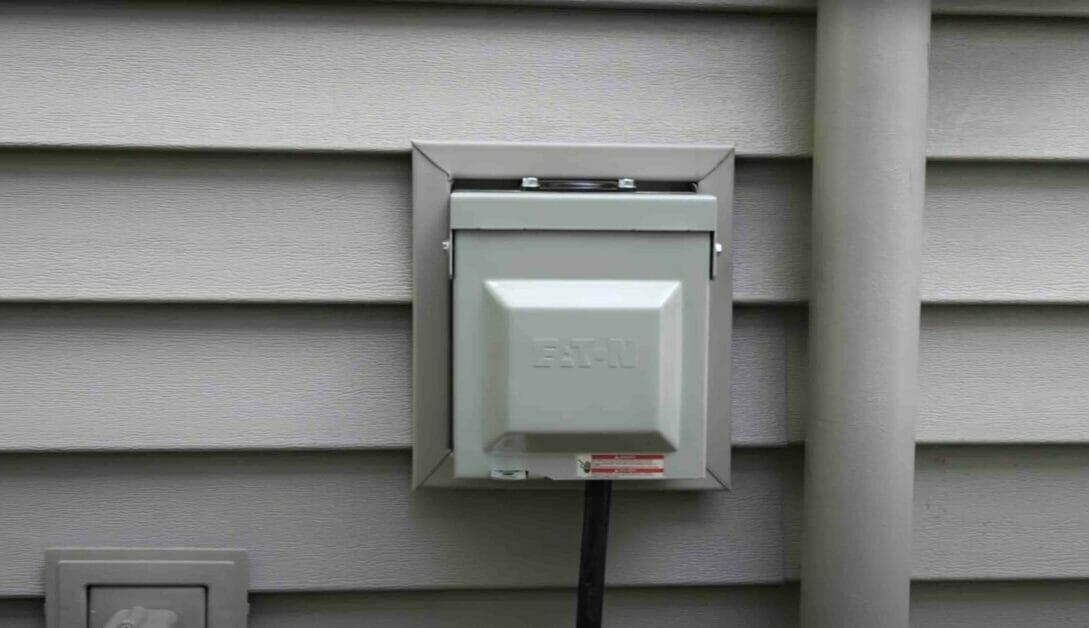
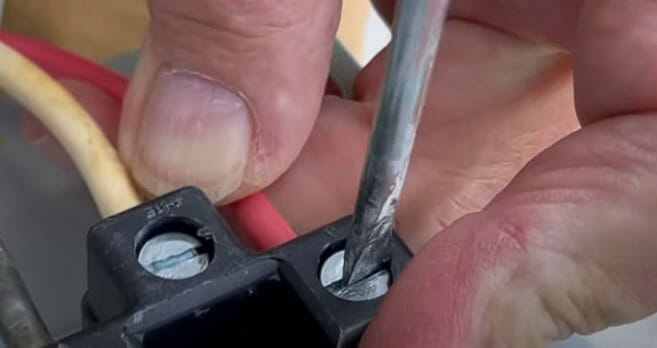
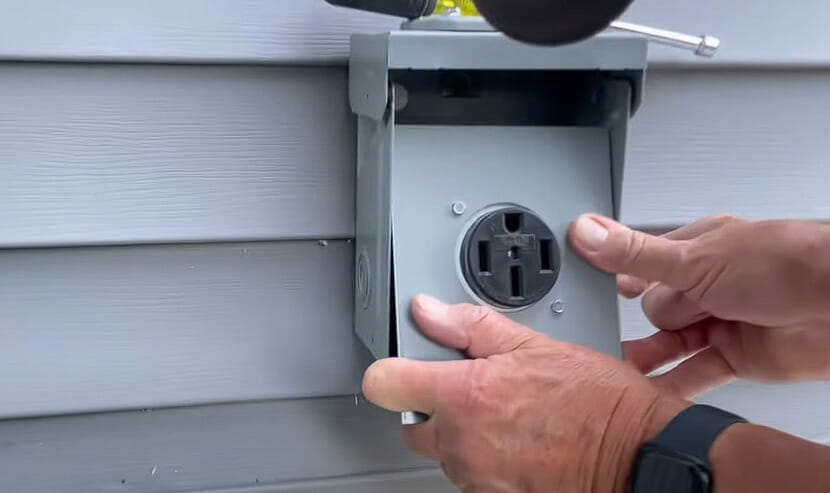
Step-by-Step Wiring Process for a 50 Amp Plug
Let’s dive into the nitty gritty of wiring a 50-amp RV plug. It’s not as daunting as it might seem, I promise!
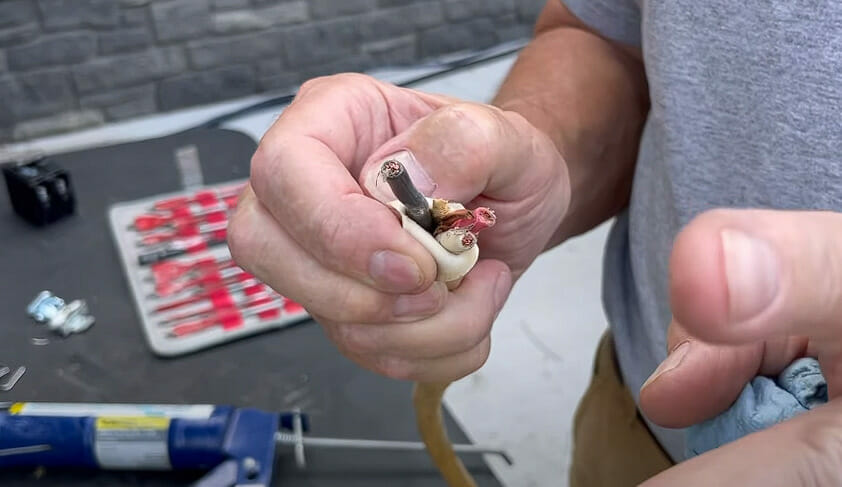
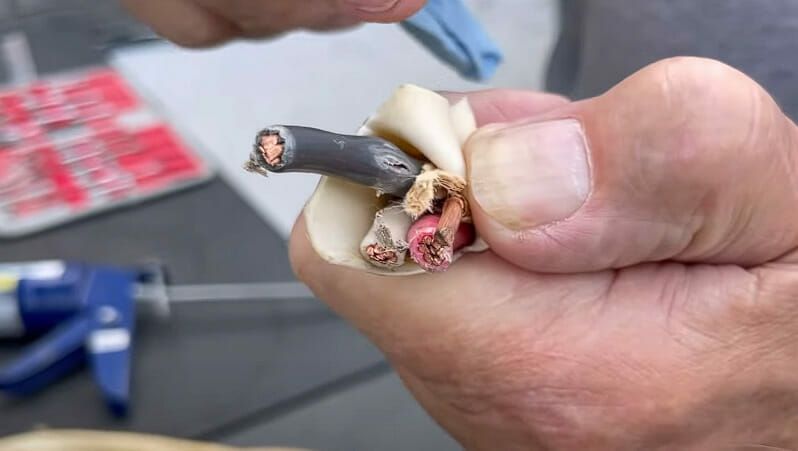
Step 1. The first thing you’ll need is four wires – two hot wires (usually black and red), one neutral wire (white), and one ground wire (green). These guys are your main players in this game.
Step 2. Our green friend goes to the grounding terminal marked ‘G.’ Think of it like your safety net; if something goes wrong, it saves the day.
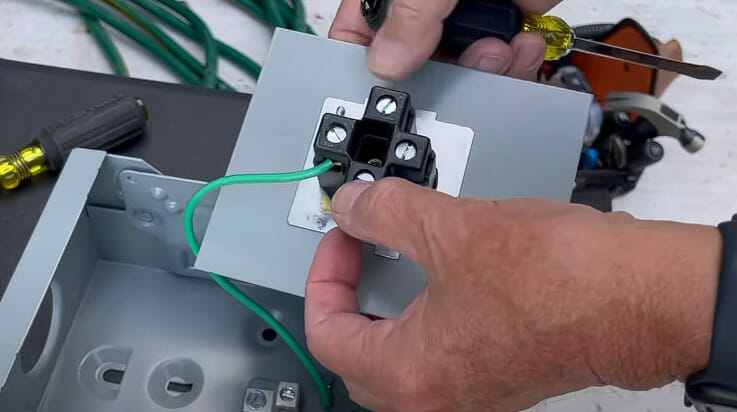
Step 3. Next is your white neutral wire, which connects to the terminal marked with an ‘N.’ This fella provides an escape route for any unwanted electricity.
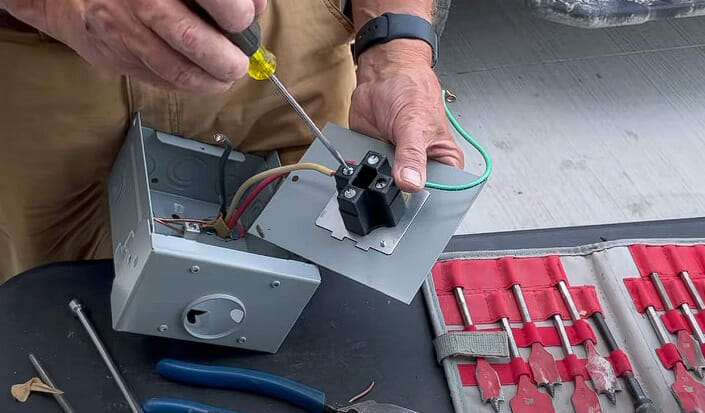
Step 4. Here comes the fun part. Start by inserting each hot wire into the terminals marked ‘X’ and ‘Y.’ These babies carry around 120 volts each. Yeah, that’s some serious juice!
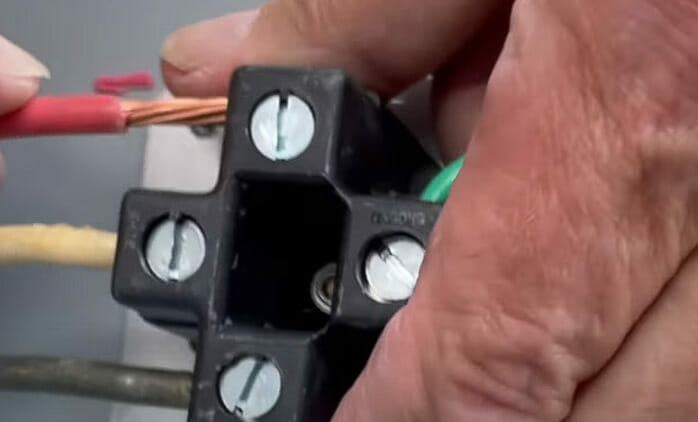
| Wire Color | Terminal |
|---|---|
| Black/Red (Hot) | X/Y |
| White (Neutral) | N |
| Green (Ground) | G |
Step 5. Once all these wires are securely screwed in place, pop on that cover plate, test the voltage, and voila! You can now safely enjoy all those amps powering up your RV adventures!
If you’re unsure about anything or don’t feel comfortable doing it yourself – don’t hesitate to call in a professional electrician. They’re experts at this stuff!
Troubleshooting Common Issues
So, we’ve made it to the final stretch. Let’s dive into some common issues you might encounter when wiring a 50-amp RV plug and how to solve them.
An incorrect wire connection is one of the most casual problems I’ve seen. This can lead to many issues, from your RV not getting enough power to potential safety hazards like fires.
Always double-check your connections: white wire should go with a neutral terminal (usually marked ‘N’ or ‘W’), black and red wires with brass terminals (typically labeled ‘X,’ ‘Y’ or color-coded), and green wire with ground terminal (often marked ‘G’ or ‘Ground’).
Another common hiccup is blown fuses. If you’re blowing fuses, something’s up. If this happens frequently, it could be that your RV is drawing more current than the circuit can handle. In such cases:
- Try reducing the load on the circuit
- Consider upgrading your setup if necessary
And let’s not forget about loose connections; they’re sneaky little problems that can cause havoc!
They often result in erratic power supply and might even damage your appliances over time. Ensure all screws are tight – but not overtightened – during installation.
That’s about it! Remember, safety is always first! And hey, don’t hesitate to call in an expert if things get too tricky – there’s no shame in asking for help when needed.
References
Organizations:
- Recreational Vehicle Industry Association (RVIA). https://www.rvia.org/
Websites:
- The RV Forum Community. https://www.rvforum.net/
- RV How-To’s. https://www.gorving.com/tips-inspiration/how-tos
Video References:
Fate Unbound
TSquad RVing