7 min read
Can You Drill a Hole in a Magnet? (Yes – Ultimate Guide)
In this guide, I’ll teach you how to drill holes into magnets quickly and efficiently.
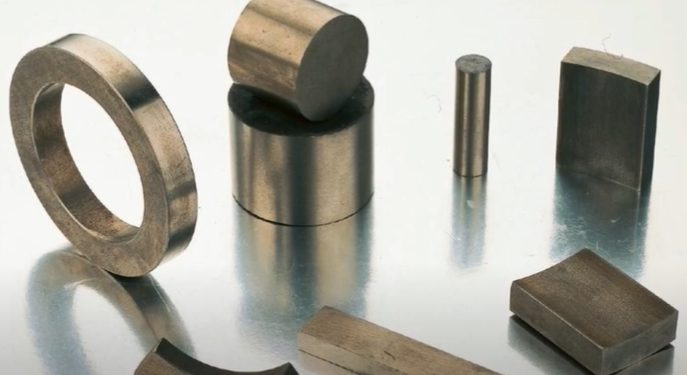
Magnets with holes or ring magnets are typically manufactured in set sizes so it is difficult to find a specific size outside of those standard sizes.
People that frequently deal with electronics, experiments, and other similar work may require customized ring magnets for their projects. One way to obtain a customized ring magnet is to drill a hole in the magnet yourself.
Learn how to drill a hole in a magnet by taking a look at our guide below.
Tools and Equipment Needed
There is a certain baseline of tools and equipment needed to create a drill hole in a magnet.
- Power drill
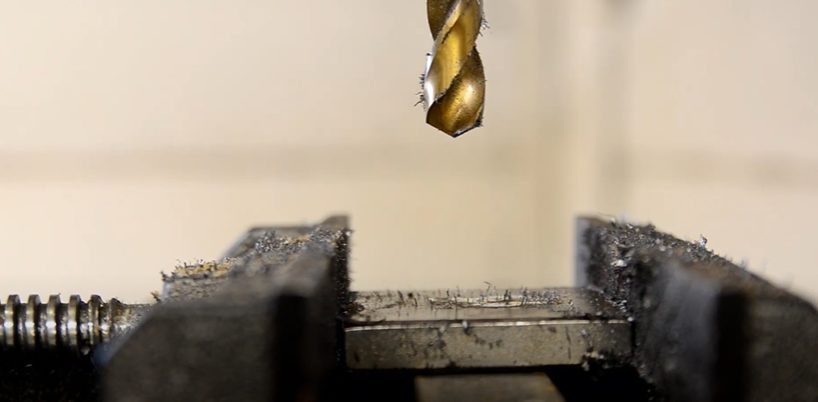
- Diamond-tipped drill bit (standard is 3/16, but size varies depending on the magnet dimensions)
- Ferrite magnet (at least an inch in diameter)
- Liquid coolants such as water
- Rough grit sandpaper (10 to 50 grit)
- Bench vice
- Eye protector
- Dust mask
Take note that sized 3/16 inch drill bits are generally used for magnets that are around an inch square or an inch in diameter. Try to follow this drill bit size to magnet size ratio when dealing with larger magnets.
If you have a better set of equipment and power tools available, then we highly recommend using them.
Here are some upgrades to consider for your magnet drilling project. Use wet diamond core drill bits for the drill bit magnet and use cooling oil or cutting fluid for the liquid coolant.
Although these upgrades are not necessary, they can increase the chances of success and reduce any adverse effects.
Steps to Drilling a Hole in a Magnet
Stop wondering whether you can drill a hole in a magnet, start the process by following the steps below.
Step 1: Wear Protective Equipment and Prepare All the Materials and Tools
Staying safe is the number one priority in any sort of project.
Put on an eye protector and put on a dust mask. Make sure that the protective equipment is properly fitted onto the face with little to no gaps in between.
Assemble the magnet drill by fitting the drill bit magnet into the tip. Then test the fitment of the drill bit by pulling the trigger. Make sure to point the drill part away from you when testing it. Arrange all the tools and equipment in an easy-to-reach area after.
Step 2: Place the Magnet On the Bench Vice
Set the magnet down on the jaw of the bench vice.
Ensure that there is a firm grip on the magnet. It should withstand the pressure from the magnet drill and stay in place. You test the tightness of the bench vice by pressing down on the center of the magnet. Tighten the jaws of the bench vice if it moves in any way.
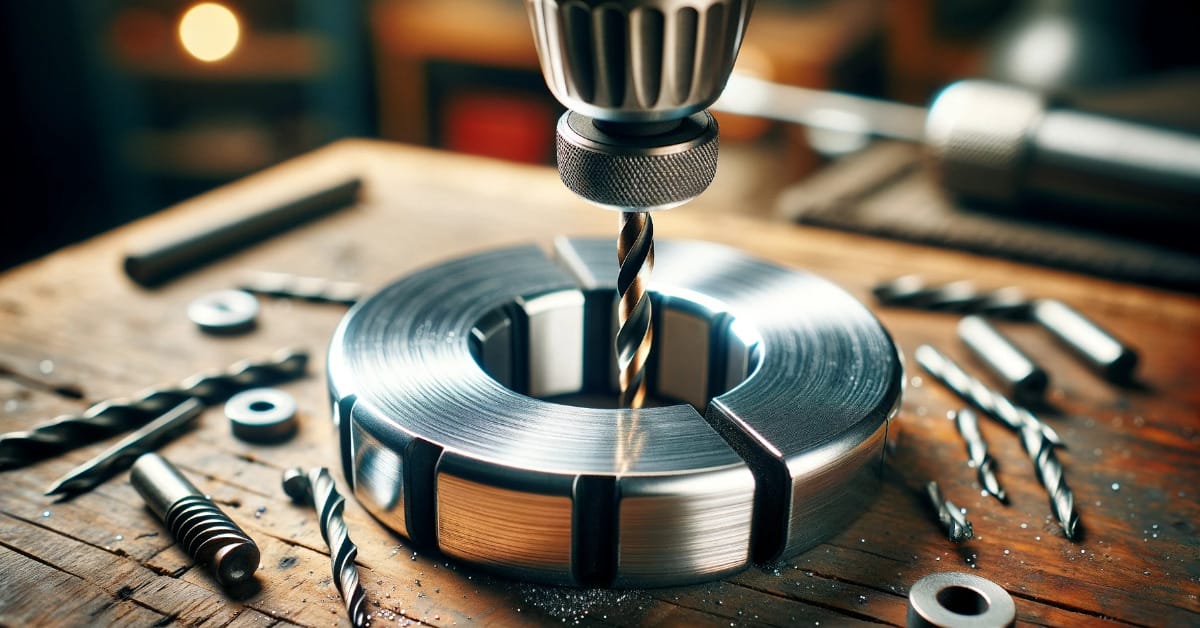
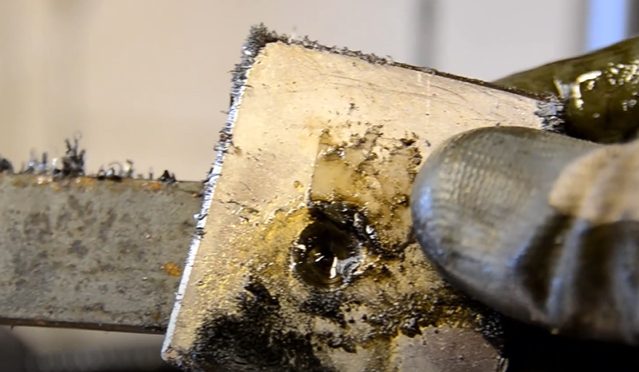
Step 3: Gently Drill Through the Center of The Magnet
Place the drill bit onto the center of the magnet and apply constant pressure.
Place enough pressure to slowly nick through the magnet. Don’t place too much pressure and force at one time as this can cause the magnet to break and shatter.
Step 4: Flush the Drilling Area with Coolant
Immediately stop if you feel the magnet heating up.
Flush the drilled area with the coolant. This clears the area of debris and lowers the temperature of the entire magnet. Give the magnet a few minutes to cool down before continuing.
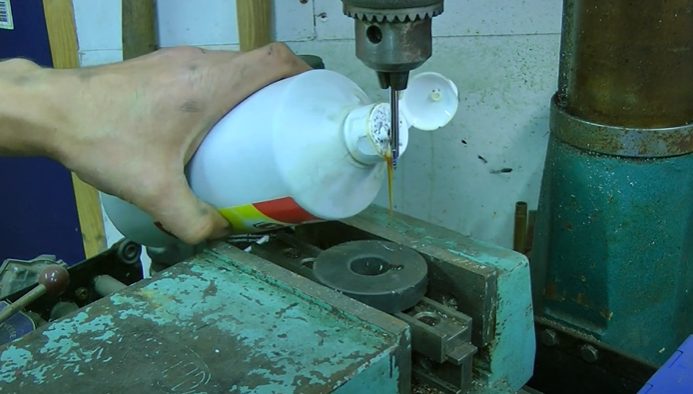
It is recommended to take frequent breaks in between drilling. This prevents the magnet from fully heating up and reduces the cooling time. It also cleans the drilling area and prevents accumulated debris from increasing friction.
Step 5: Flip the Magnet Over and Continue Drilling in The Same Area
Alternating between each side of the magnet minimizes the risk of accidentally shattering it.
Place the drill in the center, exactly where it was drilled on the other side. Continue to apply constant pressure to slowly drill through the magnet.
Step 6: Repeat Steps 4 to 6 until A Hole Is Created
Rushing through the drilling process significantly increases the risk of shattering the magnet.
Patiently use the power tool to gently apply pressure on the center of the magnet. Take frequent breaks in between to pour coolant over the magnet. If the magnet is noticeably getting too hot, then immediately stop and cool it down.
Continue to alternate between sides, repeating the same drilling and cooling process, until a hole is fully drilled in the magnet.
Step 7: Sand Down the Drill Hole Until Smooth
The drill hole produced on the magnet is usually rough and uneven.
Use the grit paper to sand down the edges of the drill hole. Slowly work around the edges until it has smoothened down to the wanted shape. Generally, the magnet shouldn’t heat up from the sanding process but it is still a great idea to use coolant in between.
Step 8: Clean up Any Dust and Debris
Immediately clean the work area of any dust and debris.
The dust from the magnet is flammable and is known to combust in certain situations. It is also toxic to inhale, so take care not to remove the protective equipment during the clean-up process.
Tips and Things to Note
Magnets are naturally fragile materials.
They are brittle and prone to shattering when pierced or drilled. Expect the chance of uneven breakage and shattering when using a powerful drill. Don’t get too frustrated if the drilled magnet is not the same as your expected outcome.
Another thing to note is that heat can cause disruptions to the magnetic field and reduce magnetic strength. This is why it is extremely crucial to use coolant to reduce the temperature of the magnet in between drill sessions. (1)
Wrapping Up
So can you drill a hole in a magnet? Yes.
It is possible to successfully drill a hole through a magnet by using the right set of materials. All you need is patience. Closely follow the steps above to create your ring magnets. (2)
Take a look at some of our related articles below.
- What gauge wire for light fixture
- Can you drill holes in apartment walls
- What size drill bit for anchor
References
(1) reduce magnetic strength – https://www.bbemg.uliege.be/how-to-weaken-electric-and-magnetic-fields-at-home/
(2) patience – https://health.clevelandclinic.org/7-tips-for-better-patience-yes-youll-need-to-practice/
Video References
Limitless-X
workshop 100
Chris the bodge sculptor