12 min read
Understanding and Applying Channeling Techniques (4 Simple Steps)
In this article, I will dive into the technique of upholstery channeling. Not just for pros, learn how to create plush, parallel indents in furniture for that high-end look.
Quick Summary: Channeling is easy with these 4 steps.
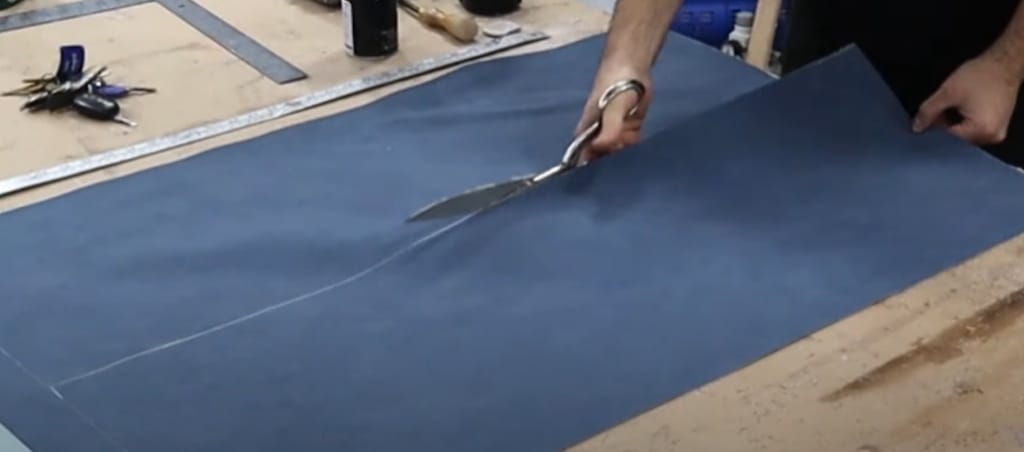
- Step 1: ✂️ Cut high-density foam to the desired size using a long, straight edge.
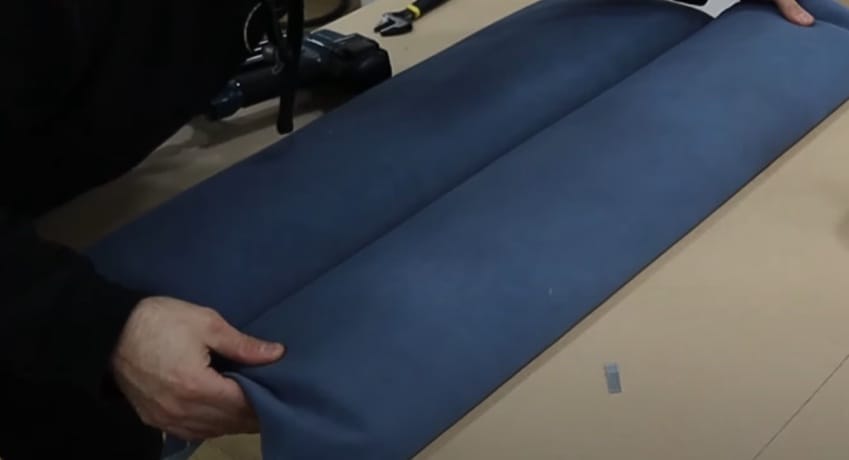
- Step 2: 📏 Lay upholstery fabric wrong side up, place foam on top, and mark even channel locations.
- Step 3: 🧵 Sew along the marked lines on the fabric using upholstery thread and needles.
- Step 4: 📌 Secure the fabric to the foam using upholstery needles after sewing channels, achieving a tufted appearance.
Below, I will go into these steps in detail.
What is Channeling?
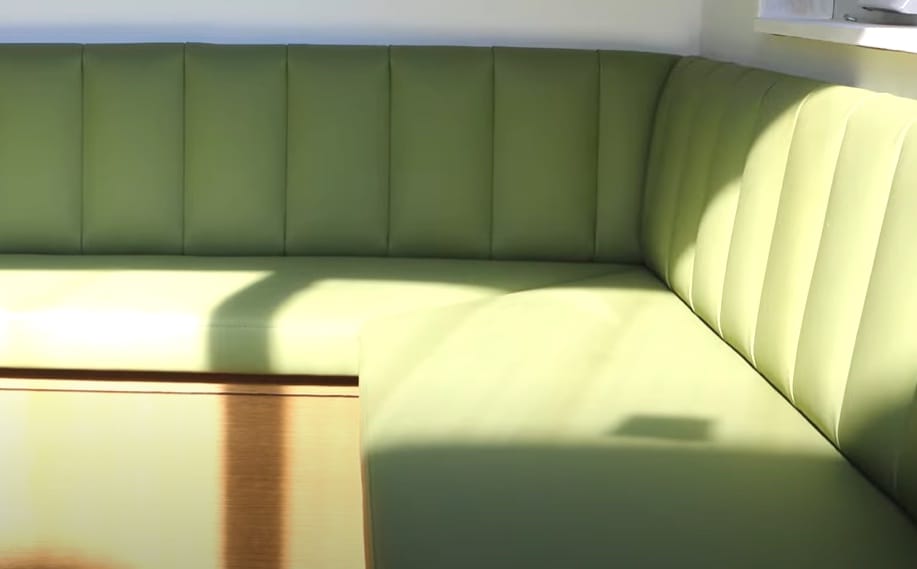
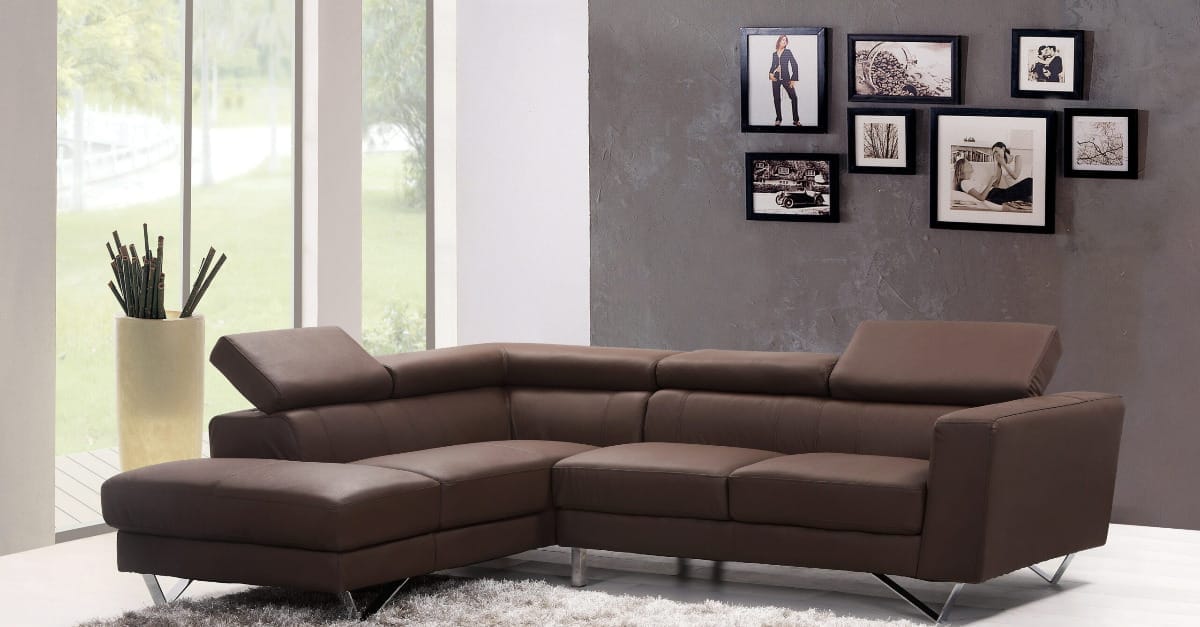
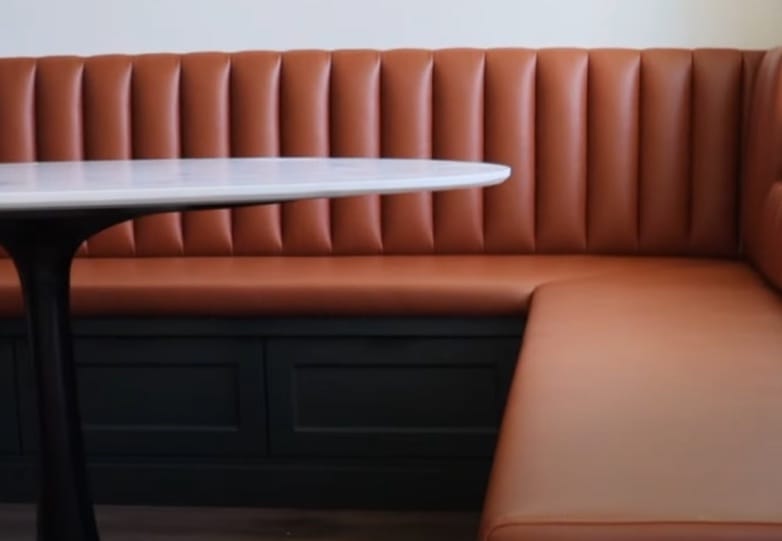
Channeling is a specific design technique in upholstery that creates linear grooves or channels. These channels are typically filled with padding and then covered with fabric, resulting in rows of cushioned lines.
This design can be found on various upholstered items, including sofas, chairs, headboards, and automotive seats. The technique enhances both the aesthetic appeal and comfort of the furniture piece.
Tools and Materials
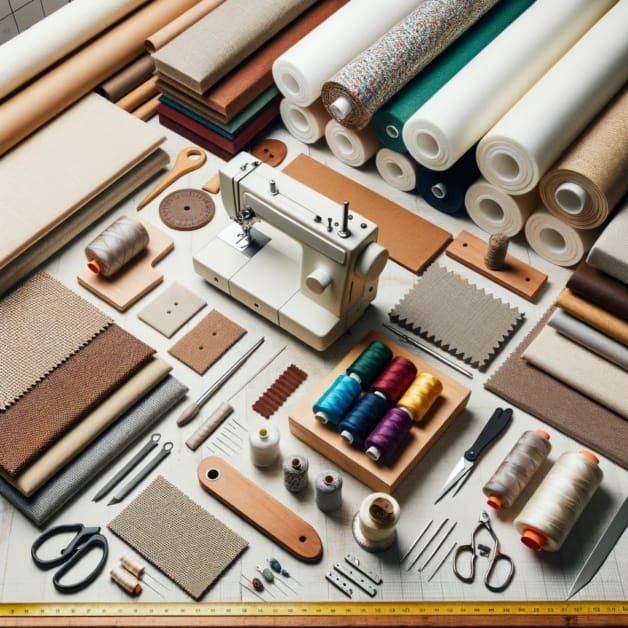
So, you’re ready to dive into upholstery channeling, eh? Let’s get down to brass tacks. You’re going to need some stuff first. Trust me, having the right tools and materials will make your life much easier.
- 🧵 High-density foam: This stuff is the bread and butter of any upholstery job. It provides the comfort and structure your piece needs.
- 🏡 Upholstery fabric: Now, this isn’t your grandma’s quilting fabric. Upholstery fabric is thick, durable, and designed to withstand the test of time. It also comes in various gorgeous patterns and colors, so you can let your creativity shine.
- 🧵 Upholstery thread: This stuff is tough as nails and can handle the stress of being pulled tight. Regular thread just won’t cut it.
- 🔍 Needle: Long, straight, and sharp is the way to go. This bad boy will help you create those perfect channels.
- 📏 Long straight edge: This tool ensures your channels are straight and even. No one likes crooked channels.
- 🪡 Sewing machine: This baby is your secret weapon. It’ll help you stitch those channels in a snap. But if you don’t have one, don’t sweat it. You can always hand-sew your channels. It’ll just take a bit longer, but patience is a virtue!
Steps to Create Upholstery Channeling
Let’s dive right into the action, shall we?
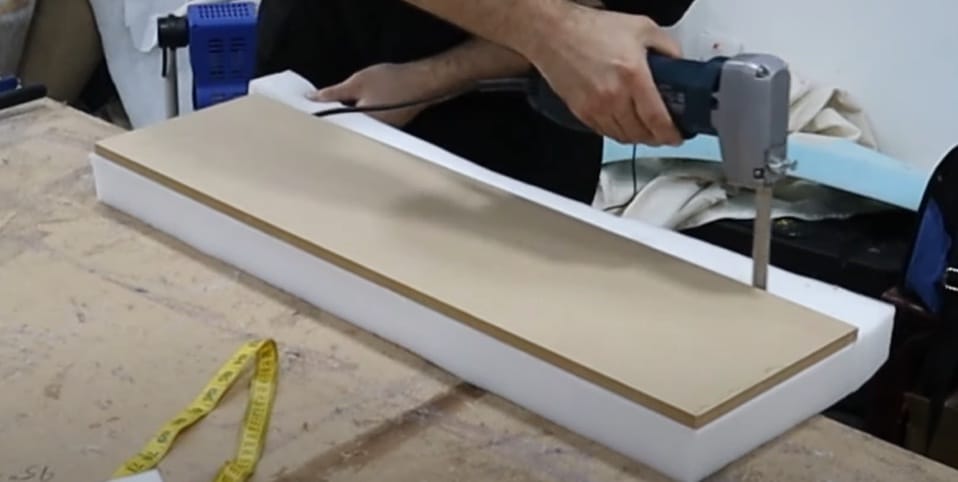
Step 1: Foam Cutting
- First, you’ll need to cut your high-density foam to the size of the piece you’re working on. Be sure to use a long, straight edge for accuracy.
Step 2: Mark Channels
- Next up, lay out your upholstery fabric wrong side up.
- Place the foam on top and mark where your channels will be. Remember, they should be evenly spaced!
Step 3: Sewing Channels
- Now for the fun part: sewing! Whether using a sewing machine or going old school with hand sewing, you’ll need to sew along the lines you marked on the fabric. For this step, you’ll need your upholstery thread and needles.

Step 4: Tufting Securely
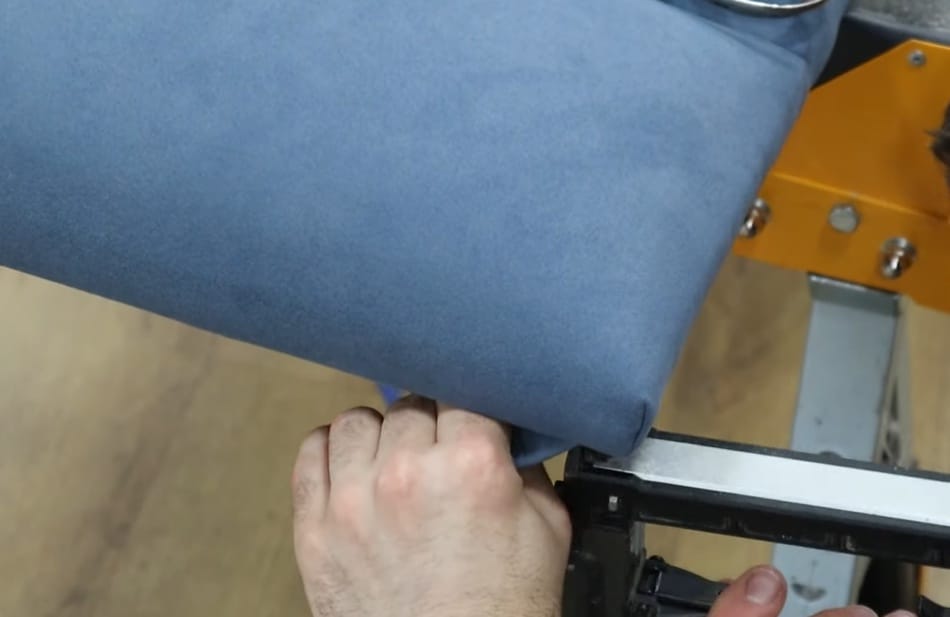
- Stay with me; we’re almost done. After you’ve sewn all your channels, it’s time to secure the fabric to the foam. To do this, use your staple gun to staple through the fabric and foam, creating a tufted look.
And voila! You’ve just created upholstery channeling. Remember, practice makes perfect. So don’t get discouraged if it doesn’t turn out perfect the first time.
Benefits of Channeling in Upholstery
I’ve been in the interior design game for a while now, and I can tell you channeling in upholstery is not just about looks. It’s way more than that!
- Comfort. Have you ever sunk into a channel-tufted sofa? Heaven! The channels create a natural, cozy nest for your body. You can’t get that with a flat, non-channeled piece.
- Durability. Those channels aren’t just for show. They also add extra strength to your furniture. Those channels will hold up to much use with the right fabric and thread. So, go ahead, live your life! Your furniture’s got you covered.
- Style. Channeling, it’s timeless! It’s been in style since, well, forever. And it’s not going anywhere. Whether you’re into mid-century modern, chic contemporary, or classic traditional, there’s a channeling style for you.
Remember, practice makes perfect. Don’t get discouraged if it’s not perfect the first time. Keep trying and improving; you’ll channel like a pro before you know it. Now, let’s keep moving and discover more about upholstery.
Common Mistakes and How to Avoid Them
Let’s talk about some common hiccups that might trip you up on your upholstery journey. Remember, no one is perfect, so don’t beat yourself up if you make a mistake. The key is learning from these errors and turning them into stepping stones.
- Incorrect foam cutting. It’s easy to cut just a smidge off, and your whole project is skewed before you know it. To avoid this, always measure twice and cut once. And don’t forget to use a straight edge for a clean, precise cut!
- Inconsistently marked channels. If your lines are uneven, your channels will be too. So, take your time when marking your fabric. Use a ruler or a straight edge to ensure your lines are straight and evenly spaced.
- Rushed sewing. We all have been there, trying to finish a project in one sitting. But rushing can lead to crooked seams and uneven stitching. So, slow down, take breaks, and remember: your sewing machine isn’t going anywhere.
- Improper fabric securing. If your fabric isn’t attached correctly to the foam, it can lead to sagging or bunching. So, make sure your fabric is pulled taut and evenly secured to the foam.
Tips for Perfecting Your Channeling Technique

Channeling in upholstery isn’t just a technique; it’s an art form that can elevate the look of any piece. Dive into these tips to perfect your channeling technique and give your projects a standout finish every time.
- Right Fabric, Right Results: Choose a fabric with a medium stretch. Too much stretch, and you risk sagging; too little, and it could be too tight. Remember, the fabric’s resilience plays a crucial role in the finished look of your channeled upholstery.
- Consistent Spacing: Invest in a good ruler or measuring tape. Consistency is king here. Evenly spaced channels bring out the professional look we’re all aiming for.
- Sharp Tools, Clean Cuts: Keep those scissors and cutting tools sharp. Clean cuts ensure the fabric doesn’t fray and remains easy to work with.
- Foam Matters: Opt for a high-density foam. It offers better cushioning, retains shape longer, and gives a plush look to your channeled designs.
- Sewing Strategy: When sewing channels, start from the center and work your way out. It helps maintain symmetry and avoids any unwanted fabric bunching.
- Stay Steady: A stable work surface is a must. Wobbly tables can lead to uneven channels. Make sure you’re working on a solid, steady surface.
- Test Run: Before diving into the main project, do a small test piece. It helps you gauge the fabric’s stretch, the foam’s feel, and the channels’ overall look.
- Maintenance Mode: Once your piece is ready, regular fluffing and light vacuuming can help maintain the depth and definition of the channels.
Safety Precautions
Diving into the world of upholstery channeling can be an exhilarating experience, but before we immerse ourselves in the artistry, it’s crucial to prioritize safety. Here are some safety guidelines to keep you on track and injury-free.
- Protective Gear: Always wear safety goggles when cutting foam or fabric. Tiny particles can easily fly into your eyes. Also, consider donning a dust mask when handling foam to prevent inhalation of fine particles.
- Sharp Tool Handling: Keep those scissors and cutting tools sharp – but handle them carefully. Always cut away from your body and store tools safely when not in use.
- Stable Work Surface: Ensure your workspace is stable. A wobbly table can lead to uneven cuts or even accidents. Secure your materials properly so they don’t slip during the process.
- Sewing Safely: When using a sewing machine, ensure your fingers are clear of the needle. Go steadily, especially when you’re new to the process. If hand-sewing, always be mindful of where the needle is to avoid accidental pricks.
- Electrical Safety: If using a sewing machine, ensure it’s in good working order. Check for frayed cords and always unplug the machine when adjusting or changing the needle.
- Ventilation: When working with certain foams or adhesives, ensure you’re in a well-ventilated area. Some materials can release fumes that shouldn’t be inhaled.
- Material Safety: Familiarize yourself with the materials you’re using. Some upholstery materials might have specific handling requirements or safety precautions.
- Clean Workspace: Keep your workspace tidy. A cluttered area can lead to misplaced tools or accidents. Regularly clear away scraps and ensure tools are returned to their designated spots.
- Stay Focused: Upholstery requires attention to detail. Avoid distractions when working, especially when handling sharp tools or machinery.
- Lifting Techniques: Some upholstery materials can be heavy. Use proper lifting techniques, bending at the knees, not the waist, to avoid back strain.
Frequently Asked Questions
- What’s the Best Foam Density for Channeling?
- A high-density foam ranging from 1.8 to 2.5 pounds per cubic foot is recommended for most upholstery projects, especially channeling. This provides optimal comfort while maintaining shape over time.
- How Can I Add a Modern Twist to Channeling?
- Channeling is versatile! Consider experimenting with different widths, angles, or curved channels for a contemporary look. Pairing a classic technique with a modern fabric pattern can also give your piece a fresh spin.
- Can I Combine Channeling with Other Upholstery Techniques?
- Absolutely! Combining channeling with techniques like tufting or quilting can create a unique and eye-catching piece. However, planning the design carefully is essential to ensure a harmonious look.
- Are There Specific Fabrics I Should Avoid for Channeling?
- While many fabrics can be channeled, avoiding overly delicate fabrics or those fraying easily is wise. Similarly, fabrics with bold patterns might not showcase the channels as effectively as more subtle or solid choices.
- Can I Channel Leather or Faux Leather?
- Yes, both leather and faux leather can be channeled. However, they require more care due to their thickness and less stretch. Using the right needle and thread ensures the leather is pulled taut without overstretching.
- Is There a Trend in Channel Widths?
- While the classic channel width is around 2-3 inches, trends vary. Recently, wider channels have gained popularity for a more modern, bold statement. However, the width should always complement the furniture’s size and design.
- Can I Add Buttons to Channeled Upholstery?
- Yes, buttons can be added to channeled designs for an extra touch of elegance. They can be placed at the start, end, or even throughout the channels. Just ensure they complement the overall design and don’t interfere with comfort.
References
Organizations:
- National Upholsterers’ Association. https://www.nationalupholsteryassociation.org/
Books:
- “Upholstery: A Complete Course” by David James. https://www.goodreads.com/en/book/show/2459937
- “The Complete Upholsterer: A Practical Guide to Upholstering Traditional Furniture” by Carole Thomerson. https://books.google.com.ph/books/about/The_Complete_Upholsterer.html?id=2oYbAQAAMAAJ
Website Resources
- Upholstery Forum. https://www.theupholsteryforum.com/
- Kim’s Upholstery. https://kimsupholstery.com/blog/
Video References:
ALO Upholstery
FaceLiftInteriors