19 min read
Sewing Techniques for Upholstery (9 Methods)
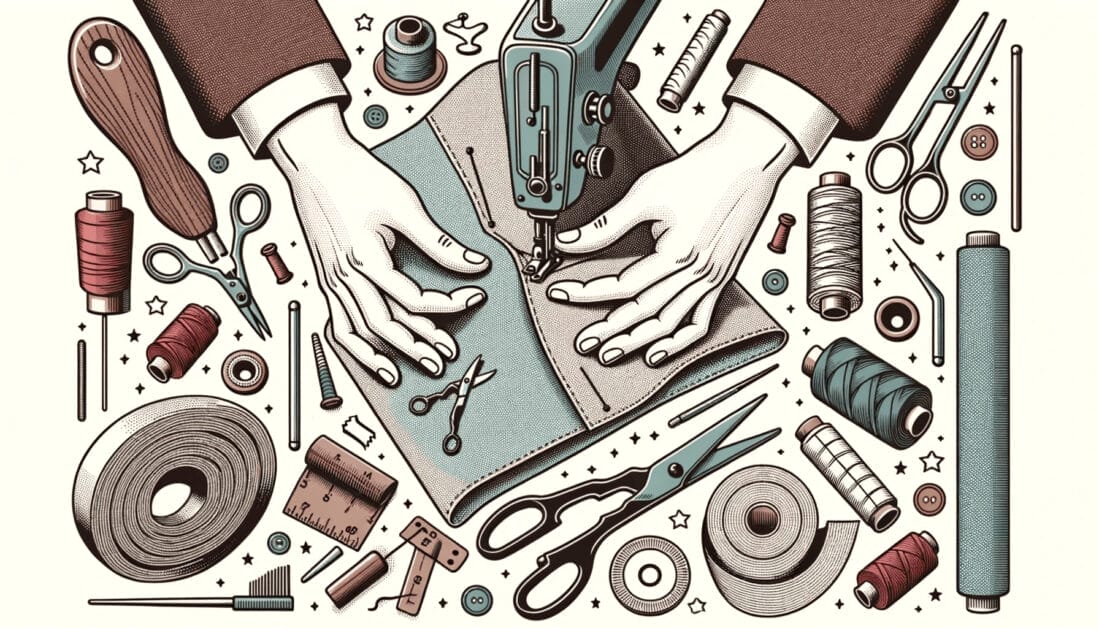
So, you’re ready to dive into the world of upholstery, huh? Well, you’ve come to the right place. I’m here to guide you through the nitty-gritty of sewing techniques to give your old furniture a new lease on life.
This table includes the essential sewing techniques to master your upholstery projects.
| Technique | Description |
|---|---|
| 🪡 Plain Seam | The simplest and most common seam is where two pieces of fabric are sewn together, right sides facing. |
| 🌟 Welted Seam | Adds extra strength with a fabric-covered cord for durability and style. |
| 🎀 French Seam | A double seam is used for exposed edges to provide a clean finish and added strength. |
| 🏃 Running Stitch | A basic, quick, and versatile stitch used for basting, gathering, and more. |
| 🔙 Backstitch | A strong and secure heavy-duty stitch is ideal for high-wear areas. |
| 👁️ Blind Stitch | Used when stitches need to be invisible, emphasizing the fabric’s appearance. |
| 🎗️ Piping | Adds a professional touch with a clean edge for visual interest. |
| 💮 Tufting | It is a classic technique that adds texture and depth to a piece. |
| 🟠 Buttons | Functional elements can also serve as decorative additions. |
Upholstery isn’t just about choosing the right fabric. It’s about mastering the art of sewing. We’ll be covering everything from basic stitches to complex patterns, ensuring you’re well-equipped to tackle any upholstery project that comes your way.
Importance of Sewing in Upholstery

Sewing in upholstery is more than just a process; it’s an art form. It’s not just about joining pieces of fabric together. It’s about creating a piece that’s both functional and aesthetically pleasing. You see, the quality of your sewing can make or break your upholstery project.
- Durability. Proper sewing techniques ensure the fabric can withstand regular use without tearing or falling apart. And when you’re talking about upholstery, that’s a big deal. Imagine a couch; it’s not just a showpiece. It’s meant to be used, sat on, and lived with. That’s why the sewing needs to be top-notch.
- Appearance. How you sew your fabric can drastically change how your upholstery looks. Whether a straight stitch or a complex pattern, each stitch contributes to the piece’s overall look. So, mastering different sewing techniques can help you create various looks.
- Customization. With the right sewing techniques, you can tailor your upholstery to fit any piece of furniture perfectly. You’re not just limited to standard sizes. You can create anything from a snug cover for a vintage chair to a loose, flowing drape for a modern sofa.
So, you see, sewing isn’t just a part of upholstery. It’s the heart of it. It’s what transforms a piece of fabric into a work of art. And that’s why it’s so important to master the art of sewing in upholstery.
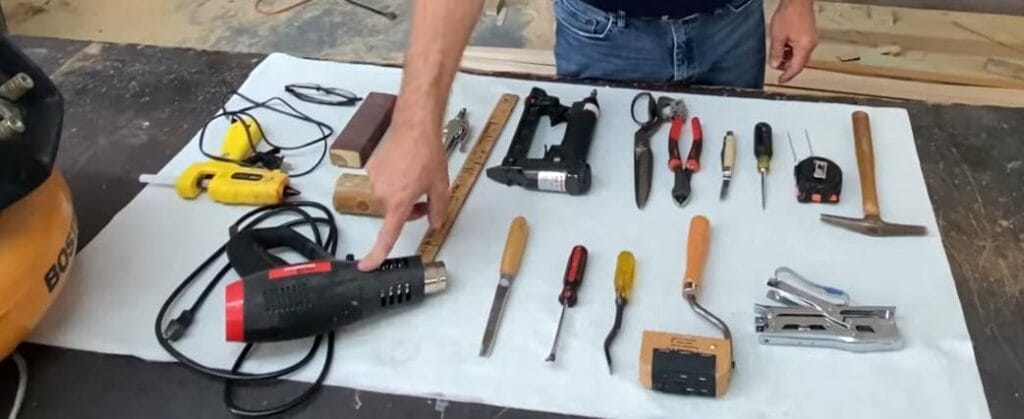
Basic Upholstery Sewing Tools
Upholstery sewing isn’t a task you can undertake bare-handed. It’s a craft that requires specific tools to achieve that excellent finish and durability. Let’s dive into some essential tools you’ll need for your upholstery sewing project.

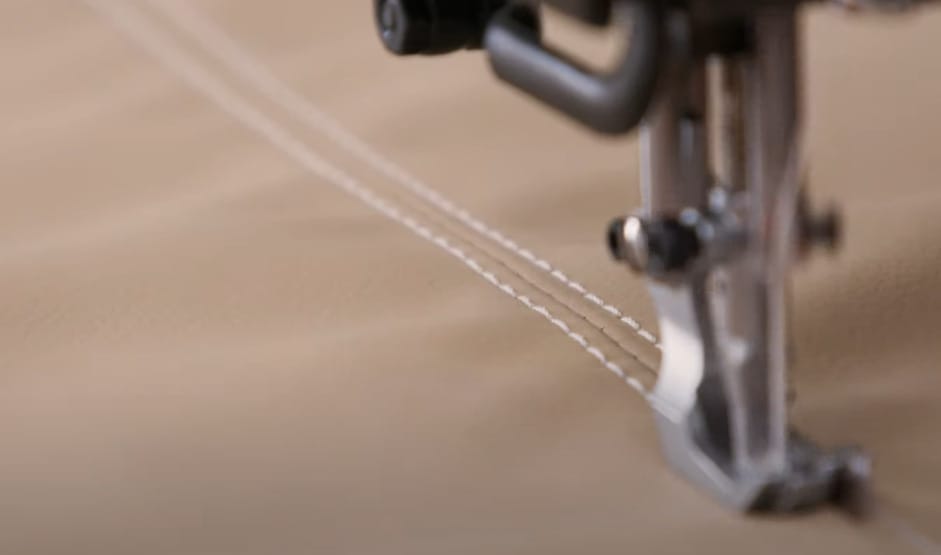
- A sewing machine is your number one tool. Choosing a heavy-duty machine designed to handle thick, tough upholstery fabrics is vital.

- Next up, upholstery needles. You’ll need a variety of sizes and types: curved needles for blind stitches, double-pointed needles for tufting, and long straight needles for general sewing.
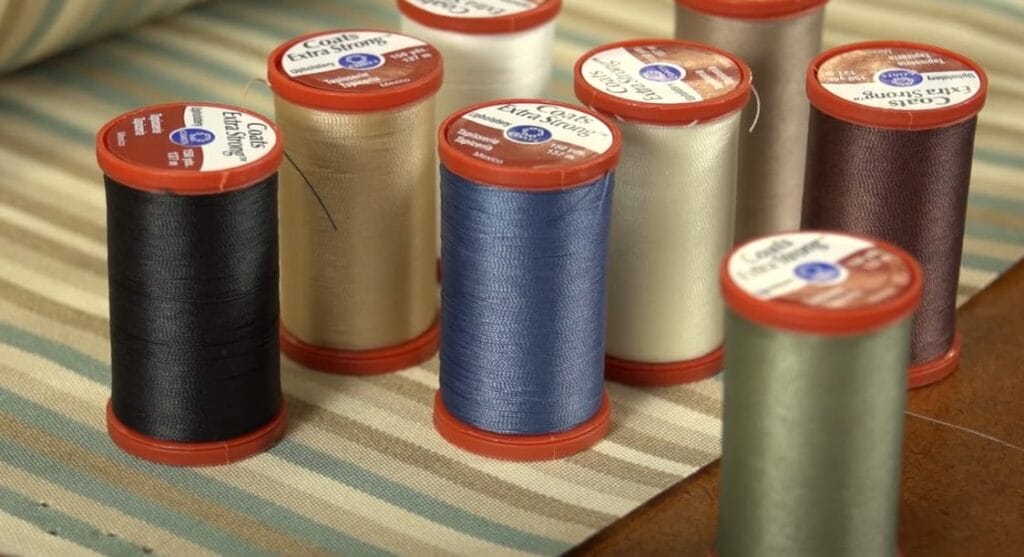
- Upholstery thread is another must-have. This thread is thicker and stronger than regular sewing thread, ensuring your stitches hold up under strain.
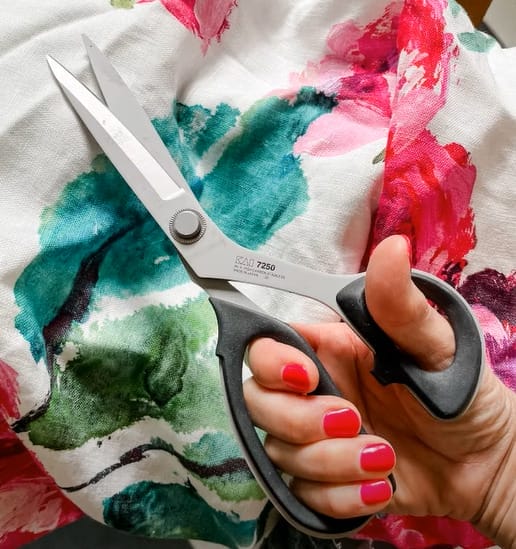
- Scissors are essential, too. A good pair of upholstery shears can easily cut through thick fabric and batting.
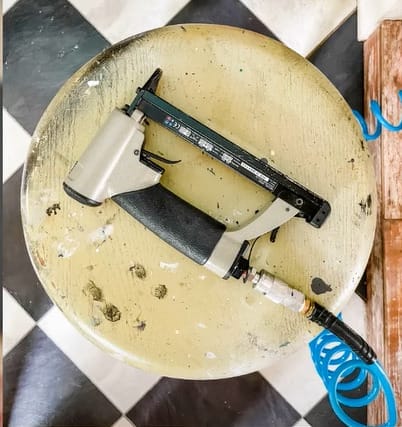
- Lastly, don’t forget about a staple gun. It’s used to secure fabric to the furniture frame, a critical step in upholstery.
These are just the basics. You’ll find more specialized tools as you delve deeper into upholstery sewing. But remember, it’s not about the quantity of tools you have, but the quality and how well you use them.
Preparation Steps
Before you even think about picking up your heavy-duty sewing machine, there are a few steps we need to get through first.
Step 1: Make sure you’ve got the right tools
- I’m talking about various upholstery needles, thicker and stronger upholstery thread, upholstery shears, and a staple gun. These are your bread and butter in the upholstery game.
Step 2: Know each tool like the back of your hand
- Each tool has its own personality and its own quirks. It’s not just about using them; it’s about mastering them.
Step 3: Prepare your Fabric

- When it comes to upholstery, using the right fabric is key. And I’m not just referring to the color or pattern.
- The weight and durability of the fabric are crucial. You want something that can withstand the wear and tear of daily life. So make sure you choose wisely.
Step 4: Measure and Cut
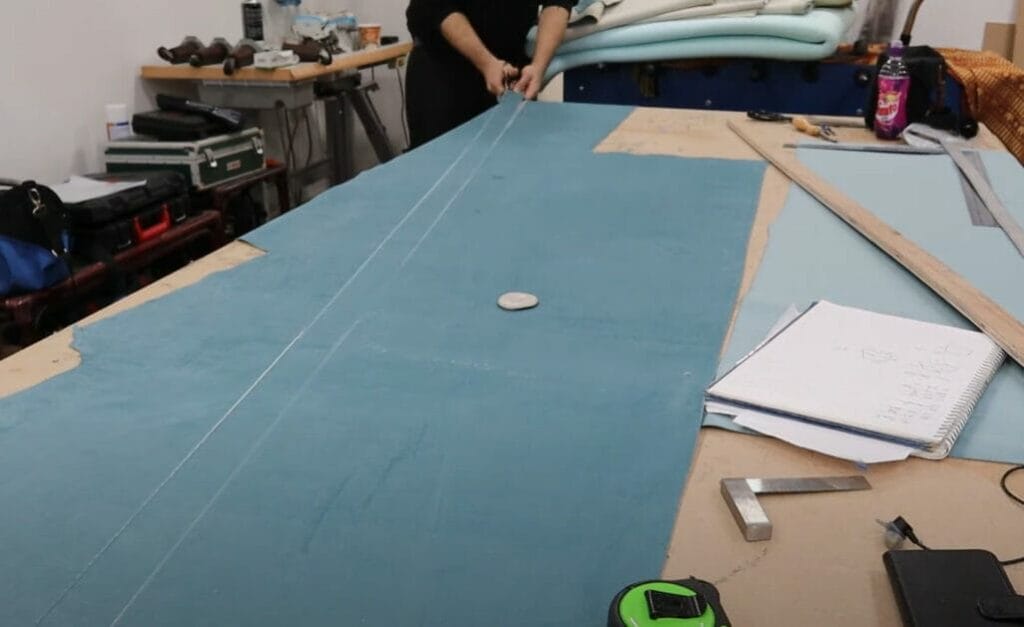
Once you’ve chosen your fabric, it’s time to measure and cut. But remember, measure twice and cut once. You don’t want to end up with pieces that are too small.
Step 5: Actual Sewing
- Now that our fabric is ready, it’s time to move on to the sewing. But that’s a tale for another section.
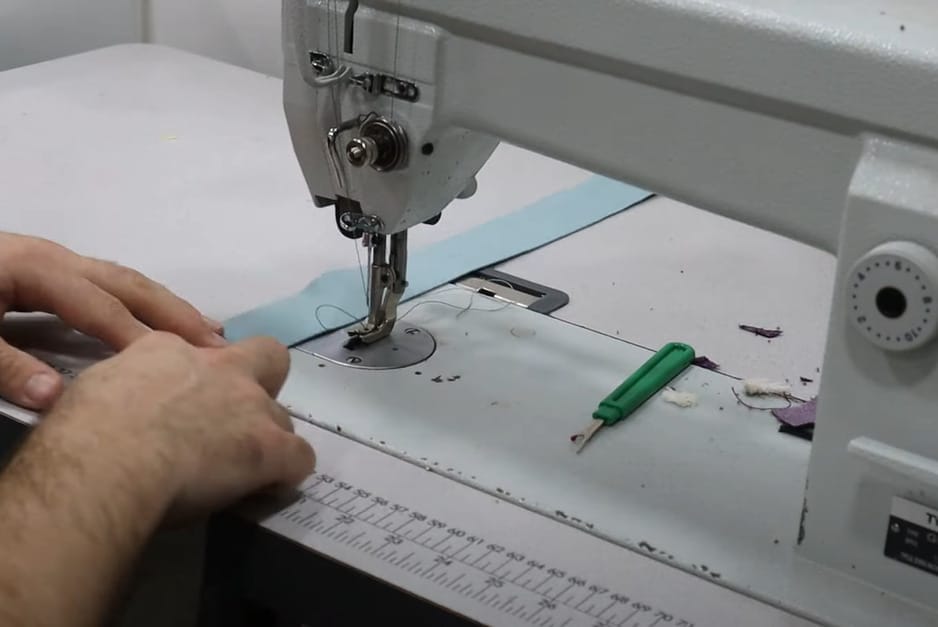
Key Sewing Techniques for Upholstery
Let’s dive into the nitty-gritty of upholstery sewing techniques, folks! You’ve got your tools, you’re familiar with them, and you’ve chosen your fabric. Now it’s time to put those tools to work!
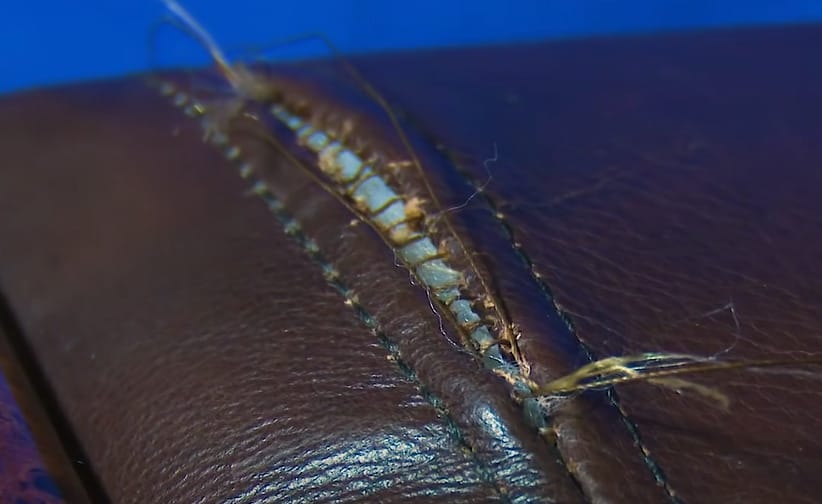
Seam Techniques
Seam techniques are your bread and butter, the backbone of your upholstery sewing work.
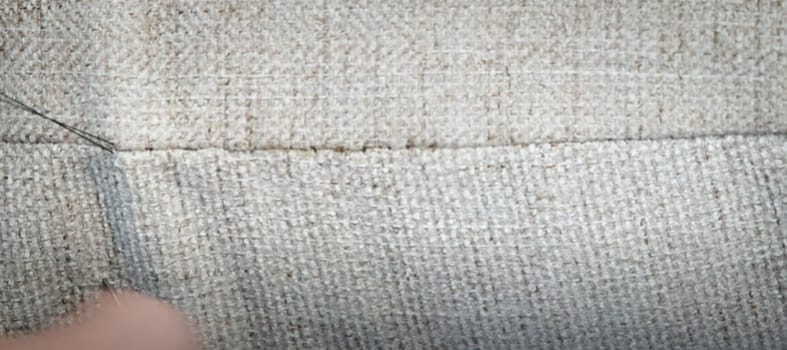
Plain Seam

A plain seam is the simplest seam and the most common. It’s where you sew two pieces of fabric together, right sides facing each other. Simple, but oh-so-effective!
- Step 1: Lay two pieces of fabric together, with the right sides facing each other.
- Step 2: Sew along the edge where you want to join them.
- Step 3: Press the seam open or to one side for a clean finish.
Welted Seam
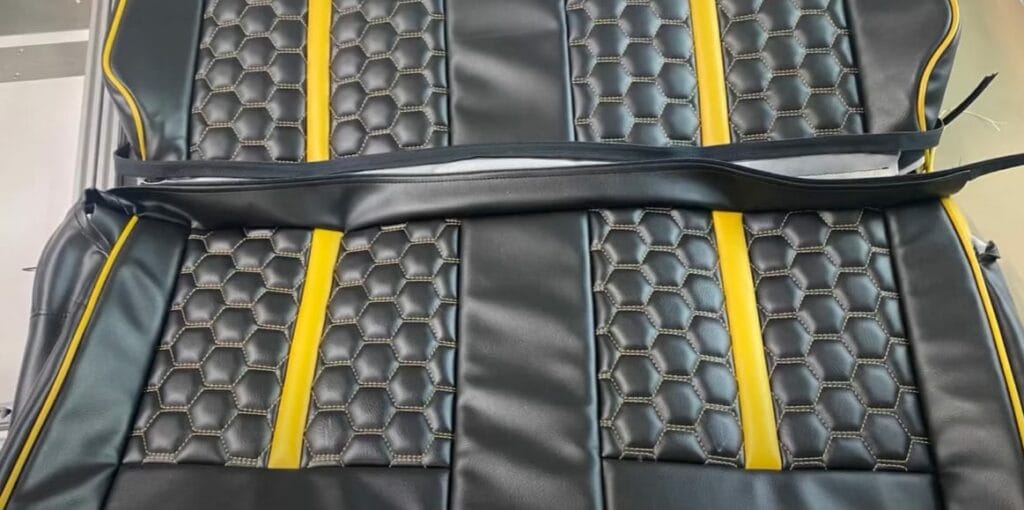
Next up, we’ve got the welted seam. This one’s for when you want to add extra strength to your seams, especially in those high-stress areas. A welted seam includes a fabric-covered cord, adding both durability and a bit of style!
- Step 1: Prepare your fabric-covered cord for the welt.
- Step 2: Place the welt between the two pieces of fabric, with the right sides facing each other.
- Step 3: Sew along the edge, enclosing the welt cord between the fabric layers.
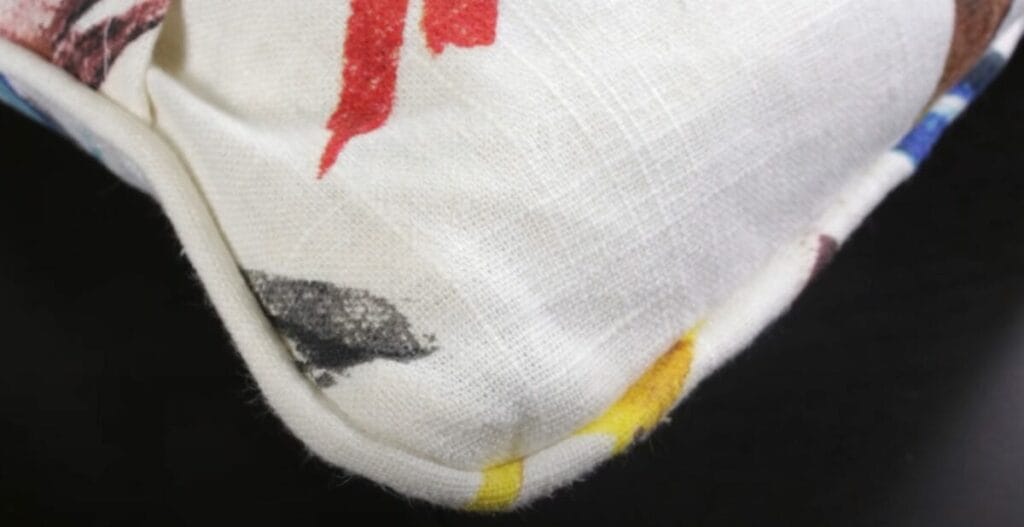
French Seam
Lastly, we’ve got the French seam. This is your go-to for those exposed edges where you want a clean finish. It’s a double seam, providing extra strength while keeping things neat and tidy.
- Step 1: Place the fabric pieces with the wrong sides together.
- Step 2: Sew a straight stitch, then trim the seam allowance.
- Step 3: Fold the fabric so the right sides are now facing, enclosing the raw edges.
- Step 4: Sew again, creating a clean, enclosed seam.
Stitching Techniques
Stitching techniques are crucial for ensuring your upholstery work is durable and well-constructed.
Running Stitch

The running stitch is your basic stitch. It’s quick, it’s easy, and it’s versatile. Use it for basting, gathering, or any time you need a simple stitch.
- Step 1: Thread your needle and tie a knot at the end.
- Step 2: Insert the needle from the back to the front of the fabric.
- Step 3: Make even up and down stitches along the fabric.
Backstitch
The backstitch is your heavy-duty stitch. It’s strong and secure, perfect for areas with wear and tear.
- Step 1: Start with a single stitch.
- Step 2: Move slightly forward and insert the needle, then return to the end of the previous stitch.
- Step 3: Repeat, ensuring each stitch overlaps the last.
Blind Stitch
Lastly, we have the blind stitch. This one’s for when you want your stitches to be invisible, keeping the focus on your beautiful fabric and design.
- Step 1: Fold and press the fabric edge to create a clean line.
- Step 2: Sew with small, inconspicuous stitches that catch just a bit of the fabric.
Attaching Trims and Decoratives
Now we’re getting to the fun stuff!
Piping
Piping is a fantastic way to add a professional touch to your upholstery work. It creates a beautiful, clean edge and adds visual interest.
- Step 1: Cut strips of fabric on the bias.
- Step 2: Wrap them around the cord and sew them close to the cord, creating a piped edge.
- Step 3: Attach the piping to your main fabric at desired locations.
Tufting
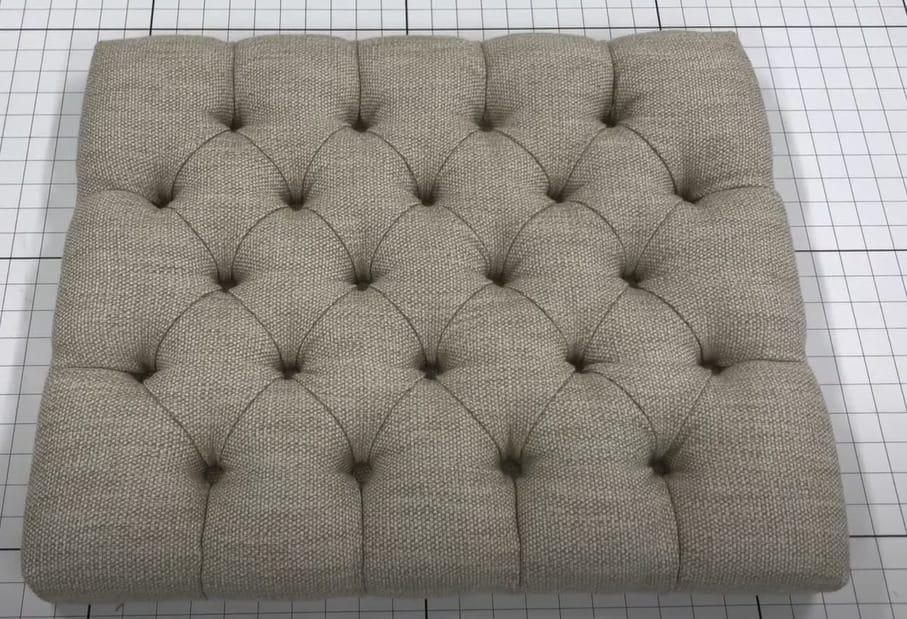
Tufting is a classic technique for adding texture and depth to your piece. It’s a bit more involved, but the results are worth it.
- Step 1: Mark your tufting spots on the fabric.
- Step 2: Using a long needle to pass a thread through the marked spots creates a tuft.
- Step 3: Secure the thread with a button or knot.
Buttons

And finally, buttons. They’re not just functional; they can also add a decorative element to your work.
- Step 1: Select buttons that match or complement your fabric.
- Step 2: Sew them at desired locations, either as functional elements or purely decorative touches.
RELATED How to Hide Wires (4 Methods)
Upholstery Sewing Tips and Best Practices
Want to kick your upholstery sewing game up a notch? Well, you’re in luck! Let’s dive into some tips and best practices to help you become a pro in no time.
- Heavy-Duty Sewing Machine: If there’s one thing you shouldn’t skimp on, it’s a good quality heavy-duty sewing machine. Upholstery fabric is thicker and tougher, so you need a machine to handle the heat.
- Master Your Tools: Don’t just own your tools; know them inside out! Get comfortable with each tool, whether the upholstery needles, shears, or the staple gun. The more you master them, the smoother your sewing process will be.
- Choose the Right Fabric: Not all fabrics are created equal. Some fabrics are perfect for upholstery, while others are not so much. Do your research and pick the one that’s best suited for your project.
- Measure Twice, Cut Once: Accuracy is key in upholstery sewing. An inch off here or there could make a world of difference. So, always measure twice before you cut.
- Take Your Time: Upholstery sewing isn’t a race. It’s an art that requires patience and precision. Don’t rush through the process.
- Perfect Your Techniques: Practice makes perfect, whether plain seams, welted seams, or French seams. The same goes for stitching techniques like the running stitch, backstitch, and blind stitch.
- Embrace Creativity: Last but not least, don’t forget to have fun. Get creative with trims and decoratives like piping, tufting, and buttons. After all, the beauty of upholstery sewing lies in the freedom to create something uniquely yours.
Safety Precautions
Alright, folks! Let’s talk safety. Diving into upholstery sewing is not just about the final product looking snazzy but ensuring we get there without mishaps. Here’s the lowdown:
- Keep Your Workspace Tidy: Before starting, ensure your workspace is clutter-free. Loose threads, needles, and other tools can be tripping hazards or lead to accidental pricks.
- Eye on the Needle: Keep your eyes on the task when threading that needle or using the sewing machine. Distractions can lead to missed stitches or, worse, injuries.
- Safety First with Scissors: Those shears are sharp! Always cut away from your body, and when they’re not in use, put them in a safe spot.
- Unplug Machinery: When you’re not using your sewing machine, especially during breaks or while making adjustments, unplug it. You’d be surprised how easy it is to press a pedal accidentally.
- Wear Appropriate Gear: Consider wearing protective gloves if handling heavy fabrics or working with staple guns. And, if you’re sanding down any furniture pieces, safety goggles and a mask are a must.
- Stable Furniture: If you’re working on a piece of furniture, ensure it’s stable. The last thing you need is for it to move or tip while you’re in the middle of your masterpiece.
- Mind the Cord: Sewing machine cords can be a tripping hazard. Make sure they’re neatly arranged and not in a high-traffic area.
- Stay Organized: Have a dedicated spot for each tool. Knowing where everything is can prevent accidents and keep the workflow smooth.
- Take Breaks: It’s easy to get lost in a project, but remember to stand up, stretch, and rest your eyes. It’s not good for your health but can prevent mistakes when fatigued.
- Stay Informed: Before diving into a project, especially if it’s a new technique or you’re using a new tool, take a moment to read up on it or watch a tutorial. Being informed is being prepared.
Frequently Asked Questions
- What’s the Best Fabric for Upholstery?
- Different fabrics have different perks. For heavy use, consider durable fabrics like canvas or microfiber. If you’re going for a luxe feel, velvets or leathers might be more your speed. Always consider where the furniture will be placed and its primary use.
- Do I Need a Special Sewing Machine for Upholstery?
- Absolutely! Regular sewing machines might not have the muscle for thick upholstery fabrics. Investing in a heavy-duty machine ensures smoother stitches and a longer project lifespan.
- Can I Upholster Without Sewing?
- While sewing is a huge part of upholstery, no sewing methods use adhesives or stapling. However, sewing offers a cleaner finish and often a more durable result.
- How Often Should I Replace Upholstery Foam?
- It depends on usage. If you notice your furniture sagging or not as comfy, it might be time for a foam refresh. Typically, every 5-10 years is a good benchmark, but keep an eye (or a seat) on it!
- Is DIY Upholstery Cheaper Than Hiring a Pro?
- In many cases, DIY can save some bucks. However, remember there’s a learning curve and initial investment in tools. If you’re up for the challenge, go for it! If not, professionals bring expertise and can save time.
- What If I Make a Mistake?
- Hey, it happens to the best of us! Many errors can be fixed with a seam ripper and patience. Remember, every mistake is a learning opportunity. Stay positive, and you’ll get the hang of it!
- Do I Need to Pre-Wash the Upholstery Fabric?
- It’s a good idea, especially if it’s cotton-based. Pre-washing can prevent future shrinkage or color bleed. However, always check fabric care labels before throwing it in the wash.
References
Website Resources:
- Upholstery Resource. https://www.upholsteryresource.com/
- Online Fabric Store. https://www.onlinefabricstore.com/upholstery-fabric.aspx
Video References:
Mark’s Upholstery
Don Javier’s Custom Upholstery
FaceLiftInteriors
CutNSewPH
videos of my items
Sailrite
TheFabricNinja
Josh Diaz