6 min read
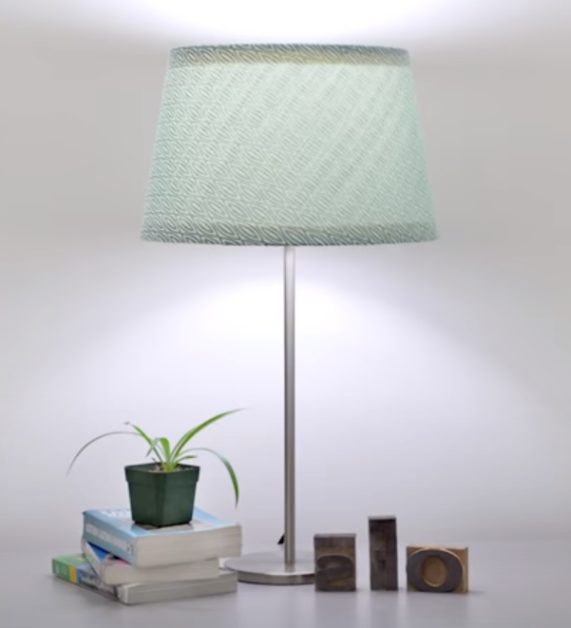
How to Cover a Wire Lampshade Frame with Fabric (7 Steps)
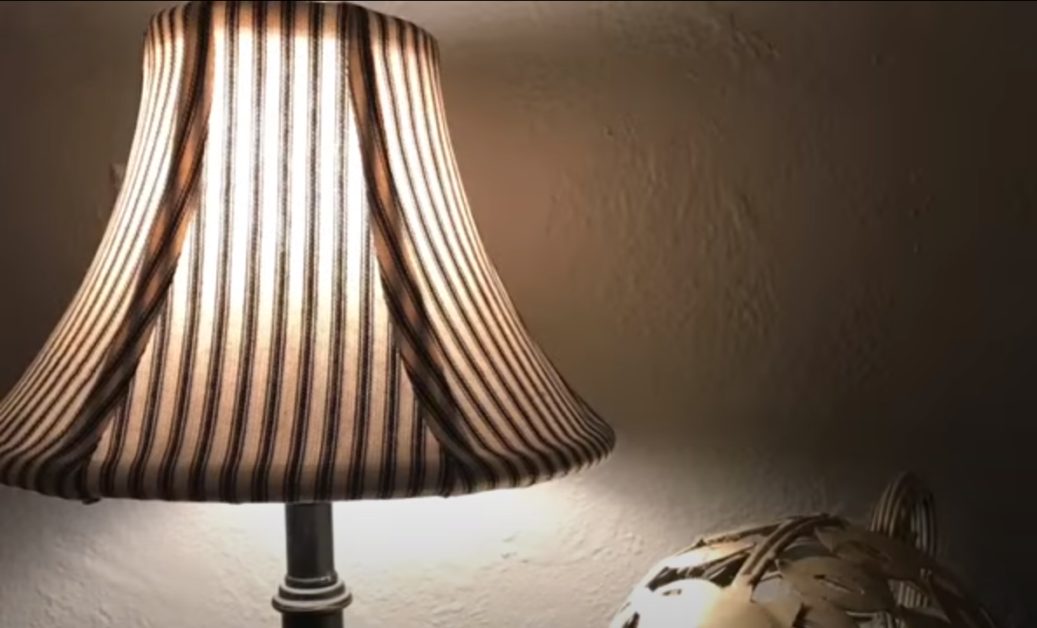
If you’re looking for how to cover a wire lampshade frame with fabric, I’ll show you what you need to make it and how it is done.
Wire Lampshade Frames have various sizes, and you can choose various types and designs for the fabric. Ideally, the final construction should be strong but lightweight.
The procedure involves preparing the new fabric, removing the old one, cutting paper for it as a template, cutting the new fabric and attaching it, gluing it, and then cutting excess fabric before sealing the edges.
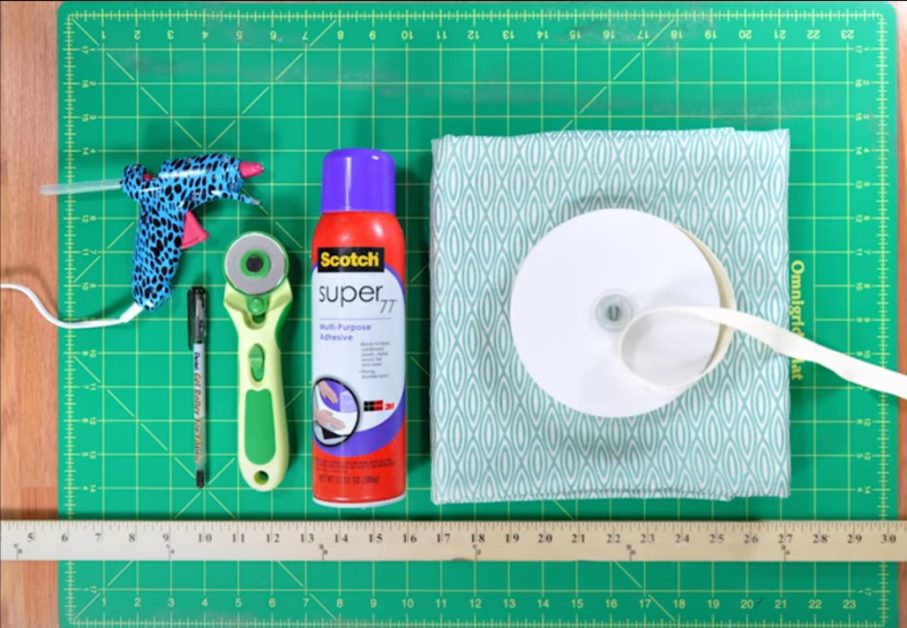
The Things You’ll Need
You will need the following things to cover the wire lampshade frame with fabric:
- Lampshade
- Main fabric
- Paper (for the template; newspaper will do)
- Fabric spray adhesive
- Fire-retardant fabric spray
- Wool
- Scissors
- Pins
- Hot glue gun
- Pinking shears
Cutting and Choosing the Fabric
You first need to decide on the fabric and color to use.
Choose a color that combines well with the rest of the room’s décor. For the type of fabric, if uncertain, cotton and linen are usually good choices.
You can make a paper version first to get the shape and size right for your wire lampshade frame. Once it fits perfectly, you can cut the fabric using the paper version as a template.
Covering a Wire Lampshade Frame with Fabric
Step 1: Prepare the New Fabric
Wash the new lampshade fabric, and hang it to dry.
Once dry, iron the fabric to remove all wrinkles. We will use this after preparing the template, so keep it on the side.
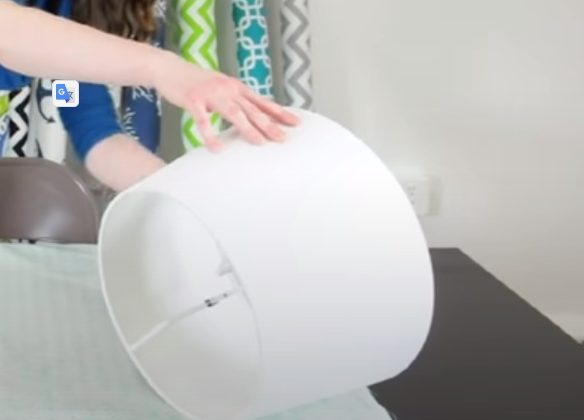
Step 2: Remove the Old Fabric
If the lampshade already has some fabric covering it and it fits perfectly, you can use it as a template alongside the paper one.
Cut the existing lampshade fabric using a pair of scissors. Make as single or as few cuts as possible so that the whole piece can be laid out flat in one piece. If there are any curls, wrinkles, or fold lines, you can use an iron to help you achieve this. You can also roll a roller across the fabric.
Step 3: Cut the Paper
The second step is to spread a large enough sheet of paper, such as newspaper, on a flat surface like a tabletop. Put the old lampshade covering on top of the paper.
Outline the fabric on the paper sheet with a pencil. The lines should be clear enough to follow when cutting with scissors.
When the outline is made, use scissors to cut the frame’s shape.
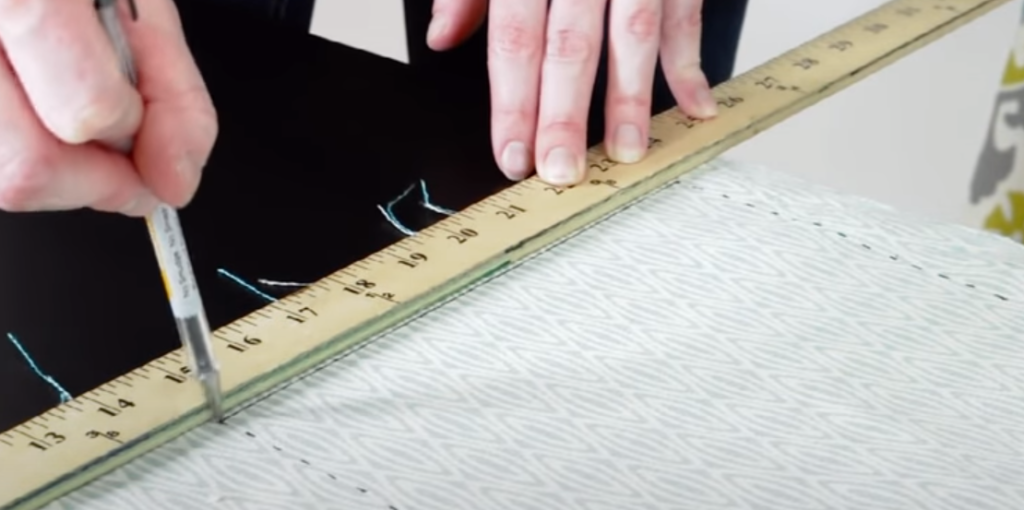
Step 4: Cut the New Fabric
Spread the new fabric you prepared onto a flat surface if it is not laid out already.
Place the paper template you cut on top of this fabric. Use pins to keep it in place. The two should be completely aligned.
Once you are satisfied that the fabric and paper template is laid out straight without any wrinkles or folds and secure in their place, you can start cutting. Cut approximately 1” (one inch) around the edges with a pair of scissors (not around the paper template edges).
We will use around ¼” around the edges as the hem. Once done, iron it in place.
Step 5: Attach the Fabric
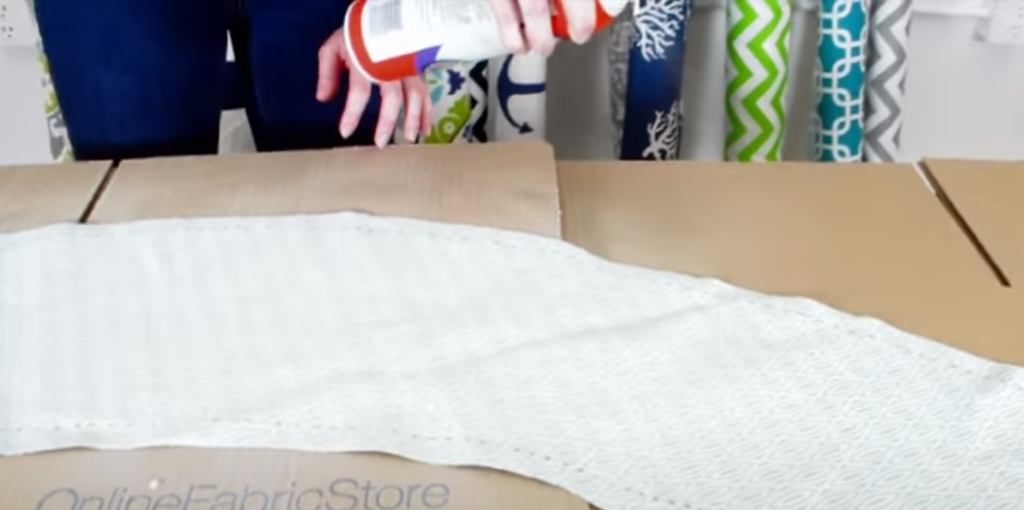
In this step, we will attach the fabric to the shade using the spray adhesive.
Spray the adhesive onto the fabric and the shade. Roll the shade along the fabric carefully, noting the curve.
The excess fabric should be attached to the shade’s inner part on the bottom. Use more spray adhesive here if needed.
Step 5: Glue the Fabric
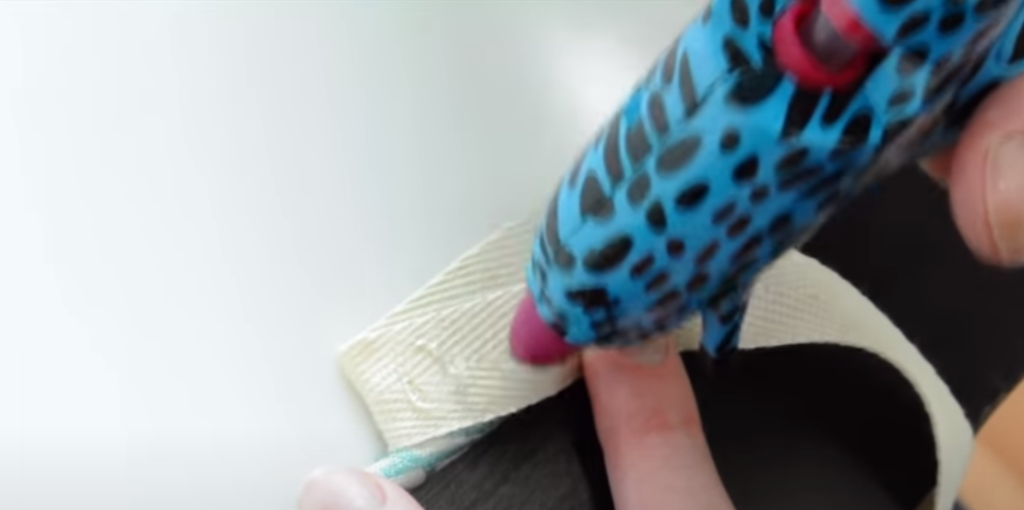
Get a hot glue gun ready by letting it warm for a few minutes.
When ready, put glue onto a line a couple of inches long on the lampshade frame’s inside top edge. Put the lampshade frame’s top cut piece against the frame (near the unfolded side edge), and press the top ½” over the frame so that the hot glue binds the two together.
Step 6: Cut Excess Fabric
Before attaching the fabric, we will cut the excess portion in this step.
You notice excess fabric overlapping at the end when you wrap the shade.
Use the spray adhesive on the fabric to attach the excess fabric. Use more paper to measure the area where you will need to spray. When sprayed, attach the fabric to the frame’s bottom edge, like when you stretched the fabric to ensure it was tight.
If you see any excess fabric on the other end (from where you started wrapping the shade), spray adhesive on it, and use the paper to measure the corresponding area where you will have to spray further. Once done, seal the fabric in place from top to bottom.
Seal down the fabric from top to bottom.
Step 7: Seal the Edges
In this final step, keep gluing around 2” lines from the frame’s inside top edge and the inside bottom edge.
Meanwhile, press the fabric while ensuring it is stretched tightly. The fabric’s folded edge should overlap the unfolded edge.
Next, using the pinking shears, cut a line down the seam’s center to seal the shade’s top edges around the wire. Press the shade’s inner portion firmly to seal it in place. When the entire shade is sealed, allow the spray adhesive to dry before using it.
Take a look at some of our related articles below.
Video Reference
JeriAnnHenson
OnlineFabricStore