16 min read
Mastering the Art of Tufting in Upholstery (Styles, Tools, Steps)

Tufting is a classic upholstery technique that transforms ordinary furniture into extraordinary pieces. It’s about stitching dimples onto fabric surfaces for visual appeal and increased durability.
Grab your tools, and let’s break it down with this quick guide:
| Tufting Style | Notable Features |
|---|---|
| Diamond Tufting | – Often used on antique furniture or high-end pieces. – Buttons spaced 4-6 inches apart. |
| Biscuit Tufting | – Versatile, suitable for sofa cushions to headboards. – Maintain equal spacing between each ‘biscuit’. |
| Blind Tufting | – Offers a smooth finish. – Lends itself well to contemporary furniture with simplicity and clean lines. |
| Channel Tufting | – Commonly seen in headboards, ottomans, and bench seating. – Resembles mid-century modern designs. |
Tufting – from understanding its history to learning the basic steps and techniques involved. We’ll also explore some tips and tricks to elevate your tufting game.
Basics of Tufting
Let’s dive headfirst into the fascinating world of tufting! From grandma’s cozy armchair to that luxurious velvet sofa you’ve been eyeing online, it’s everywhere. But what exactly is tufting, and why does it matter?
Definition and Purpose of Tufting
Tufting? It sounds like a fancy term, but it’s all about stitching. Imagine creating a series of dimples on the surface of your upholstery fabric by sewing through layers of material. That’s tufting for you!
Its purpose? Not only does it add visual interest to a piece, but it also increases durability.
Variations in Tufting Styles
Let’s not beat around the bush here; mastering the art of tufting isn’t as easy. But don’t fret! I’m here to lend a hand and break it all down for you. We’re about to dive into some variations in tufting styles that’ll have your upholstery game on point.
Diamond Tufting
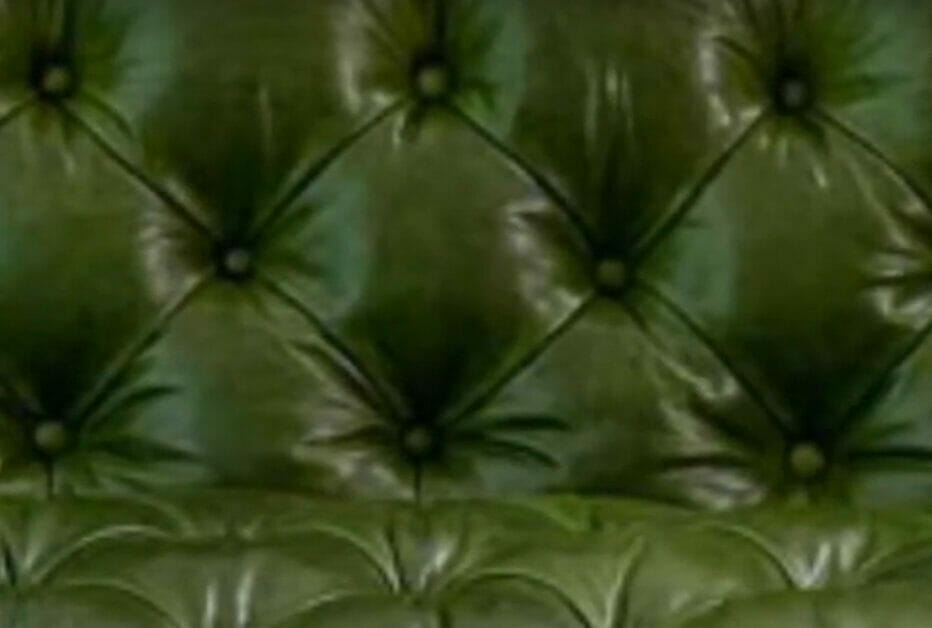
- It’s like the Rolls Royce of tufting techniques. This style is recognized by its diamond-shaped patterns, which create an elegant and classic look.
- This technique is often used on antique furniture or high-end pieces because it screams luxury and sophistication.
- The buttons are spaced 4-6 inches apart, but that can vary based on personal preferences or design specifications.
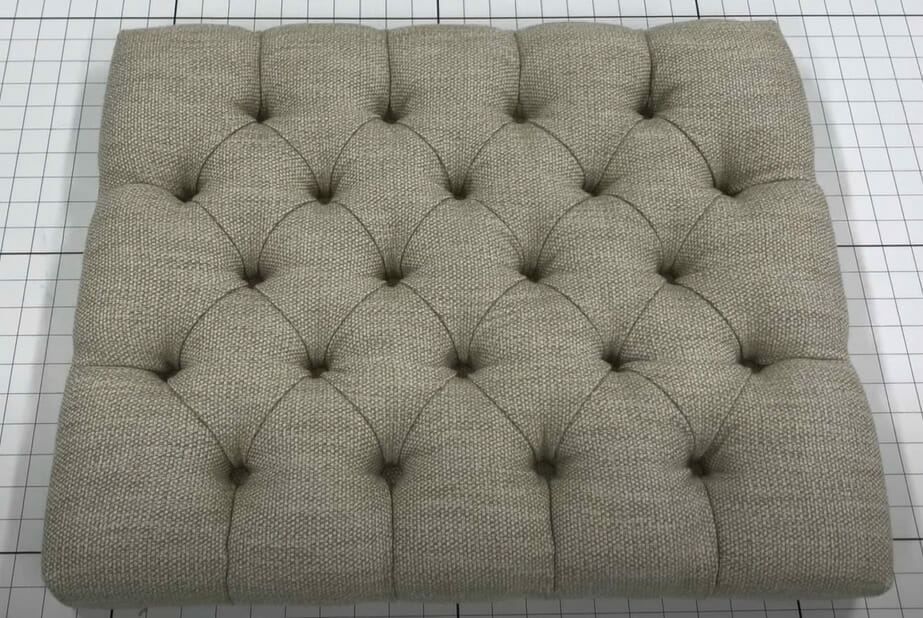
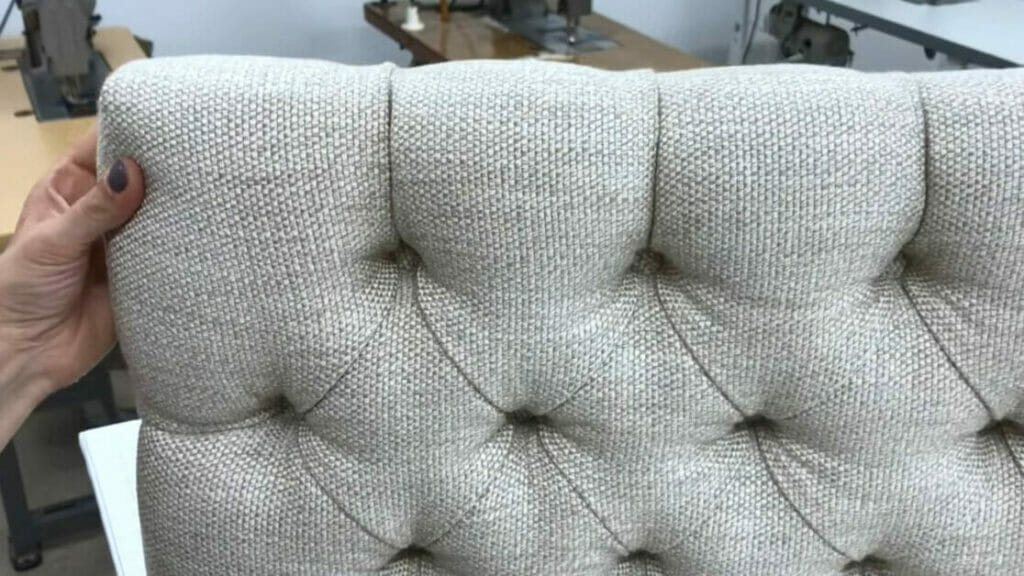
Biscuit Tufting
- This is another fan favorite in the world of upholstery! It creates square or rectangular patterns resembling biscuits – hence its quirky name.
- The beauty of biscuit tufting lies in its versatility; whether you’re working on a sofa cushion or a headboard, this type of tuft works wonders at adding character to any piece without overwhelming it visually.
- The rule of thumb here is maintaining equal spacing between each ‘biscuit’ to achieve that clean-cut, symmetrical look we all love.
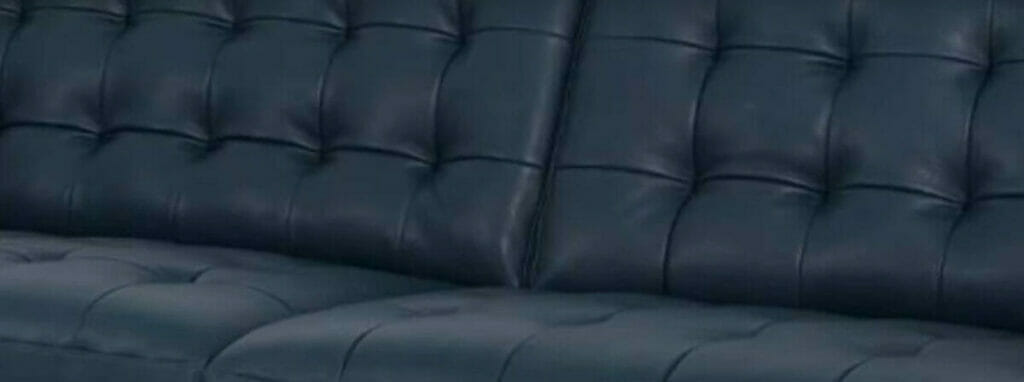
Blind Tufting

- This is also known as ‘buttonless’ tufting since no visible buttons are involved – sneaky? The absence of buttons creates a smooth finish, giving your upholstery piece an understated yet modern appeal.
- It’s safe to say that blind tufting is a minimalist’s dream. It lends itself well to contemporary furniture pieces where simplicity and clean lines reign supreme.
Channel Tufting
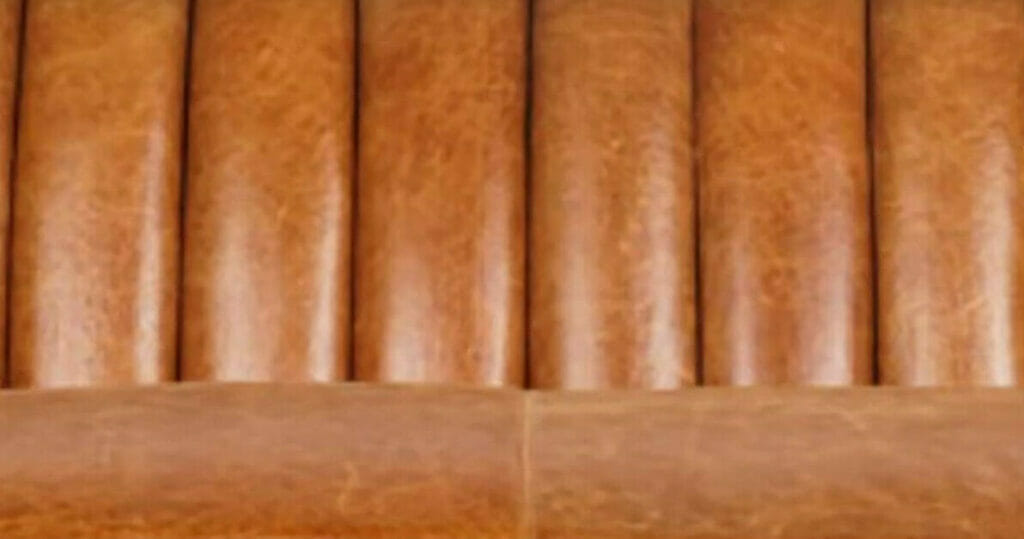
- This technique involves vertical or horizontal channels by pulling the fabric back regularly. Channel tufting offers a retro vibe and has made quite a comeback in recent years, especially in headboards, ottomans, and bench seating designs.
- The beauty of channel tufting lies in its ability to make any piece look straight out of a mid-century modern catalog – talk about making a statement!
Tools and Materials Required
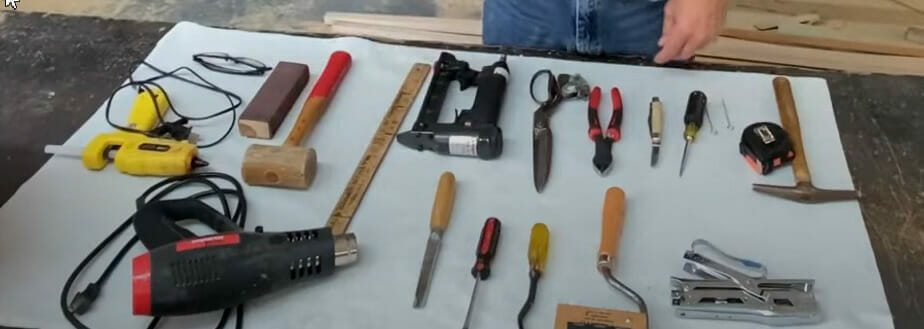
Before starting the process, ensure we have the right tools and materials. Here are some essentials:
- Tufting Needle: You might think any needle would do, but trust me when I say that a tufting needle will make your life so much easier.
- Upholstery Thread: Don’t skimp on this one! The stronger your thread, the longer your tufts will last.
- Buttons: These little guys create charming dimples in our fabric.
And then there are optional extras like foam or batting for extra cushiony comfort.
Step-by-Step Tufting Process
Tufting is a fundamental technique in upholstery that adds both structure and design. This step-by-step guide offers a systematic approach to mastering tufting, from preparation to the final touch.
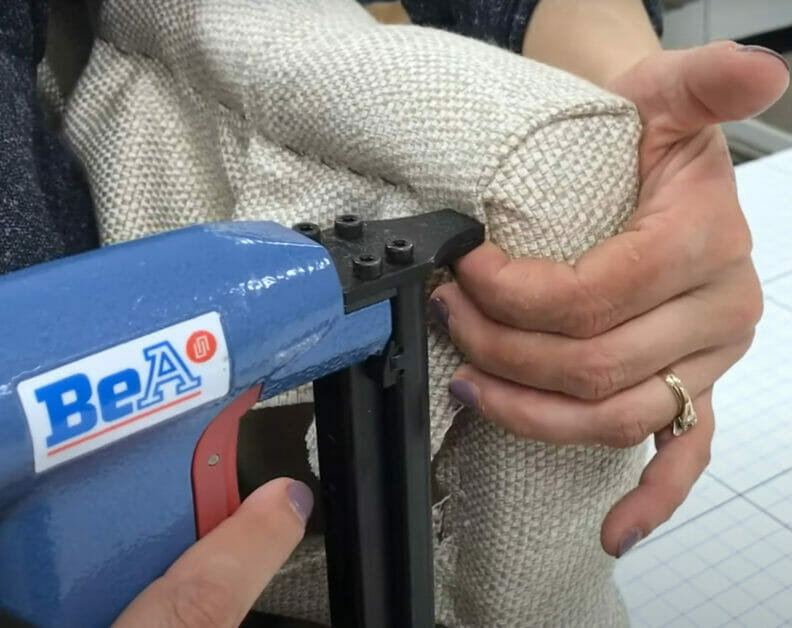
Step 1: Frame and Foam Preparation
Ensure the base is well-prepared for tufting.

- Step 1: Select Foam Thickness – Choose the appropriate foam thickness based on the desired depth of tufts.
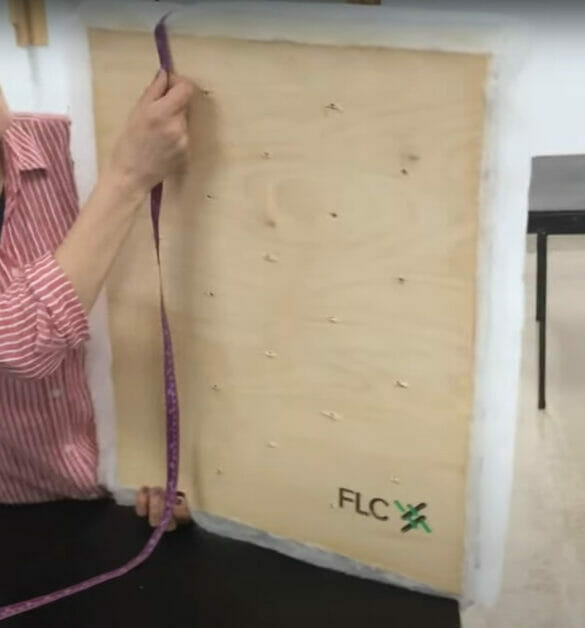
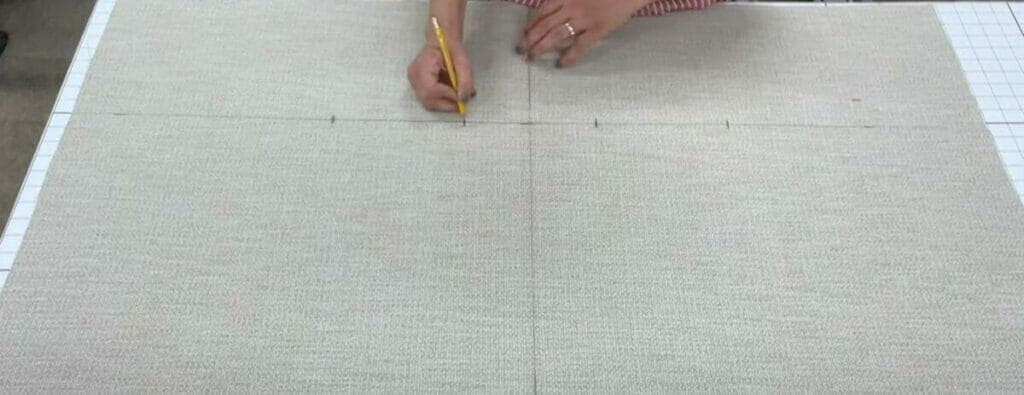
- Step 2: Mark Button Placement – Use chalk or a marker to indicate where each button will be placed.
Step 2: Prepare Buttons
Prepare your buttons for the upholstery.
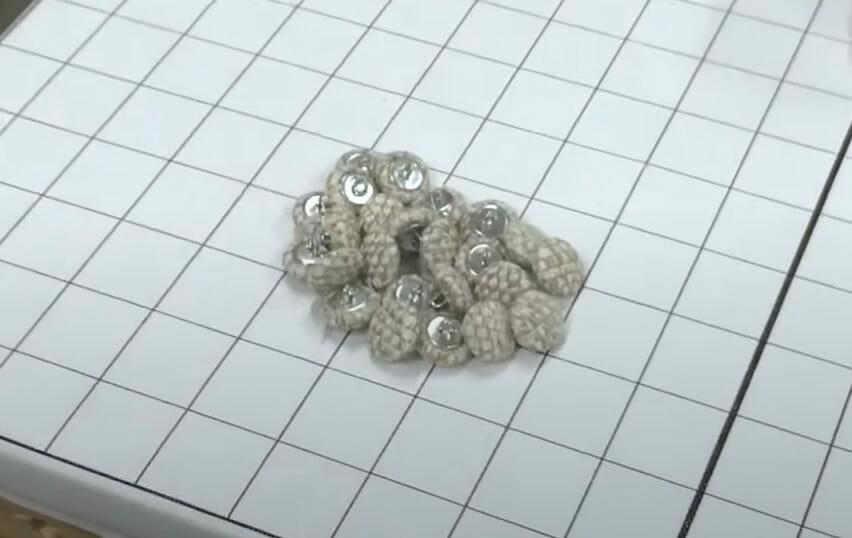
- Step 1: Choose Button Size – Select a button size suitable for your upholstery piece.
- Step 2: Cover with Fabric – Stretch your chosen fabric over the button and secure it by snapping or sewing.
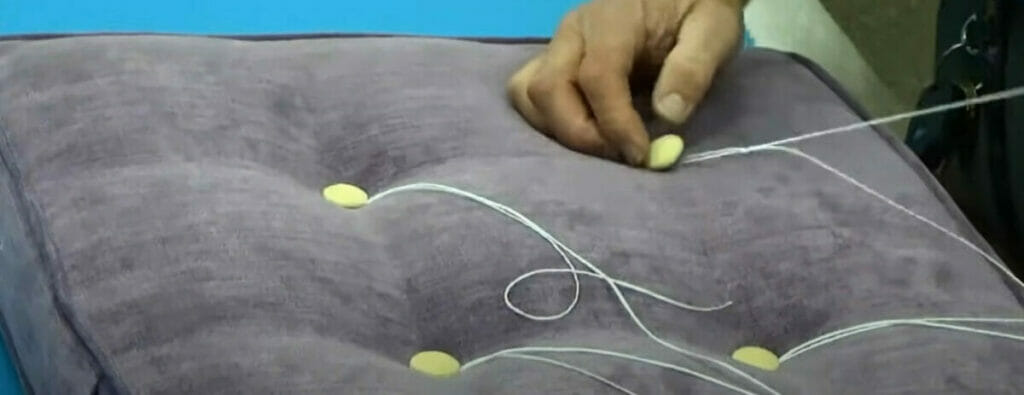
Step 3: Begin the Tufting Process
Start the actual tufting process on your upholstery.
- Step 1: Create Holes – Use a drill or awl to make small holes at the marked spots in the foam.
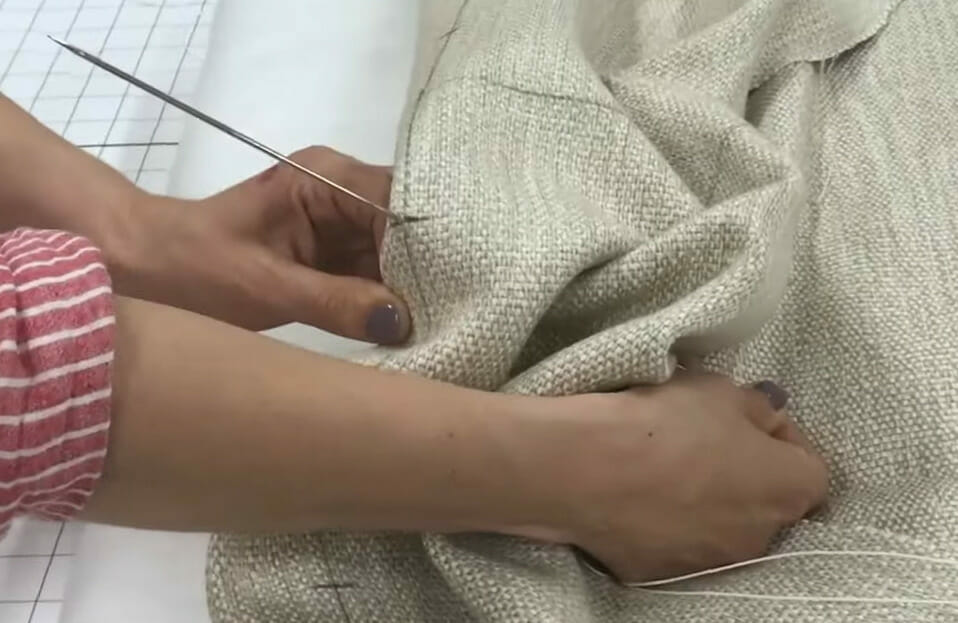
- Step 2: Thread the Needle – Use a long upholstery needle with thread, inserting it from the back to the front, capturing the button.
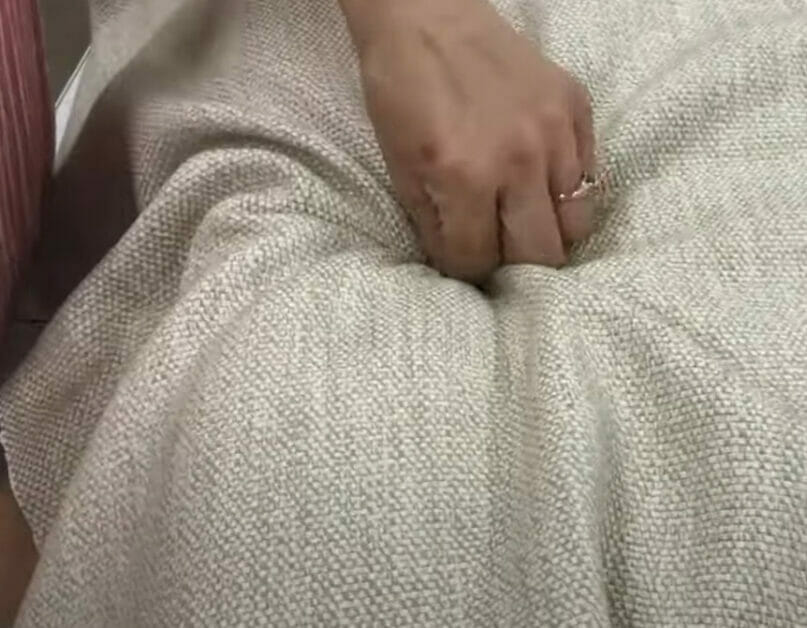
- Step 3: Pull Thread – Adjust the thread to achieve the desired tuft depth, ensuring the button is secure.
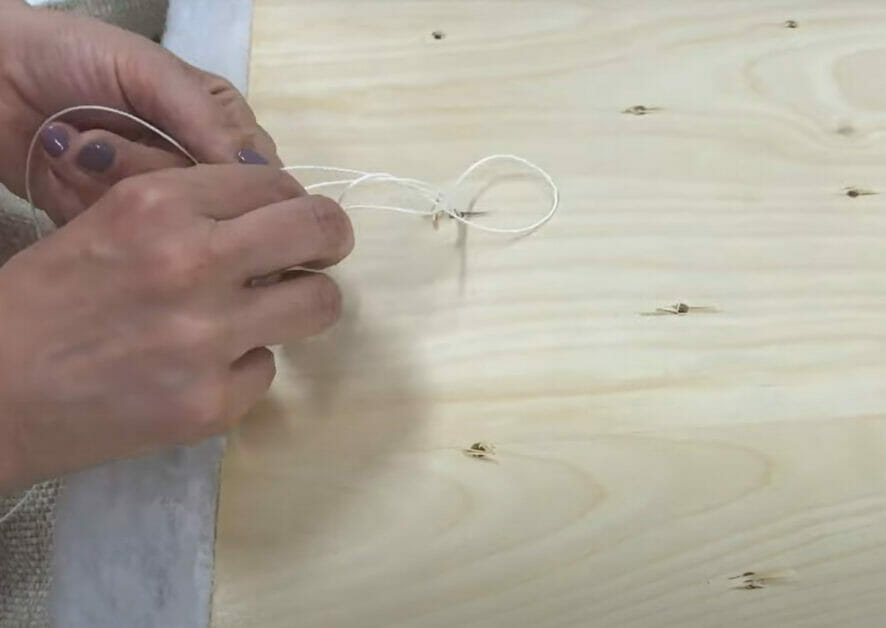
- Step 4: Secure Thread – Tie the thread securely at the back to maintain the tuft’s position.
Step 4: Examine Surface
Check the tufted surface for any inconsistencies.
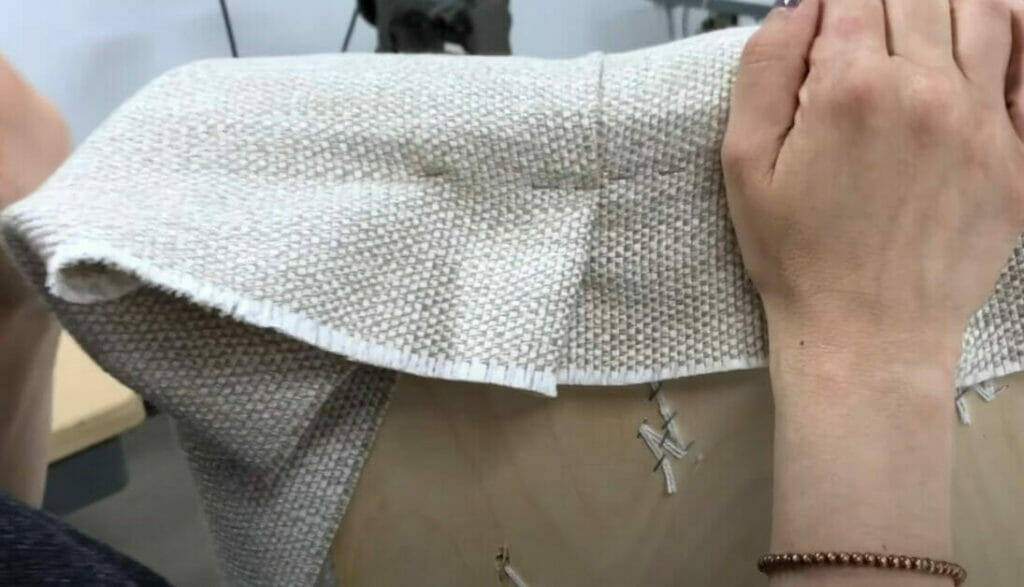
- Step 1: Check Surface – Inspect the surface for consistency and any irregularities after completing the tufting.

- Step 2: Make Adjustments – Ensure that all tufts are even and make corrections as necessary.
Step 5: Final Inspection
Conduct a comprehensive check of the entire piece.
- Step 1: Inspect Overall Appearance – Review the piece to ensure uniformity and consistent button placement.
- Step 2: Trim Excess – Remove excess threads and finalize adjustments.
Tips for a Professional Finish
I’ve been diving into the world of upholstery, and I must say, mastering tufting techniques is quite an adventure. But don’t sweat it! Here are some tips to help you get that professional finish.
- Quality materials. You’ll want to choose high-density foam for your cushion base since it retains its shape better over time. Sure, it might cost a bit more upfront, but trust me, the payoff in longevity is worth every penny.
- Patience is key. This is when threading needles through fabric and foam repeatedly. I know it’s tempting to rush through this step but slow down! Ensuring each tuft is secure at both ends will lead to a neater appearance and sturdier overall construction.
- Clipping the fabric diagonally. And what about those tricky corners? Well, they’re not as daunting as they seem. The trick here is clipping the fabric diagonally, allowing it to fold smoothly around the corner without bunching up or leaving unsightly gaps.
- Choose your threads. Always use strong nylon or polyester thread that won’t snap under tension easily. Remember – durability equals professionalism in our world of upholstery!
- Practice makes perfect. Don’t be disheartened if your first few attempts aren’t flawless; we’ve all been there! Just keep trying until you nail down that technique perfectly – because when you do, there’s no better feeling!
Troubleshooting Tufting Challenges
I’ve been there. You’re knee-deep in your upholstery project. You’ve got your fabric perfectly measured, your foam cut to size, and then – bam! Your tufting goes awry. You can easily troubleshoot these common tufting challenges with patience and know-how.
- Uneven Tufts. Imagine smiling at your nearly finished masterpiece when you notice it – one tuft is deeper than the others. Don’t sweat it! This often happens when the thread tension isn’t consistent throughout the process. So, next time, try to maintain a steady hand and consistent pressure while pulling that thread through.
- The Disappearing Tuft Phenomenon. That’s when you finish up for the day, pat yourself on the back, only to return later and find one (or more) of your beautiful tufts has vanished into thin air! The culprit? Most likely, slack in your knot or use a button too small for the deepness of your tuft. To avoid this heartbreak in future projects:
- Make sure each knot is tight and secure before moving on.
- Opt for larger buttons if you want those extra plush deep-tufted looks.
- Loose Threads. If it seems like every time someone takes a seat, they leave with part of your hard work attached to them; it might be because you’re cutting corners (don’t worry, we’ve all done it!) by not using upholstery-grade thread or needles. Trust me, invest in quality tools from the get-go; they are worth every penny.
- Fabric Puckering. This usually happens when the fabric isn’t evenly distributed before securing the tuft. A simple fix? Just smooth out your fabric around each tuft before tying it off.
Maintenance Tips for Tufted Upholstery
Dive in as we break down the essentials of maintaining the elegance and durability of your favorite tufted pieces. Whether a quick spot clean or a protective measure, these tips will ensure your furniture looks stellar for years. Ready? Let’s roll up our sleeves and get started!
- Vacuum with Care:
- Start by vacuuming your tufted piece using the brush attachment. This helps remove dirt, dust, and pet hair that often settles between the tufts.
- Make sure to use gentle strokes, moving toward the fabric’s grain.
- Spot Cleaning:
- Accidents happen! When they do, tackle them immediately. Use a clean cloth and dab (don’t rub!) the spill to avoid spreading.
- Mix a gentle detergent with water for stubborn stains and lightly blot the spot. Always test on an inconspicuous spot first.
- Avoid Direct Sunlight:
- While we all love a good sunny spot, prolonged exposure to direct sunlight can fade and weaken the fabric over time. So, position your furniture away from those sunbeams or use curtains.
- Rotate Cushions:
- Remember to rotate the cushions regularly if your tufted piece is a sofa or chair. This helps ensure even wear, prolonging the life of the upholstery.
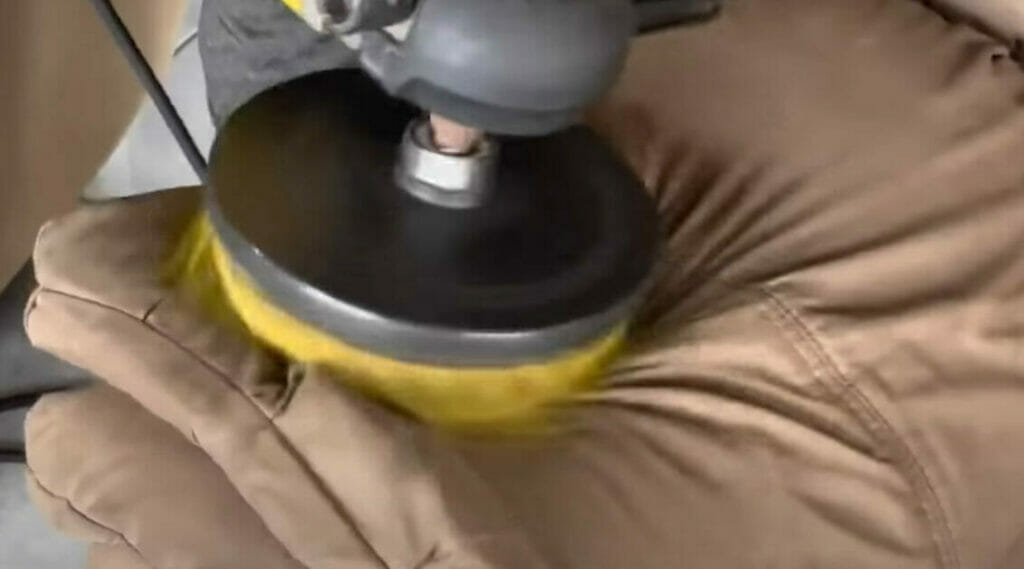
- Deep Cleaning:
- Every once in a while, your tufted furniture will benefit from a deep clean. Consider hiring professionals or using an upholstery cleaner suitable for your fabric type.
- Before diving in, always check the manufacturer’s care label for guidelines.
- Fluffing & Reshaping:
- Tufted pieces, especially pillows, might need periodic fluffing. Please give them a gentle shake or a light pat-down to restore their original shape.
- Protection is Key:
- Consider using a fabric protector spray to avoid accidental spills or stains. It’s like an invisible shield, repelling liquids and making cleaning much easier.
- Keep Sharp Objects at Bay:
- That pair of scissors or a cat with sharp claws? Not a tufted furniture’s best friend. Ensure pointy objects are kept away to prevent accidental snags or tears.
Frequently Asked Questions
- Can I re-tuft an old piece of furniture?
- Absolutely! With the right tools and a little patience, revamping an old piece with tufting can bring new life. However, ensure the piece is structurally sound before you start, and consider re-padding or changing the foam for optimal comfort.
- Are there any fabrics best suited for tufting?
- Tufting works well with various fabrics, but picking one that can withstand the tension and wear is essential. Velvets, heavy cotton, and durable synthetics tend to be popular choices.
- How can I ensure the longevity of my tufted pieces?
- Beyond regular cleaning, avoid exposing your tufted furniture to prolonged direct sunlight, which can fade the fabric. Rotate and fluff the cushions regularly, and consider using fabric protectors to guard against spills and stains.
- Does tufting affect the comfort level of the furniture?
- Tufting can indeed impact comfort. The dimpled design can offer additional cushioning and create a plush feel, but it’s also about personal preference. Some love the added structure, while others might prefer a smoother surface.
- Is there a difference in maintenance between buttoned and buttonless (blind) tufting?
- Buttoned tufting can collect more dust and debris around the buttons, requiring more detailed cleaning. In contrast, blind tufting offers a smoother surface, making it slightly easier to clean. However, both styles benefit from regular upkeep.
- How do I decide between shallow and deep tufting?
- Shallow tufting provides a subtler, modern look, while deep tufting offers a plush, classic appearance. When deciding, consider the vibe you aim for, the furniture’s function, and personal comfort preference.
References
Website Resources:
- Upholstery Resource. https://www.upholsteryresource.com/
- Kim’s Upholstery. https://kimsupholstery.com/
Video References:
The Workroom Channel
DirtySnale
Insider
Circle Furniture
Mark’s Upholstery
Fabric Farms Interiors