23 min read
Tips for Achieving A Professional Finish (10 Tips)

Upholstery is a craft that can turn your drab furniture into a work of art. But let’s be honest, it can seem daunting, especially if you’re new to the game. Don’t worry, though. I’m here to share expert advice to help even total beginners achieve a neat, stylish finish.
Quick Summary:
| Tip | Description |
|---|---|
| 🛋️ 1. Choose the Right Fabric | Selecting the perfect fabric is crucial for your furniture’s aesthetics and durability. |
| 🧶 2. Pay Attention to Fabric Orientation | Railroading, or the pattern’s orientation across the fabric roll, is key for a smooth, uninterrupted pattern. |
| 🔍 3. Inspect Your Furniture | Before starting, thoroughly inspect your furniture for damages or cracks in the frame. |
| 🧰 4. Gather Quality Tools and Materials | Having the right tools makes your upholstery project flow smoothly. |
| 🎗️ 5. How To Finish Upholstery Edges | Achieve neat, professional-looking edges using tack strips or braiding. |
| 📐 6. How To Make Neat Corners When Upholstering | Secure the entire piece before tackling corners for a neat finish. |
| 🪡 7. Pull Fabric Taut, But Not Too Tight | Ensure the fabric is pulled tautly for a smooth appearance and durability. |
| 🌀 8. How To Make An Upholstery Edge Roll | Add curves and soften the edges of your furniture with an upholstery edge roll. |
| ⏳ 9. Take Your Time with Details | Dedicate enough time to your project for a professional finish and focus on the details. |
| 🧵 10. Stitching and Seam Mastery | Perfect your stitching and seams for a professional look and added durability. |
You might be thinking, “Can I do this?” Trust me, with the right tools and techniques, anyone can master upholstery. From creating straight edges with concealed seams to adding the final touches, we’ll walk through it all. And remember, practice makes perfect.
Tip 1 – Choose the Right Fabric
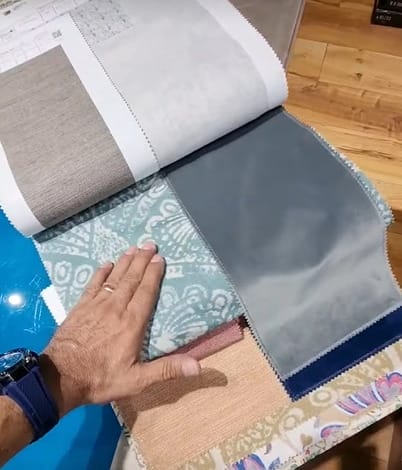
Selecting the perfect fabric for your upholstery project isn’t just about aesthetics. It’s a crucial step that significantly impacts your furniture’s durability and finish.
Check the table below—it’s got the lowdown on all the best fabrics, helping you nail the perfect combo of style and durability. Let’s get to it and make your upholstery project shine!
| Fabric Type | Durability | Style and Appeal | Affordability | Considerations and Tips |
|---|---|---|---|---|
| 🌿Cotton Velvet | High | Luxurious, Stylish | Moderate | Buy extra for errors; it can attract dust, so regular cleaning is needed. |
| 🐄 Leather | Very High | Rich, Timeless | Expensive | Requires regular conditioning; scratches can be noticeable. |
| 🔍 Microfiber | High | Modern, Comfortable | Affordable | Easy to clean; great for households with pets or children. |
| 🌾Linen | Moderate | Elegant, Natural | Moderate | It’s not ideal for heavy use; it wrinkles easily. |
| 🐑 Wool | High | Warm, Durable | Expensive | Resistant to staining and fading; can be itchy. |
| ⛓Polyester | Moderate | Versatile, Practical | Affordable | Easy to clean; less luxurious feel. |
| 🧶 Acrylic | Moderate | Variety of Patterns | Affordable | Good for outdoor furniture; less breathable. |
| 🌀 Rayon | Low | Silky, Affordable | Very Affordable | It’s not very durable; better as a blend with other fibers. |
| 🐛 Silk | Low | Luxurious, Delicate | Expensive | Not suitable for heavy use; requires professional cleaning. |
| 💼 Nylon | High | Durable, Resilient | Affordable | Often blended with other fibers; static can be an issue. |
Tip 2 – Pay Attention to Fabric Orientation
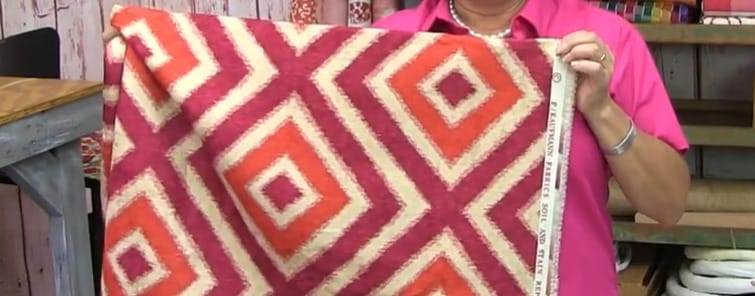
Regarding fabric orientation, a term you may encounter is “railroading.” This refers to the pattern’s orientation across the roll of fabric. Most fabrics have vertical patterns along the roll, making them suitable for upholstery projects, particularly for tall items.
Pattern Consistency
Get those patterns flowing just right! Railroading is key, especially for big items like sofas, ensuring a smooth, uninterrupted pattern. No breaks, no awkward seams—just pure, seamless style.
Seam Reduction
Say goodbye to unnecessary seams! Railroading helps cut them down, giving your piece a cleaner, sharper finish. Less seems to mean less room for error, and that’s exactly what we aim for.
Material Efficiency
Make the most out of your fabric! With railroading, you’re using your material smarter, minimizing waste, and ensuring a sleek finish without unnecessary patchwork.
Directional Fabrics
Got fabric with a nap, like velvet? Railroading ensures the nap runs consistently in the same direction all throughout, maintaining a uniform look and feel. It’s all about the details, and this is a game-changer.
Improved Durability
And let’s not forget that how you apply your fabric can impact how long your upholstery holds up. Fabrics have a stronger direction; railroading helps align that for a longer-lasting finish.
So, when tackling that next upholstery project, keep railroading in mind—it’s a trick of the trade that can elevate your work from good to great!
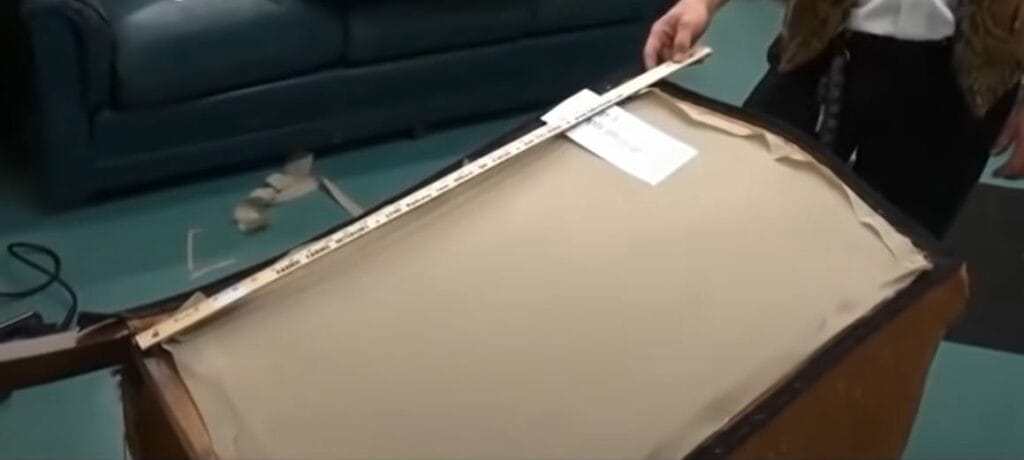
Tip 3 – Inspect Your Furniture
Before getting started, thoroughly inspect your furniture. Look for any damages or cracks in the frame, like warped or broken springs, rusted hardware, or rotten wood. A damaged frame can significantly affect the end result of your upholstery project.
Spotting the Rough Edges

- Check for Damage: Inspect the frame thoroughly for any structural issues or damage that needs repair before proceeding with upholstery.
- Wear and Tear: Identify areas that have experienced significant use and may require additional reinforcement or padding.
Tailoring to Fit
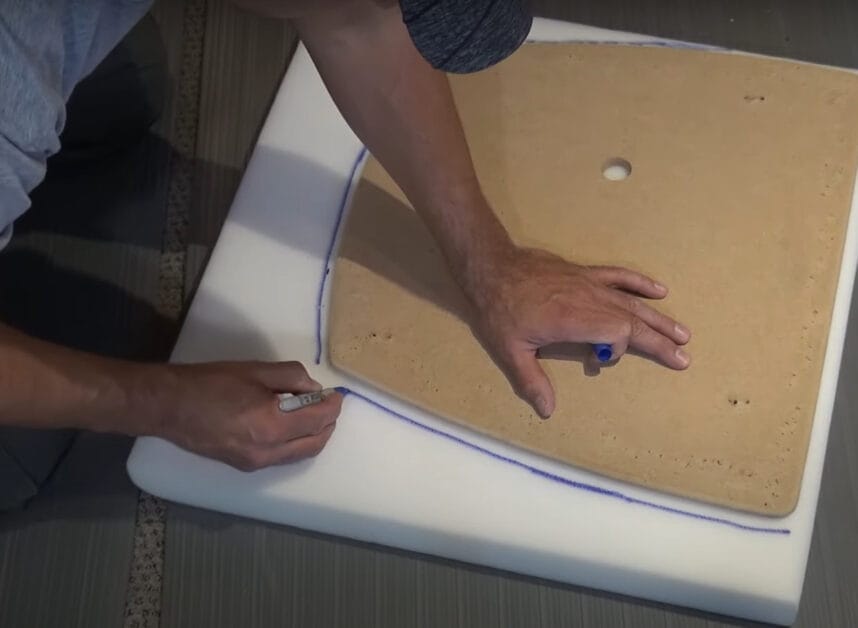
- Measure Twice, Cut Once: Ensure accuracy in measurements to guarantee the fabric is cut and applied correctly for a snug fit. Understand the furniture’s shapes and contours to ensure a smooth fabric application without wrinkles.
Prepping the Canvas
- Clean Slate: Clean the furniture frame thoroughly to remove any dirt or debris that could affect the upholstery process.
- Smooth Sailing: Address any rough areas on the frame that could damage the new fabric over time.
Laying the Groundwork
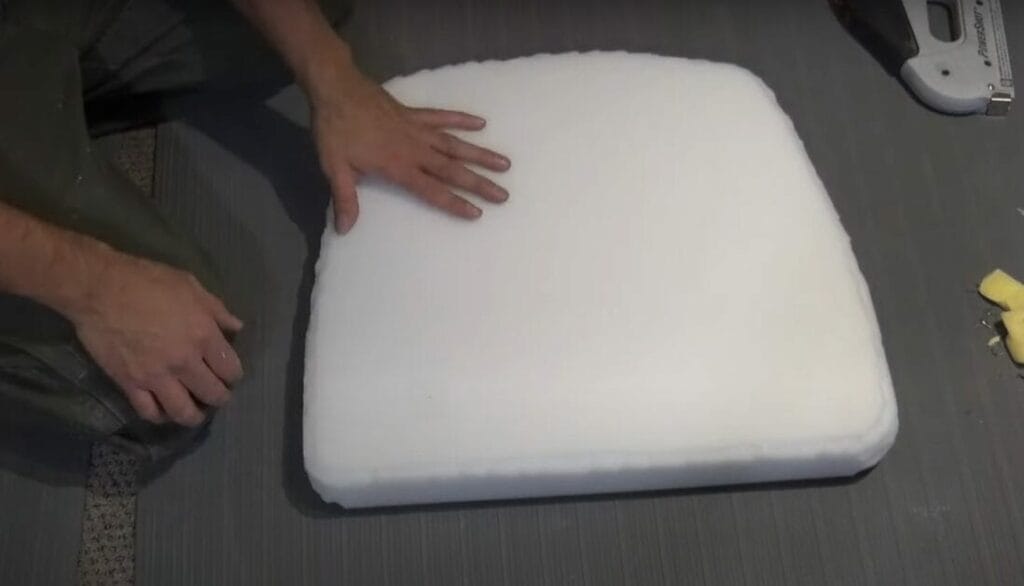
- Padding Check: Evaluate the condition of existing padding, foam, or cushions, replacing them if necessary.
- Even Steven: Ensure that the furniture provides even support to maintain comfort and extend the life of the upholstery.
Eye for Detail

- Style Scan: Analyze the furniture’s style and shape to make informed decisions on fabric choice and upholstery techniques.
- Color Match: If the furniture needs to match other items in a set or room, make careful choices in fabric color and pattern.
Quality from the Get-Go
- Final Once-Over: Conduct a final inspection before starting the upholstery process to ensure all aspects are addressed.
- Laying the Groundwork for Greatness: This detailed preparation sets the stage for a meticulous upholstery job, leading to a professional finish.
By taking a thorough and detailed approach to inspecting the furniture before beginning the upholstery process, you ensure a high-quality result that stands up to both use and scrutiny.
Tip 4 – Gather Quality Tools and Materials
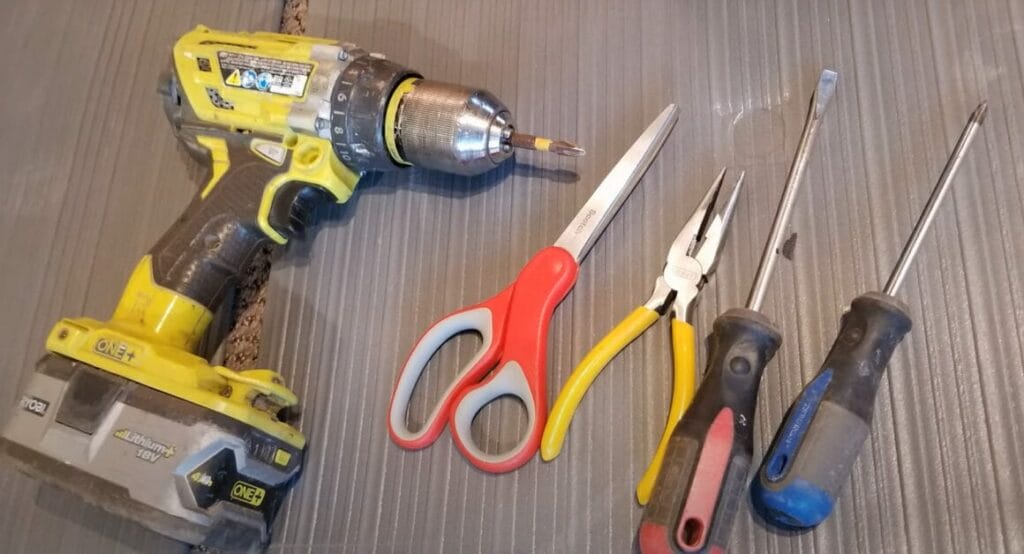
Before we dive deeper into this exciting world of upholstery, let’s get equipped. Having the right tools on deck makes your project flow smoothly. So, what do we need?
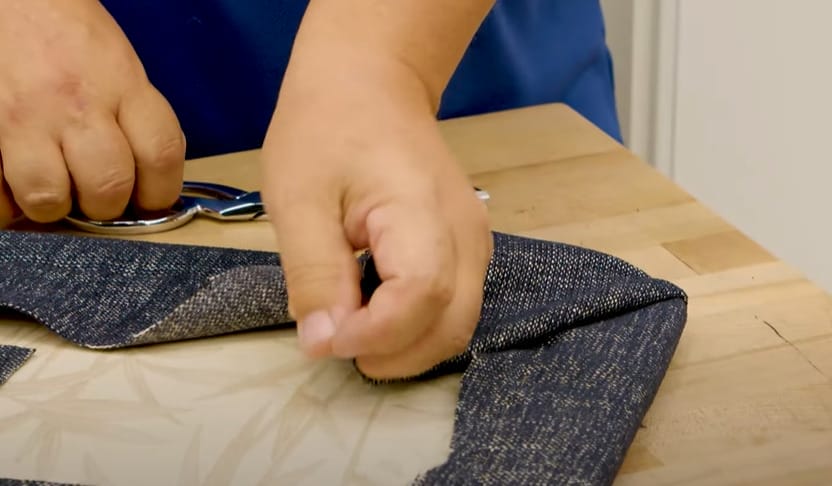
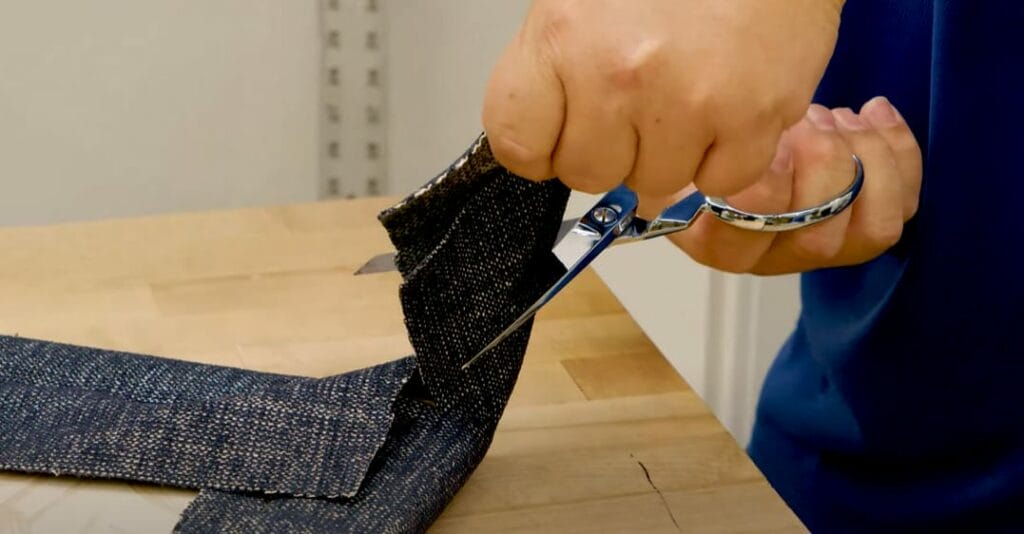
- Fabric scissors: If you’ve got a pair in your sewing kit, awesome! If not, it’s time to get some sharp, premium ones. Remember, these are just for cutting fabric. Cutting other stuff can dull them out.
- Staple lifter: This tool may seem small, but packs a punch. It’s perfect for lifting out those old, hard-to-get staples without causing any damage. It’s a lifesaver, I promise you.
- Needle-nose Pliers: Great for removing staples, tacks, and nails during the deconstruction phase.
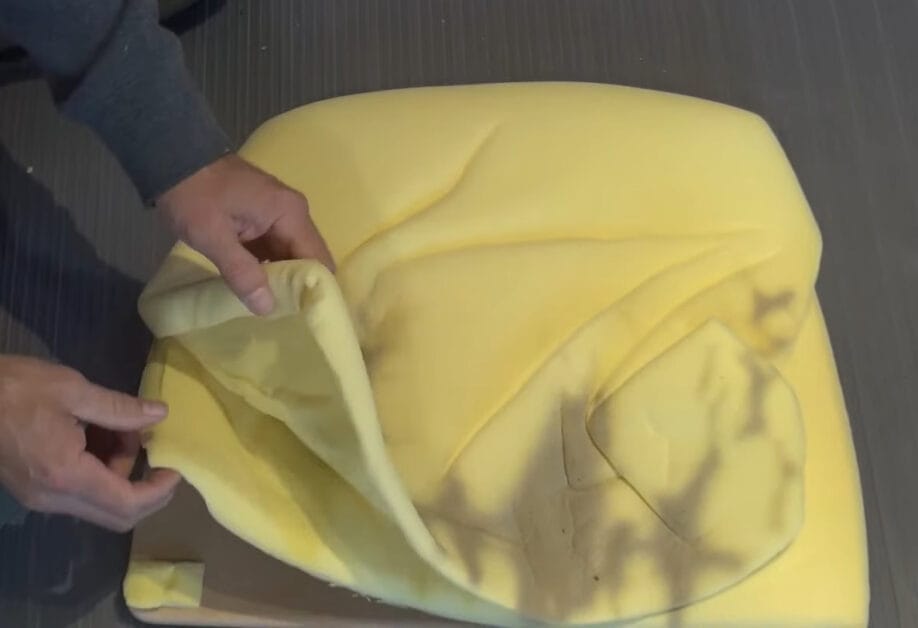
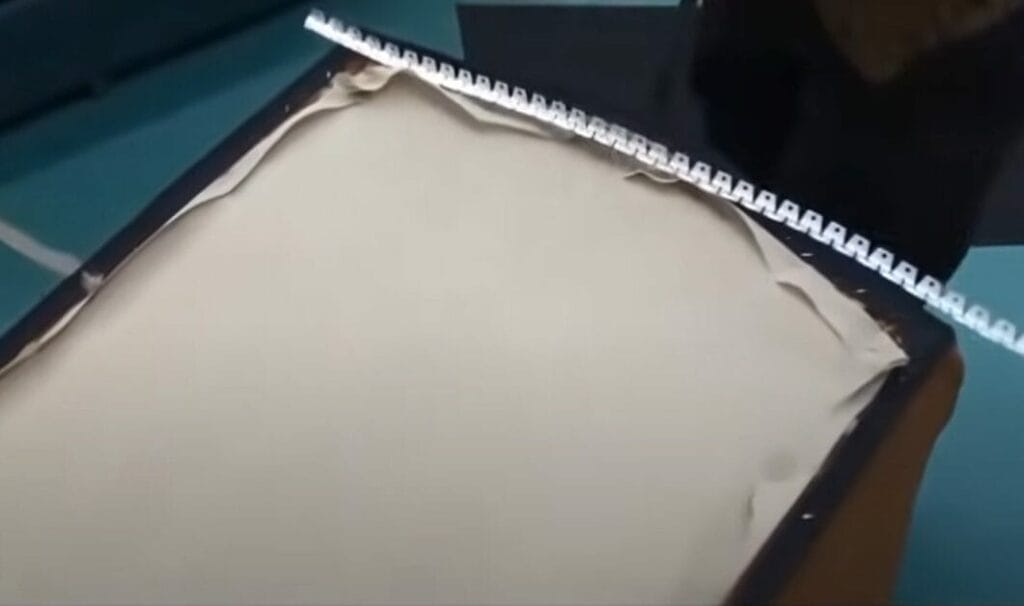
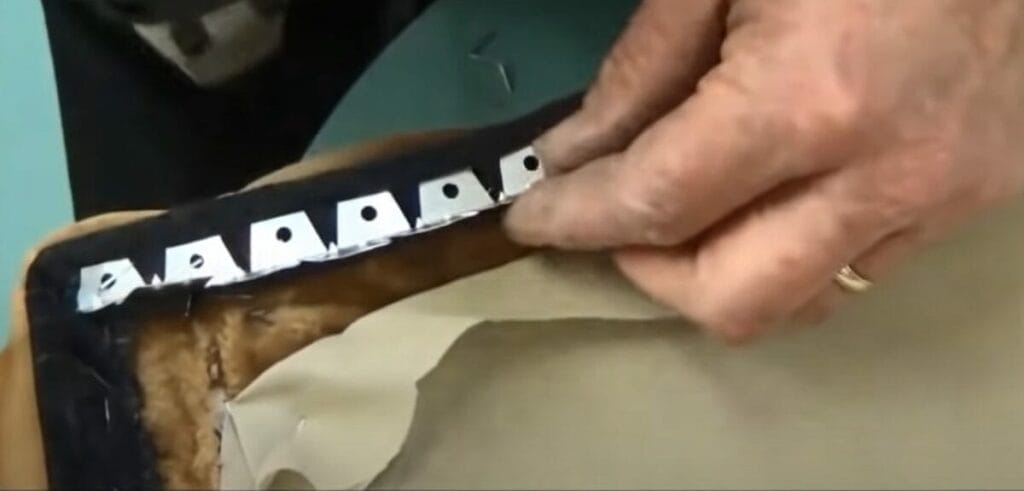
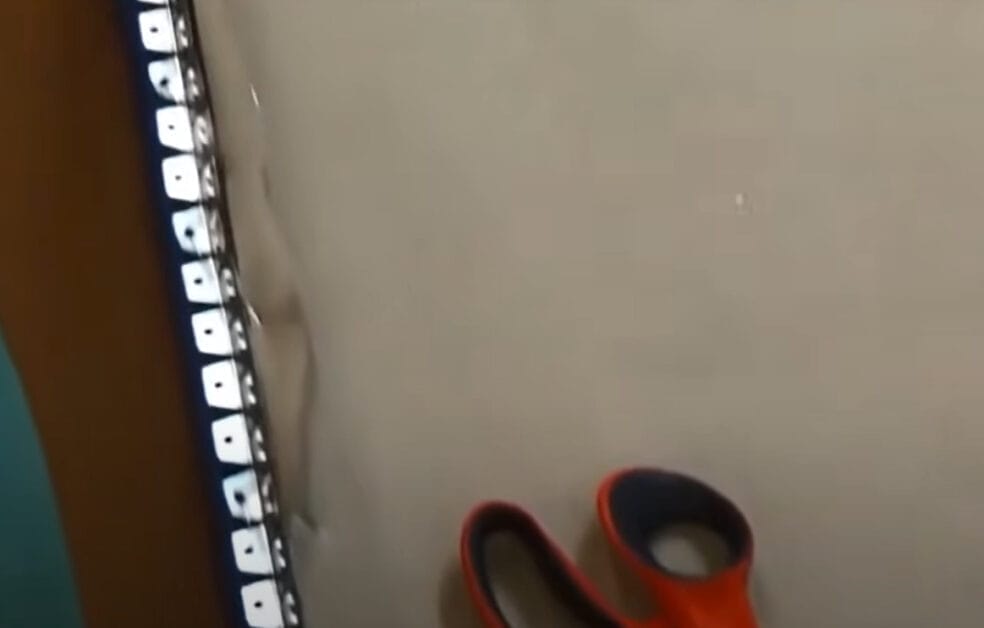
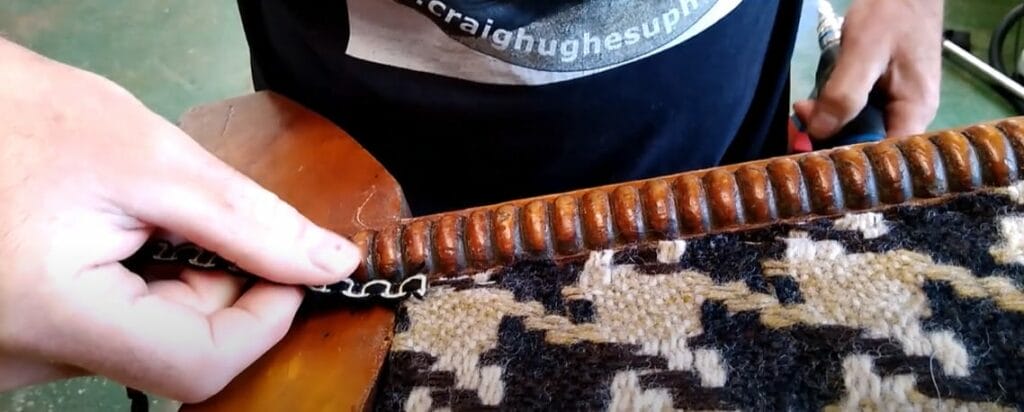
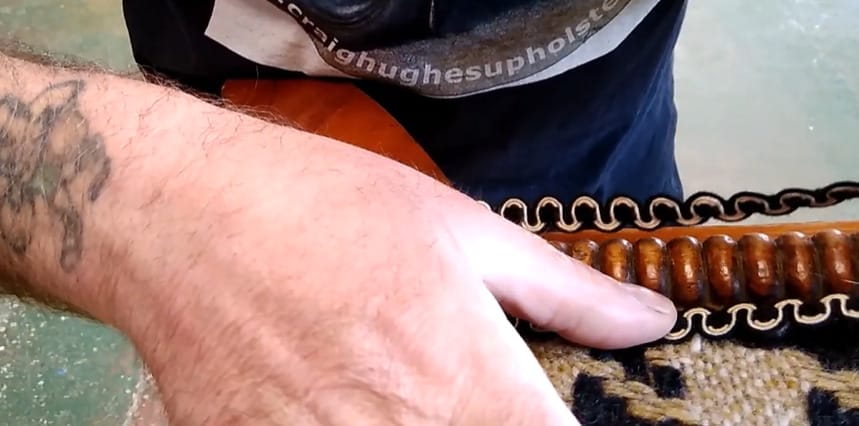
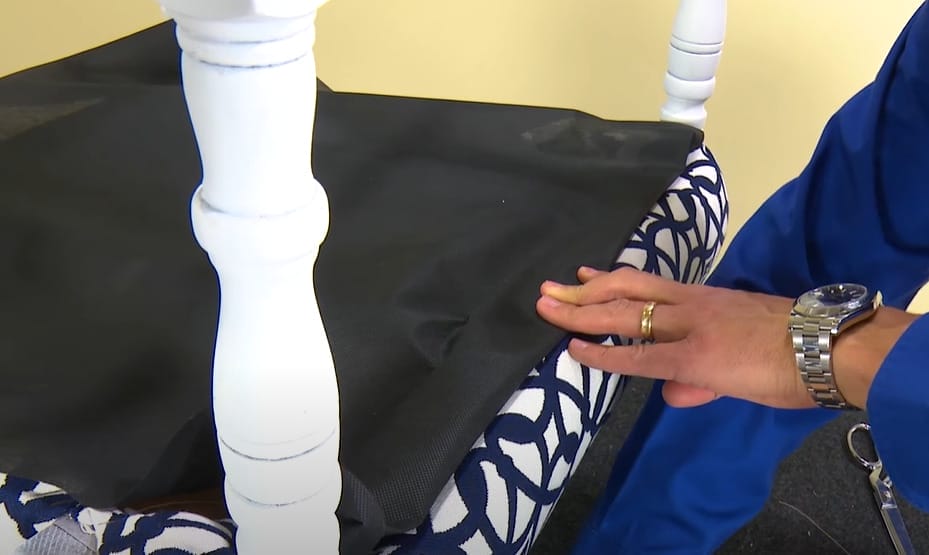
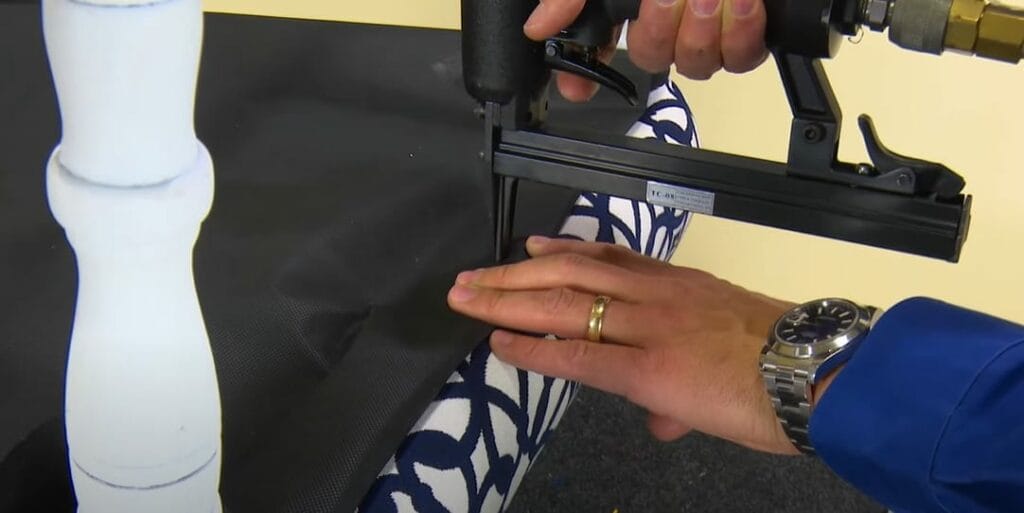
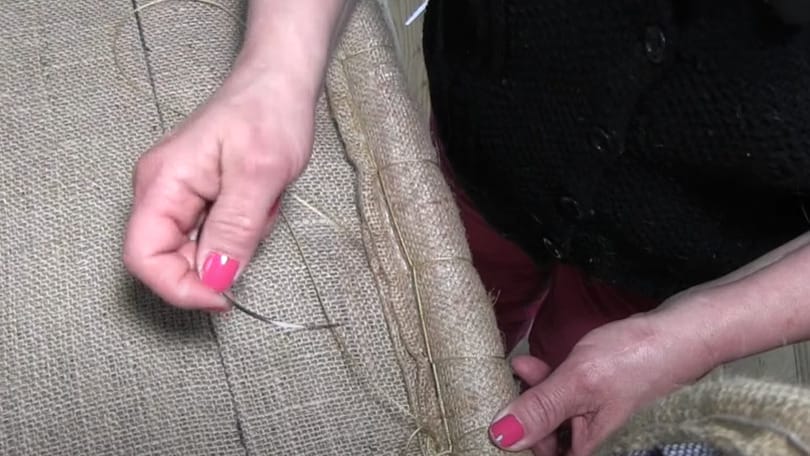
Tip 5 – How To Finish Upholstery Edges
Creating neat, professional-looking edges in upholstery isn’t just for the pros. Even a beginner can achieve a stylish finish with the right tools and techniques. Let’s dive into how you can do this!
Upholstery Tack Strip
To create a straight edge with a concealed seam, an upholstery tack strip is a game-changer. This simple cardboard strip can give your upholstery a professional finish quickly.
- Step 1: Measure the edge you need to upholster
- Step 2: Cut a piece of tack strip to size
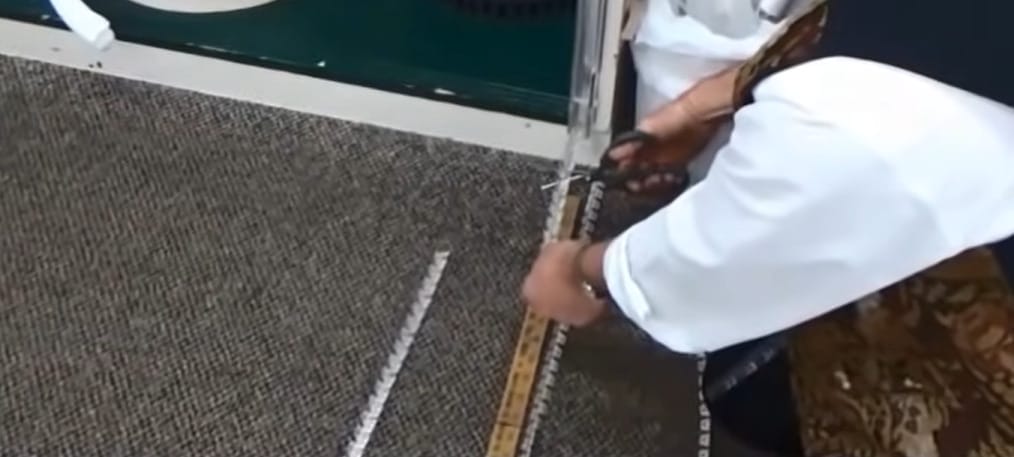
- Step 3: Lay a piece of fabric, reverse-side up, over the edge with a bit of excess to fold underneath.
- Step 4: Push the tack strip as far into the edge as possible and attach it with tack pins or staples.
- Step 5: Fold back your fabric to reveal your professionally finished edge!
Adding Braiding
For a different finish, consider attaching gimp braiding to your upholstery edges. Remember to start somewhere inconspicuous, like the underside, back, or far corner of your furniture.
- Step 1: Fold the frayed end of your braid if there’s any.

- Step 2: Apply a thin line of glue on the underside of the braid.
- Step 3: Attach the braid tightly along the edge of the fabric.

- Step 4: Apply pressure for a few seconds and work a few inches at a time.
Be cautious with the glue; you don’t want any overflow!
Tip 6 – How To Make Neat Corners When Upholstering
When I first started upholstering furniture, I was all about the corners. I’d staple, fold, and trim just like a pro. Or so I thought. But something was off each time I’d step back and admire my work. My fabric patterns would be crooked, stretched, and even lopsided. Frustrating, right?
I learned that it’s not just about stapling the corners. It’s about securing the entire piece first before tackling those pesky corners. So, here’s the secret sauce to neat corners: Staple, Fold, Trim. Yes, in that order.
- Step 1: Staple around your material, but stop about 2 inches from each corner.

- Step 2: Fold the fabric at the corner like you’re wrapping a present. Trust me, it’s the easiest way to get quick, symmetrical corners without adding too much bulk.
- Step 3: Trim the excess fabric to keep your corners neat and tidy.
Upholstering is not just about making your furniture look good; it’s about mastering the art of detail. And with these tips, I’m sure you’re well on your way to becoming an upholstery pro.
Tip 7 – Pull Fabric Taut, But Not Too Tight
Let’s talk about the importance of pulling the fabric just right.
- Pulling the Fabric Tightly: One technique that’s essential to get right early on is pulling the fabric tightly enough. You know you haven’t pulled the fabric tight enough if you see the smallest wrinkles or bulges in the material.
- Securing the Fabric with Staples: On the flip side, failing to staple the fabric securely or stretch it tautly can result in wrinkles and a sloppy finish.
- Stretching the Fabric Evenly: Take your time to staple and stretch the fabric evenly for a smooth appearance.
And there you have it, my tips for achieving that professional finish in your upholstery projects. Keep practicing, and you’ll get the hang of it quickly.
Tip 8 – How To Make An Upholstery Edge Roll
Let’s dive into the process of making an upholstery edge roll. It’s an effective way to add curves and soften the edges of your furniture, making it more appealing and comfortable. Trust me, it’s not as complex as it sounds!
Step 1: Prepare Your Materials
- First, you’ll need a foam strip (or cord/rope) and a piece of your chosen fabric.
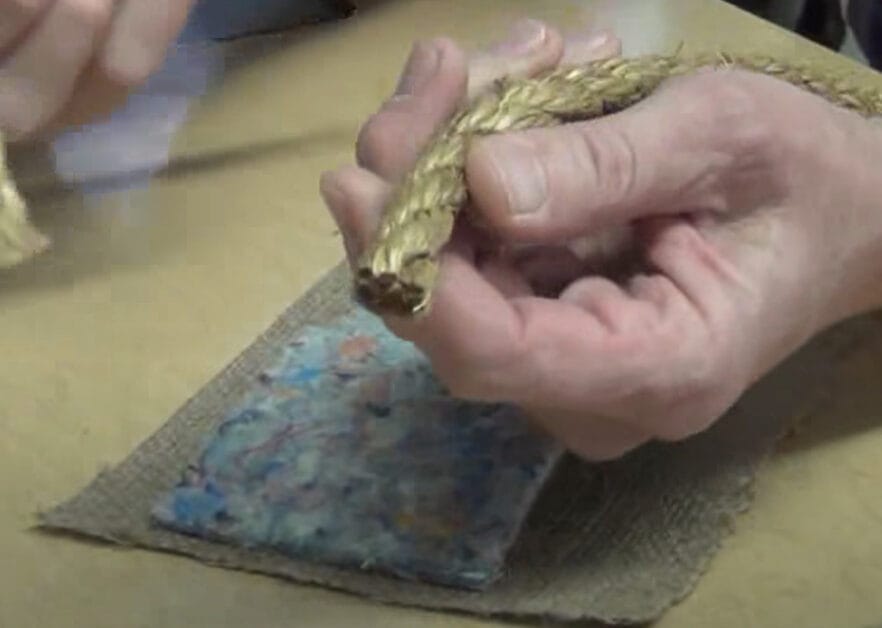
- Place the foam strip atop the fabric, ensuring it’s aligned properly.
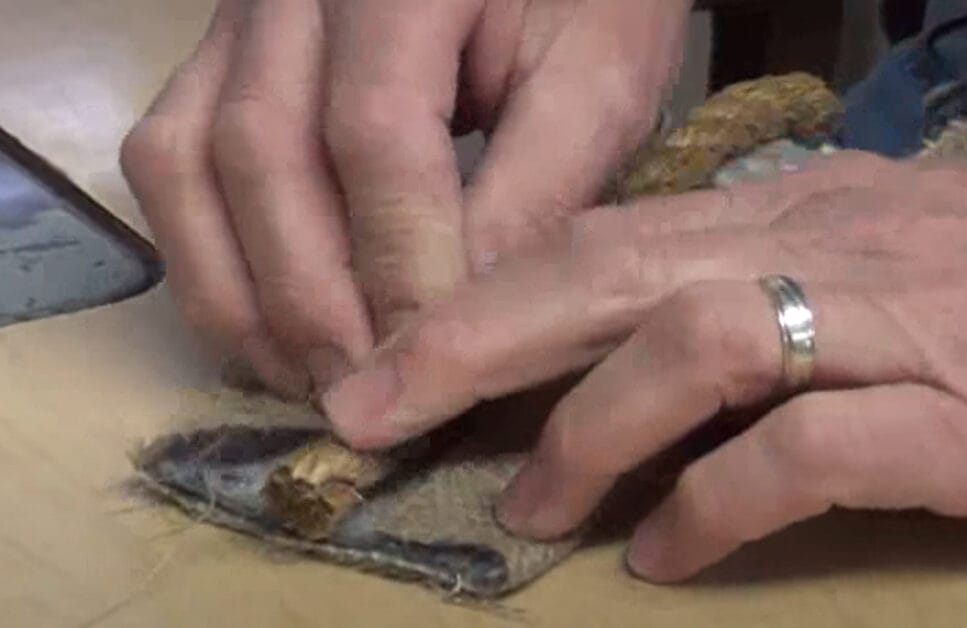
Step 2: Encase the Foam
- Next, fold the fabric over the foam, encasing it and leaving an adjacent strip about an inch wide.
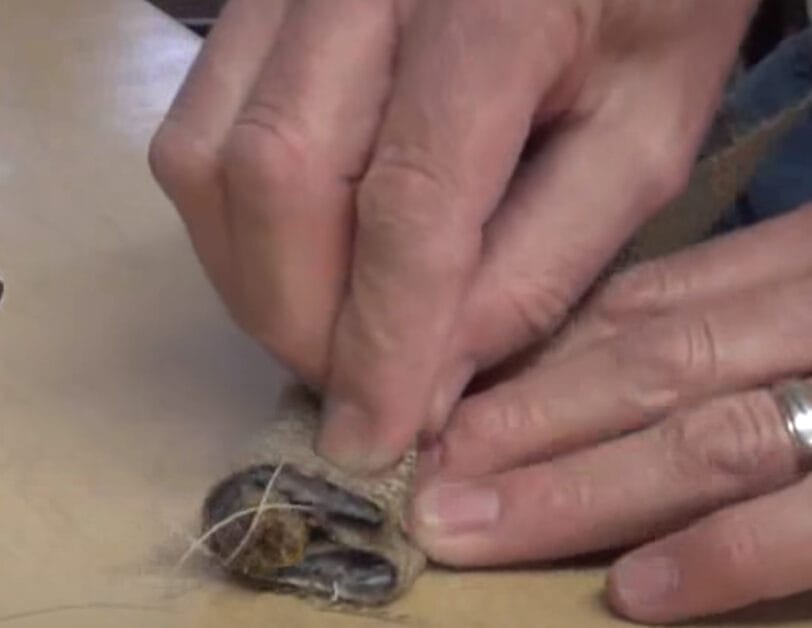
Step 3: Sew the Edge Roll
- Here comes a crucial part: sewing. You need to sew a line as close to the foam as possible. This step ensures the edge roll is tightly encased within the fabric pocket.
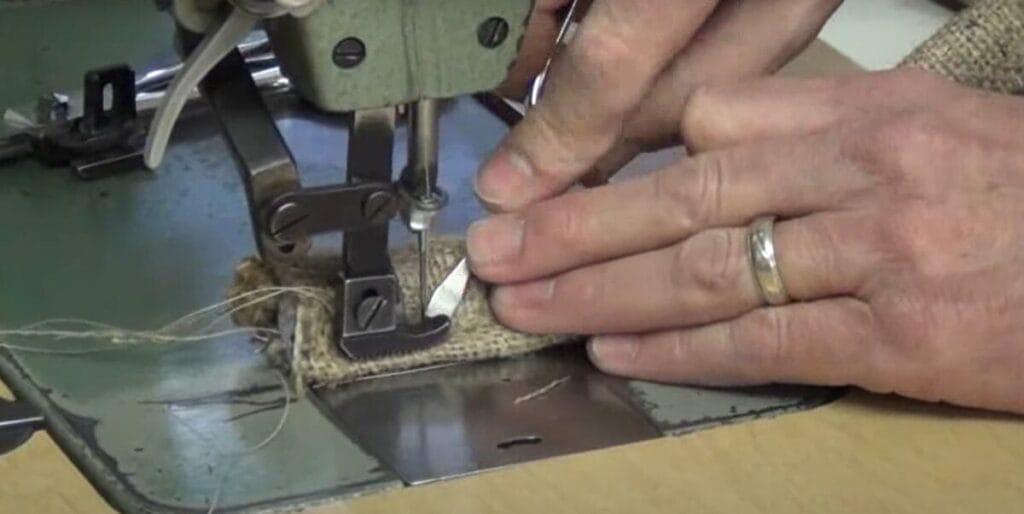
Step 4: Attach to Furniture
- After creating the roll, it’s time to attach it to your furniture. Normally, edge rolls are used on chair arms, but you can place them wherever suitable.
- Just remember to bend the foam roll around the edge of your furniture as you desire.
Step 5: Secure the Roll
- Use tacks through the flanged edge (or the excess strip of fabric). Stay as close to the sewn line as possible for a neat edge.
Upholstering corners needn’t be a daunting task. With the right techniques, you can easily achieve a neat upholstery finish on your furniture. But that’s a topic for another time…
Tip 9 – Take Your Time with Details
From gauging how long a project might take to those little finishing touches that make all the difference in achieving a professional finish, let’s break it down:
- Time Estimate: When starting with upholstery, anticipate that projects may take longer than expected. Setting aside more time can prevent rushing and potential mistakes.
- Enjoyment: Allowing more time for a project means you can relax and truly enjoy the upholstery process.
- Finishing Touches: Not rushing allows you to add important final touches, like paint, to achieve a professional finish.
- Hiring Professionals: When considering professional services, look beyond cost. Some charge by the hour, while others charge by the piece.
- Quality Over Cost: Prioritize the quality of service over the price. The service’s quality will determine stain removal efficiency, cleaning frequency, and furniture longevity.
- Complexity: As highlighted by Michaud, some upholstery projects, depending on the furniture’s condition, can span a full week.
- Patience: Upholstery isn’t about speed. Focusing on the details and aiming for a beautiful result is essential.
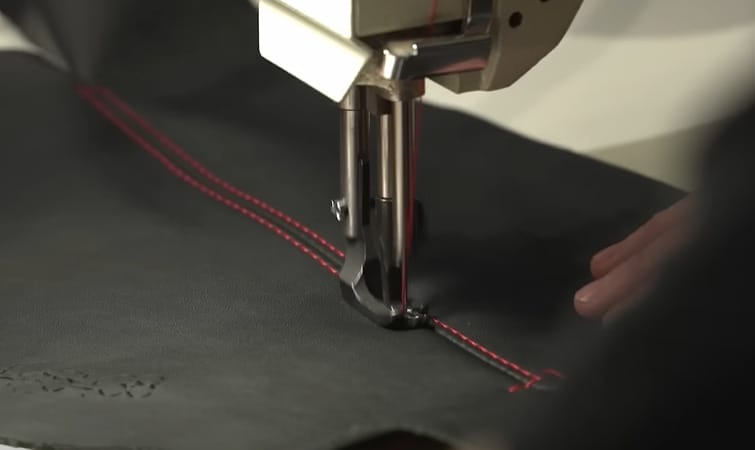
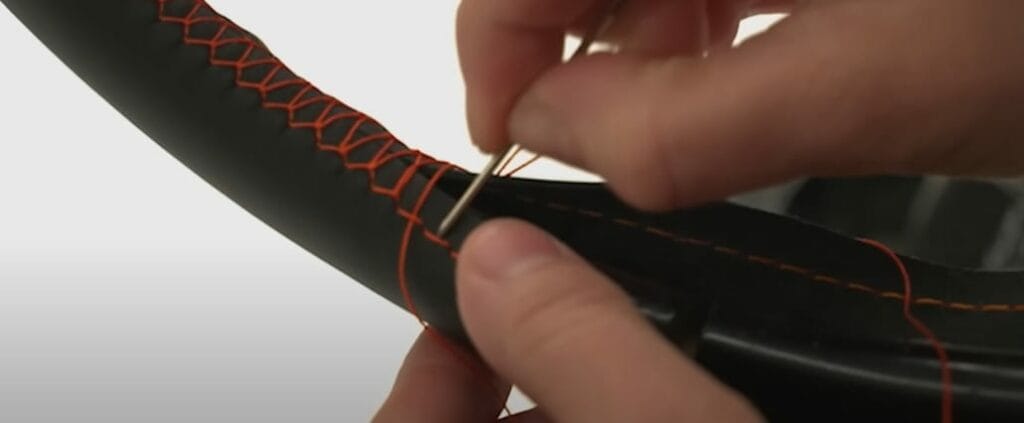
Tip 10 – Stitching and Seam Mastery
Seams might seem minor, but trust me, they make a difference. A well-done seam can distinguish between an okay job and a professional finish. So, let’s get those seams straight and strong!
- Even Stitching: Consistency is key. When sewing your fabric, ensure your stitches are evenly spaced. This not only looks good but also adds strength to the seams.
- Hidden Seams: Where possible, aim to hide your seams. This means placing them in less visible areas or using techniques like blind stitching to make them less noticeable.
- Thread Choice: Your choice of thread matters. Opt for upholstery-grade thread that matches your fabric color. It’s stronger and will blend seamlessly with your fabric.
- Double Stitch: For areas that will experience more wear and tear, consider double stitching. This provides an extra layer of security to ensure the fabric holds up over time.
- Test First: Before sewing the main pieces, test your stitches on a scrap fabric. This helps you adjust the tension and ensures your machine settings are right.
A little time spent perfecting your stitching and seams can significantly elevate the look and durability of your upholstery. So, grab that needle and thread, and let’s make every stitch count!
Common Mistakes
Diving into the world of upholstery can be exciting and challenging, but even if you’re getting your feet wet, being aware of common pitfalls can make your journey smoother and your results more professional. Let’s explore some frequent missteps and how to sidestep them!
- Skimping on Fabric: We all love a good deal, but trying to save a few bucks by buying less fabric can lead to a shortage mid-project. Always buy a bit more than you think you’ll need. It’ll save you a headache later on.
- Ignoring Fabric Direction: Fabrics have a grain, and if you don’t align it correctly, your project might look a tad off. Make sure to lay out your fabric in the direction it’s meant to be.
- Forgetting the Old Layout: Before tearing off the old fabric from a piece of furniture, snap a few photos. This will guide you when ready to put on the new fabric.
- Overlooking Wear and Tear: Just because you’re reupholstering doesn’t mean you should ignore the bones of your furniture. Check for any structural damages and fix them first. A new fabric won’t fix a wobbly leg.
- Jumping the Gun with Tools: Tools are fun but don’t get staple-happy without first positioning and repositioning the fabric. Patience, my friend.
- Overstretching the Fabric: While you want your fabric taut, pulling it too tight can distort patterns and put unnecessary tension on the fabric, leading to early wear and tear.
- Mismatched Patterns: If your fabric has a pattern, ensure it aligns properly across the entirety of the furniture. A misaligned pattern can be a real eyesore.
- Not Testing Out New Techniques: If you’re trying something new, practice on a scrap piece first. This way, you won’t ruin your main fabric with a rookie mistake.
- Ignoring Seam Strength: Reinforce those seams! Double-stitching or even using a specific upholstery thread can make a difference in durability.
- Neglecting the Details: Buttons, trims, and other small details can make or break your project. Please don’t rush through them. Take your time to ensure they’re placed correctly and securely.
Remember, every mistake is a learning opportunity. So, even if you slip up, don’t get discouraged. Take a breath, learn, and keep on upholstering!
References
Organizations:
- National Upholstery Association. https://www.nationalupholsteryassociation.org/
Books:
- “The Complete Guide to Upholstery” by Cherry Dobson. https://www.abebooks.com/9780312383275/Complete-Guide-Upholstery-Stuffed-Step-by-Step-0312383274/plp
- “Spruce: A Step-by-Step Guide to Upholstery and Design” by Amanda Brown. https://www.hachettebookgroup.com/titles/amanda-brown/spruce-a-step-by-step-guide-to-upholstery-and-design/9781612121376/
- “The Upholstery Bible: Complete Step-by-Step Techniques for Professional Results” by Cherry Dobson. https://www.barnesandnoble.com/w/the-upholstery-bible-cherry-dobson/1136212390
Website Resources:
- DIYUpholsterySupply.com. https://www.diyupholsterysupply.com/
- UpholsteryResource.com. https://www.upholsteryresource.com/
Video References:
CLAP TRAP
Kim’s Upholstery
C.L.S. All-IN-ONE
Fabric Farms Interiors
Craig Hughes Upholstery Official
Sailrite
Buckminister Upholstery
Insider Art