17 min read
Upholstering a Cushion and Stool for Beginners (5 Steps)
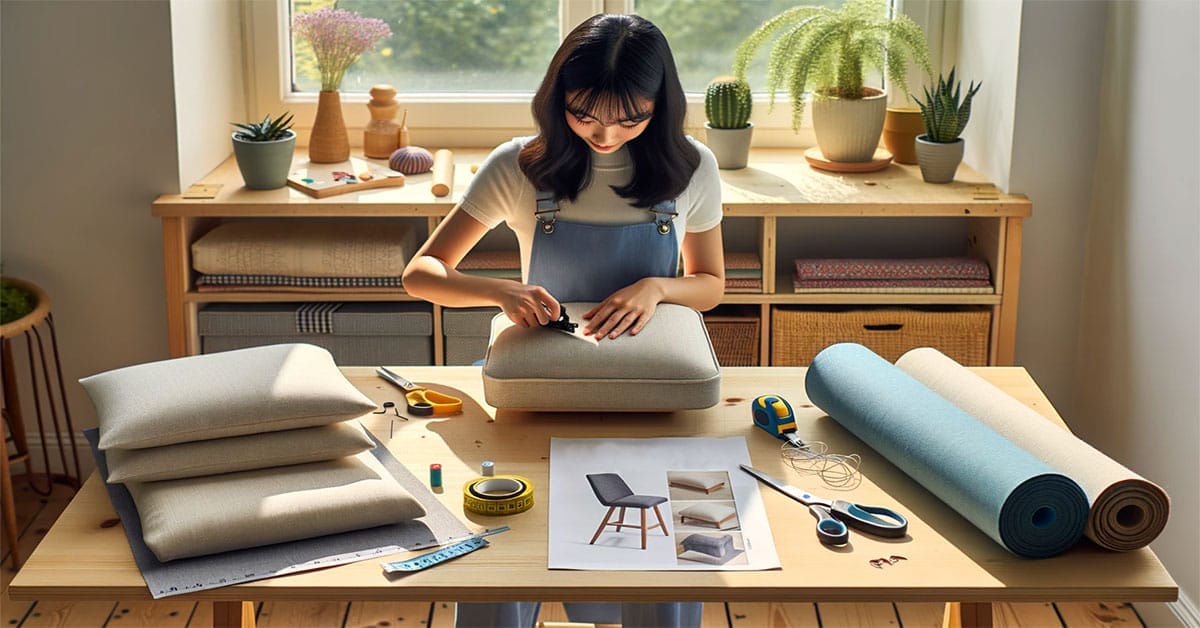
Have you ever looked at an old stool and thought it needed a fresh look? You’re not alone; I’ve got a simple, budget-friendly solution for you – upholstering. It’s an easy and fun DIY project that can breathe new life into your old furniture.
Quick Summary:
Preparation Steps:
- Step 1: Measure cushion/stool for fabric.
- Step 2: Select a suitable foam thickness.
- Step 3: Set up a safe workspace.
Upholstering the Cushion:
- Step 1: Remove the old fabric and inspect the cushion for damages.
- Step 2: Cut the new fabric and foam to the required size.
- Step 3: Position and align the fabric.
- Step 4: Secure the fabric tightly.
- Step 5: Trim and finalize edges.
Upholstering the Stool:
- Step 1: Detach the seat from the stool frame.
- Step 2: Remove old fabric and assess the condition of the stool padding.
- Step 3: Measure, cut, and position the new fabric and foam.
- Step 4: Secure the fabric onto the seat using staples or stitches.
- Step 5: Reattach the upholstered seat to the stool frame, ensuring stability.
In this article, we’re diving into the basics of upholstering a cushion or a stool. From choosing the right fabric to the actual upholstering process, I’ll walk you through every step.
Importance of Starting with Simple Projects for Beginners
Starting small is a key principle in learning any new skill, and upholstering is no exception. There’s a reason why we don’t dive right into tackling a huge sofa or armchair as our first project.
- It’s all about building your confidence and honing your skills on something manageable before moving on to bigger, more complex tasks.
- It’s easy to get overwhelmed when you’re new to something. The last thing you want is to feel frustrated and give up before you’ve even really begun.
- When you’re tackling your first upholstery project, remember this: You’re learning. It’s okay to make mistakes. It’s more than okay – it’s expected. Each mistake is a lesson learned, and those lessons will make you a better upholsterer in the long run.
Materials Needed
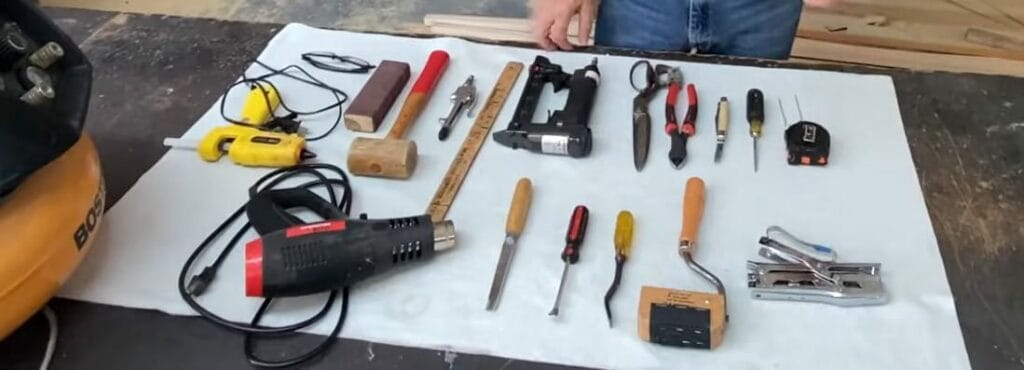
Let’s dive into the heart of any successful upholstery project: the materials.
- Fabric. This is the star of the show. You’ll need enough material to cover your cushion or stool, plus a bit extra for those inevitable mistakes. Opt for a durable fabric that can withstand daily use. There’s a wide range to choose from – think cotton, linen, wool, or even leather.
- Staple Gun and Plenty of Staples. This is what you’ll use to secure the fabric of your furniture. You might have one in the garage; if not, they’re affordable and easy to find.
- Sewing Kit. Even if you’re not planning on doing any major stitching, it’s always good to have one on hand for those last-minute tweaks.
- Upholstery Needles. These aren’t your grandma’s sewing needles. Upholstery needles are longer, stronger, and designed to pierce through dense materials. Perfect for those tight corners and tricky seams.
- Foam Padding. This is what gives your cushion or stool its comfy, inviting feel. Depending on how plush you want your outcome, you can get this in various thicknesses.
- Pair of Sharp Fabric Scissors. These will help you precisely cut your fabric and foam padding, ensuring a perfect fit and a professional finish.
- Measuring Tape. This is key for accurate cuts and avoiding waste. Remember, measure twice and cut once! Without a proper measuring tape, even the most experienced upholsterer can make costly mistakes.
Remember, the quality of your materials can make or break your upholstery project. Invest in good quality, and your newly upholstered piece will look great and last you for years.
Fabric: Types Suitable for Upholstery and Factors to Consider

When it comes to upholstery projects, picking the right fabric is crucial. You’ve got to consider factors like durability, pattern, and texture. So, let’s dive into the details, shall we?
- Durability. If you’re upholstering furniture with a lot of use, you’ll want a heavy-duty fabric. Think of materials like canvas, denim, or leather. These hard-wearing fabrics can withstand daily wear and tear, making them perfect for those high-traffic areas in your home.
- Pattern. Patterns can make a bold statement or subtly blend into your decor. You might want to stick with solid colors or simple patterns if you’re a beginner. They’re less challenging to align and can be more forgiving if you make a mistake.
- Texture. The feel of the fabric can add an extra dimension to your piece. Velvet gives a luxurious, soft touch, while burlap offers a more rustic, casual vibe.
Remember that the type of fabric you choose will also affect the difficulty of your project. Some fabrics are trickier to work with than others. For instance, leather can be tough to sew and requires special tools.
RELATED What is Upholstery?
Preparation Steps
Let’s get ready to dive into the nitty-gritty of prepping for this upholstery project. It’s a fun process, trust me!
Step 1: Measuring the Cushion or Stool to Determine the Amount of Fabric Needed
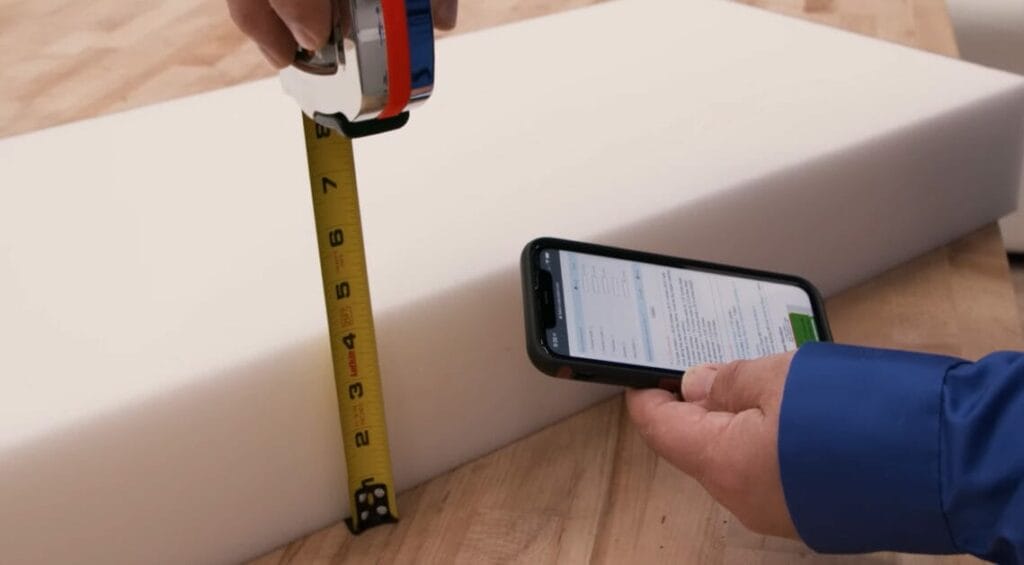
- First things first, grab that measuring tape. You must measure your cushion or stool to determine your needed fabric. Make sure to measure all sides and jot down those numbers.
- You’ll want to add a couple of extra inches to your measurements to account for the thickness of your padding and any errors that might sneak up on you. Remember, it’s better to have too much fabric than not enough.
Step 2: Selecting the Appropriate Foam or Padding Thickness

- When it comes to cushions, comfort is king. You’ll want to choose a foam or padding that’s thick enough to provide a comfy seat but not so thick that it’s hard to work with.
- Thinner padding usually does the trick for stools, but feel free to go thicker after a plushier feel. Remember that the thicker the padding, the more challenging it might be to get that fabric tight and wrinkle-free.
Step 3: Prepping the Workspace: Clearing Space, Gathering Tools, and Ensuring Safety
- Lastly, set up your workspace. You’re going to want a nice, clear area to work in. Ensure you have all your tools ready.
- And don’t forget about safety! Keep your workspace tidy to prevent accidents, and always handle your tools carefully.
Upholstering a Cushion: Step-by-Step
Now that we’re all prepped, let’s dive into the actual process, shall we?
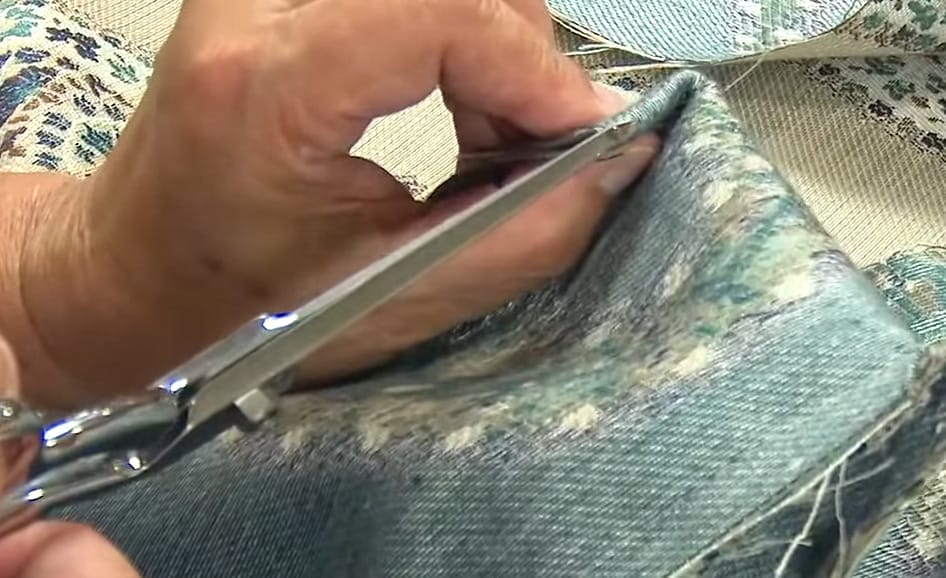
Step 1: Removing the Old Fabric and Inspecting the Cushion for Damages
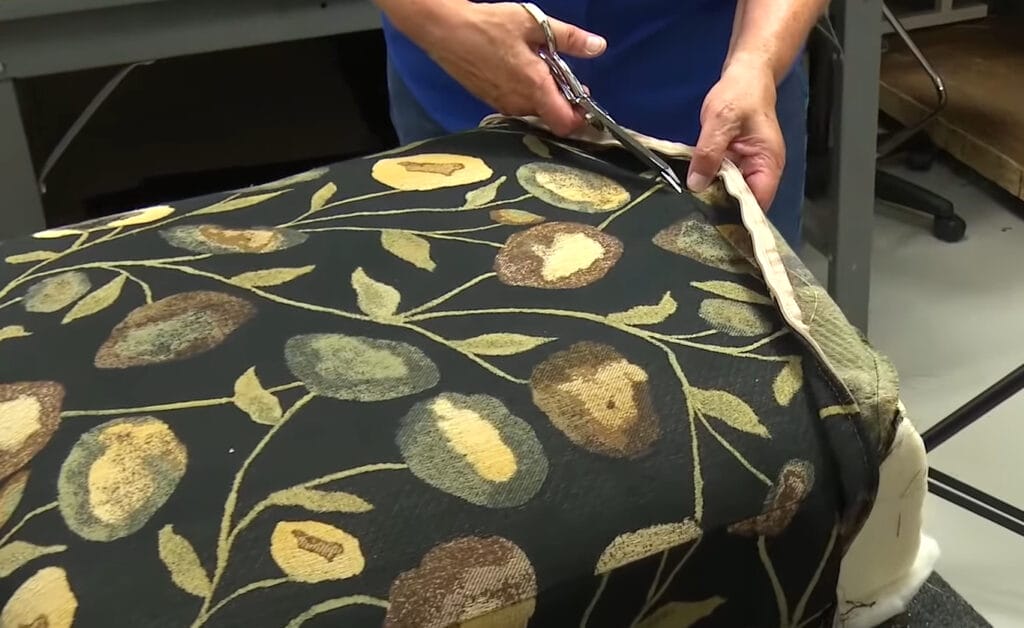
- First things first, we have to remove the old fabric. Use your fabric scissors – the sharper, the better. Be careful not to damage the foam. We’re looking for a clean-cut here.
- Once you’ve stripped your cushion bare, please give it a once-over. Keep an eye out for sagging, pitting, or lumps – they’re signs of damage that need addressing before we move on.
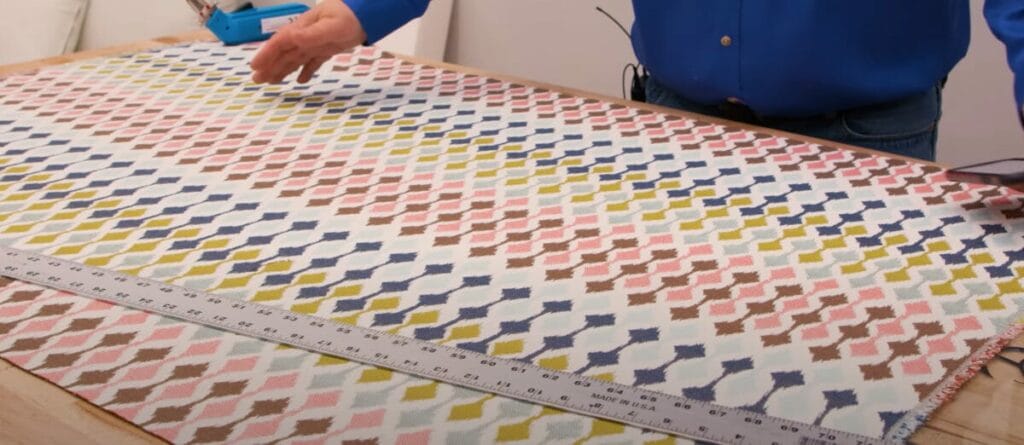
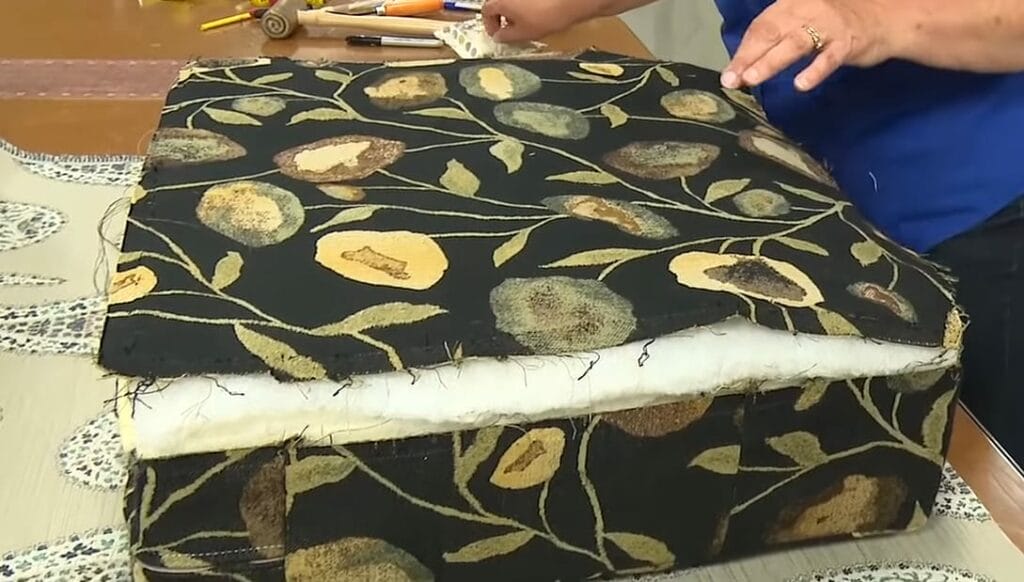
Step 2: Cutting the New Fabric and Foam to Size
- Next, it’s time to cut your new fabric. Lay it flat, place your cushion on top as a guide, and add 2 inches for seams.
- The same goes for the foam. Remember, measure twice and cut once. That’s our golden rule.
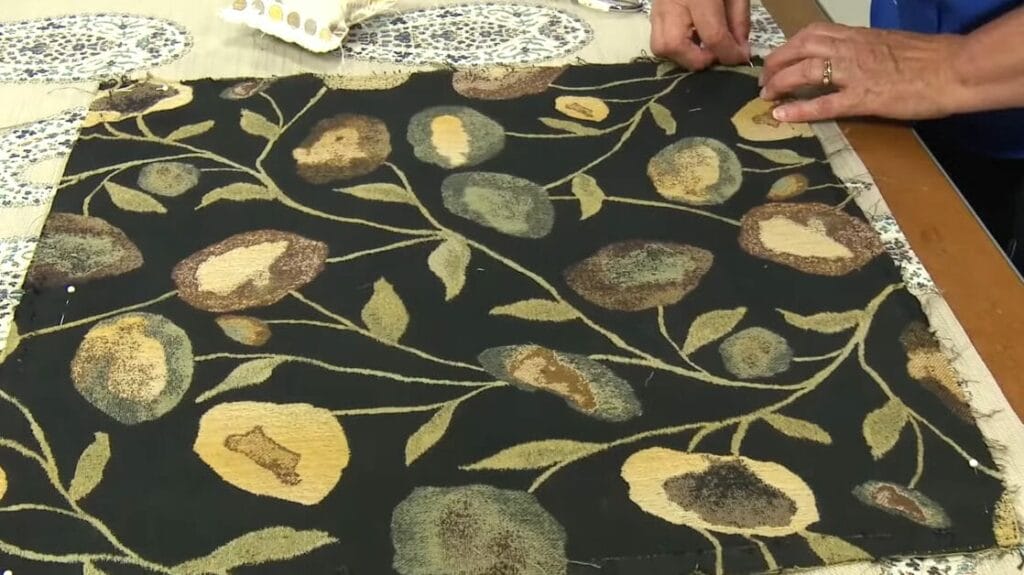
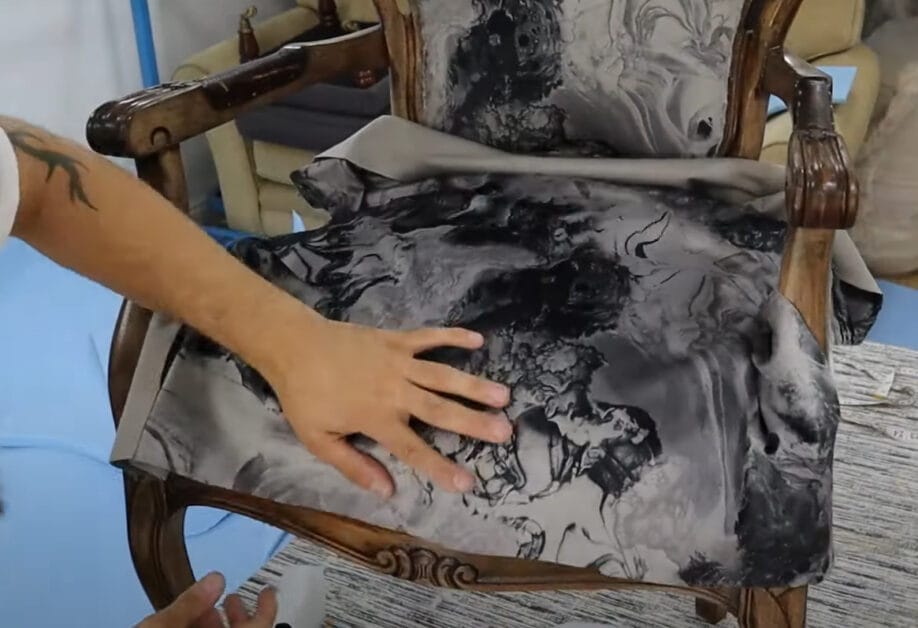
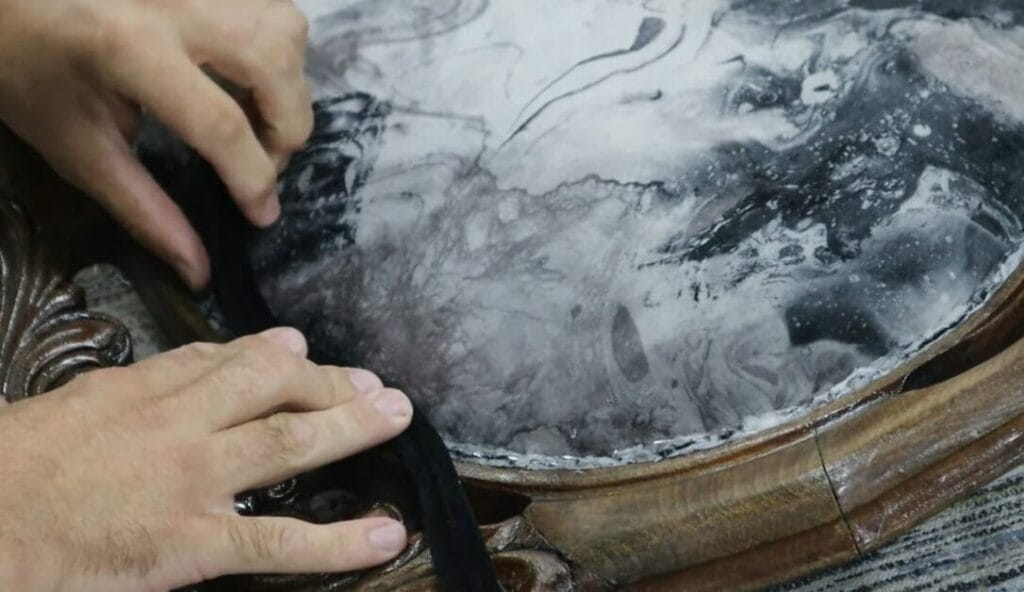
Step 3: Positioning the Fabric and Ensuring Even Distribution
- Lay the fabric face down, place your cushion on top, and ensure the pattern’s positioned just how you want it. Make sure it’s evenly distributed. No one likes a lopsided cushion.
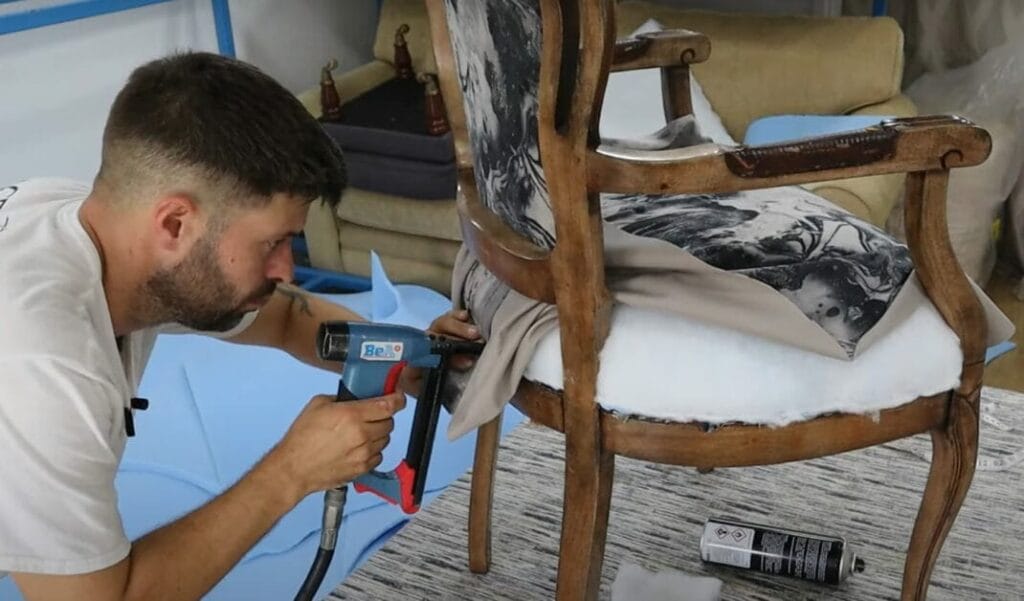
Step 4: Stapling or Sewing the Fabric in Place, Ensuring Tightness and Smoothness
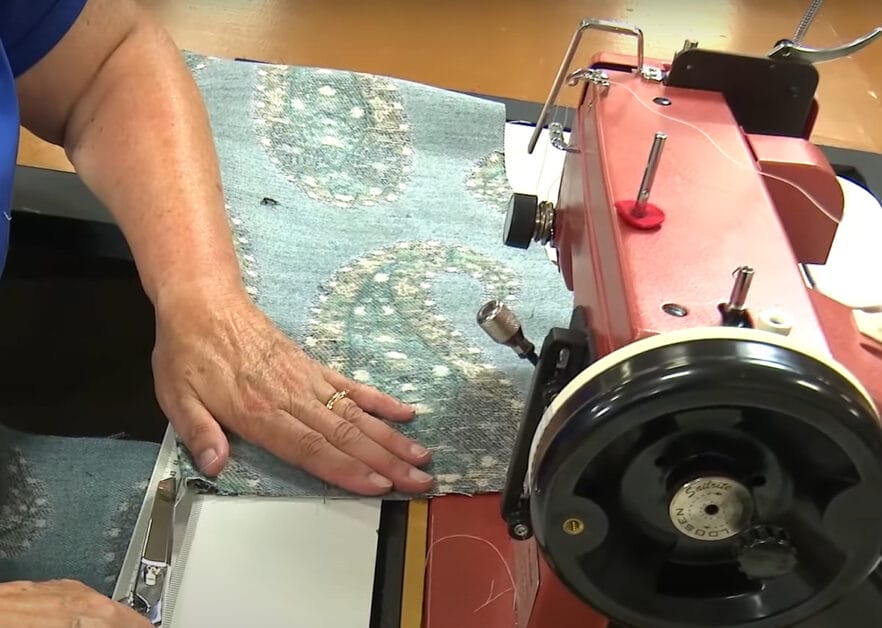
- Ready to secure it? You can either staple or sew. Start from the middle and work out using a staple gun to the edges.
- Keep it tight and smooth. If you’re sewing, use strong upholstery thread and a sturdy needle. Trust me, you’ll thank me later.
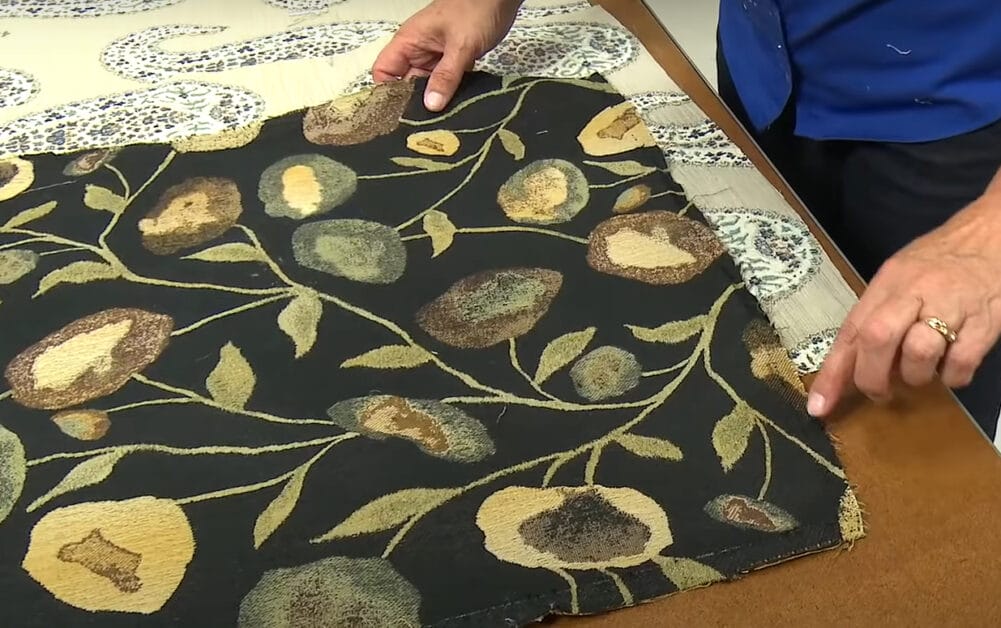
Step 5: Trimming Excess Fabric and Securing Final Edges
- Last but not least, trim any excess fabric. We don’t want any stragglers.
- Fold the fabric under and secure it on the bottom of the cushion. And there you have it! You’ve successfully upholstered your first cushion. Who knew you were such a pro?
Upholstering a Stool: Step-by-Step
So, you’ve got your tools and chosen fabric and are ready to dive in. Let’s get to it!
Step 1: Removing the seat from the stool frame
- First things first, we need to free up that seat. Grab your screwdriver and get those screws out.
- Be sure to set them aside in a safe place – we will need them later.
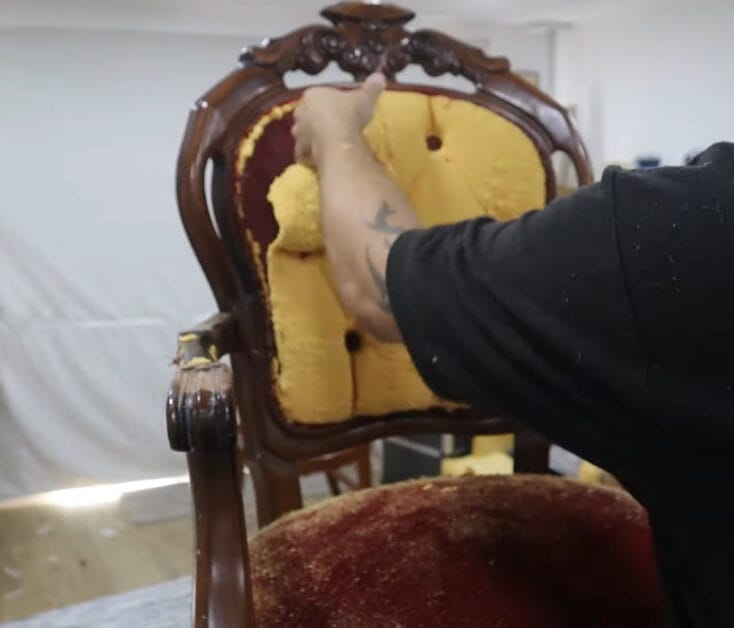
Step 2: Take off the old fabric and assess the stool padding

- Next, it’s time to strip away that old fabric. Use your fabric scissors and just cut right along the edge of the padding.
- Once you’ve removed it, take a good look at that padding. If it’s still in decent shape, you can keep it. If not, it’s time to replace it.
Step 3: Cutting and positioning the new fabric and foam
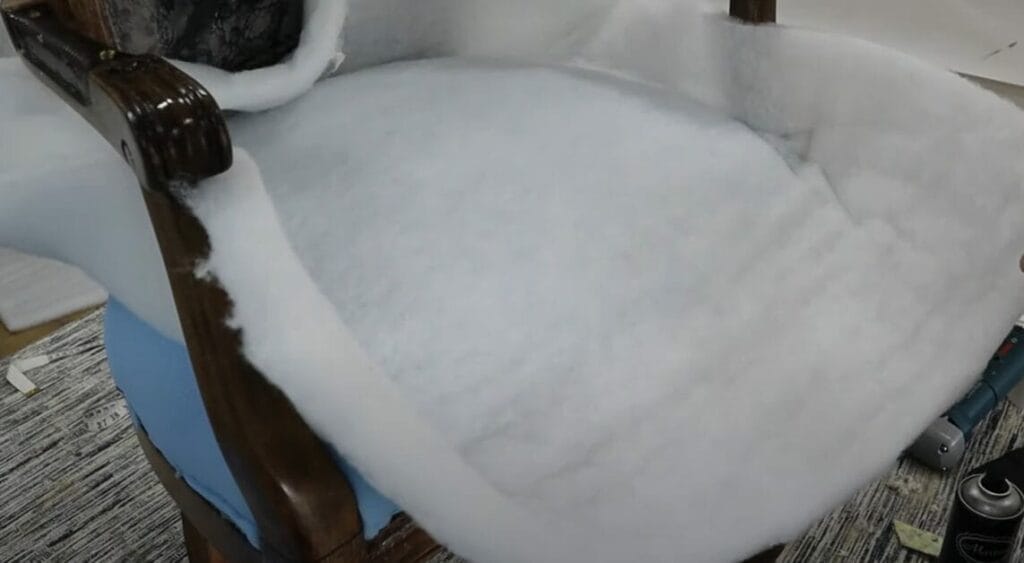
- Now, we’re getting to the fun part. Measure your seat and cut your new fabric and foam to size. But listen, don’t rush this part. Precision is key here.
- Lay out your fabric face-down, position your foam, and place your seat on top.
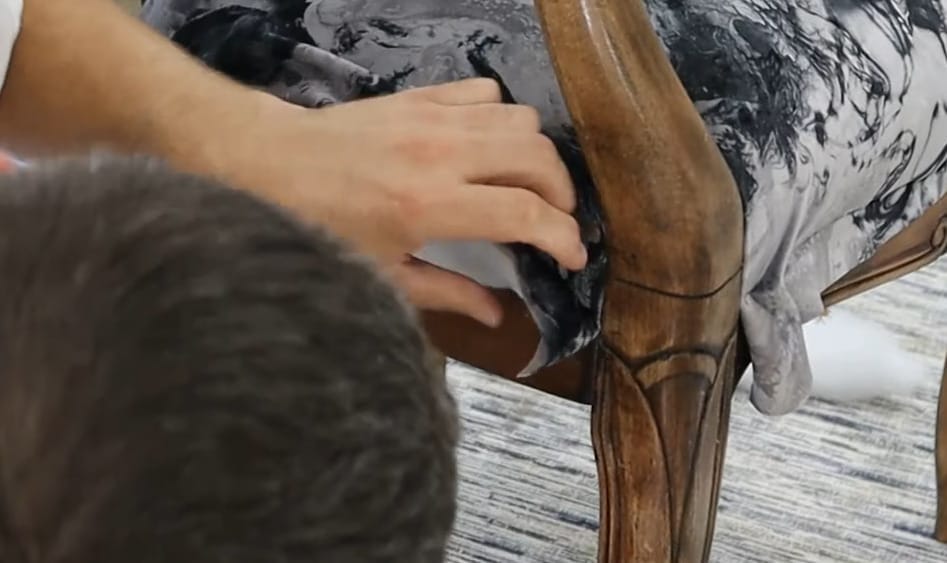
Step 4: Securing the fabric using staples or stitches
- Once everything’s in place, it’s time to secure that fabric. You can do this with a staple gun, or if you’re feeling particularly crafty, you could even sew it. Remember to pull the fabric tight as you go.
Step 5: Reattaching the upholstered seat to the stool frame

- Ensure the stool frame is clean and free from remnants. Align the upholstered seat with the frame and secure it using screws or bolts, ensuring a snug fit.
- Check for stability; the seat shouldn’t wobble or shift.
Finishing Touches
After all the stapling and sewing, it’s time to add the final touches to your upholstery project. This stage can be the most exciting part because it’s where your creativity truly shines.
Adding Decorative Elements if Desired
From buttons to tufting to piping, the choice is yours. Adding these elements can take your cushion or stool from ordinary to extraordinary!
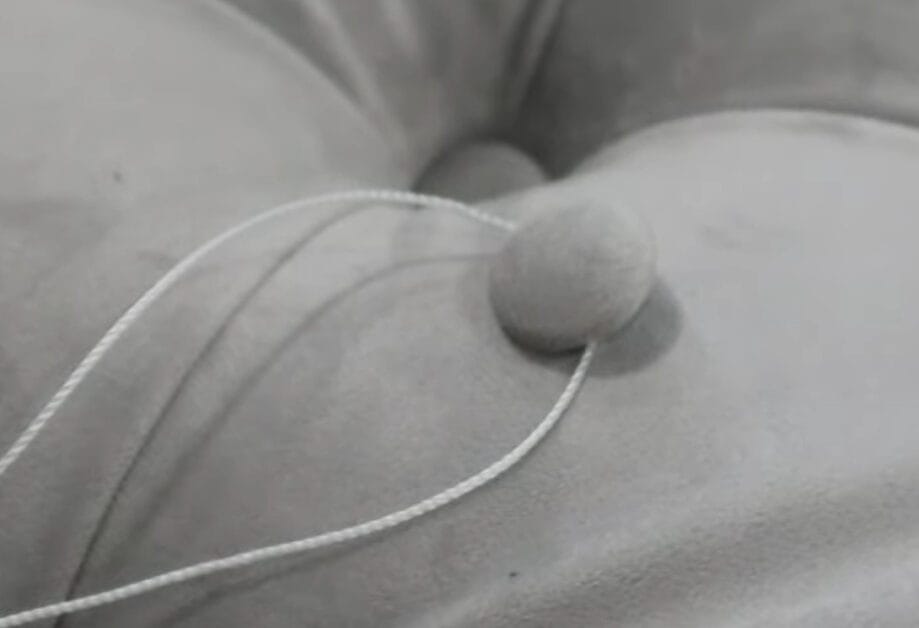
- Buttons are a fantastic way to add a bit of charm and character to your piece. They’re easy to attach and can be fun to introduce a pop of color or a unique design element.
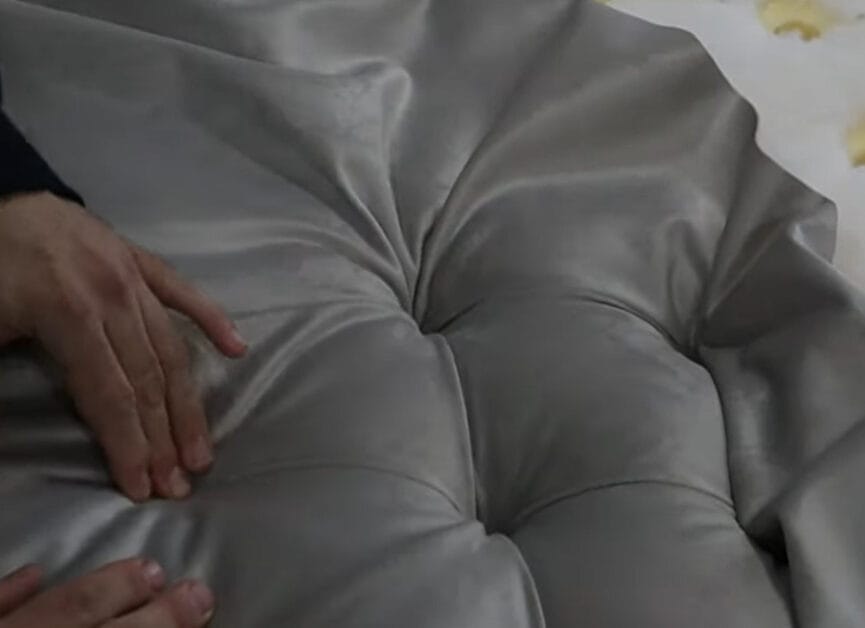
- Tufting is a bit more challenging but can elevate the look of your piece. It creates a plush, luxurious feel and can add depth and interest to your fabric.
- Piping provides a crisp, tailored finish. It defines the edges and adds a professional touch.
Remember, the key is to have fun with it!
Ensuring All Staples or Stitches are Hidden, and Fabric Edges are Neat
The last thing you want is for your hard work to be overshadowed by visible staples or untidy fabric edges. Here’s how to avoid that:
- Hide your Staples. This is crucial. Make sure they’re secured on the underside or in an area that’s not visible.
- Keep your Fabric Edges Neat. This might seem minor, but trust me, it makes a big difference. You can fold the edges for a cleaner look or use a trim to cover it up.
Remember, the devil’s in the details. Your cushion or stool will be a standout piece in your home, and you’ll be proud to say, “I made that!”
RELATED What is Upholstery?
Care and Maintenance

Now that you’ve learned how to breathe new life into your cushions and stools, it’s important to remember that the longevity of your upholstery project depends heavily on care and maintenance.
- Different fabrics require different care methods. For instance, canvas and denim may withstand machine washing, while leather requires special products for cleaning. Always refer to the fabric’s care instructions to avoid damage.
- Avoid sitting on your upholstered stool or cushion for extended periods. It may cause the padding to lose shape. Fluff and rotate your cushions regularly to maintain their comfort and prolong their life.
- Inspect your upholstered pieces regularly. Loose threads and popped staples or stitches can be fixed easily if caught early.
Taking the time to upholster your own cushion or stool can be a rewarding experience, and with proper care and maintenance, you’ll be able to enjoy your handiwork for years to come.
Frequently Asked Questions
- Can I Use Regular Needles for Upholstering?
- Regular needles might not cut it with thicker fabrics or paddings. Investing in upholstery needles is best – they’re designed for the heavy lifting!
- What If I Make a Mistake?
- Hey, we’ve all been there! If it’s a small error, see if you can work around it. Big mistake? Don’t sweat it; step back, evaluate, and redo if necessary. Remember, every mistake is a learning opportunity.
- Can I Upholster Other Furniture Pieces the Same Way?
- The basics remain the same, but each furniture piece has quirks. Once comfortable with cushions and stools, you can apply the same principles to more complex pieces, adjusting techniques as needed.
- How Long Does an Upholstery Project Typically Take?
- For beginners, a cushion or stool can take a few hours, especially if it’s your first rodeo. As you get the hang of it, you’ll find your groove and speed up. But remember, it’s not a race; quality matters.
- I’ve Got Kids and Pets. Any Fabric Recommendations?
- You bet! Look for “performance fabric” or “outdoor fabric.” They’re designed to resist stains, moisture, and wear. Also, darker colors or patterns can help hide the occasional spill.
- How Often Should I Re-Upholster Furniture?
- It depends on wear and tear. If a piece sees daily use, you might look at refreshing it every 5-7 years. But if it’s more about aesthetics and you fancy a change, go for it whenever inspiration strikes!
References
Websites Resources:
- Miss Mustard Seed. https://missmustardseed.com/five-upholstery-tips-for-beginners/
- DIY Upholstery Supply. https://www.diyupholsterysupply.com/
Video References:
Mark’s Upholstery
FaceLiftInteriors
Sailrite