6 min read
How to Wire Two Way Switch (7 Easy Steps)

Today, we dive into the world of two-way switches. This handy guide unravels the mystery behind wiring a two-way switch. It’s not rocket science; it’s just plain old physics and some elbow grease!
Quick Overview
| Step | Description |
|---|---|
| 1 | Turn off the power at the breaker box. |
| 2 | Prep wires, stripping 1/2 inch of insulation. |
| 3 | Connect one wire end to one switch terminal. |
| 4 | Connect the other end to a light fixture. |
| 5 | Connect the second wire between the remaining terminal & another device. |
| 6 | Secure with a screwdriver. |
| 7 | Turn on the power and test. |
So, let’s roll up our sleeves and get down to business.
Tools and Materials Needed for the Job
Alright, let’s dig into this! First, we’ve got to talk about the tools you’ll need. Most of these items are probably already lurking in your toolbox!
| Tool | Purpose |
|---|---|
| Screwdrivers | Both flathead and Phillips screwdrivers are needed for the job. |
| Wire Strippers | Used to prep and strip wires. |
| Voltage Tester | Ensures no current in wires for safety before working on them. |
| Pliers | Useful for twisting and turning tasks. |
Moving onto materials now; let me tell you, there’s nothing too fancy about our list here:
| Item |
|---|
| Two-way switches |
| Electrical wire: typically red, black, white, green, or bare copper |
| Wire nuts |
| Electrical tape |
This is just a friendly reminder that every home is unique, so your needs might vary slightly from my list above.
Well, we’re ready to rock ‘n’ roll! In our next section, we’ll dive into step-by-step instructions on wiring a two-way switch!
RELATED What Does a CDI Box Do? (Guide)
Step-by-Step Guide to Wiring a Two-Way Switch
Alright, so let’s break down the process.
Step 1. Turn off the power. I can’t stress this enough – safety first! Before messing around with wires, ensure the electricity is turned off at the breaker box.
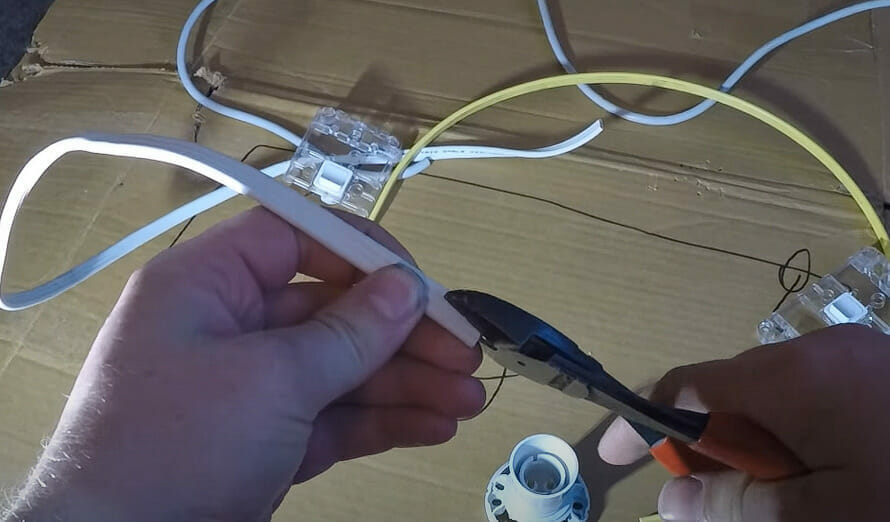
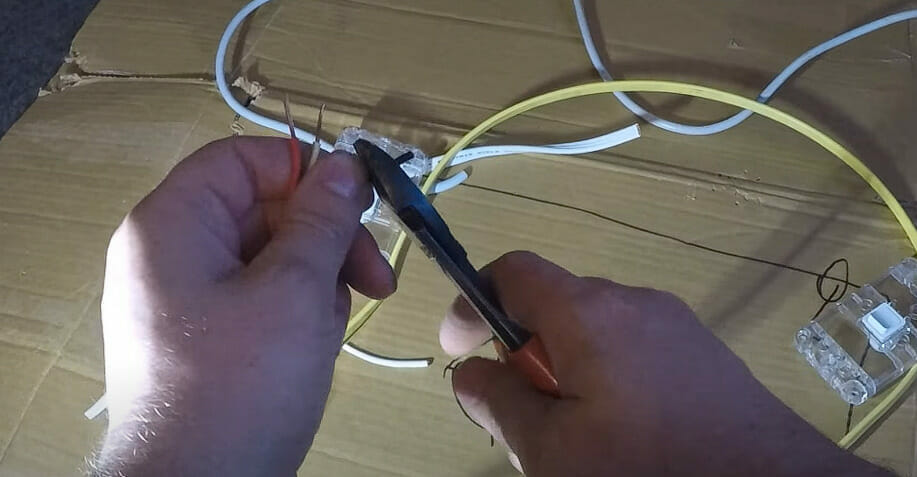
Step 2. Next up is prepping our wires. Using your wire stripper (or if you’re an old hand at this, a simple pocket knife will do), strip about 1/2 inch of insulation from each end of your electrical wire.
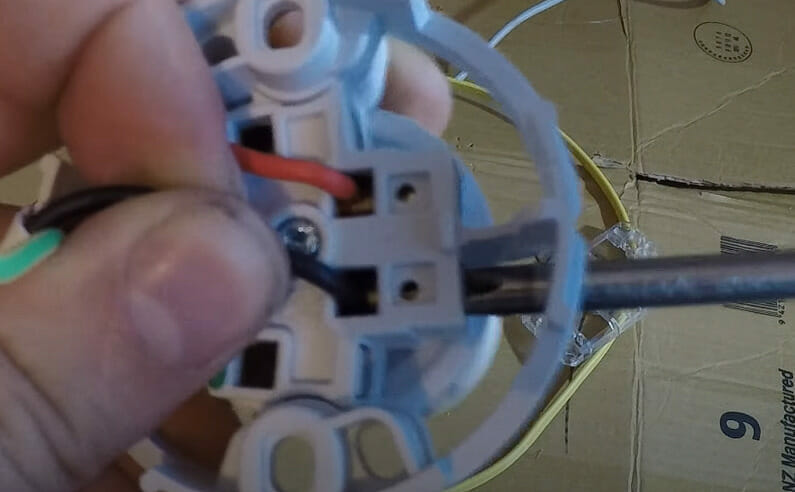
Step 3. Now, here comes the fun part: connecting wires to the switch! Take one stripped end and connect it to one terminal on your two-way switch – it doesn’t matter which one for now.
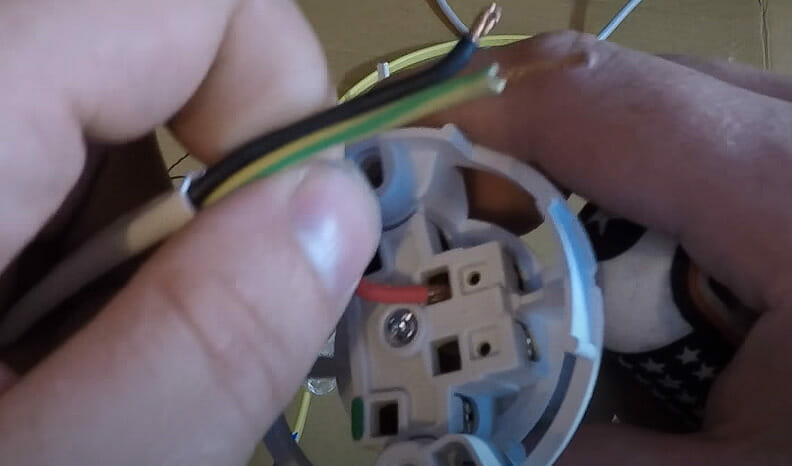
Step 4. The other end of that same wire connects back to your light fixture or another electrical device.
Step 5. Your second wire will then connect between the remaining terminal on your two-way switch and another electric device or outlet.
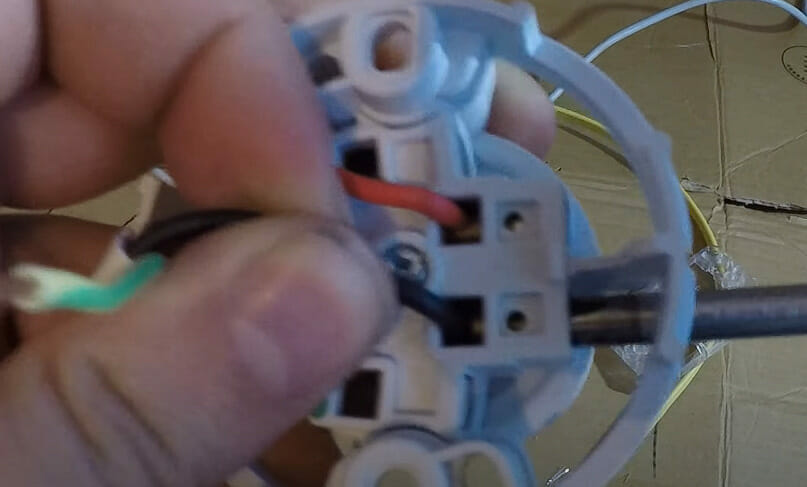
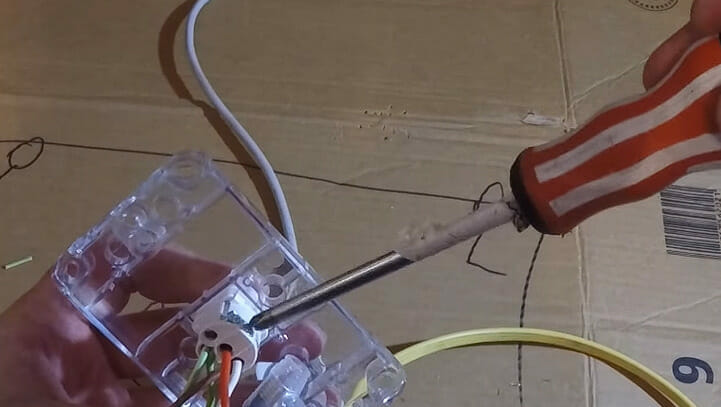
Step 6. With both wires connected properly, screw everything securely in place using your trusty screwdriver!
Step 7. Finally – turn back on the power at the breaker box and give yourself a pat on the back because… Voila! You’ve just successfully wired a two-way switch!
Remember – practice makes perfect! No sweat if it doesn’t work out right on your first try! Simply retrace these steps until you get everything working smoothly.
So there you have it – all wrapped up in seven simple steps for wiring two-way switches like a pro!
Common Mistakes to Avoid When Wiring
So you’re almost done with your two-way switch wiring project. But before you finish, let’s take a moment and talk about some common mistakes people often make while wiring.
I’ll help you steer clear of these pitfalls!
First off, never skip the power-off step. It might seem like a no-brainer but trust me; it’s easy to get caught up in the excitement of a new project and forget this crucial safety measure.
Next up on our list is using the wrong wire size. This could lead to overheating or, worse, fires! Always check what gauge of wire is appropriate for your specific requirements.
Another biggie is ignoring color coding. Those colors aren’t just for show – they’re there to guide us through the process. So don’t play guessing games with them; always consider what each color signifies.
While we’re at it, here’s another piece of advice – don’t rush! Take time to understand each step and move forward only when you know your actions.
Remember, getting it right is more important than getting it done quickly. Stay safe and happy wiring!
References
Organizations:
- National Fire Protection Association (NFPA). http://www.nfpa.org/
Websites:
- The Spruce. https://www.thespruce.com/
- Electrical Safety Foundation International (ESFI). https://www.esfi.org/
Video References:
sparkydave