7 min read
How to Wire an Electric Choke
This article will teach you to wire an electric choke.
The electric choke, which manages a cold engine startup, is normally controlled by rotating its cap, which contains a heating element. You may sometimes find that it needs to be rewired to work properly. If you’re unsure how to do this, you’ve come to the right place.
You will see two terminals on the electric choke’s cap. Attach the spade end of the red wire to the positive terminal and the same for the black wire to the negative terminal. The other end of the red wire has to be connected to a 12-volt power source, and the black wire to a ground source.
I will also teach you how to adjust the electric choke because you might need to adjust it.
Wiring an Electric Choke
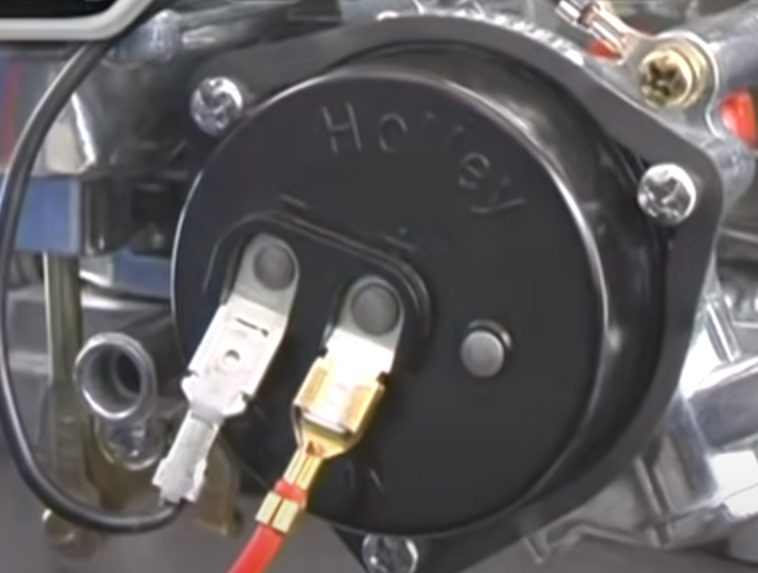
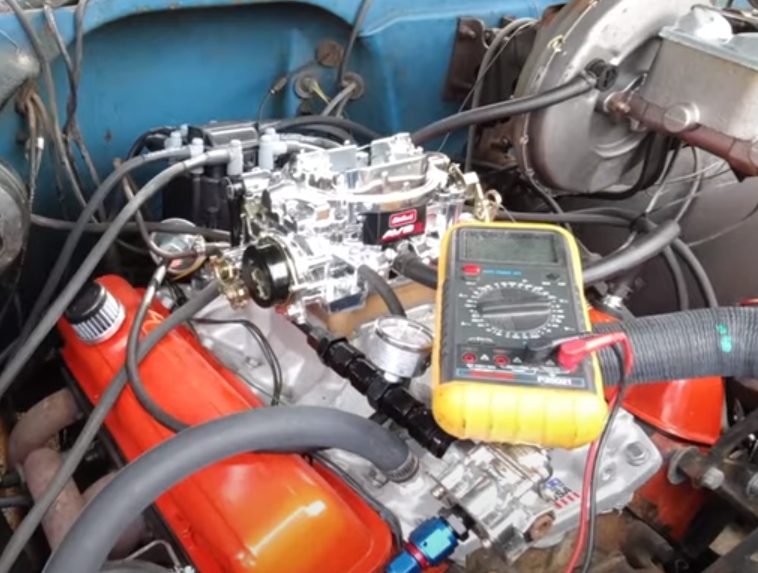
You will see two terminals on the cap of the electric choke, one marked positive, and one marked negative (see the picture below).
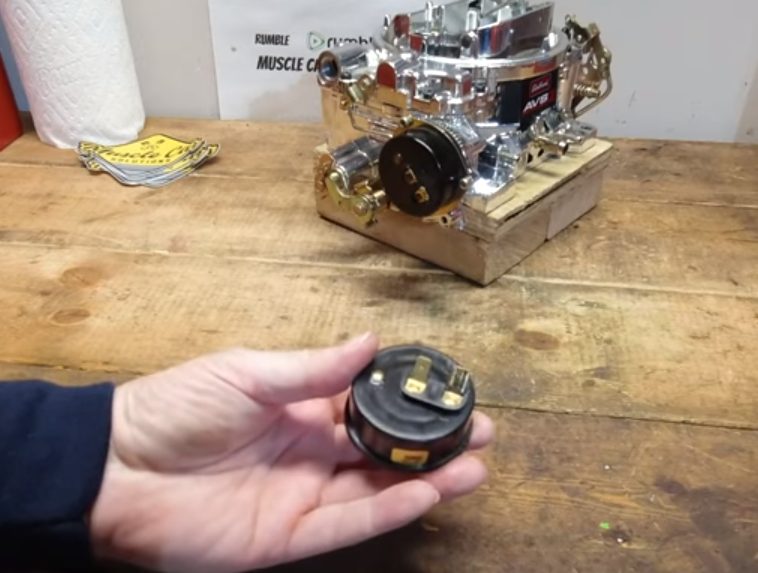
You will need two electrical wires. Normally, one red and one black wire are used. Also, they will have spade connectors at one end, which will be attached to the choke, and ring connectors at the other.
The Positive Terminal Wire (Source)
Attach the spade end of the electrical power lead to the choke cap’s positive terminal and the other end to a 12-volt source activated by the ignition.
Suitable (ignition-activated) 12-volt sources are windshield wipers, electrical relays, and leads to electrical accessories. If unsure of the voltage level, you can always use a multimeter or voltmeter to check.
| Warning: Note that the voltage of the ignition coil’s distributor side will be between 7 and 9 volts (after cranking), so you cannot use this as the source. So don’t connect the cap to the ignition or ignition coil. If you do this by mistake, the low voltage will likely cause poor choke operation, fuel economy, and possibly engine misfiring. |
The Negative Terminal Wire (Grounding)
A ground wire must be attached from the intake manifold to a ground source.
Attach the spade end to the choke cap’s negative terminal and the other ring end to the manifold.
| Warning: The surface chosen for grounding should not be anodized because it is not a good electrical conductor, so it will not provide proper ground. |
When you have connected the two wires, it should look somewhat like the picture below.
- The spade end of the red wire is connected to the choke cap’s positive terminal and its other end to a 12-volt source.
- The spade end of the black wire is connected to the choke cap’s negative terminal and its other end to a ground source.
Adjusting an Electric Choke
Even if you’ve wired the electric choke properly, as guided above, you may find that you will need to adjust it as well to ensure it works as designed.
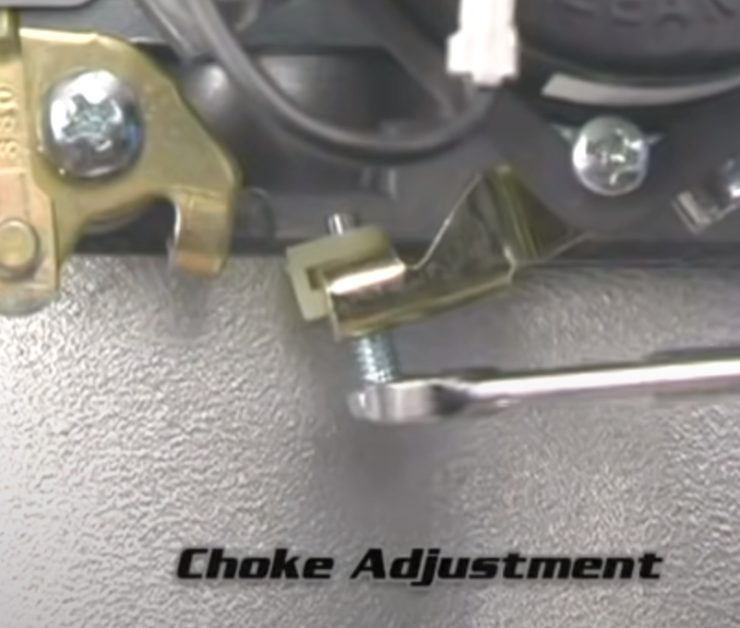
In particular, you will need to adjust its timing to open at the right moment.
The Choke’s Timing
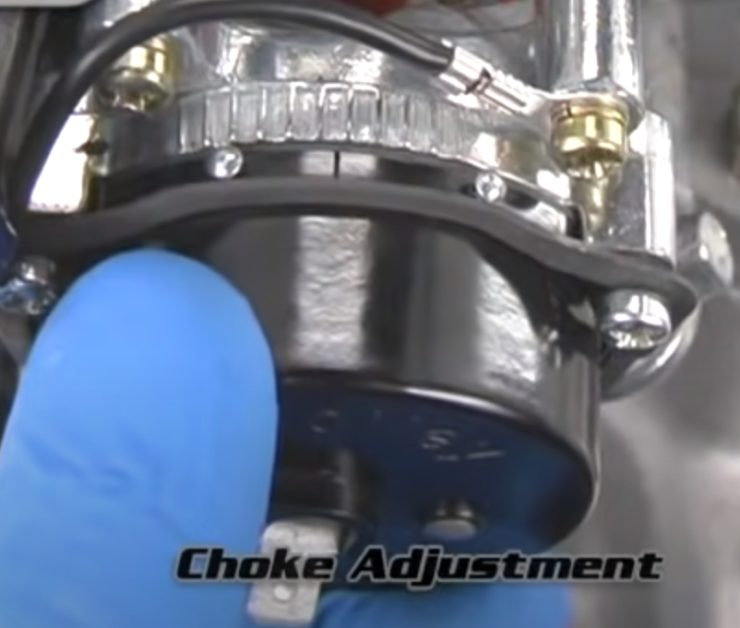
Check whether the choke is opening in a timely way, too soon, or too late.
How can you tell whether the choke comes off too soon or too late? You can tell this by noting certain symptoms:
- Symptoms if it comes off too soon: stalling, stumbling, backfiring, surging, poor driveability (when cold)
- Symptoms if it comes off too late: Misses, poor gas mileage, black smoke from the tailpipe, poor driveability (when cold)
| Warning: Note that “poor driveability (when cold)” is a common symptom in both cases, so look for other symptoms. |
If it opens too soon, you may find cold starting difficult. If this is the case, loosen the three locking screws on the choke cap and rotate it counter-clockwise. Only do this one notch at a time until you are satisfied with the choke’s timing.
If you’ve gone too far and the choke comes off too late, reverse by rotating the cap clockwise a little until it opens at the right moment.
Not Happy With Its Operation Yet?
After wiring the electric choke properly and adjusting its timing, you can do a few more things if you are not happy with its operation yet.
- Recheck the red wire you connected to the choke cap’s positive terminal. Using a voltmeter, check that the source is approximately 12 volts. If you’re not getting a reading, the wire may be faulty, so try again with another wire.
- Check the RPM. The factory-set value is usually between 1500 and 1600. Check the vehicle owner’s manual if unsure of the exact value. If the RPM at idle is too high or too low, turn the engine off and open the throttle to uncover the screw below the choke’s housing. Using a wrench, turn this screw clockwise if you need to increase the RPM or anti-clockwise if you need to reduce it.
| Warning: Make sure you’ve plugged in all the vacuum ports while doing this check. |
After this adjustment, return the throttle to the fast idle position before restarting the engine. Recheck the RPM value until you get the required value or the desired result.
The Electric Choke
Electric chokes normally offer two adjustment possibilities.
They have a center pointer; you will also notice index marks on their mounting and the thermostatic caps.
The heating element inside the choke cap is bimetallic. So it curls according to the temperature when the ignition key is switched on, opening the choke. Timing is important here because if, for instance, it opens sooner than it is supposed to, it could cause difficulty in cold starting.
Video References
Muscle Car Solutions
Holley