7 min read
How to Wire a Smoke Detector (Simple Steps Explained)

Wiring a smoke detector may initially seem overwhelming, but trust me; it’s easier than you think! With just a few tools and patience, you’ll have a functioning smoke detector in no time.
Key steps for installation include:
| Step | Description |
|---|---|
| 1 | Gather necessary tools: stud finder, drywall saw, drill, ladder, screwdriver, level, and voltage tester. |
| 2 | Pick an optimal location away from drafts or vents. |
| 3 | Turn off the power for safety. |
| 4 | Prepare the installation spot using a stud finder and cutting/drilling where required. |
| 5 | For wiring: Identify the home’s black (live), white (neutral), and ground wires. |
| 6 | Strip wires, connect corresponding colors, and secure with wire nuts. |
| 7 | Turn the power back on after the wiring is completed. |
Don’t worry—I’ll walk you through the process step-by-step. Let’s get started and make your home a safer place!
Preparation for Installation
Installing a smoke detector is an essential part of keeping your home safe. Before you start, gather all the necessary tools and materials for the job. Trust me; it makes the process so much smoother.
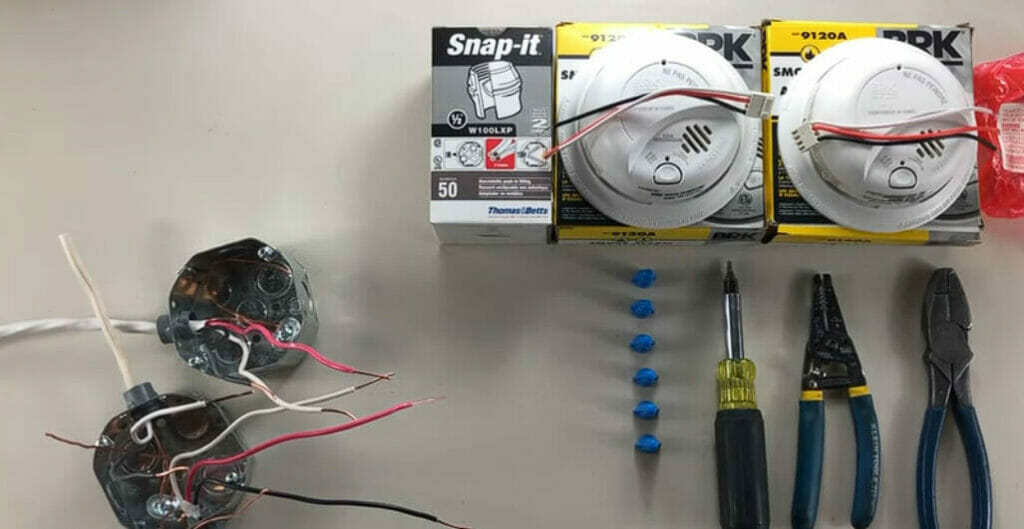
Here are some basic tools you’ll need:
| Tool | Purpose |
|---|---|
| Stud Finder | Locate studs or joists in the ceiling or wall |
| Drywall Saw | Cut out holes if necessary |
| Drill | Create holes for screws or anchors |
| Ladder | Provide easy access to the installation area |
| Screwdriver | Essential tool for various tasks |
| Level | Ensure the smoke detector is installed straight |
| Voltage Tester | Ensure safety while working with electrical wiring |
Before starting the installation, ensure you’ve got the right instructions for your specific smoke detector model. They should be included in the package; if not, check the manufacturer’s website.
Once you’ve got your tools, materials, and instructions in hand, you’re ready to begin. Follow these steps to prepare for installation:
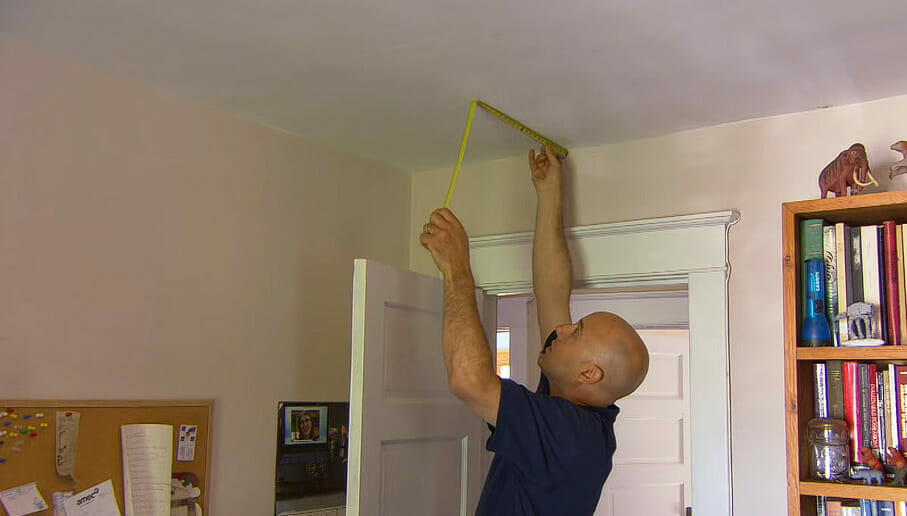
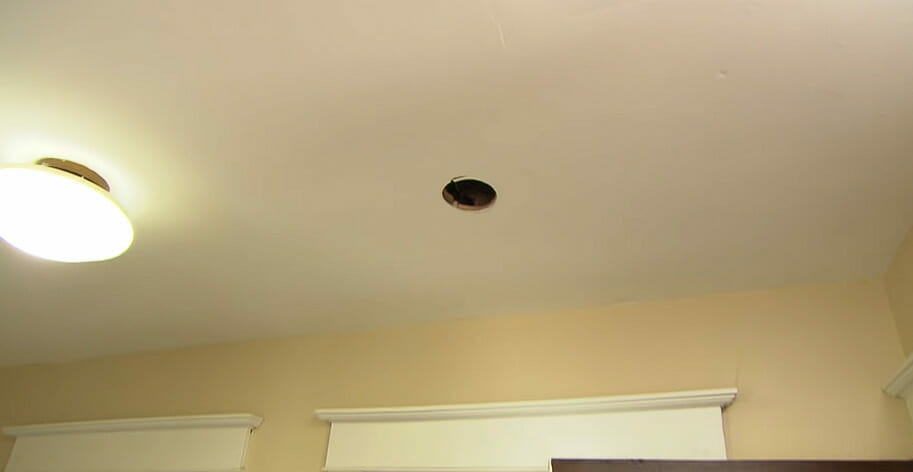
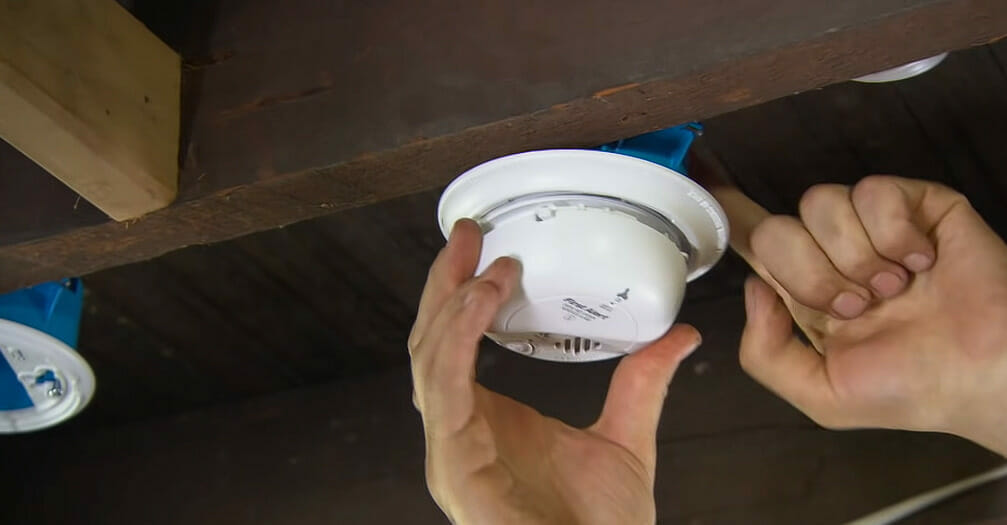
Step 1. Choose the Location: Pick a spot on the ceiling or high up on a wall, ideally in the center of a room or hallway, away from drafts or vents.
Step 2. Turn off the Power: If you’re installing a hardwired smoke detector, switch off the breaker supplying electricity to the area where you’re working. Double-check the power is off with the voltage tester.
Step 3. Use the Stud Finder: Find the closest stud or joist in the ceiling or wall to anchor your smoke detector. Mark it with a tape or pencil.
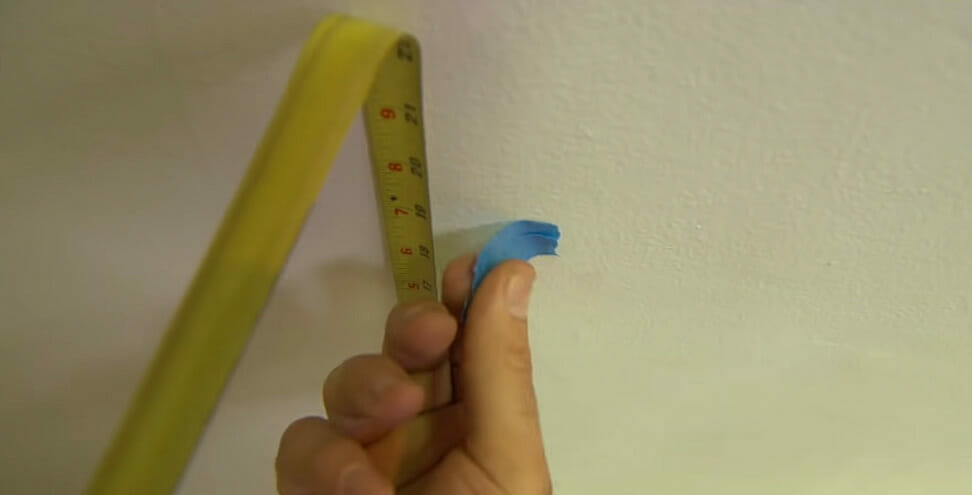
Step 4. Cut a Hole: If you need to cut a hole in your smoke detector, use the drywall saw and be careful not to damage any wiring or pipes behind the wall.
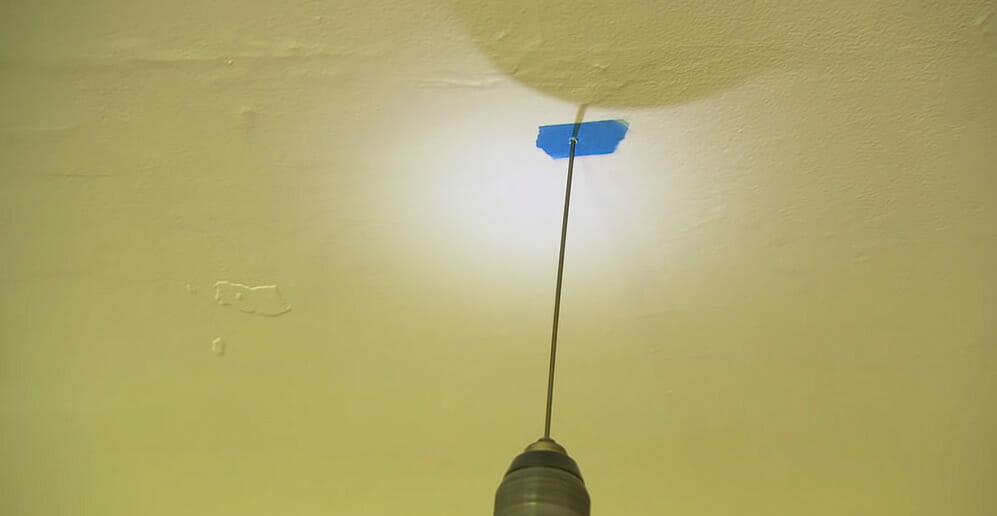
Step 5. Drill Holes: Per your smoke detector’s instructions, drill holes for screws or anchors.
Now you’re all set to install your smoke detector!
Wiring the Smoke Detector
Now, grab your wire stripper, and let’s get started. You’ll connect three main wires: black (live), white (neutral), and a ground wire. These are typically found in a 14/2 cable.
Step 1. Identify the wires coming from your home’s electrical box. You’ll typically find three types: a black wire (live), a white wire (neutral), and a ground wire (usually green or bare copper). Keep an eye on these colors, which will be important when connecting everything.
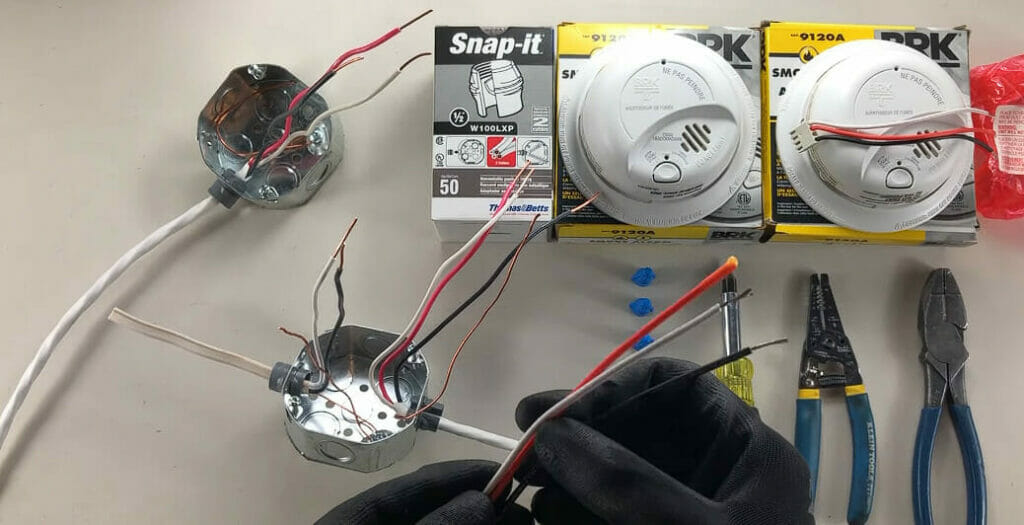
Step 2. Take your wire stripper and carefully strip around half an inch of insulation off the ends of the wires. This will expose the copper wires underneath, allowing for a secure connection.
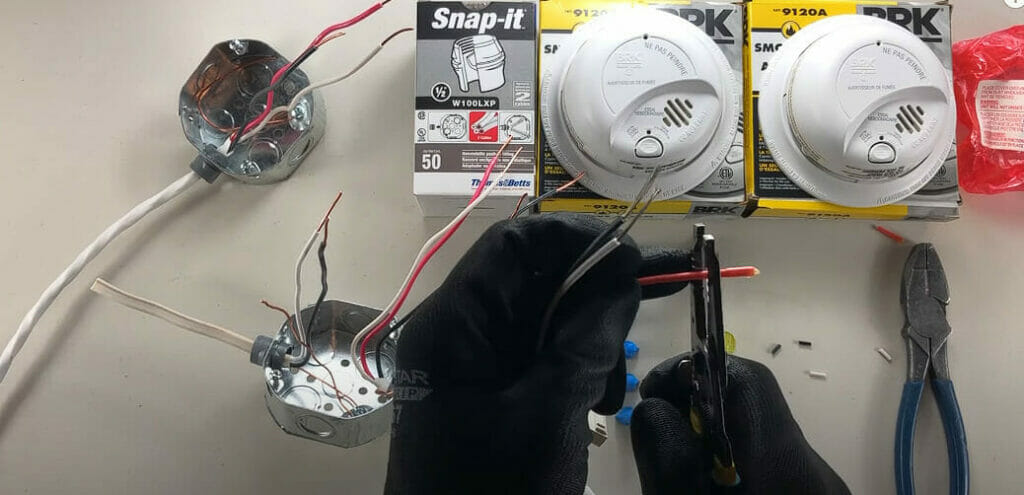
Step 3. Now, let’s look at the wires coming from your smoke detector. These will usually be color-coded, with a red wire for communication between multiple detectors. For single detectors, focus on connecting the black and white wires.
Step 4. Time to make some connections! First, connect the black wires from the electrical box to the smoke detector using a connector. Then, do the same for the white wires. Finally, connect the ground wire from the electrical box to the smoke detector’s ground wire. Secure all the connections with wire nuts to ensure they stay in place.

With all our connections made, securing the smoke detector to the base and flipping the power back on is just a matter of securing it to the base.
Congratulations, you’ve successfully wired your smoke detector! Isn’t that an awesome feeling? Remember, safety comes first, and happy wiring!
References
Organizations:
- National Fire Protection Association (NFPA). http://www.nfpa.org/
Websites:
- This Old House. https://www.thisoldhouse.com/
Video References:
The BeefMaster
The Electrical Guide
This Old House