8 min read
How to Wire Smoke Alarm to Lighting Circuit?
If you plan to wire a smoke alarm to a lighting circuit, here is a guide that can help you.
Depending solely on the smoke detector battery is an invitation to home safety issues. That is why I always recommend my clients hardwire smoke detectors to their home electrical systems. I’ll teach you how to hardwire a smoke alarm to a lighting circuit in this guide. This is the easiest and safest way to wire a smoke detector.
In general, to wire smoke detector to lighting circuit:
- Choose the perfect location for a smoke detector.
- Turn off the circuit breaker.
- Cut a hole in the ceiling.
- Fish the wires to the hole.
- Install the electrical box.
- Complete the wiring part.
- Install the smoke detector.
- Test the detector for confirmation.
Read the below guide for more details.
8 Simple Steps to Wire Smoke Alarm to Lighting Circuit

Things You’ll Need
- Smoke detector
- Stud finder
- Insulation tape
- 14 gauge wires
- Wire stripper
- Measuring tape
- Fish tape
- Drill machine
- Hole saw
- Plastic shroud
- Electrical box for the detector
- Safety glasses
- Screwdriver
- Few wire nuts
Step 1 – Choose a Location for the Detector
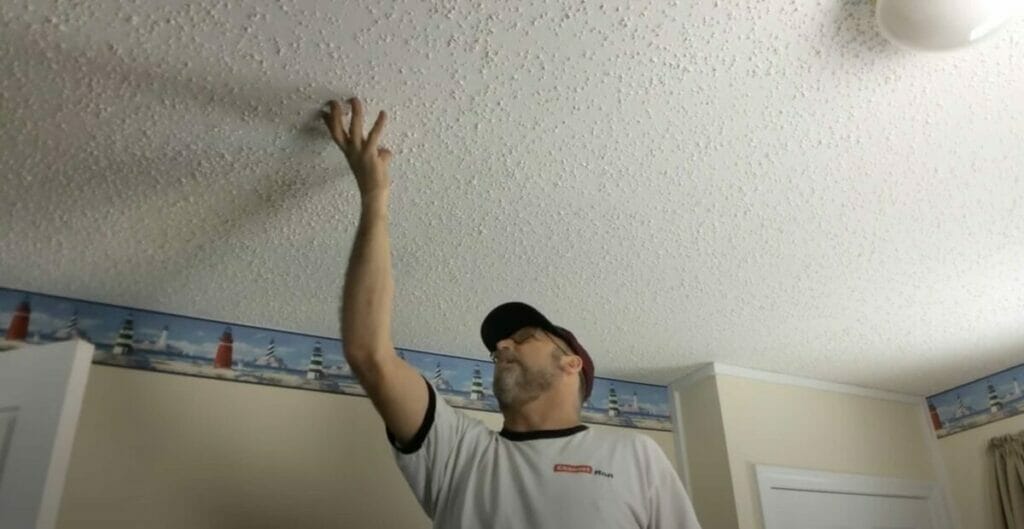
First and foremost, you should choose a perfect location for the smoke alarm. You are doing quite a bit of drilling during this process. Hence, finding the right spot is crucial.
Take a stud finder and check the ceiling studs as the first step. And find the spot that stud free and perfect for smoke alarms. Remember this step is vital, and damaging ceiling studs can lead to disastrous outcomes.
After choosing a spot, mark the spot with some insulation tape.
Step 2 – Turn off the Power
Then, choose the circuit you plan to connect to the smoke detector. As you already know, we are connecting the detector to the lighting circuit. This means connecting the detector to a light switch or light bulb. Hence, identify the corresponding circuit and cut off the power.
Or you can always turn off the main circuit breaker of your panel. Either way, never start the wiring process while the wires are active.
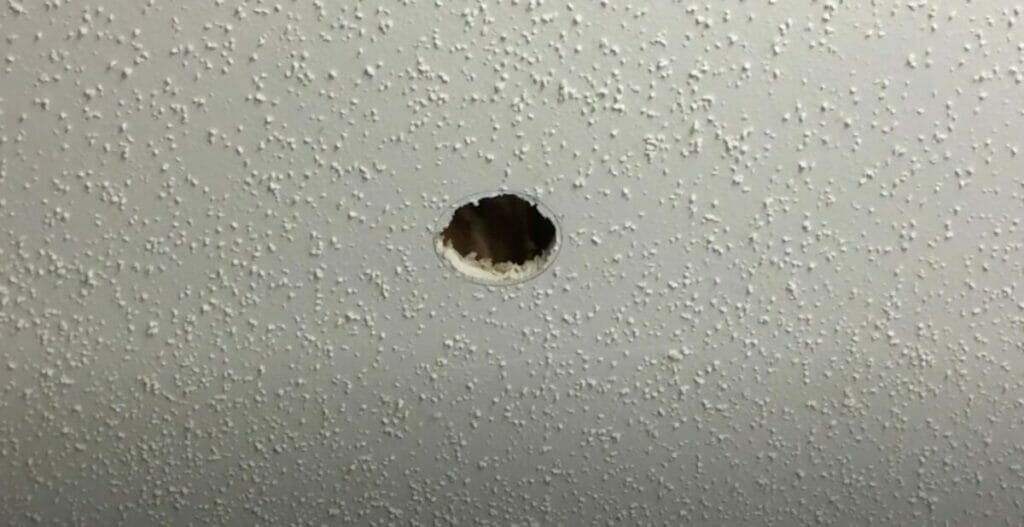
Step 3 – Cut a Hole for the Detector
Next, take the drill and connect the hole saw to it. For this demonstration, I’m using a plastic shroud. This item will keep the dust and debris contained during the hole-cutting process. The object will protect your eyes and face since you are cutting a hole in the ceiling. But remember to wear the safety glasses for more protection.
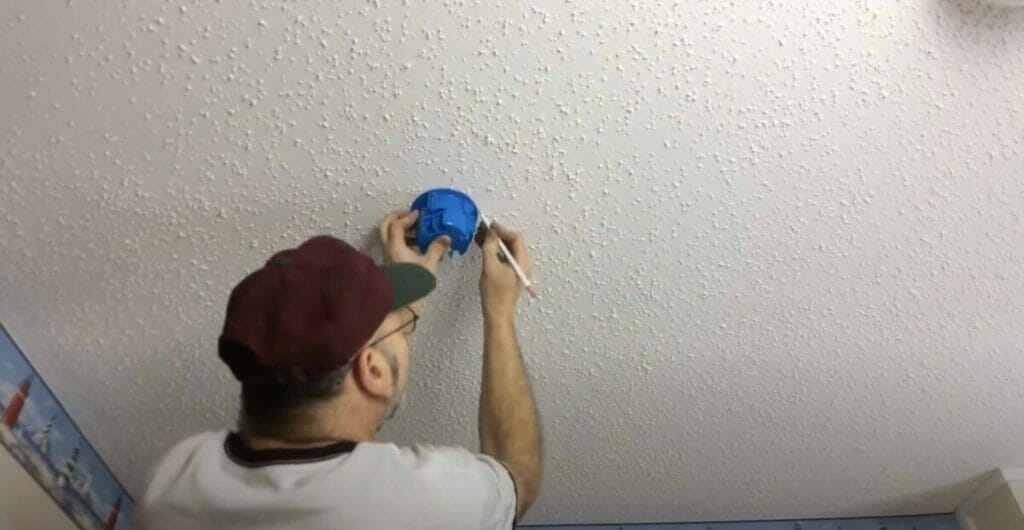
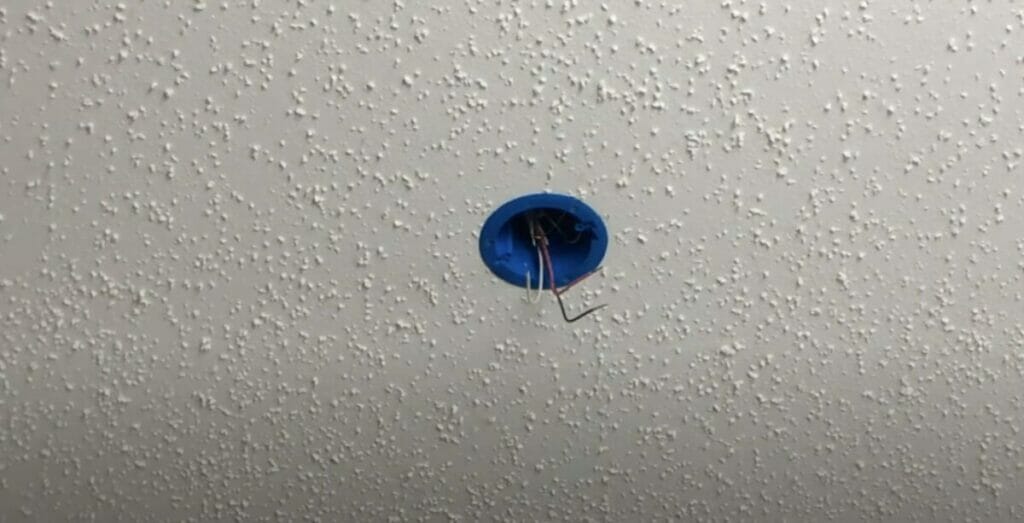
After assembling the drill machine, cut a hole in the ceiling (in the previously marked position). Make sure to compare the sizes of the electrical box, and hole saw before cutting.

Step 4 – Fish the Wires
Now, find the nearest light bulb or light switch to which you will connect the smoke detector wires. I’m using a light switch as my power supply point for this demonstration.

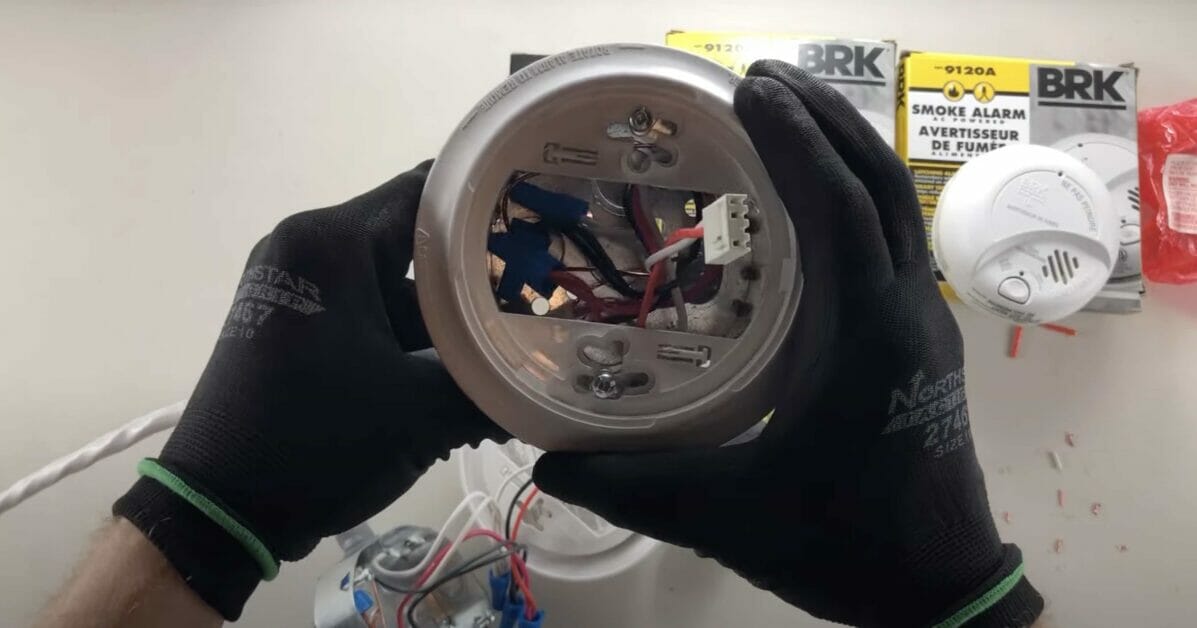
Take the 14 gauge wire and run it from the light switch to the ceiling hole that you just created. Remember you’ll have to run 2 or 3 wires depending on the type of smoke alarm you use.
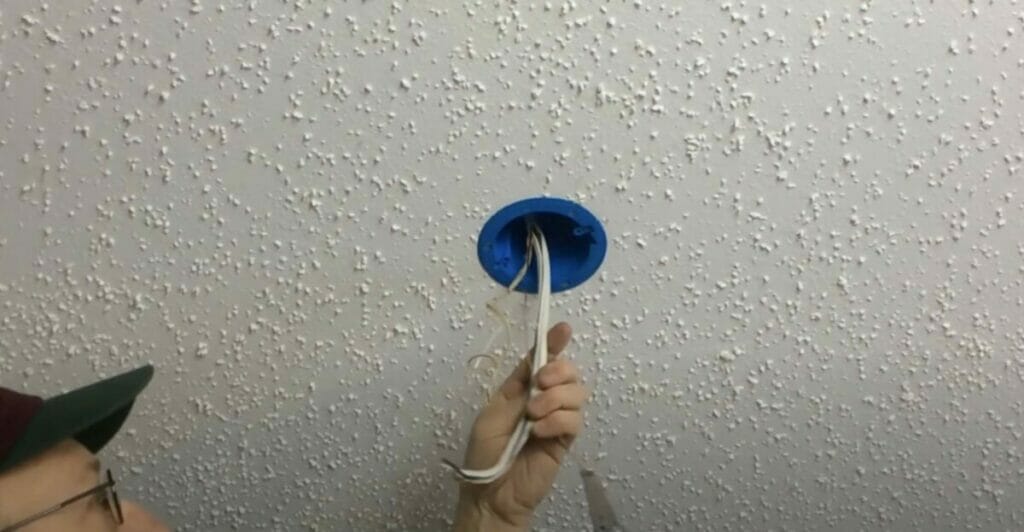
You’ll often find black(hot) and white(neutral) wires on smoke alarms. However, some alarms will come with 3rd red wire. This red wire is an interconnecting wire which connects with other smoke alarms in your house.
Step 5: Interconnecting the Wire
The above section taught you about the 3rd red wire that connects with other smoke alarms. But do you know the role of this 3rd wire? If not, here is a simple explanation.
Whenever you use an interconnecting wire, the other smoke alarms will beep after the 1st smoke alarm beep. This excellent safety feature can alert you anywhere in your home. For instance, when the kitchen smoke alarm goes off, the smoke alarm in your bedroom will also go off.
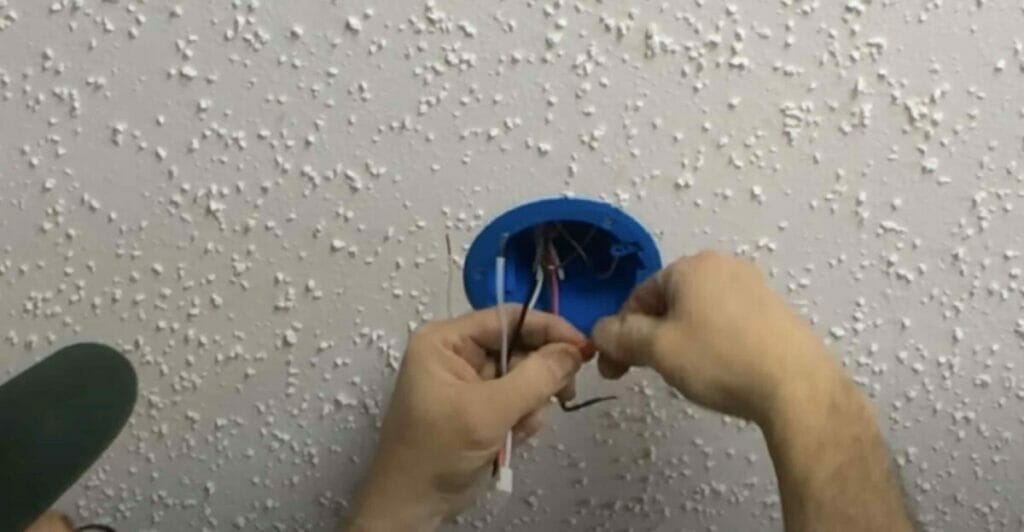
Step 6 – Complete the Wiring
First, connect the black wire to the gold screw of the light bulb or the switch. Then connect the white wire to the silver screw. Or directly connect the two wires to the corresponding circuit breaker.
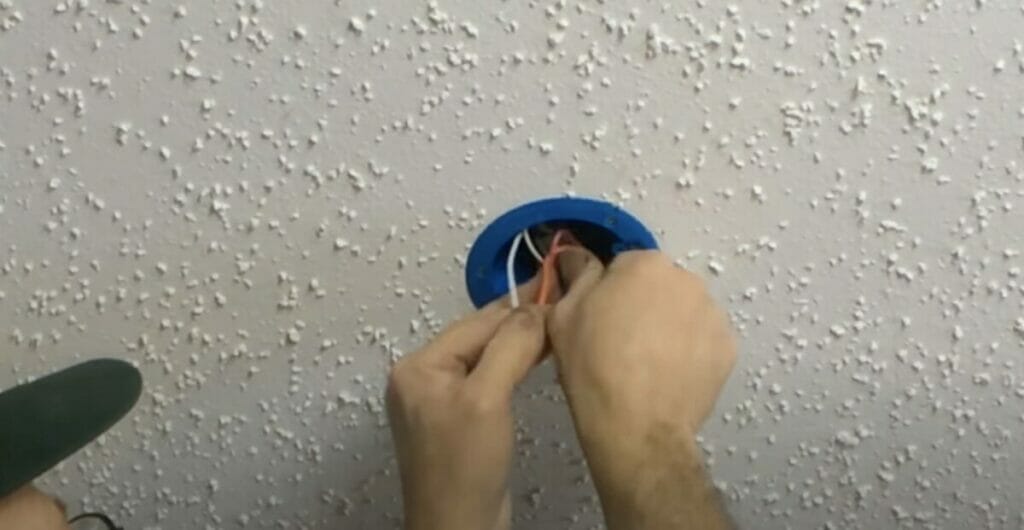
After that, take the smoke detector and connect its black wires to the power supply black wire (the other end connects to the light circuit). Do the same with the two white wires.
Note: Use the wire nuts for every connection. It will make the wire connection more reliable.
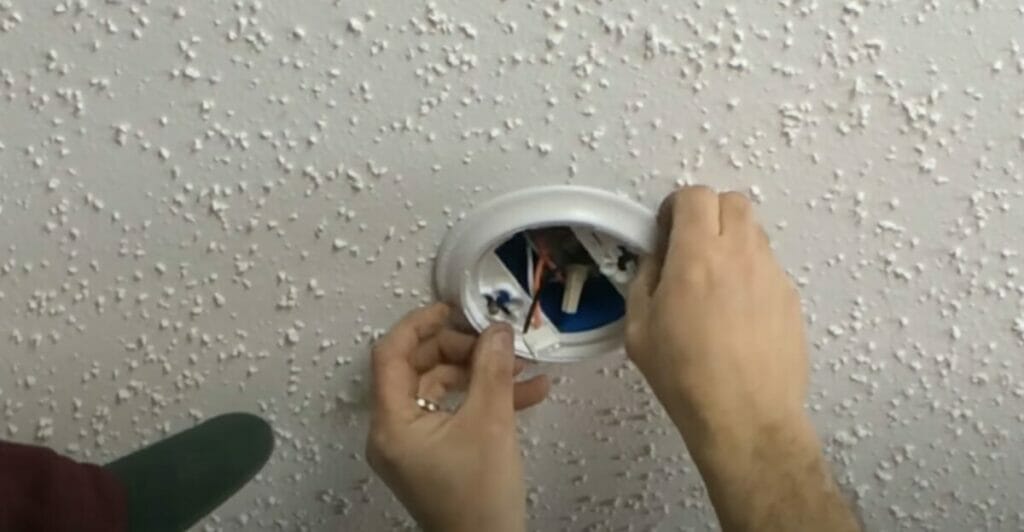
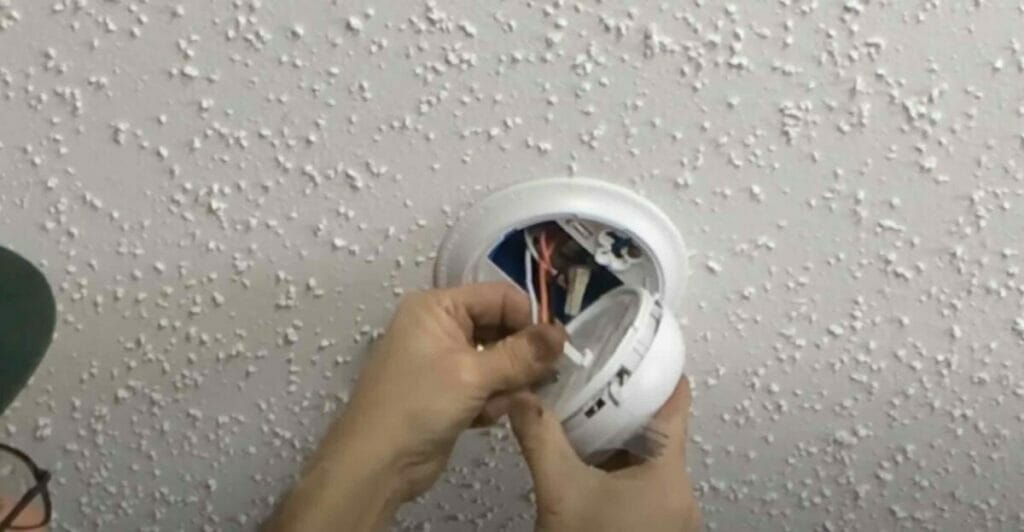
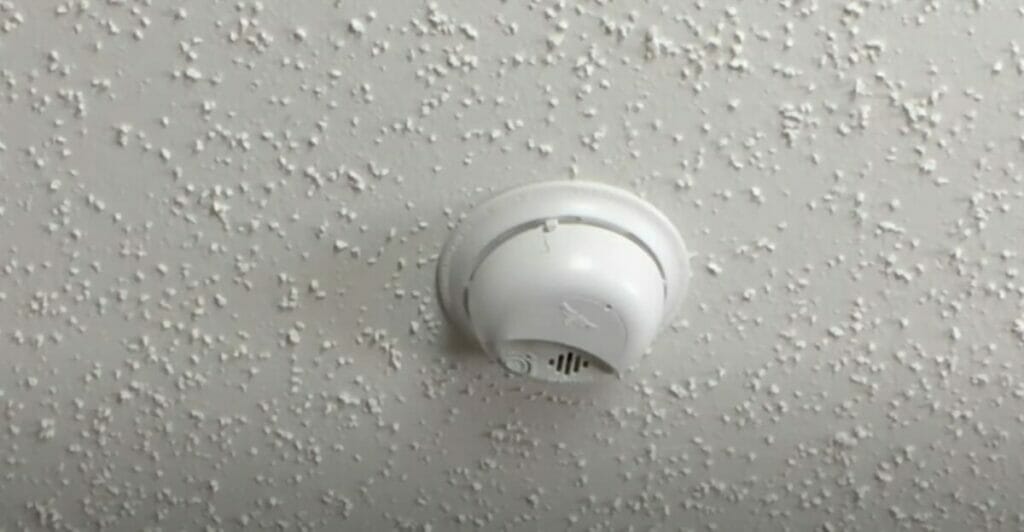
Step 7 – Install the Smoke Detector
Now it is time to install the smoke detector. But remember to push all the wires inside the ceiling hole first. Then place the smoke detector and twist it on the mounting plate.
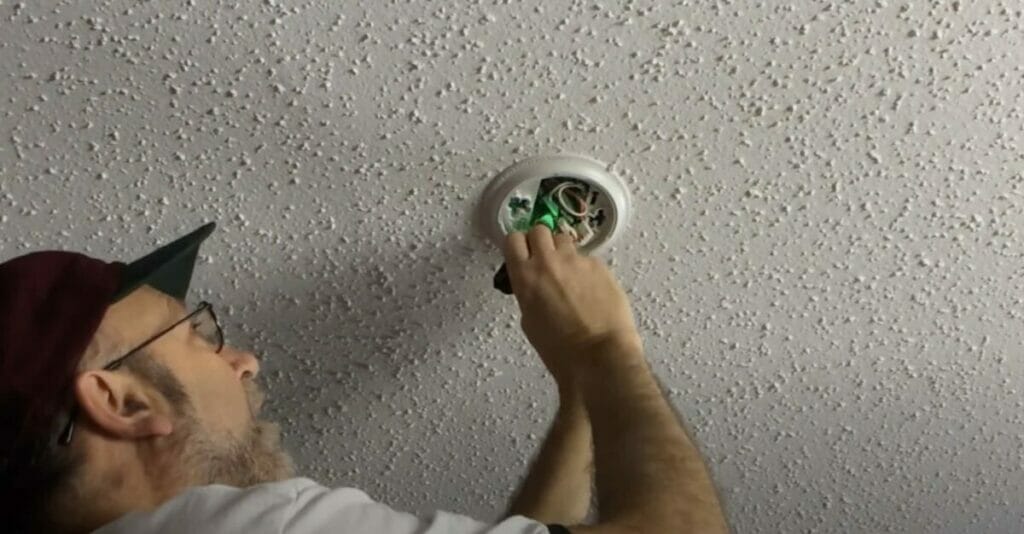
Step 8 – Test the Smoke Detector
Finally, push the test button on the smoke detector to test it. Or use a small can of smoke and release the smoke toward the detector. Either way, you’ll hear a loud beep if you wire the smoke detector correctly.

What is Hardwiring?
Hardwired smoke alarms come with two options for power supply. They have a backup battery and can be connected to your home electrical system. Because of that, your home is now more secure than ever.
References
Video References
The Electrical Guide
Channel Ron