5 min read
How to Wire a Push Button Start Straight from the Starter (12 Steps)
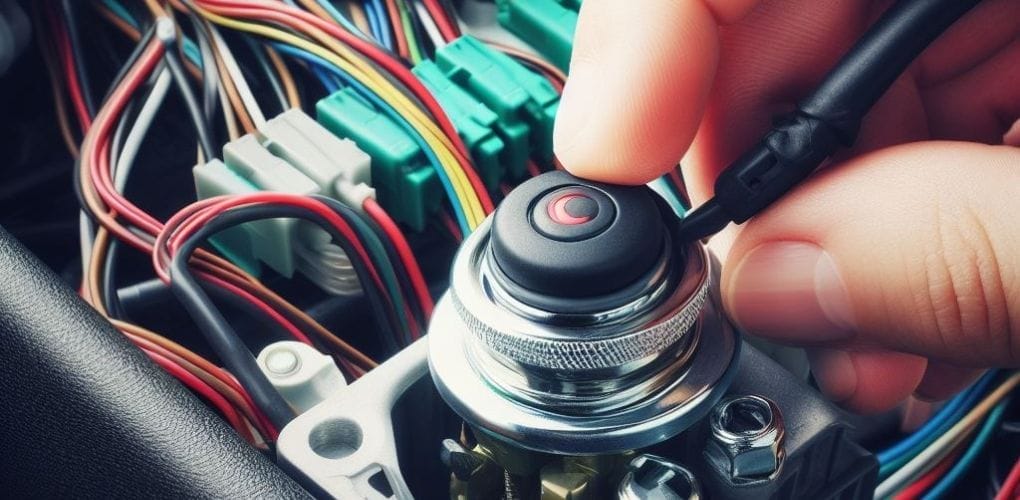
A push button straight from the starter can provide a convenient way to start the engine.
It usually also has the benefit of being waterproof and oil-proof. The low cost and being small and lightweight are more reasons to wire one. If you’re unsure how to wire it, this article will show how to do it step by step.
When wiring a push button straight from the starter, run and connect a wire:
- From the push button switch to the solenoid,
- From the push button switch to the battery,
- From the battery to the fuse holder.
Continue reading below for more detailed instructions.
Getting Started
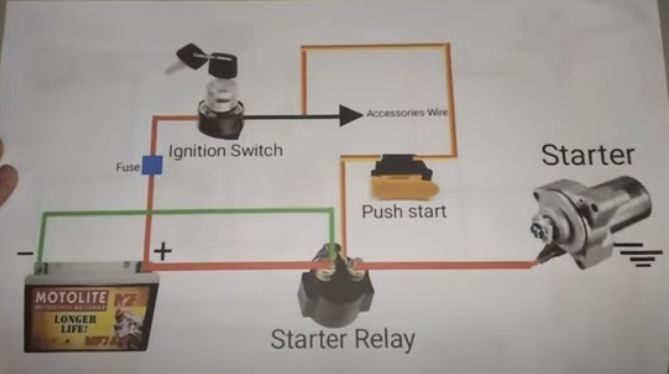
Wiring Diagram
There isn’t a standard method for wiring a push button from the starter because there are different types of starter switches, and the wiring is not universal.
However, the wiring diagram below should work in most cases.
Material Requirements
You will need the following parts and components for this project:
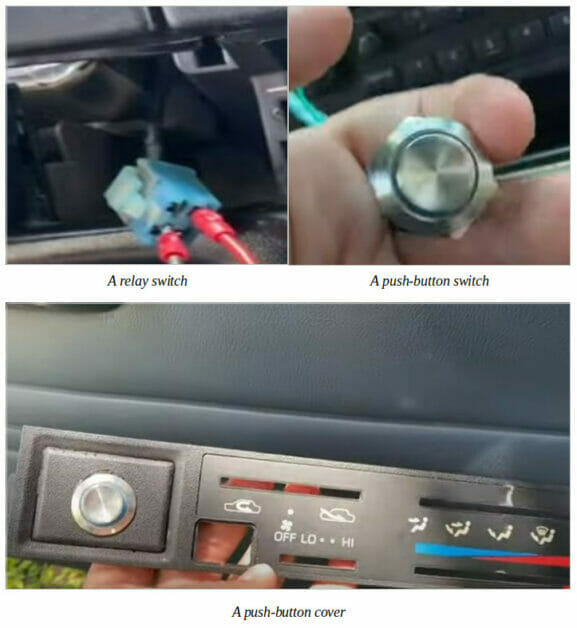
- An SPDT (Single Pole Double Throw) relay (or SPST)
- An SPST (Single Pole Single Throw) toggle or button switch
- A momentary switch, normally open (button or toggle)
- A push-button cover
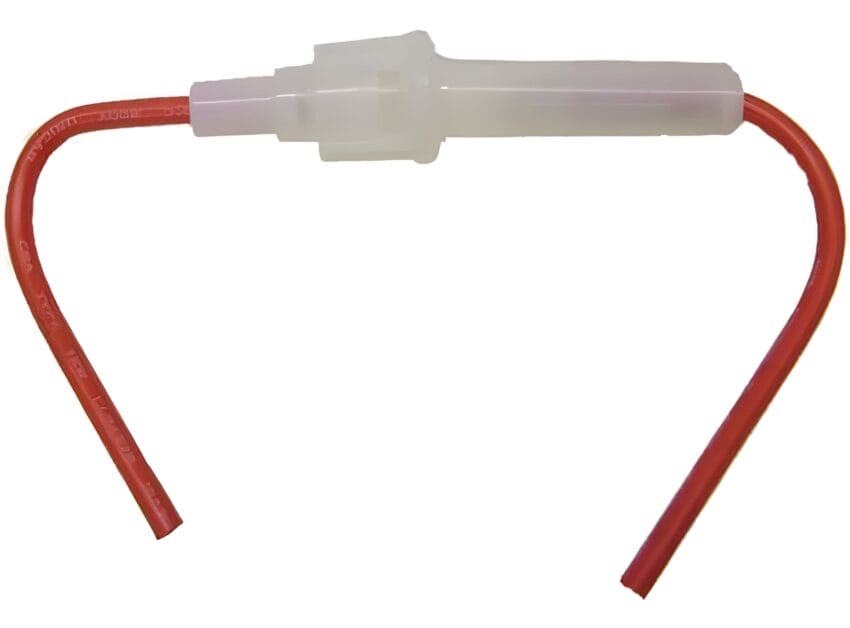
- An inline fuse holder
Additionally, you will need the following tools and materials:
- Screwdriver
- Wire (18-gauge should suffice)
- Wire cutter
- Wire stripper
- Soldering iron
- Wire terminals
Wiring a Push Button from the Starter
Follow the procedural steps below to wire a push button from the starter:
Step 1: Connect a Memory Saver (Optional)
Connect a memory save to the battery cables or 12-volt outlet and disconnect the negative cable from the battery.
Step 2: Open the Dashboard
Open the dashboard and choose a suitable location for the push button. It should be within easy reach of the driver.
Step 3: Drill a Hole
Drill a hole large enough for mounting the push button switch.
Step 4: Strip the Wires
Strip the insulation off the ends of the wires. Approximately ¼” to ½” should do.
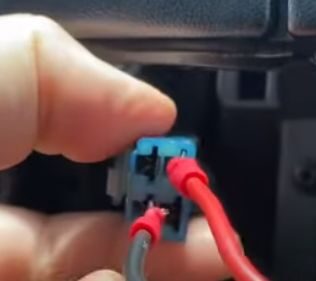
Step 5: Attach the Terminals
Attach the terminals to the ends of the wires using a wire crimper. Use the type of terminal that will fit snugly to the back of each switch.
Step 6: Run the Wire
Run the wire from the push button switch to the solenoid, usually on the inner fender under the hood.
Step 7: Solder the Switches
Solder the wire to the switches and the solenoid, or use solderless terminals instead.
Step 8: Connect to the Battery
Run a second wire from the switch to the battery with about 2 feet of slack. Connect it to the battery’s positive terminal.
Step 9: Mount the Inline Fuse Holder
Mount the inline fuse holder in a suitable and accessible location under the hood. You can use zip ties.
Step 10: Connect the Fuse Holder
Run the power wire to the fuse holder, cut the wire to the required length, then strip and slice them to the wires on both sides of the fuse holder.
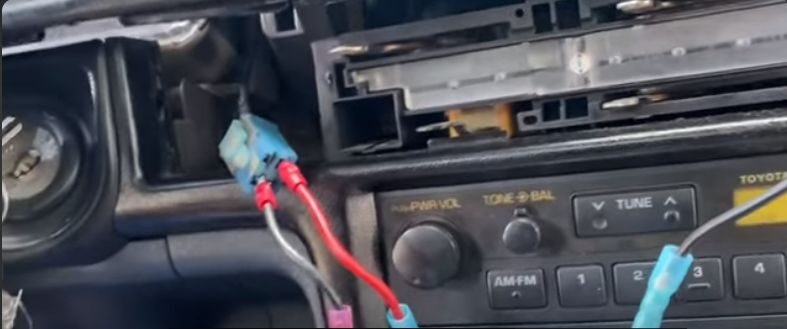
Step 11: Tuck the Wiring
Tuck the wires inside the dashboard before closing it and putting the trim bezel back on.
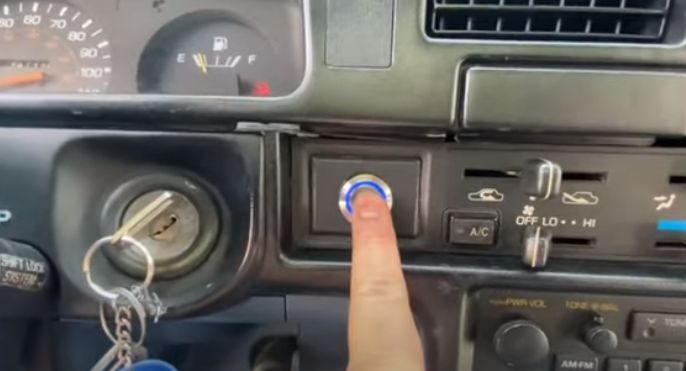
Step 12: Restore the Power
Reconnect the battery and restore the power.
Finally, it’s time to test the push button and enjoy the new push button way to start your car.
Push Button Switches for Starters
A push button in a circuit is a push-based mechanism with a push button that makes or breaks contact to activate or deactivate a circuit.
A typical push button switch has two pairs of contacts – a normally open and normally closed. In normal usage, the normally open one is closed, making the controlled device operational, and the normally closed one is disconnected.
A push button straight from the starter makes the battery voltage directly available to the switch. Current flows through the control circuit to the starter relay coil when the button is depressed. [Sean Bennett, 2015]
References
Website Resources:
- Inline fuse holder. https://www.halfords.com/technology/car-audio/stereo-fittings/autoleads-inline-fuse-holder-5-amp-576998.html
Video References:
Fix It Now
Palibut Diaries