9 min read
How to Test a Starter with a Multimeter (5-Step Guide)
Today, we’re diving into automotive repair. We’ll focus on one crucial component of your ride – the starter.
But what happens when it gives you the silent treatment? That’s where your multimeter, a nifty little tool, comes into play.
Quick Summary of Steps Well Cover:
- Step 1: Dive into your car’s engine to find the starter.
- Step 2: Clear out any parts or covers blocking your path to the starter.
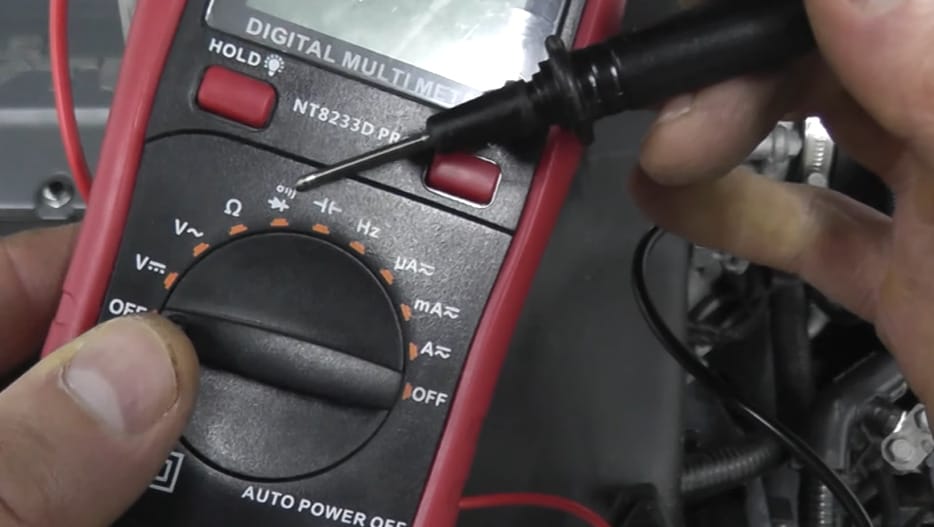
- Step 3: Grab your multimeter and set it to continuity mode.
- Step 4: Connect one lead of the multimeter to the solenoid’s S terminal and the other to its housing. A beep confirms the solenoid is good.
- Step 5: Hook your multimeter to the starter’s main connections and look for a 12-volt reading, which means it is in good shape.
This is more than just a handy skill; it’s a way to save time and money and avoid those “stranded in the parking lot” moments.
Spotting Starter Troubles: Key Signs Your Car Might Give You
Let’s talk about those telltale signs that your car’s starter might be on the fritz. It’s like your car is trying to tell you something; all you need to do is listen and watch for the clues.
I’ve seen a few of these symptoms in my time, and they’re pretty good indicators that it’s time to whip out that multimeter and get to testing.
- Slow Cranking: When you turn the key and the engine turns over slowly, it’s often a sign that your starter is struggling. I once had a car that cranked so slowly I thought it had forgotten how to start!
- The Dreaded Click: Have you ever turned the key and heard a single loud click but nothing else? That’s a classic starter symptom. Your car says, “I want to start, but I just can’t!”
- The No-Show: Sometimes, you’ll turn the key and… nothing: no sound, no cranking, just silence.
- Frequent Clicking: This is when you turn the key and hear a rapid clicking sound. This often points to a power issue with the starter.
- Grinding Noises: If it sounds like your car is grinding coffee under the hood when you start it, that’s a red flag. It could mean the starter gear is worn or not engaging properly. I remember this sound from an old truck I fixed up – it was a dead giveaway that the starter needed some love.
- Intermittent Issues: Sometimes, your car might start fine one day and give you grief the next. But a clear signal something’s amiss.
- Smoke or Burning Smell: If you see smoke or smell burning when you try to start your car, it’s a serious sign. It could mean your starter is overheating due to overuse or a short circuit. This happened to me once on a road trip – talk about a heart-stopper!
These signs can sometimes point to other issues, like a dying battery or alternator problems. So, always approach with some detective work – and get a professional opinion when in doubt. Stay safe and happy diagnosing!
Testing Your Car’s Starter Motor
Let’s roll up our sleeves and learn how to test your car’s starter using a multimeter. Safety first, as always!
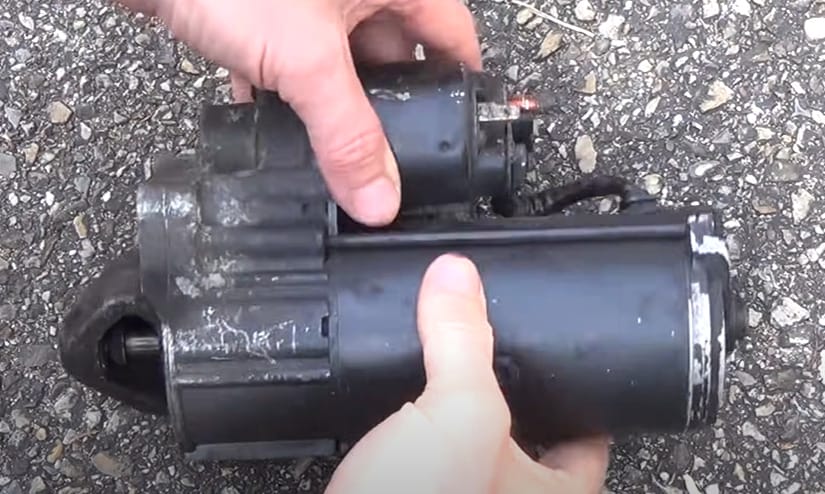
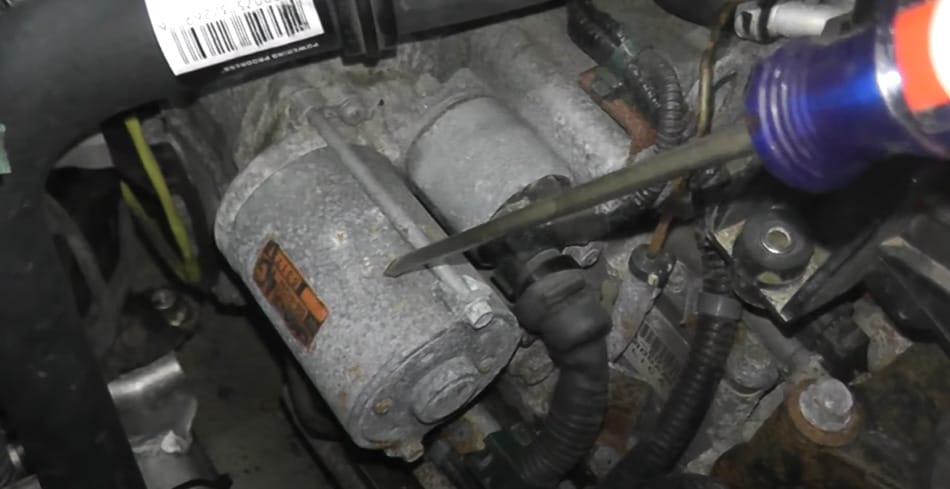
Step 1: Locate Your Starter
- The starters usually hang out where the engine and transmission are best buddies. It’s often near the flywheel.
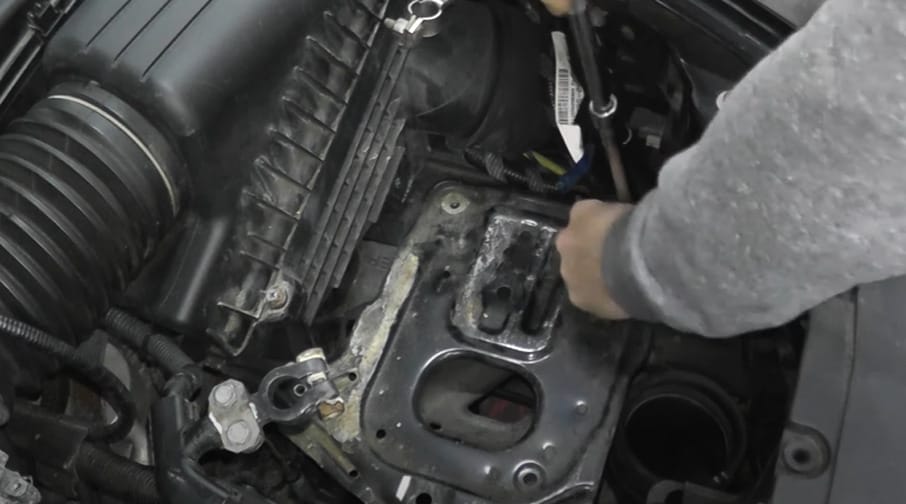
Step 2: Access the Starter
- Roll up those sleeves and remove any covers or parts blocking your way to the starter. Remember, a clear workspace is a happy workspace.
Step 3: Set Up Your Multimeter
- It’s time to whip out your trusty multimeter. Set it to continuity mode (look for that Wi-Fi symbol). We’re testing the starter solenoid first.
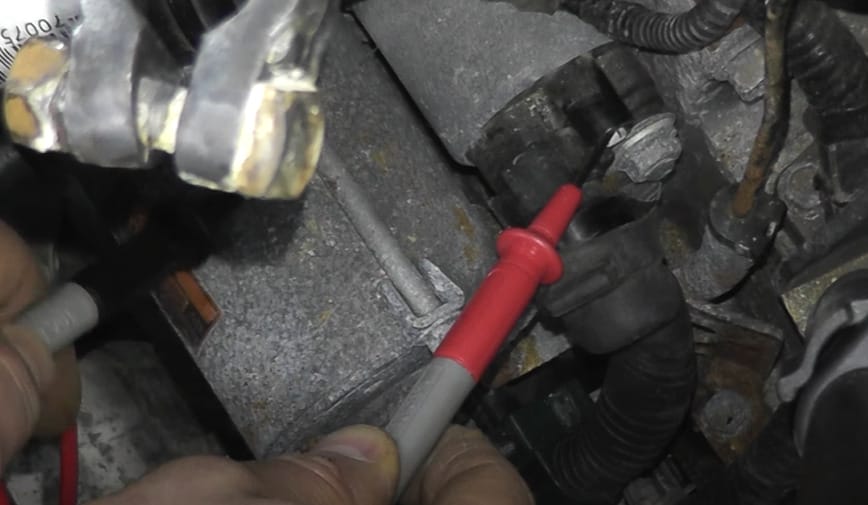
Step 4: Test the Solenoid’s Continuity
- Connect one multimeter lead to the solenoid’s S terminal and the other to the housing. A beep means we’re in business – the solenoid’s good!
Step 5: Test the Starter
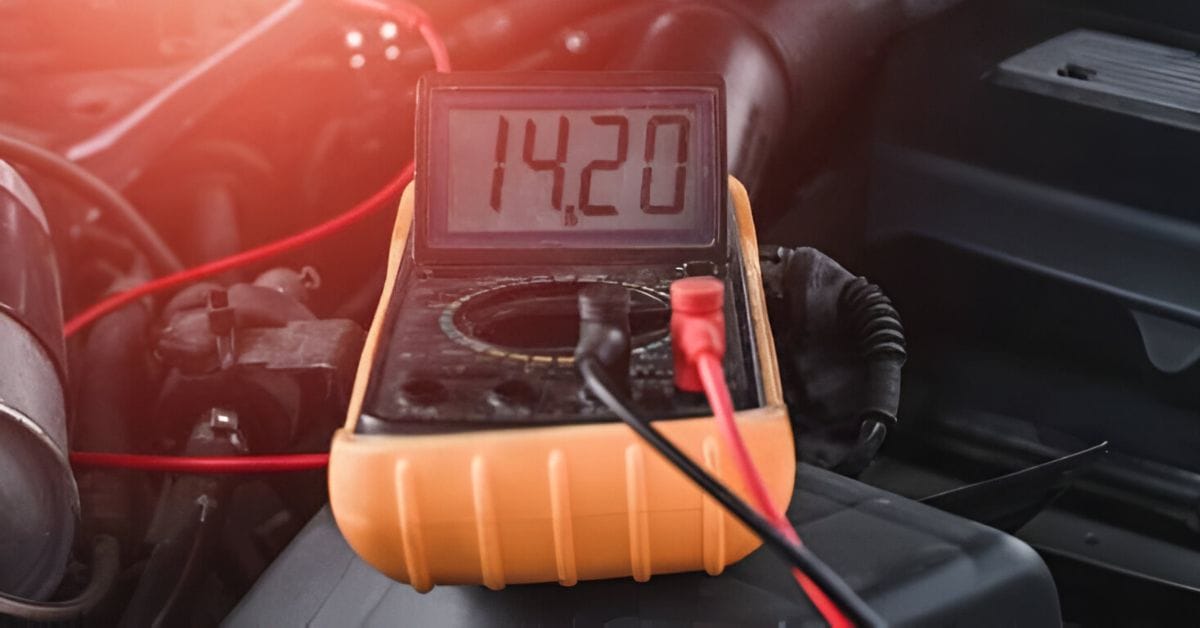
- Connect your multimeter to the two main connections on the starter. Then, look at the multimeter display for a reading of 12 volts.
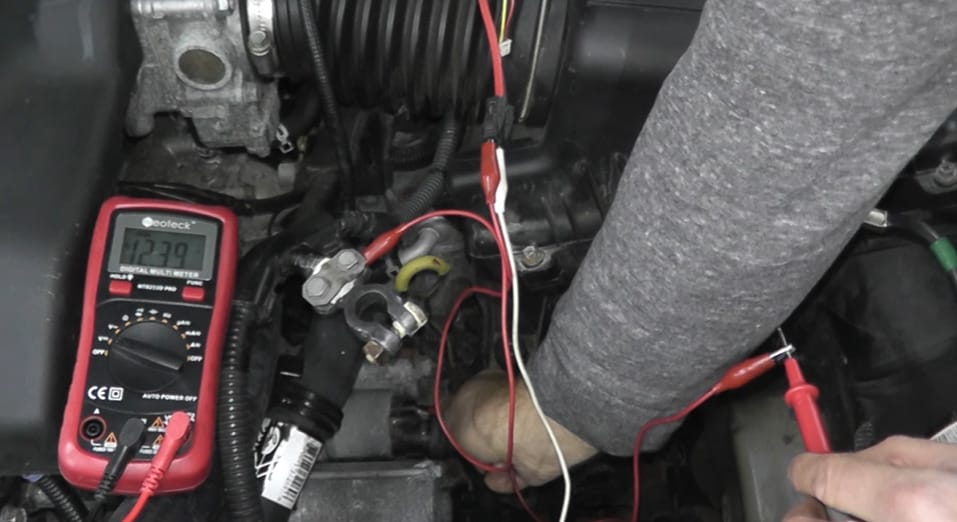
- If it shows 12 volts, your starter is in good shape and should work properly.
Just remember, if you’re ever in doubt, there’s no shame in calling a professional mechanic for backup. Stay safe, and have fun turning those wrenches.
Mastering Starter Motor Mysteries: Your DIY Troubleshooting Guide
Sometimes, things get a little quirky when testing your car’s starter with a multimeter. Don’t sweat it – I’ve been there and am here to help you navigate these tricky waters.
Let’s break down some common issues and how to tackle them, all in a handy table format.
| Issue | Troubleshooting Tips |
|---|---|
| Starter Spins Without Cranking Engine | First, inspect the gear teeth on both the starter pinion and flywheel. If the teeth look good, the issue might be with the solenoid not fully engaging the pinion with the flywheel. |
| Loud Clicking, No Engine Turnover | This classic symptom often points to a power issue. Check your battery’s charge – it might be time for a jumpstart. Also, tighten up those battery connections. Loose connections can be like a wobbly bridge; they don’t deliver the necessary power. |
| The Starter Motor Gets Hot | If your starter’s getting hot enough, it’s working too hard. This can be due to internal resistance or a sticking mechanism. Let it cool down, then check for obstructions or internal damage. |
| Frequent Burnout of Starter Motors | An underlying electrical issue, like a faulty ignition switch or a problem with the charging system, could be the real troublemaker. |
These extra troubleshooting tips are like hidden clues in a mystery novel – they can lead you to the real solution. Keep tinkering, stay curious, and always prioritize safety.
Essential Maintenance Tips
Let’s dive into some down-to-earth tips on keeping your starter and solenoid in top shape. I’ve seen my fair share of starters acting up, and let me tell you, a little preventative maintenance goes a long way.
- Regular Cleaning: Give your starter and solenoid a good cleaning now and then. Dirt, grease, and grime can build up, leading to poor connections. I remember helping a buddy clean his starter, and it was like uncovering buried treasure – the difference was night and day!
- Corrosion Check: Periodically check for any signs of rust or corrosion, especially around the terminals. A bit of corrosion control spray can do wonders.
- Tight Connections: Ensure your starter and solenoid connections are snug and secure.
- Battery Maintenance: Your starter’s best friend is your battery. Keeping it charged and clean ensures your starter has the power it needs.
- Listen and Observe: Sometimes, your car will talk to you. Strange sounds or sluggish starting can be early signs that your starter or solenoid needs attention.
- Regular Testing: Now and then, grab your multimeter and quickly test your starter and solenoid.
- Professional Check-ups: If you’re ever in doubt or things seem over your head, don’t hesitate to get a professional opinion. Sometimes, an expert eye can spot things we might miss. I’ve learned a ton from just watching pros do their thing.
Keep these tips in your back pocket; you’ll be set for many smooth starts! Stay safe, and keep tinkering!
Frequently Asked Questions
- Is It Safe To Test My Starter If I’m Not A Mechanic?
- Safety first, always! You don’t have to be a pro mechanic, but you do need to follow safety guidelines. Wear protective gear, make sure the car is stable and secure, and always follow the manufacturer’s instructions. It’s like handling power tools – respect and caution are key.
- What Should I Do If My Multimeter Shows ‘OL’ When Testing The Starter?
- ‘OL’ stands for ‘Open Loop’ – consider it a missing puzzle piece. This reading means there’s a break in the circuit, and your starter could be waving a white flag. It might be time for some professional troubleshooting.
- Can A Bad Battery Affect My Starter?
- You bet! A bad battery is like a weak heart – it doesn’t give enough juice to get things moving. Always check your battery’s health as part of your starter troubleshooting.
- Are There Any Quick Visual Checks I Can Do?
- Absolutely! Pop the hood and give your starter a quick once-over. Check for loose connections or visible damage – sometimes, the problem is in plain sight.
References
Organizations:
- Automotive Service Excellence (ASE). https://www.ase.com/
- Society of Automotive Engineers (SAE). https://www.sae.org/
Books:
- “Automotive Wiring and Electrical Systems” by Tony Candela. https://www.barnesandnoble.com/w/automotive-wiring-electrical-sys-vol2-tony-candela/1141062430
- “How to Diagnose and Repair Automotive Electrical Systems” by Tracy Martin. https://www.barnesandnoble.com/w/how-to-diagnose-and-repair-automotive-electrical-systems-tracy-martin/1102559010
Website Resources:
- AutoZone. https://www.autozone.com/repairguides/
- Popular Mechanics. https://www.popularmechanics.com/cars/
- The Family Handyman. https://www.familyhandyman.com/automotive/
Video References:
CarsNToys
TutoBuild Eng