14 min read
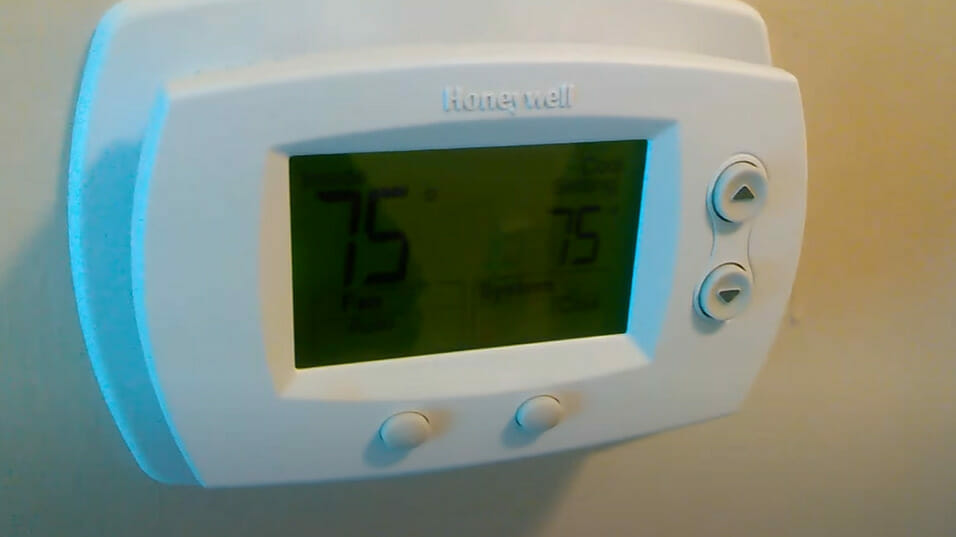
How to Wire a Honeywell Thermostat (Simple 6-Step Home Setup)
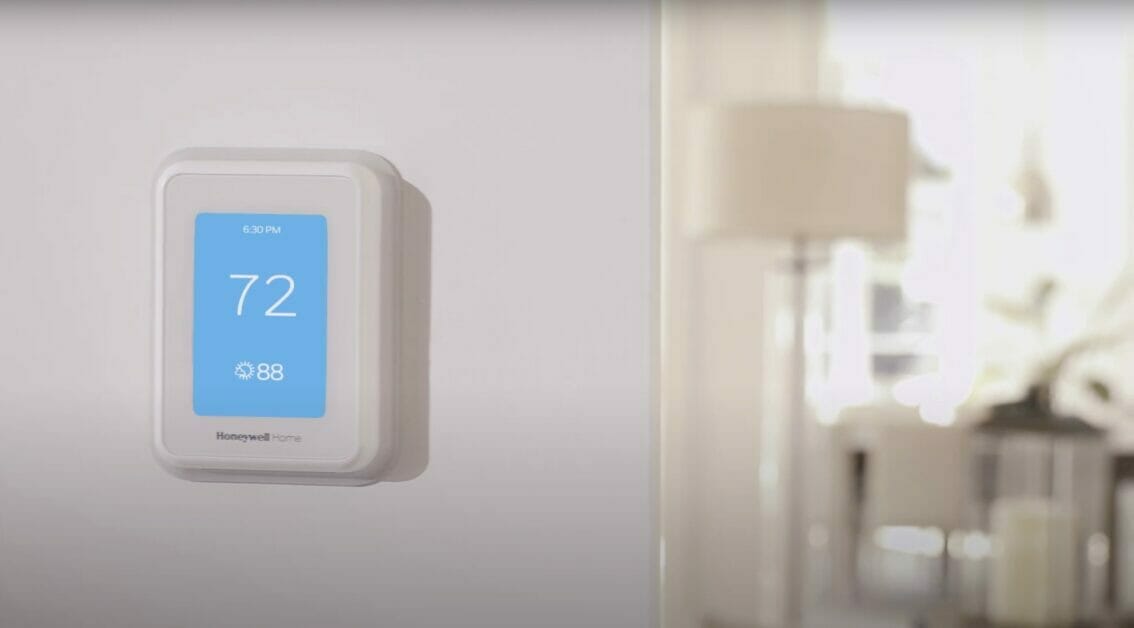
If you’ve ever shivered through a winter night because your heating system went on the fritz, you know just how vital that thermostat can be.
The thermostat controls the comfort level of your home, and when it’s not working right, the whole household feels it.
Quick-Step Summary: Wiring a Honeywell thermostat is simpler than you might think.
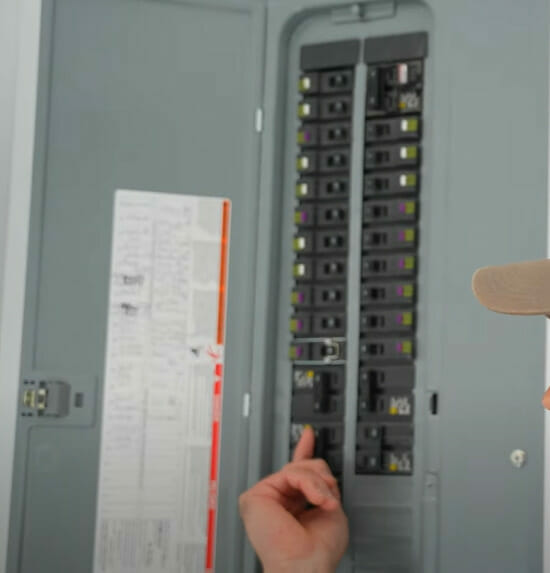
- Step 1: Turn off the HVAC system power at the circuit breaker or fuse box.
- Step 2: Remove the old thermostat cover and safely disconnect the wires.
- Step 3: Capture a photo or create a wiring diagram for reference.
- Step 4: Identify wire functions (e.g., red for power, white for heat).
- Step 5: Connect wires to corresponding terminals on the new thermostat.
- Step 6: Mount the thermostat, restore power, and test the system following the manufacturer’s instructions.
In this article, we will walk through wiring a Honeywell thermostat. We’ll discuss everything from identifying your system type selecting the correct wires and connections, to testing your newly installed device. You don’t need to be an electrician or HVAC expert—follow along with me.
So, let’s get wired up.

Importance of Correct Wiring for Thermostats
If there’s one thing I can’t stress enough, it’s the significance of correctly wiring your Honeywell thermostat. The efficiency and functionality of your heating or cooling system hang in the balance.
- Efficiency Impact: Improper wiring can lead to energy wastage and increased utility bills – not something we want. Even worse, incorrectly wired thermostats may cause your HVAC system to operate erratically or not at all!
- Functional Reliability: Properly wired thermostats to prevent erratic or non-responsive HVAC system behavior.
- Energy Consumption: The U.S. Department of Energy states that HVAC systems can consume up to 48% of household energy, making correct wiring essential to minimize waste.
- Safety Assurance: Incorrectly wired thermostats pose potential safety hazards such as electrical fires.
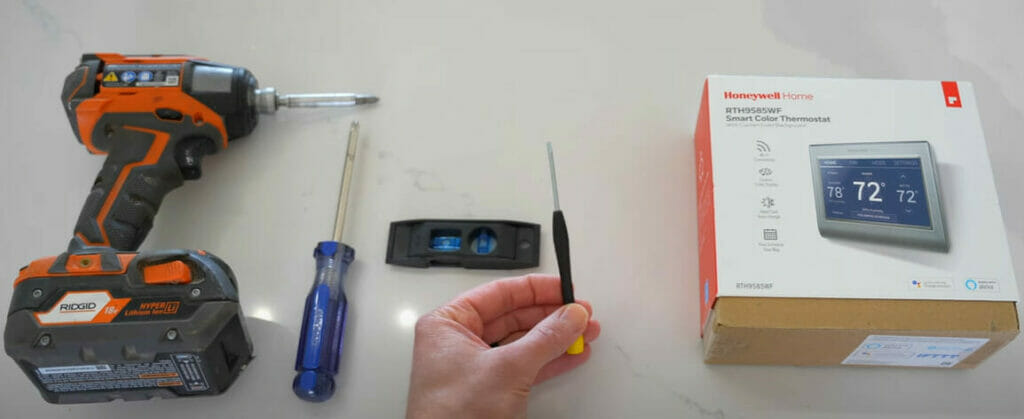
Tools and Materials Needed
Let’s discuss the tools and materials needed to complete this job. Whether you’re a DIY enthusiast or a seasoned professional, you must have all your ducks in a row before starting any project.
- Phillips screwdriver: This handy tool will help you remove the old thermostat and install your shiny new Honeywell one.
- Wire strippers: These are used to cut and strip insulation from your thermostat wires – trust me, they’re real lifesavers!
- Drill with bits: This tool is crucial for mounting your new thermostat securely onto the wall.
- Wall anchors and screws: Necessary for anchoring the thermostat securely in place.
- Thermostat wire: connects your Honeywell thermostat to heating and cooling system controls. It usually comes in 18-22 gauge varieties, so check which fits your system best.
Preparation Steps
Before we dive right into the nitty-gritty of wiring a Honeywell thermostat, there are some key preparation steps I’d like to walk you through.
- Gather Your Tools: Let’s ensure you have everything in order. Don’t forget about safety gear; gloves and safety glasses should suffice.
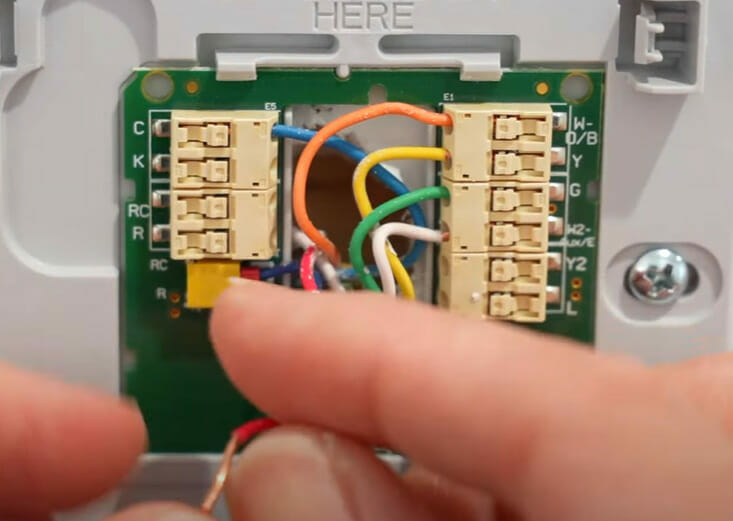
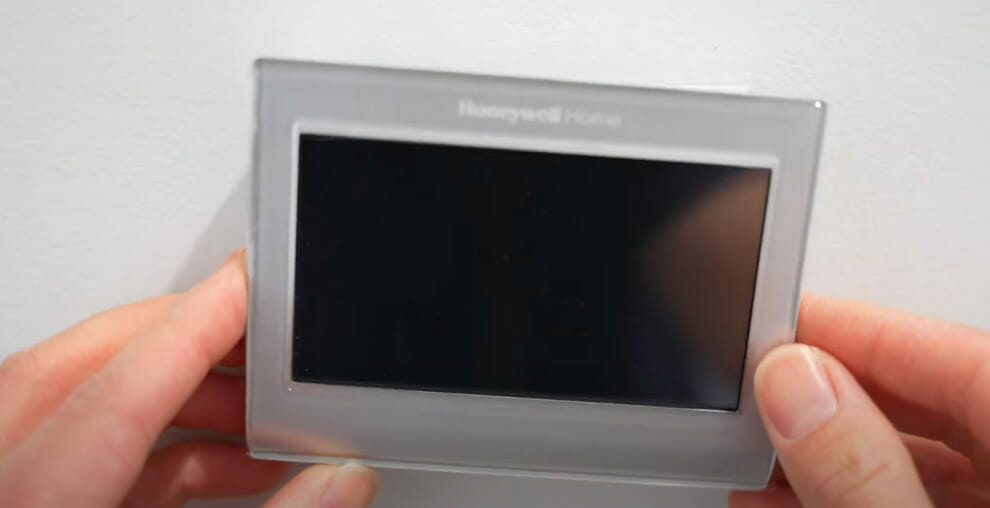
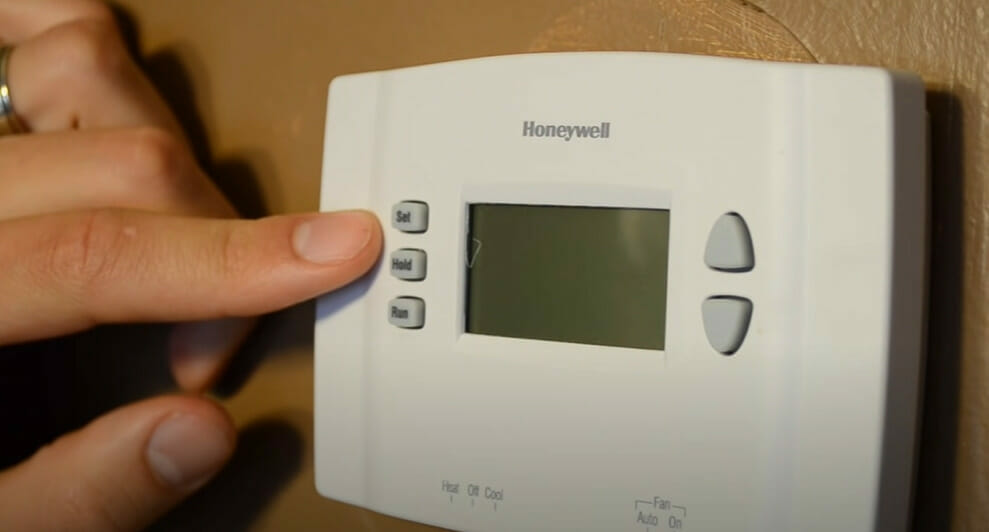
- Familiarize Yourself with the Thermostat: Take an unhurried look at it and get acquainted with its parts and connections. Honeywell thermostats typically come with four or five wire connections.
| Wire Color | Purpose | Letter |
|---|---|---|
| Red | Power supply for heating/cooling | R |
| White | Controls the heater | W |
| Yellow | Manages air conditioning | Y |
| Green | Operates fan control | G |
| Blue (if available) | Provides power to the thermostat | C |
- Understand Your HVAC System Type: Understanding your home’s HVAC system type. Do you have a furnace only? Maybe it’s just an air conditioner? Or perhaps both? The type of HVAC system will determine how many wires you’ll need to connect.
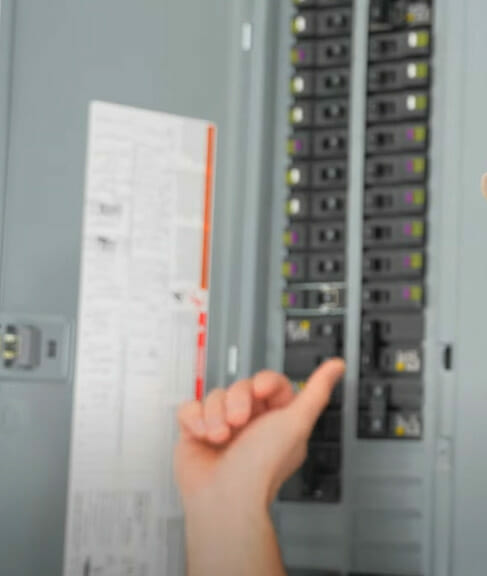
- Turn Off Power: Don’t forget to shut off electricity from your circuit breaker box! Safety is paramount when dealing with electrical tasks like this one.
Wiring the Honeywell Thermostat
I’m about to share some crucial steps to wire your Honeywell thermostat. Let’s not waste any time and dive right in, shall we?
Step 1: Turn Off The Power
- Before diving into any electrical work, flip that circuit breaker or fuse box switch, and ensure the power to your HVAC system is OFF. This simple step eliminates the risk of any shocking surprises during the installation.
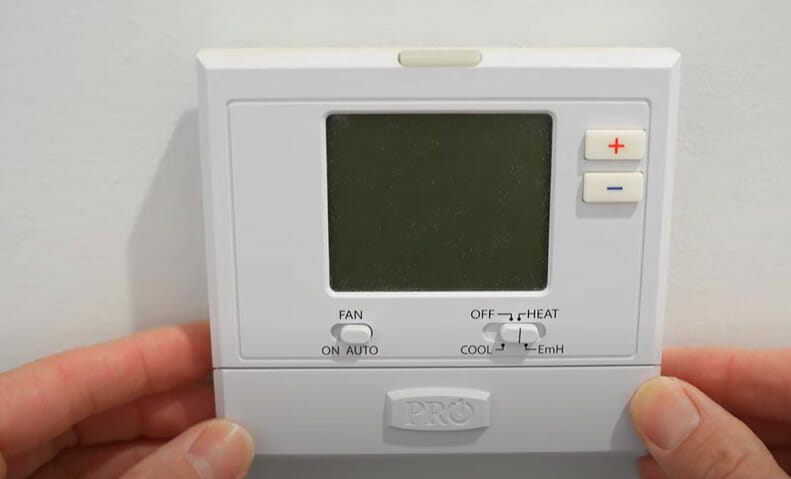
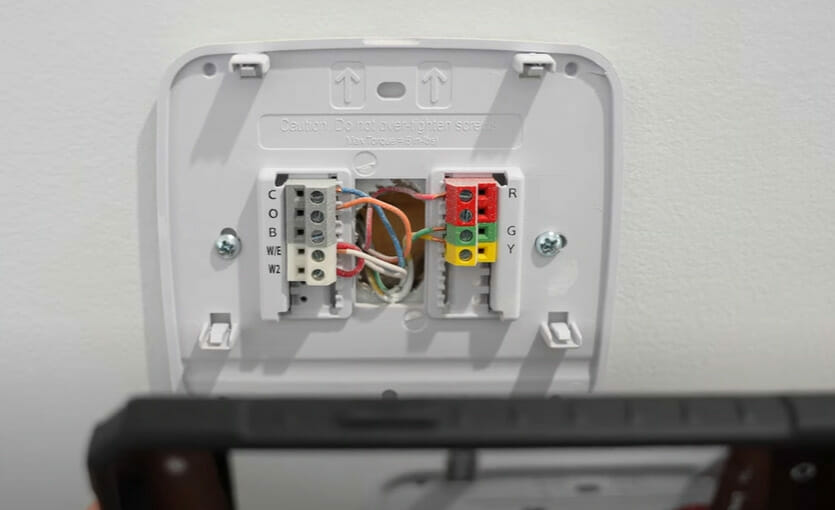
Step 2: Remove the old thermostat
- It’s time to bid farewell to the old guard. Gently pry off the cover of your existing thermostat to reveal the wiring inside. Handle those wires with care; we don’t want any casualties.
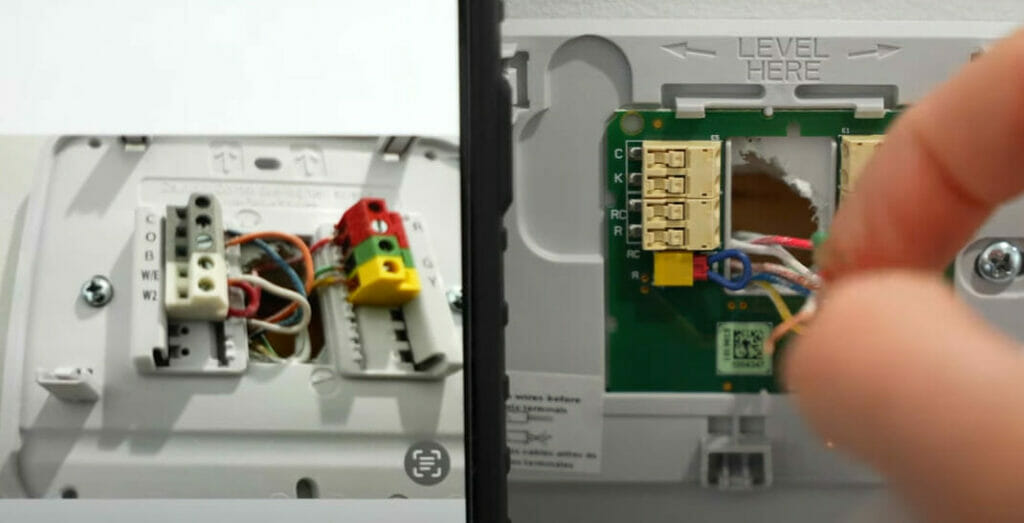
Here’s a pro tip: snap a quick pic of the wiring or, better yet, draw a diagram. Trust me; this visual reference will be your knight in shining armor if you run into tangles later.
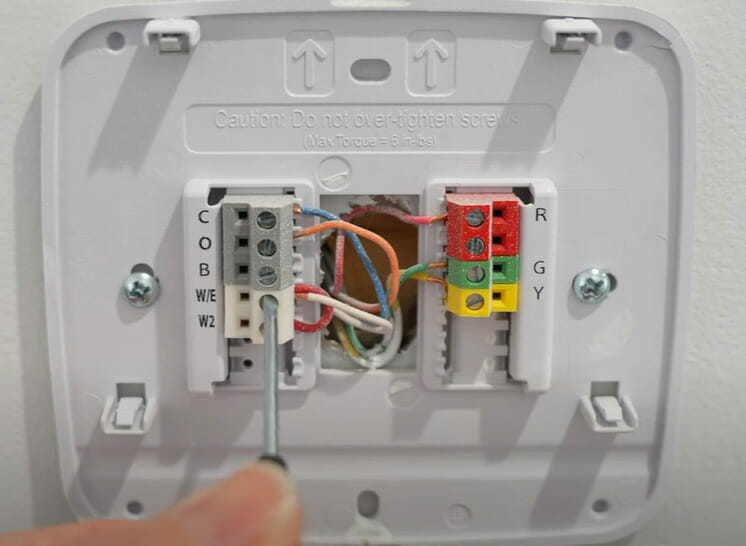
- Carefully loosen the screws or clips that secure the wires to the terminals and disconnect them. Label each wire according to its terminal designation (like R, W, Y, G) to keep things organized if they aren’t labeled.

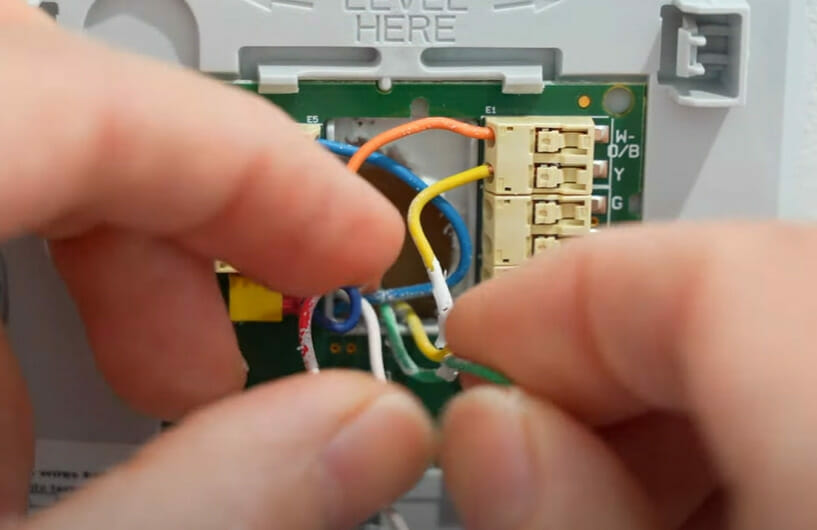
Step 3: Identify the Wires
- Honeywell thermostats typically play by the standard wire color rule. Still, it’s always a good idea to double-check their functions because wire colors can sometimes be a bit rebellious.
Step 4: Connect the Wires
- It’s time to play matchmaker. Connect each wire to its corresponding terminal on your new Honeywell thermostat:
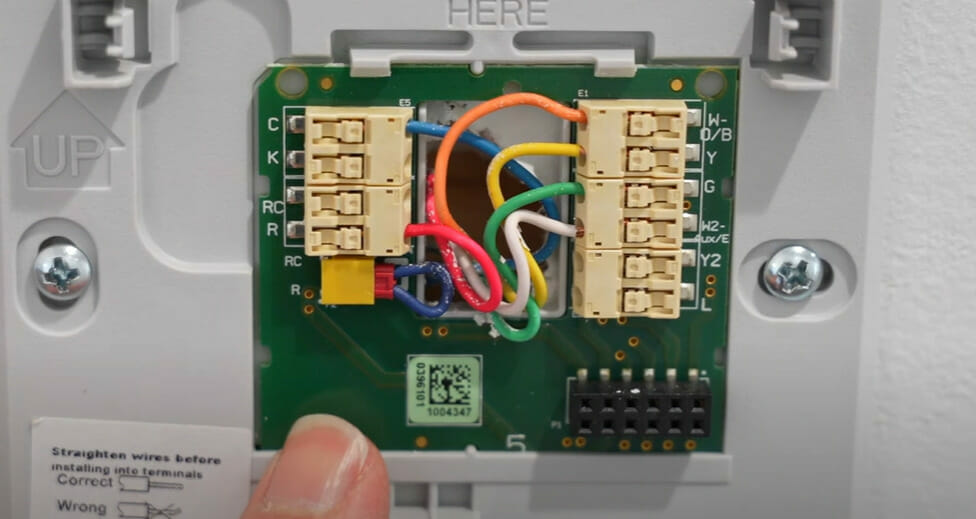
- The red wire slides smoothly into the “R” terminal.
- White and “W” are a match made in heating heaven.
- Yellow gets cozy with “Y” for air conditioning.
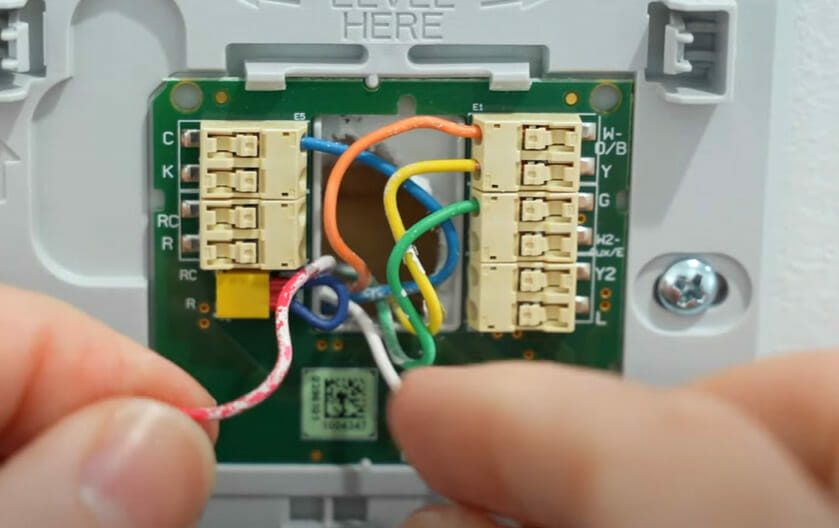
- Green and “G” have a fan-tastic connection.
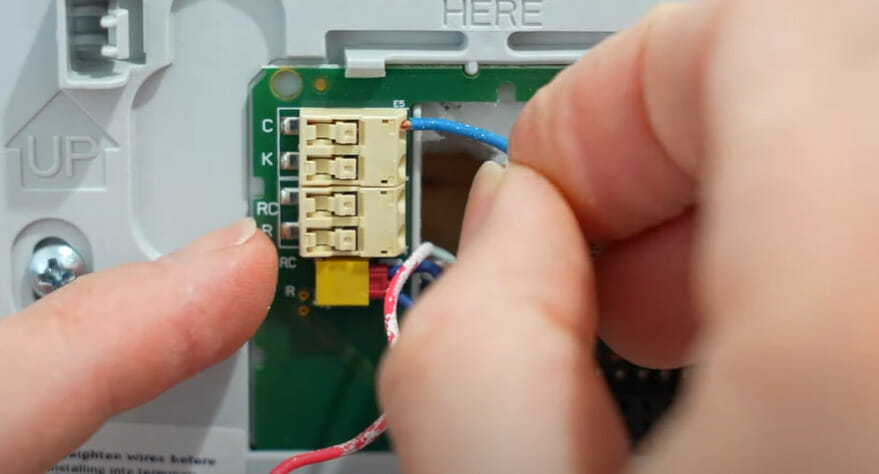
- If you’re lucky enough to have a blue wire, introduce it to the “C” terminal.
Step 5: Mount your new thermostat
- Carefully align it with the wall plate and gently press until you hear that satisfying click. That click tells you it’s securely attached and ready for action.
Step 6: Restore Power and Test
- Head back to that circuit breaker or fuse box and flip the switch to restore power to your HVAC system.
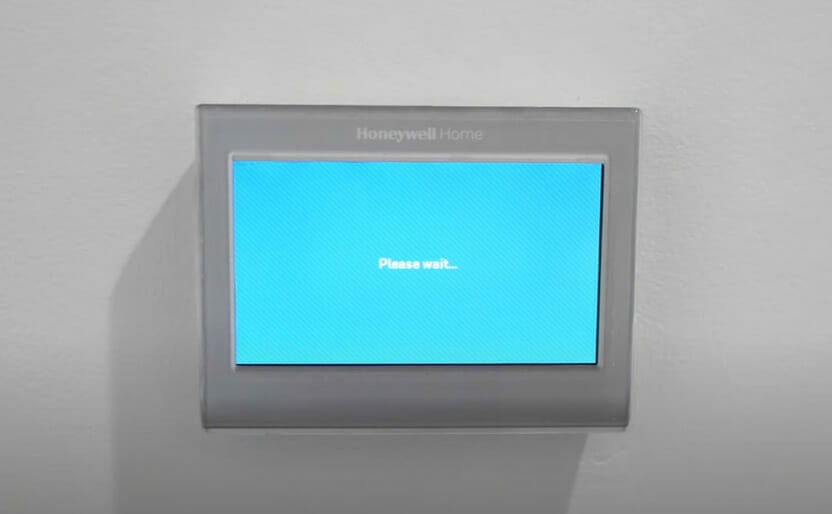
- Follow the manufacturer’s instructions to set your preferred temperature and give the heating and cooling systems a test run.
Troubleshooting Common Wiring Issues
Let’s be honest: wiring a thermostat isn’t always smooth sailing. Sometimes, you’ll run into some hiccups, and that’s okay. I’m here to help you troubleshoot those common wiring issues so you can get your Honeywell thermostat up and running quickly!
| Common Wiring Issues | Troubleshooting Steps |
|---|---|
| 1. Incorrect Wiring | – Double-check your work. It’s easy to mix up wires or miss one altogether. |
| – Ensure each wire is securely attached to the correct terminal. A loose connection could cause intermittent operation or complete failure. | |
| – Remember, even if two thermostats look identical, it doesn’t mean they are wired the same way! | |
| 2. Blown Fuses or Tripped Circuit Breakers | – This could be the culprit if power isn’t reaching your thermostat. |
| – Checking for blown fuses or tripped breakers and replacing or resetting them as necessary. | |
| 3. Heat Pump Won’t Start | – Test voltage across both sides of the transformer; if it’s low on one side, replace it. |
| 4. Dirty Components | – Make sure to clean all components regularly for optimal functioning. |
Common Mistakes to Avoid
Let’s discuss some crucial tips for making your thermostat wiring project a breeze. We’ve covered the basics, but now it’s time to dive into what you should avoid.
- Skipping Labeling: Hey, remember those times when you’d forget names at a reunion? That’s what happens when you forget to label those wires. So, tag them as you remove them, and the new thermostat will thank you!
- Ignoring Compatibility: It’s like going to a dance and realizing you and your partner have different rhythms. Always check if your HVAC system and that new Honeywell thermostat can tango together.
- Loose Connections: A wire that’s not snugly connected is like a shoelace waiting to trip you up. Tighten them up and avoid those unexpected stumbles.
- Forgetting the C Wire: If your system needs that common wire (the infamous C wire) and you leave it out, it’s like forgetting the secret ingredient in your grandma’s recipe. Spoiler: things might not taste—or work—right!
- Disregarding the Manual: If your system needs that common wire (the infamous C wire) and leaves it out, it’s like forgetting the secret ingredient in your grandma’s recipe. Spoiler: things might not taste—or work—right!
- Not Testing Properly: After wiring, not thoroughly testing the thermostat to ensure both heating and cooling systems work as expected can lead to future problems.
- Rushing: Slow it down, superstar! A rushed job is like missing half the notes in a song. Take your time and make sure every wire’s hitting the right chord.
- Not Seeking Professional Help: Even the best of us sometimes need a hand. Calling in a pro is cool if those wires start looking like spaghetti or things get tricky. A little help from an HVAC guru or electrician can make your thermostat gig smooth sailing!
Frequently Asked Questions
- Need that C-Wire for the Honeywell Thermostat?
- If you’re craving an uninterrupted Wi-Fi connection for that fancy thermostat, and there’s no C-wire, think about grabbing an external power adapter. It’s like your thermostat’s lifeline!
- Blank Screen? Don’t Panic!
- Ensure that the thermostat’s cozied to its wall plate and those wires hug it tightly. Still nothing? Dive into that manual for some detective work!
- DIY Installation – Should You Dare?
- Got a knack for DIY projects? Then, yeah, you might nail installing that Honeywell thermostat. But remember, stick to the playbook – the manufacturer’s guide!
- Heat Pump Systems: A Different Ball Game?
- Absolutely! They come with their own set of rules. Feeling a bit lost? Peek into the manual or call in a pro – it’s like phoning a friend on a game show!
- Overflowing Wires? No Problem!
- If you’ve got a party of wires and not enough dance floor (or terminals), some Honeywell models have you. Dive into the manual for the next moves, or use a jumper wire!
- Wi-Fi Playing Hide and Seek?
- If your thermostat feels disconnected, ensure it’s close enough to catch those Wi-Fi vibes. The manual’s got a treasure map for troubleshooting!
- Thermostat’s Temperature Tune-up?
- Most of these modern tech wonders come tuned up and ready to jam! But if you feel the beat’s off, take a peek at the settings.
- Fresh Out of the Box and Not Powering Up?
- Get back to basics! Check the wiring to ensure it’s firmly seated and the power’s flowing. Maybe there’s a secret switch or setting playing hard to get.
- Zoning in on Zoning Systems?
- Oh, it’s a special club! Zoning might mean more thermostats and some extra gadgets. A pro can show you the ropes if you feel out of your league.
- Multi-Stage Systems: DIY or SOS?
- It’s like the big leagues of HVAC. Sure, you might tackle it solo, but with something this intricate, calling in a pro might be the home run move!
References
Website Resources:
- Honeywell. https://www.honeywellhome.com/us/en
- U.S. Department of Energy. https://www.energy.gov/
- HVAC-Talk. https://hvac-talk.com/vbb/
Video Resources:
Buyers Guide
Jeffthemaintenanceman
The Excellent Laborer