11 min read
What is OB Wire on Thermostat? (Basics, Function, Precautions)
Hey there, thermostat enthusiasts! I’ve got some juicy tidbits to share with you today. Have you ever looked at your thermostat and wondered, “What the heck is an OB wire?” Well, wonder no more because that’s exactly what we’re diving into.
For starters, let me break it down for you. A thermostat OB wire connects to the O/B terminal on your device. It’s a key player in heat pump systems where it controls the function of heating or cooling mode.
Stick around, folks! We’re just scratching the surface here. There’s a whole lot more about this little OB wire that I can’t wait to spill.
Understanding the Basics of a Thermostat

Alright, let’s dive in and start untangling this thermostat business. It’s that thing that everyone fights over when it gets too hot or too cold.
Thermostats come in different types. You’ve got:
- The good old manual ones (you know, those dial things?)
- Programmable thermostats
- And those fancy-pants smart thermostats.
Each type has its own set of goodies and capabilities. For instance, programmable thermostats can be set according to your schedule for maximum comfort and energy savings. On the other hand, smart thermostats take it up a notch with features like Wi-Fi connectivity and smartphone controls. Pretty cool stuff!
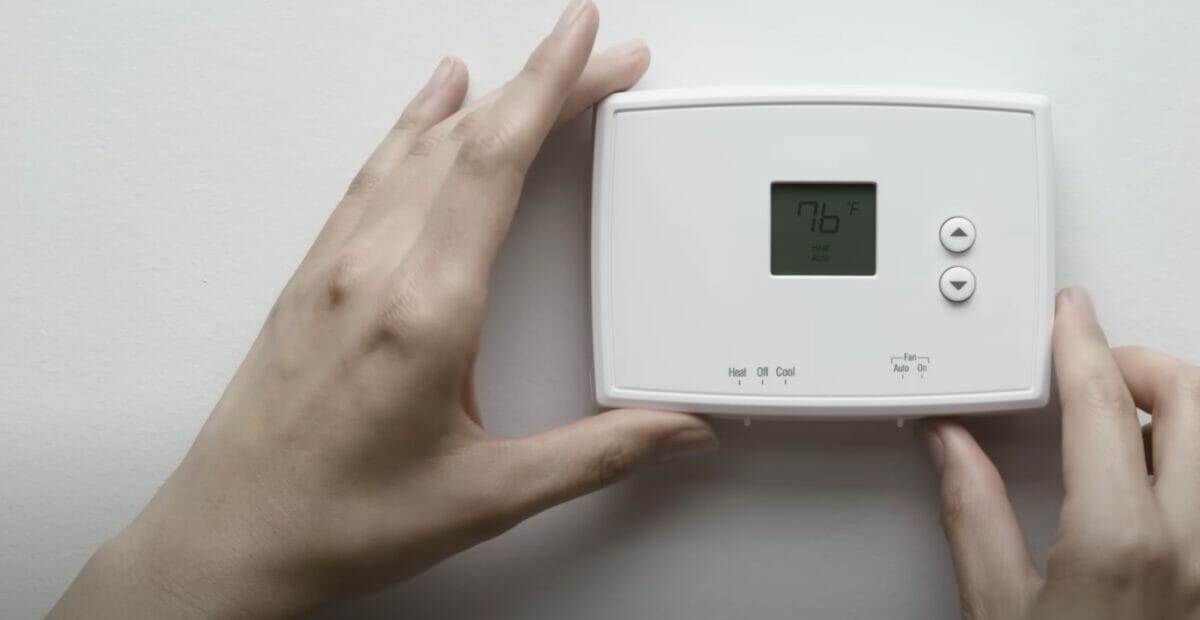
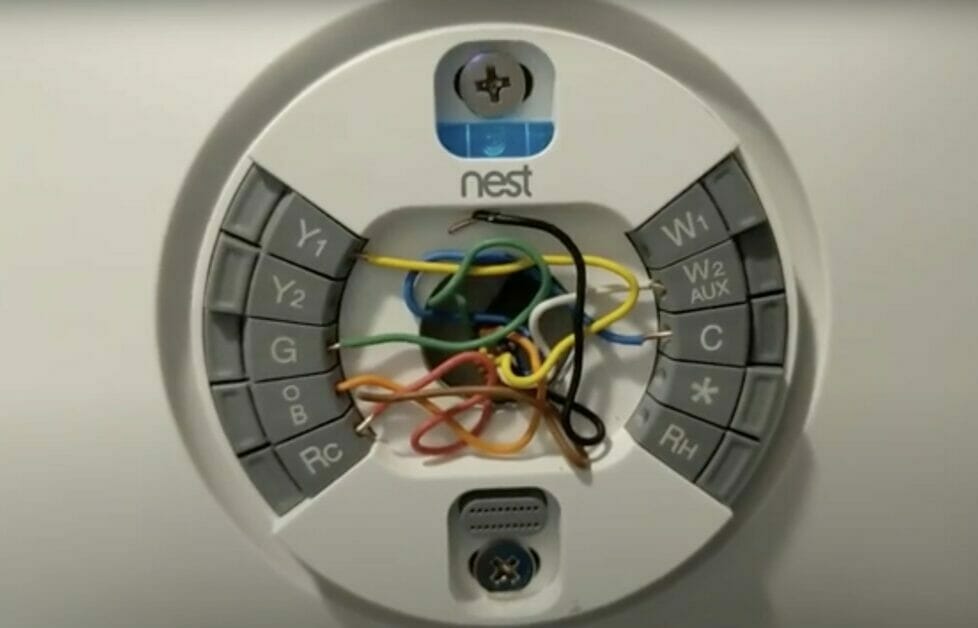
And then there are wires… oh boy! If you ever peek behind your thermostat (which I don’t recommend unless necessary), you’ll find many colored wires, each serving different functions. One wire that often raises eyebrows, in particular, is called an OB wire.
So why should you care about all this? Understanding how these devices work can help us use them more effectively – saving energy while keeping our homes comfy year-round sounds like a win-win!
Decoding ‘OB’ Wire: What Does It Stand For?

The term “OB” stands for ‘O’ or ‘B.’ Yes, it’s as simple as that! These letters represent the type of valve your heating-cooling system uses. The ‘O’ stands for an O-type valve, and the ‘B’ is for B-type valves. But wait – what does this mean exactly?
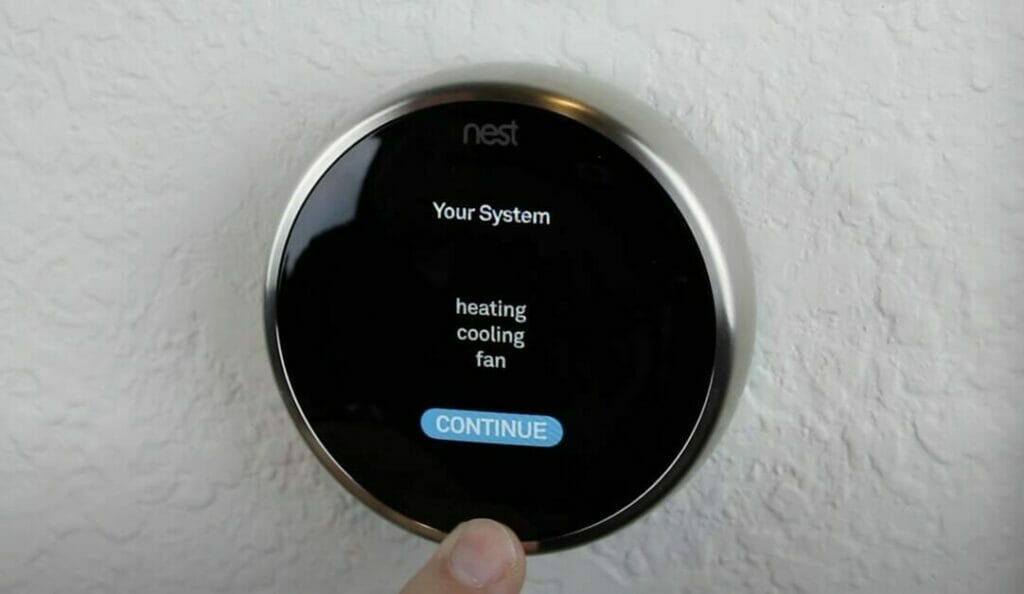
We often find these wires when talking about thermostats, especially those fancy programmable ones or smart thermostats (the kind that lets you control your home’s temperature from your smartphone).
An O-type valve operates in a way where it’s normally closed but opens when energized during a cooling cycle. Conversely, a B-type valve operates normally open but closes when energized during a heating cycle.
In simpler terms:
- O-wire: Used in systems where reversing valve is powered in COOL mode.
- B-wire: Used in systems where reversing valve is powered in HEAT mode.
It all boils down to whether your HVAC system needs power to heat or cool. So next time you look at your thermostat wiring and see an OB wire staring back at you – don’t panic! It’s just playing its role in keeping your home comfy throughout all seasons.
The Role of ‘OB’ Wire in Your Thermostat
In general, you’d find an OB wire in heat pump systems. What does that mean? This wire lets your thermostat switch between heating and cooling modes – pretty important!
A fun fact – not all thermostats need an OB wire. It primarily depends on whether you have a heat pump system or not. If you’re unsure about what type of system you have at home, don’t worry! That’s something a professional can easily help determine if needed.
So how does the OB wire work? It’s all about controlling and reversing valves – crucial heat pump system components. These valves decide whether your system should produce hot or cold air based on the command from the thermostat (thanks to our hero – the OB wire!).
Here’s a little breakdown:
- O-Wire: Usually, this one activates the valve when the cooling mode is required.
- B-Wire: Conversely, with B-wire where it triggers the valve for heating mode.
If you’re wondering why some wires are labeled O while others are B, there isn’t a standard color coding for these wires across manufacturers (I wish there were!). So they could be orange or blue or even brown sometimes!
Common Issues Faced with the ‘OB’ Wire
I’d love to share some insights on common issues folks often encounter when dealing with the ‘OB’ wire on their thermostat.
First off, Incorrect wiring is a biggie. It’s pretty easy to mix up wires, especially if you’re unfamiliar with HVAC systems. So double-check your wiring connections if you’re installing a thermostat yourself and it’s not functioning as expected.
Another issue people often face is faulty or old wires. Over time, these wires can wear out or get damaged, leading to poor performance of your thermostat or even complete failure. This problem demands immediate attention because no one wants an inefficient heating system in the middle of winter!
Next up: Compatibility issues between the thermostat and HVAC system. Not all thermostats are compatible with every type of HVAC system, so make sure yours match up correctly.
Lastly, we have our tricky friend: the reversing valve setting. If your heat pump isn’t cooling when it should be (or vice versa), there might be an issue with configuring this setting.
To help keep track of these common problems, here’s a little table:
| Common Issue | Check Configuration |
|---|---|
| Incorrect Wiring | Double-check connections |
| Faulty or Old Wires | Inspect and replace as necessary |
| Compatibility Issues | Ensure your thermostat matches your HVAC system |
| Reversing Valve Setting | Check configuration |
How to Troubleshoot Problems with the ‘OB’ Wire
I’ve gotta tell you troubleshooting the ‘OB’ wire on your thermostat can seem daunting at first. But don’t worry – I’m here to walk you through it.
Let’s start with understanding what we’re dealing with here. The OB wire controls your HVAC system’s heating and cooling functions. If this baby isn’t working right, your home could become an uncomfortable icebox or a sauna!
Now onto some common problems. You might find that your heating or cooling isn’t kicking in when it should. Or maybe it’s running constantly without ever reaching the desired temperature. Sometimes there might be no power at all to your thermostat – yikes!
Don’t fret! Here are some steps you can take:
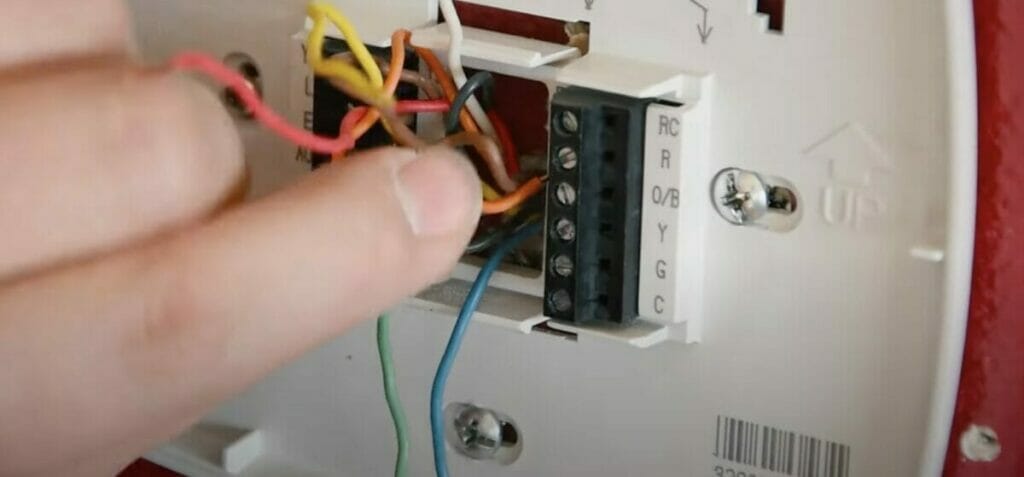
- Check the Wiring: Ensure the ‘OB’ wire is securely connected to the terminal on both ends – at the thermostat and your HVAC unit.
- Test for Continuity: Using a multimeter, verify if there’s an electrical current flowing through this wire.
- Inspect for Damage: Look out for any visible damages like cuts or frays in the insulation of the ‘OB’ wire.
Sometimes, despite best efforts, things don’t work out – and that’s okay too! It may then be time to call a professional who can look deeper into possible issues with your HVAC system or other complex wiring matters.
But remember, folks, most of these issues can be prevented by regular maintenance checks on your system’s wiring connections and periodically replacing old wires before they fail.
So go ahead – give these troubleshooting tips a try! Just remember: safety first — always switch off power from the main source before handling any wires. And hey, who knows? You might feel like a real-life handyman (or woman!).
Replacing an ‘OB’ Wire: A Step-by-Step Guide
So you’ve come across the term ‘OB’ wire while tinkering with your thermostat, and you’re wondering what it’s all about, right? Well, I’m here to help clear things up for you!
Let’s get this straight – the ‘OB’ wire on a thermostat refers to the Reversing Valve or Changeover Relay. This special type of relay switches your heat pump between heating mode (O) and cooling mode (B). If it sounds complicated, don’t sweat it! It’s simpler than it sounds.
Now onto the fun part – replacing an OB wire. Here’s my easy-to-follow guide:
Step 1. Safety first! Before messing around with wires, ensure your HVAC system is completely powered down.
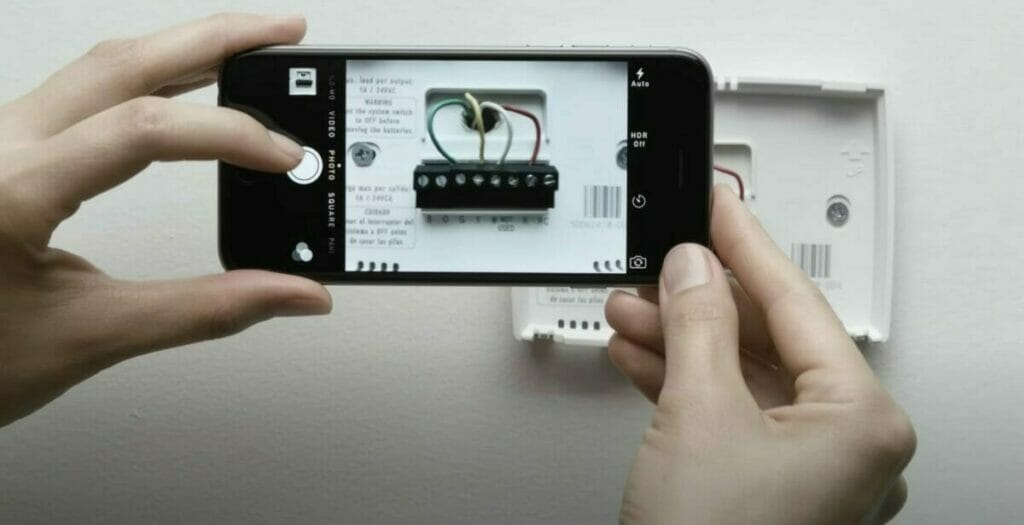
Step 2. Look at your current wiring setup and maybe snap a quick pic for reference. You’ll thank me later!
Step 3. Now go ahead and disconnect that old OB wire from its terminal.
Step 4. Got your new OB wire handy? Great! Connect one end to the O/B terminal on your thermostat.
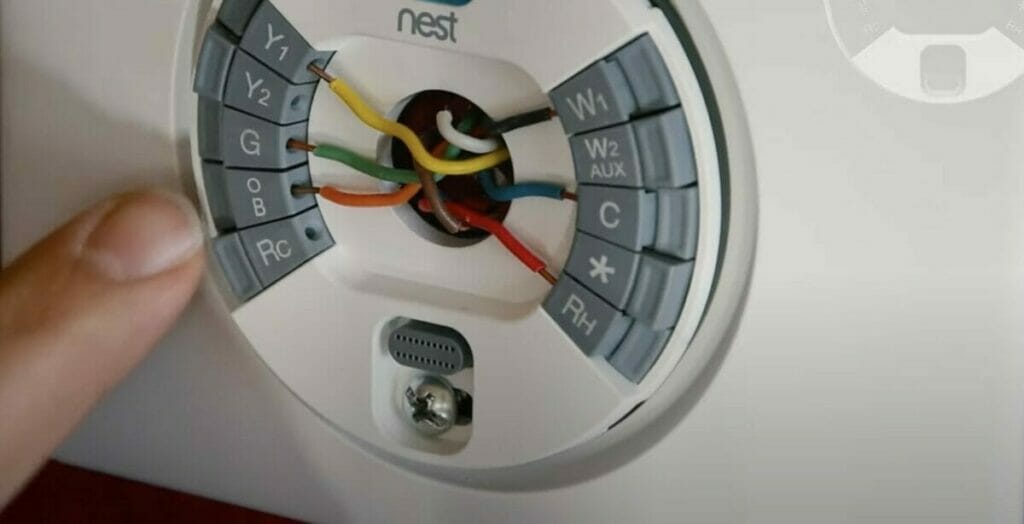
Step 5. This little guy’s other end will connect to O or B terminals in your furnace or air handler control board.
And there you have it, folks – 5 simple steps to replace an OB wire on a thermostat!
There you have it! We’ve demystified those confusing wires behind your thermostat. With this knowledge under your belt (or should I say tool belt?), you’re well on your way to becoming a master temperature controller in no time!
Remember though – while DIY can be fun and rewarding, always call an expert if things get too hot (or cold) to handle.
So here we are at the end of our adventure together. Thanks for sticking around – keep exploring and stay curious, my friends!
Until next time…Happy tinkering!
References
Organizations:
- The Air Conditioning Contractors of America (ACCA). https://www.acca.org/
- The U.S. Department of Energy (DOE). https://www.energy.gov/
Website Resources:
- Honeywell. https://www.honeywell.com/us/en
- Google Nest Thermostat. https://store.google.com/us/product/nest_thermostat
Video References:
HandyDadTV
Zachus
Dare to Repair
Google Nest
Benjamin Sahlstrom