7 min read
How to Change Batteries in a Honeywell Home Thermostat (6 Steps)
This article shows you how to change the batteries in a Honeywell thermostat in six steps.
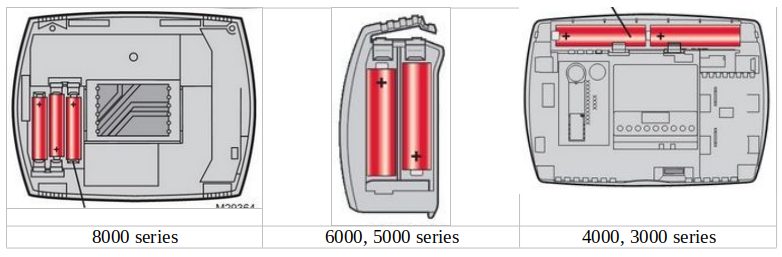
The procedure described here applies mostly to programmable Honeywell thermostats, particularly the 8000 series, but it is similar to other types. Some variations for other models are noted. See also the table below for a summary of the batteries used in Honeywell thermostats and when and how to replace them.
| Honeywell Thermostat | Batteries | When/How to Replace the Batteries |
8000 series (advanced models with several features) | Warning sign “REPLACE BATTERY” will flash about 2 months prior; otherwise, replace yearly. The battery holder slides out from the side by pressing at the top—no need to remove the cover plate. | Warning sign “LO BATT” will flash about 30 days prior; otherwise, replace yearly. |
6000 series | 2 AA batteries in a battery holder on the side provide backup power to AC power-connected thermostat | Either 2 AA or AAA batteries provide backup power if connected to an AC outlet. |
5000 series | Either 2 AA or AAA batteries, depending on the model, provide backup power if connected to an AC outlet. | “ |
4000 series (built-in compressor protection) | Warning sign “REPLACE BATTERY” will flash about 2 months prior; otherwise, replace yearly. Battery holder slides out from the side by pressing at the top—no need to remove the cover plate. | Warning sign “REPLACE BATT” will flash about 2 months prior; otherwise, replace yearly. Some settings are stored in memory. It’s better to switch it off completely. Push the cover plate from the bottom. |
3000 series (built-in compressor protection) | 2 AA batteries horizontally across the top provide backup power if connected to the AC outlet | |
2000 series (budget models) | 2 AA batteries (optional only if connected to 24 VAC) | The low battery icon will appear 60 days prior unless the batteries are depleted. You switched off completely before replacing the battery. |
Non-progammable types | 2 AA batteries | Press and slide out the battery cover. It would be best if you switched off completely before replacing the battery. |
Batteries in Honeywell thermostats
Thermostat batteries help to retain settings in the event of power outages, as they are normally connected to AC power. Some only serve as backup power. Most thermostat batteries last at least 8 months, but if it’s a Honeywell Thermostat, it may last up to a year.
It would be best if you replaced the batteries when you see a low battery warning sign, such as “LO BATT,” “REPLACE BATTERY,” “REPLACE BATT,” or an icon indicating the same. Otherwise, the company recommends changing the battery yearly or before leaving home for over a month. You usually have around 6 to 8 weeks to replace the battery and get another warning screen before the thermostat stops working.
Replacing the Battery in a Honeywell Thermostat
Follow these six steps to replace the battery in a Honeywell thermostat.
Step 1: Switch Off the Thermostat
First, switch the thermostat off.
Optionally, disconnect the main power source or switch off the circuit breaker.
Step 2: Remove the Cover
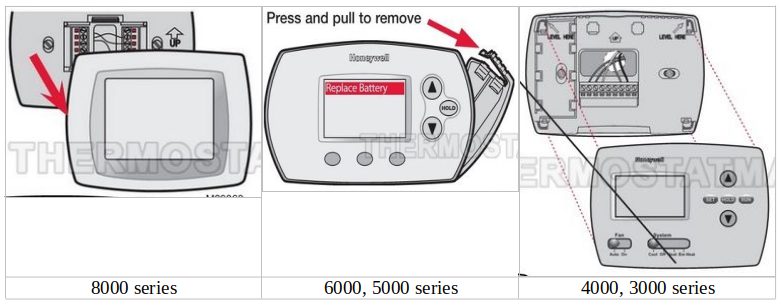
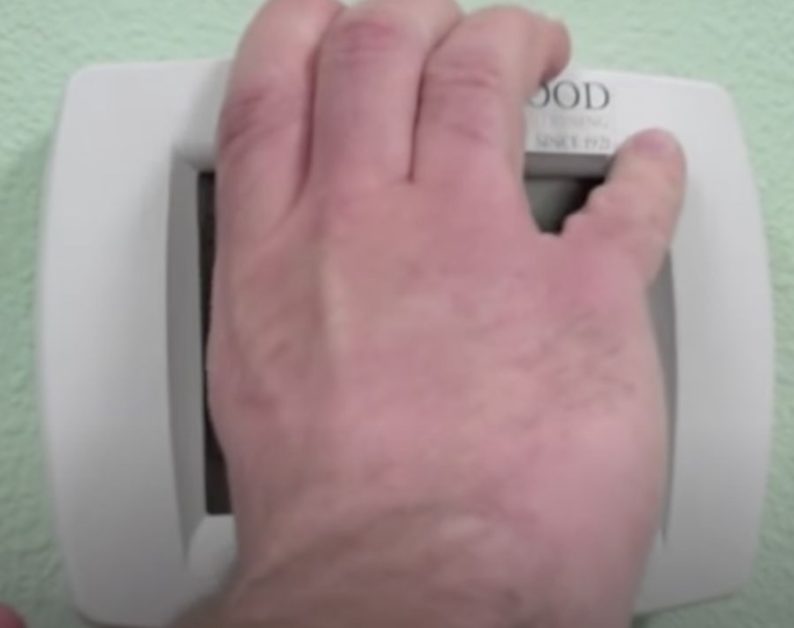
Remove the cover plate by holding the baseplate and gently pulling the lower corner (outer edge) to dislodge it.
A manual for an 8000-series model states: “Grasp thermostat and pull to remove from wallplate.” The procedure is the same for models in the 4000 and 3000 series, whereas you don’t need to do this if it’s from the 6000 and 5000 series.
Carefully detach the cover from the main unit. You might need to poke a finger under the plastic ring and pull it gently on a non-programmable type. If the cover plate is screwed on, turn the electricity off before removing the cover and screws. There might be two of them.
Step 3: Slide Out the Battery Compartment
The battery compartment is normally on one of the thermostat’s sides.
It should slide out easily. Otherwise, you might need to push a tab on the top to release a latch holding the compartment, as on models in the 6000, 5000, and 4000 series.
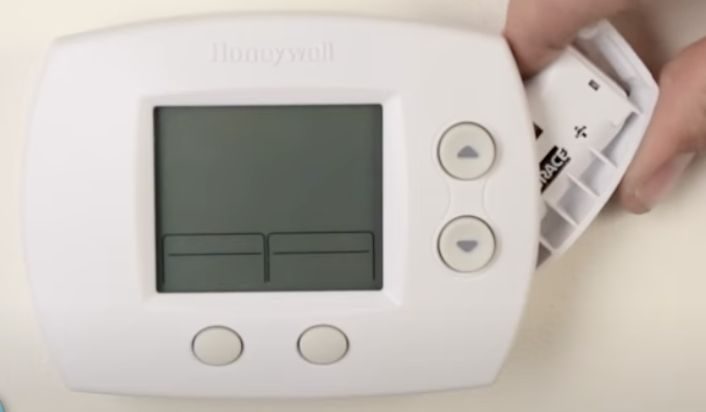
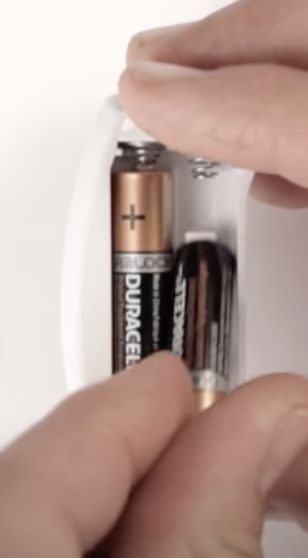
Step 4: Replace the Batteries
The battery compartment may contain two or three 1.5V AA or AAA batteries.
See the table above for how many (3 AAA if 8000 series; 2 AA if 6000, 4000, or 2000 series; 2 AA/AAA if 5000) and below for where the batteries are typically located.
Replace all of them unless you are willing to test each battery’s charge, which should not exceed 1.1-1.2 volts.
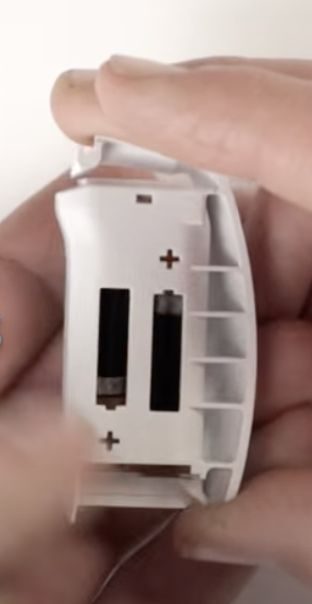
Insert the new batteries correctly, observing the correct positive and negative polarities.
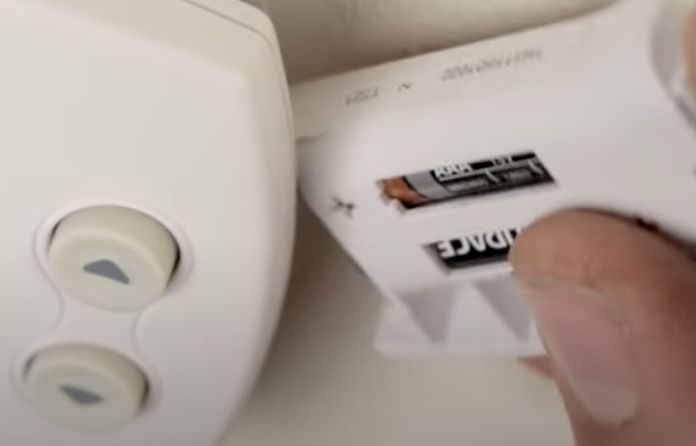
Step 5: Reinsert the Battery Compartment
Slide the battery compartment back into place after inserting the new batteries.
But insert it bottom first this time. Then gently push it until it snaps firmly.
Step 6: Put the Cover Back On
Finally, put the cover plate back on.
Your Honeywell thermostat is now equipped with fresh batteries and ready to be turned back on to resume operation.
References
Honeywell thermostat model RTH7560E. https://www.amazon.com/Honeywell-RTH7560E1001-RTH7560E-Programmable-Thermostat-Extra-Large/dp/B01N79FLMO
Video References
GreenwoodHeatingWA
Service Champions Plumbing, Heating & AC
Williams Plumbing & Heating