8 min read
How to Wire a Dryer Outlet (Quick & Easy Guide)
When wiring a dryer outlet, I know it can initially seem intimidating. But trust me, with some basic understanding of the wiring process, it can be easy(ish :)).
Summary – When wiring a dryer outlet, prioritize safety by turning off the power supply and using insulated tools. Tools include screwdrivers, a socket wrench, a voltage tester, a wire stripper, and a nut driver. Wire connections involve black, red, white, green, or bare copper wire. Connect each to its terminal and ensure the ground and neutral wires are correctly positioned.
So, if you’re ready for a little DIY action, grab your tools, and let’s dive in.
Identifying the Necessary Tools
I cannot stress enough the importance of having the right tools when you’re about to wire a dryer outlet. Trust me; it makes everything easier and safer!
Let me walk you through the essential tools needed.
| Tool | Description |
|---|---|
| Screwdrivers | A variety of screwdrivers is essential, including flat-head and Phillips-head types. Used for removing screws and installing outlets. |
| Socket wrench | Useful for fastening and loosening nuts and bolts associated with power cords and wall receptacles. |
| Voltage tester | Critical for safety, it checks if a circuit is live. Always confirm power is off before starting work. |
| Wire stripper | Important for cleanly stripping wire insulation and ensuring secure connections. |
| Nut driver | Handy for tightening fixture nuts, making the process smoother and more efficient. |
With these tools, you’re ready! Remember to work carefully and always double-check before proceeding to the next step.
Wiring the Dryer Outlet
Here’s a simple, step-by-step breakdown to make it easy for you:
Step 1. Gather your Materials: Make sure you have the wires, screws, and tools needed for this project. You’ll need black, red, white, and green wire (or bare copper) for your connections.
Step 2. Turn off the Power: Before working with any wires, always ensure the power is off to avoid accidents.
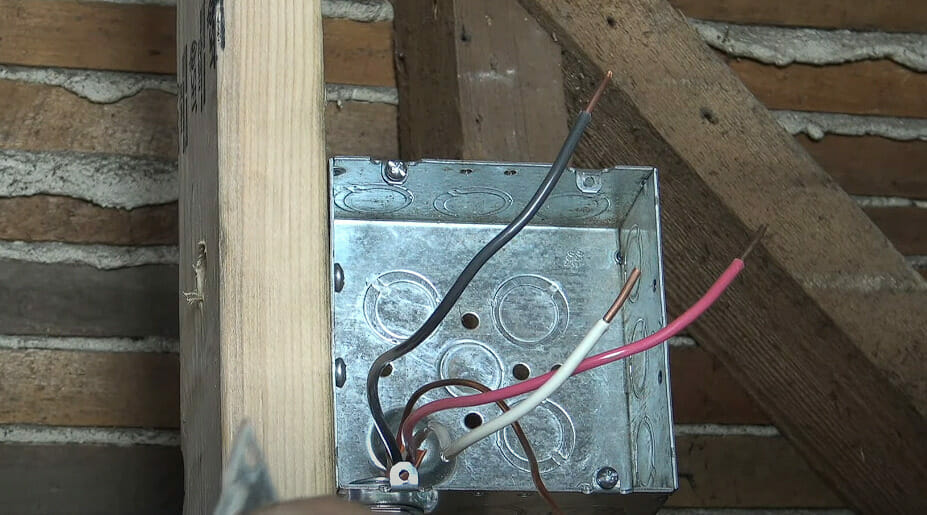
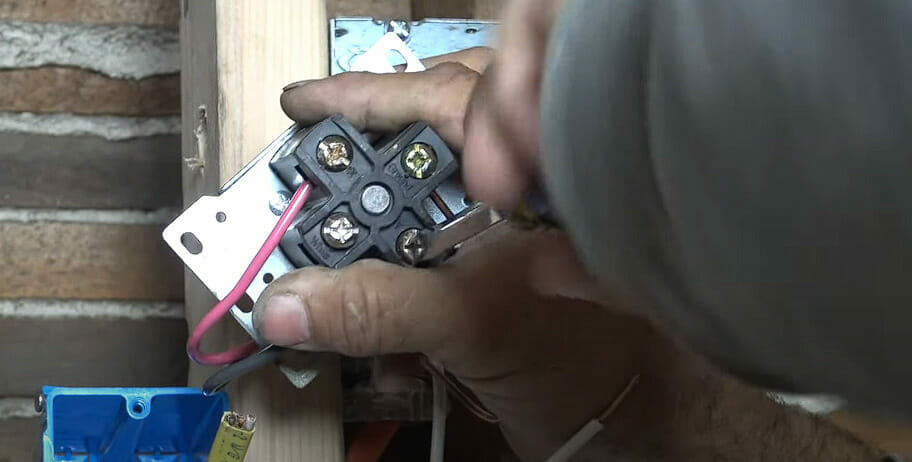
Step 3. Identify the Terminals: Each wire on the dryer outlet will have a terminal block with different terminals.
The red wire will connect to the red terminal, the black wire will connect to the black terminal, and the white wire will connect to the neutral terminal.
Lastly, attach the green or bare copper wires to the ground terminal.
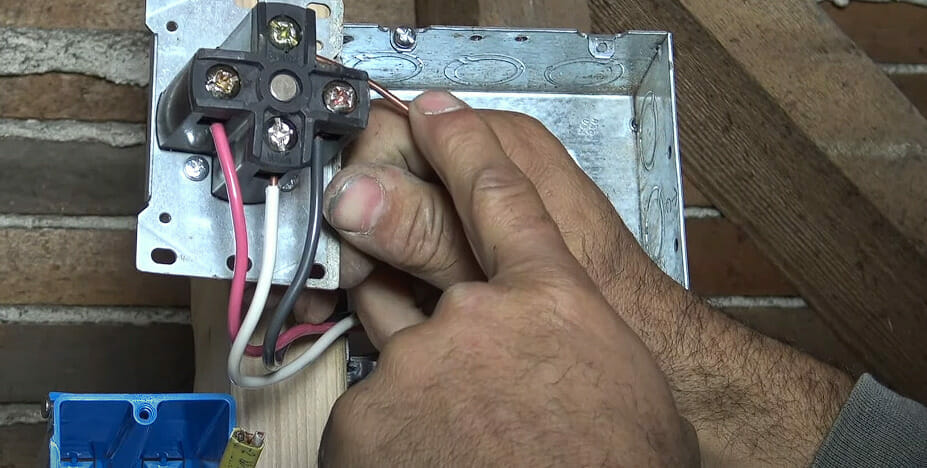
Step 4. Connect the Wires: Strip the ends of the wires (if needed), then secure each one to its corresponding terminal using screws. Make sure to tighten the screws firmly to keep the wire connections secure.
Step 5. Check your Ground and Neutral Wires: The ground wire (green or bare copper) should connect to the ground connection, while the neutral wire (white) will go into the neutral slot. Connecting these wires correctly for safety and proper dryer function is essential.
And that’s it! By following these steps, you’ve successfully wired your dryer outlet. Remember always to stay safe when working with electricity and ensure you have the correct wiring, terminals, and tools before starting.
Finalizing Installation
Alright, let’s wrap up this dryer outlet installation!
It’s time to secure everything once you’ve connected all the wires to their respective terminals.
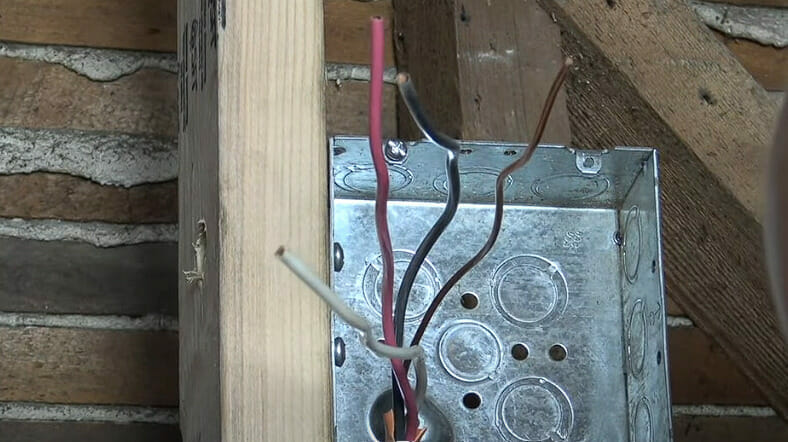
Step 1. First, gently push the wires back into the outlet box. Be careful with the insulation to not damage it while tucking the wires in.
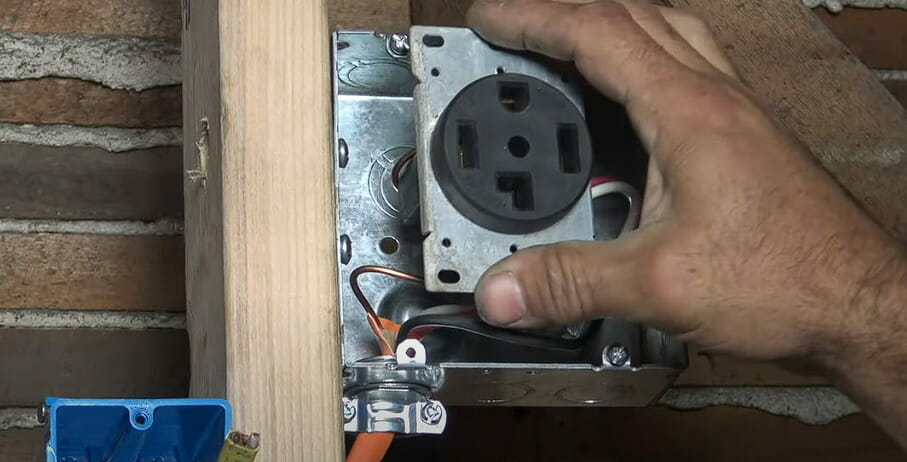
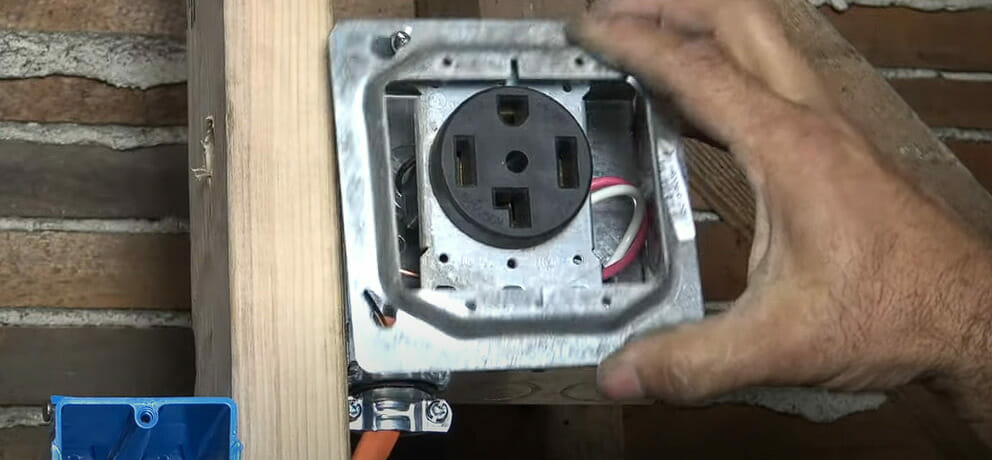
Step 2. Now, grab the outlet cover plate and align it with the outlet. Go ahead and screw it into place, making sure it’s firmly attached. With the cover plate in place, your installation will look neat and provide an extra layer of safety.
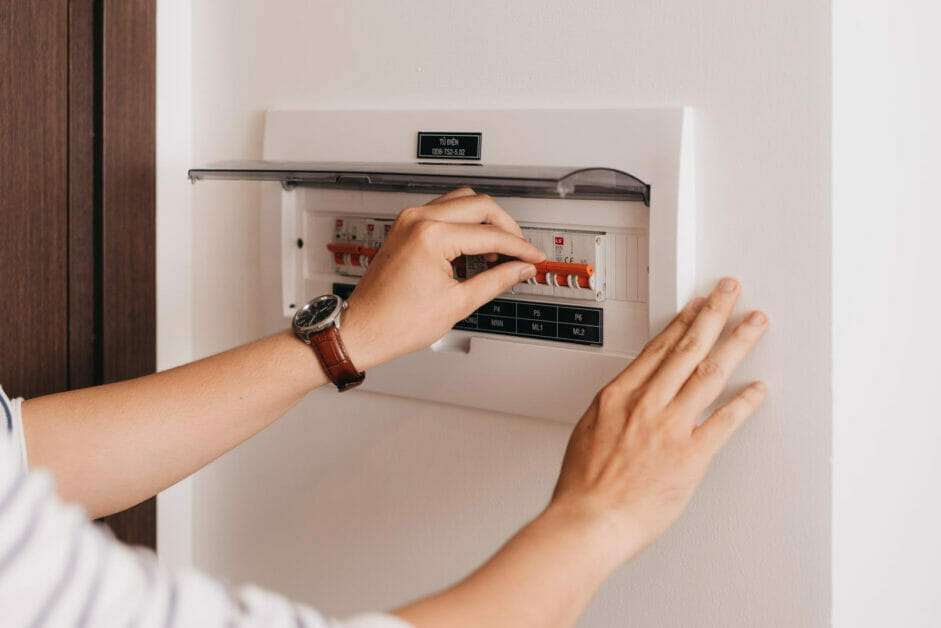
Step 3. Lastly, head over to your main circuit breaker panel. Locate the breaker corresponding to the dryer circuit, and switch it back on. This will complete the electrical connection, and your dryer should be ready!
Remember, if you’re unsure or have any doubts about the installation process, don’t hesitate to call a professional electrician. There’s no harm in getting expert help to ensure a safe and reliable installation.
And that’s it! Your dryer outlet is all set up, and you can now enjoy the convenience of a fully functional electric dryer.
Post-Installation Safety Measures
- Invest in a high-quality surge protector. Your dryer works hard, especially during those intense laundry days, so protecting it from sudden electrical spikes can save you costly repairs.
- Keep some electrical tape handy. You never know when you’ll need some extra insulation or if you need to change the wiring later.
- Metal frames and cases can be shock hazards, so always double-check that the dryer’s metal chassis or panel box is properly grounded. This step can save you from potential sparks or fire.
Following these safety measures ensures that your dryer outlet serves you well, keeps you safe, and helps avoid unwanted shorts or shocks.
Other Considerations
When wiring a dryer outlet, it’s essential to consider several aspects, such as plug types, conductors, and the power needed by clothes dryers.
I’ve learned that electric dryers typically require a 30 amp circuit breaker and a special outlet with either three or four prongs.
The conductor size is vital for safety; a thicker wire can carry more power safely. I usually recommend using a 10-gauge wire for a 30-amp circuit.
Remember, the lower the number, the thicker the wire. Now, let’s talk about grounding. A grounding strap is essential to ensure the dryer maintains a proper connection to the ground, preventing electrical shock dangers.
I find installing a grounding strap to be an easy project. When connecting your electric dryer, be mindful of the heating elements. These elements require a 240-volt power supply.
In contrast, the dryer’s timers, sensors, and electronics require a 120-volt power source.
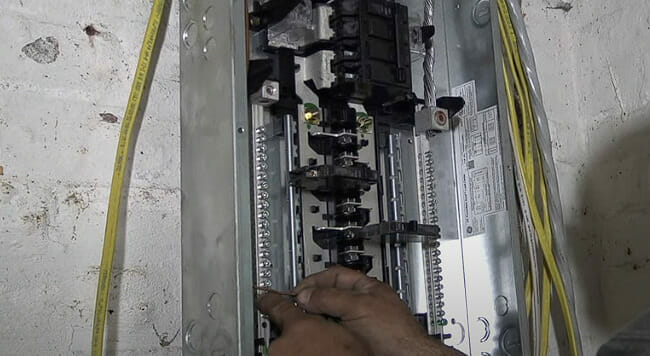
Now, let’s discuss the neutral bus bar. It is crucial to ensure proper wiring and safe operation. When securing the white neutral wire, I always connect it to the silver terminal.
On the other hand, I connect the black and red wires to the left and right terminals (respectively) for the hot 240-volt connection.
By following these guidelines and keeping these considerations in mind during the wiring process, my dryer outlet installations go smoothly every time.
References
Organizations:
- National Electrical Manufacturers Association (NEMA). https://www.nema.org/
- National Fire Protection Association (NFPA). http://www.nfpa.org/
Websites:
- The Family Handyman. https://www.familyhandyman.com/
- The Spruce. https://www.thespruce.com/
- Electrical Safety Foundation International (ESFI). https://www.esfi.org/
Video References:
askmediy