10 min read
How to Wire a 220 Breaker (8 In-Depth Steps)
If you’ve ever wondered how to wire a 220 breaker, you’re in the right place.
Working with electricity is a serious business; safety should always be your top priority. I’ll walk you through everything from gathering the right tools to connecting wires properly. By the end of this article, you’ll have a solid understanding of what it takes to wire a 220 breaker like a pro.
Here’s a quick overview of the 8 steps to wire a 220 breaker:
- Step 1: Ensure the power is OFF
- Step 2: Identify the neutral (white) and hot legs (red, black, and blue).
- Step 3: Use a 120/240-volt two-pole breaker that connects to two 120-legs
- Step 4: Connect the green wire to the green outlet slot
- Step 5: Ensure at least one box in your line is grounded
- Step 6: Choose a 20- or 30-amp, 250-volt outlet
- Step 7: Test the system before using any machines
- Step 8: Add protective covers and label the outlets
Now, take a deep breath and put on those gloves. It’s time for us to face that breaker box together!
Understanding the 220-Volt Electrical System

Ready to jump into the 220-volt electrical jungle?
At first glance, it can seem a bit wild, but here’s a secret: it’s just two 110-volt circuits teaming up on a shared wire. Now, the special sauce? A double-pole breaker that sends power down two wires simultaneously – that’s your 220-volt magic!
And breathe easy for those worrying about the “high voltage” tag. Your electric dryers and ranges crave this connection, and if things get a bit out of hand, the double-pole breaker’s dual switches have your back, cutting power in a snap.
When it comes to electricity, knowledge is your safety net. Stay sharp, and always play it safe!
Essential Tools and Materials for Wiring a 220 Breaker
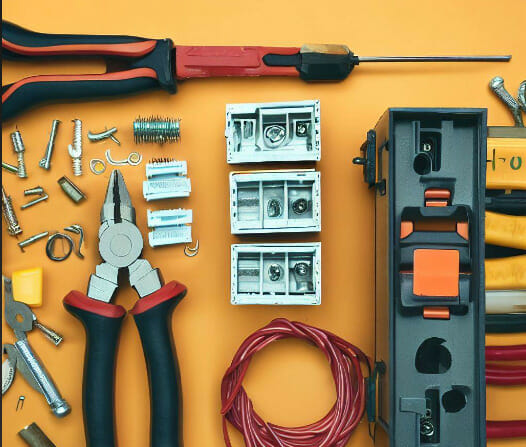
Before getting our hands dirty, I will break down the essential tools and materials you’ll require for wiring a 220 breaker.
- Double-pole Circuit Breaker: No shortcuts! Get one that’s in sync with your panel’s brand and type.
- 10/3 NM-B Wire: Perfect for the 220-volt action. Look out for the three conductors: black (hot), red (hot), and white (neutral). And yep, don’t leave that bare copper ground wire behind.
- Wire Stripper: Precision is key – you want to strip, not snip.
- Screwdriver: An old friend that never lets you down.
- Multimeter
- Wire Connectors/Nuts: Small but mighty – these little buddies are crucial.
Step-by-Step Guide to Wiring a 220 Breaker
Alright, DIY enthusiasts! Let’s get those hands dirty and walk through the 220 breaker dance:
Step 1: Safety First
Just like securing an area before demolishing it, ensure the power is OFF. Double and triple-check, and then check again. Use a voltage tester on every wire to ensure you’re working safely.
Step 2: The Electrical Box Tour
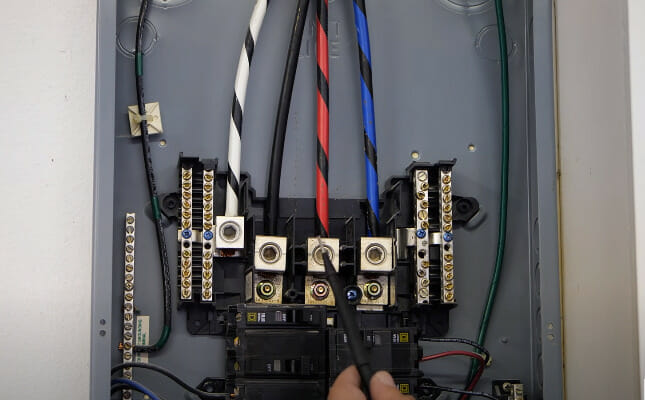
Peek into your electrical box. Homes usually have two 120 inputs. Spot the white wire? That’s your neutral. Red, black, and blue are the hot legs at 120 each. Always keep track of the ground!
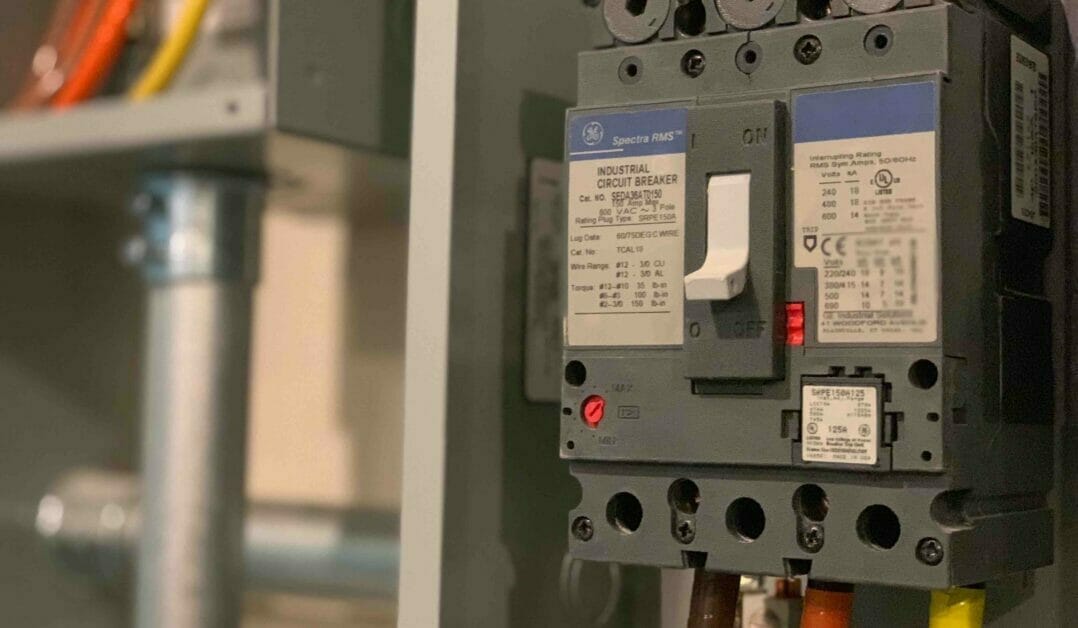
Step 3: Time for the Two-Pole Breaker
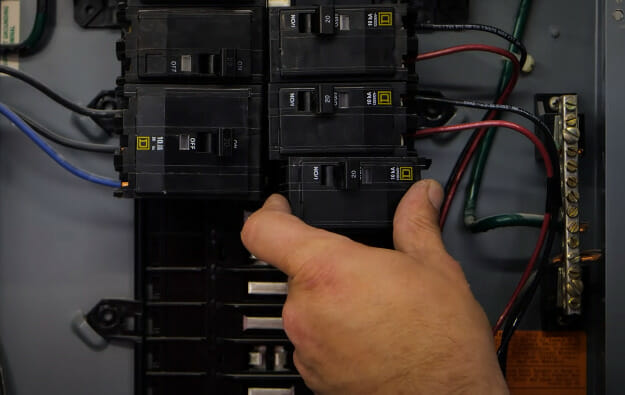
We use a 120/240-volt two-pole breaker. Think of it as the ultimate power couple of breakers. It clips right into the side and connects to two 120 legs. It’s like setting up a stage for our home makeover shows – it’s got to fit just right.
Step 4: Wiring the Breaker
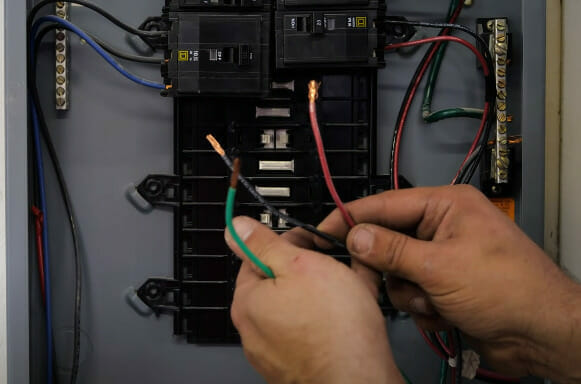
220 is super straightforward – you’ve got a ground and two 120 wires. Picture a sine wave in a rock song – there’s power and then no power. With 220, the waves run opposite, so there’s always contact! Hook up the green wire to the green outlet slot. As for the 120 wires, it doesn’t matter the order! Just like in home design, sometimes it’s about what feels right.
Step 5: Grounding
Every electrical system needs grounding – it’s like the foundation of a home. If you’re running several outlets, ensure at least one box in your line is grounded. This keeps everything stable and safe.
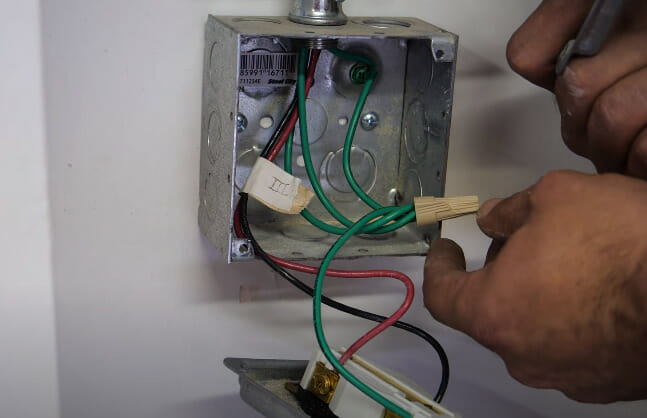
Step 6: Installing the Outlet
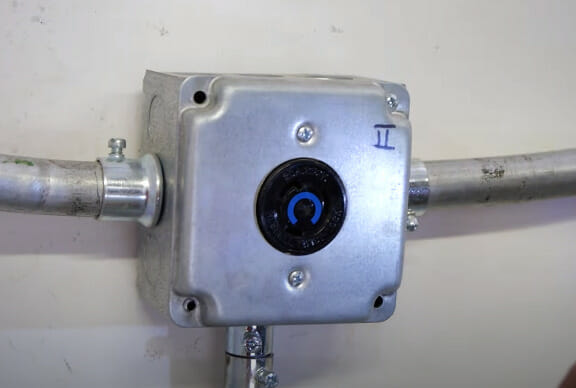
Go with a 20- or 30-amp, 250-volt outlet. Think of the outlet as the front door of your electrical system. Make sure to punch out the correct slots for your wires, and remember, twist locks are like that fancy door with an extra lock – just a bit more secure.
Step 7: Power Test
Before you start any machines, always test the system. Like checking the work after a massive home makeover, we want to ensure everything is in tip-top shape.
Step 8: Last Touches
Add any protective covers and label the outlets. It’s always good to know which switch powers what, right?
Avoiding Common Mistakes in 220 Breaker Installation
Let’s discuss some pitfalls of wiring a 220 breaker and how to dodge them.
First up, safety. It’s the alpha and omega. Always, and I mean ALWAYS, shut off that main power and arm yourself with those trusty insulated tools. And wire size? That’s a biggie. Those chunky appliances need thicker wires, so if you’re scratching your head, flip open that appliance manual or give your electrician buddy a ring.
Colors in wiring aren’t just for aesthetics; they have a purpose! Green, white, red, black – they’re all telling a story. Mix them up, and you’re setting the stage for an electrical drama. Speaking of drama, placing double pole breakers? They need two adjacent slots, like an inseparable power couple.
Ultimately, it’s better to call in the pros if there’s a whisper of doubt. Listen, it’s not a retreat; it’s ensuring things are done right.
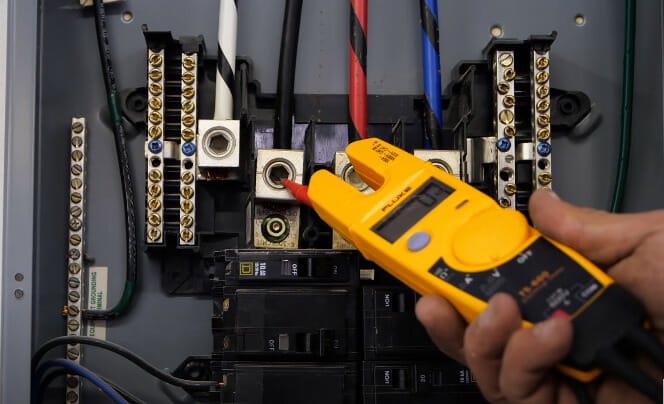
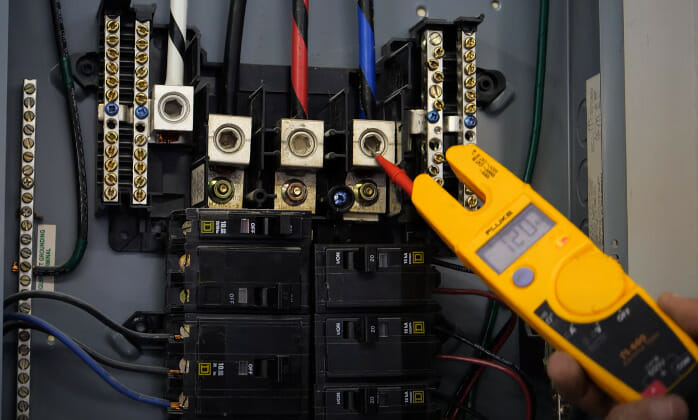
How to Test the Installed 220 Breaker for Functionality
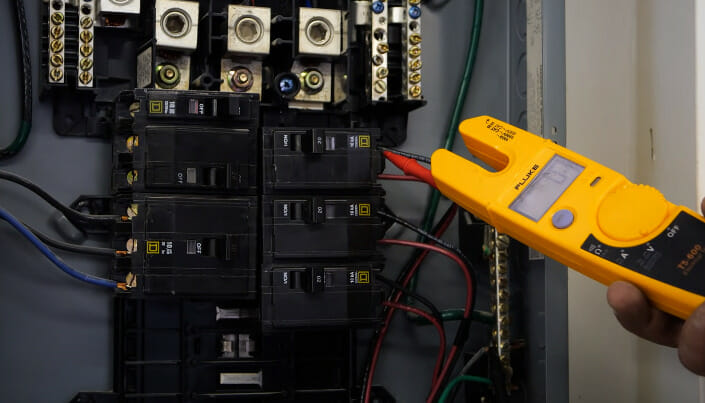
So you’ve wired up that 220 breaker, which looks sharp. But the big question – is it doing its job? Let’s roll up our sleeves and dive into the world of testing.
- Multimeter Magic: First, grab that lifesaver – the multimeter. It’s the Swiss Army knife for electrical work. Put one probe on the neutral bus bar (the white wire hub) inside your panel with your breaker turned on. The other? Right onto one of the screws of your fresh-off-the-boat breaker. If that multimeter sings a tune close to 120 volts, you’re on the right track!
- Switch it Up: Shift that probe from the first screw to its twin on the breaker. Now, if your multimeter’s dancing around 240 volts, it’s like music to our ears – both halves of your circuit are rock stars.
- Decipher the Readings: Any number that’s a far cry from 120 or 240 volts means it’s troubleshooting time. No sweat! These things happen.
- Safety Siren: Always remember, if you’re walking on thin ice, call in the big guns – the pros. Because when we’re playing in the Voltage big leagues, safety’s the name of the game!
Rock on with your safe, electric self!
Potential Issues and How to Troubleshoot Them

You might run into a few snags when wiring a 220 breaker. Don’t worry – I’ve got your back! Here are some common problems and how to troubleshoot them.
| Problem | Possible Causes | Solutions |
|---|---|---|
| Breaker Tripping Frequently | 1. Overloading | Distribute devices across different circuits. |
| 2. Short Circuits | Inspect for exposed or damaged wiring. If found, correct or replace. | |
| No Power | 1. Faulty Wiring | Inspect all connections to ensure they’re tight and properly fitted. |
| 2. Internal Fault in Breaker | Consider replacing the 220 breaker. | |
| Flickering Lights | 1. Loose Connections | Check wire connections at the breaker panel and tighten any loose ones. |
| 2. Voltage Fluctuations | Ensure a stable power source. If the issue persists, consider consulting a professional. |
Let me give you an important tip – always turn off the main power before working on electrical panels to avoid electrocution!
Remember, dealing with electricity is tricky, so if these troubleshooting tips don’t solve your problem, it might be best to call in a professional electrician. I hope this helps! Happy DIYing!
References
Books:
- “Wiring Simplified” by Frederic P. Hartwell, Herbert P. Richter, and W. Creighton Schwan. https://www.amazon.com/Wiring-Simplified-Based-National-Electrical/dp/0997905328
- “Ugly’s Electrical References” by Jones & Bartlett Learning. https://www.amazon.com/Uglys-Electrical-References-Bartlett-Learning/dp/128411936X
- Black & Decker The Complete Guide to Wiring. https://www.amazon.com/Black-Decker-Complete-Photo-Wiring/dp/0760371512
Organizations:
- National Electrical Contractors Association (NECA). https://www.necanet.org/
- National Electrical Manufacturers Association (NEMA). https://www.nema.org/
- Occupational Safety and Health Administration (OSHA). https://www.osha.gov/
Websites:
- Electrical Safety Foundation International (ESFI). http://www.esfi.org/
- Mike Holt’s Enterprises. https://www.mikeholt.com/
Video References:
Jonathan Katz-Moses