9 min read
How to Wire a 220 Outlet (Easy Step-by-Step Guide)
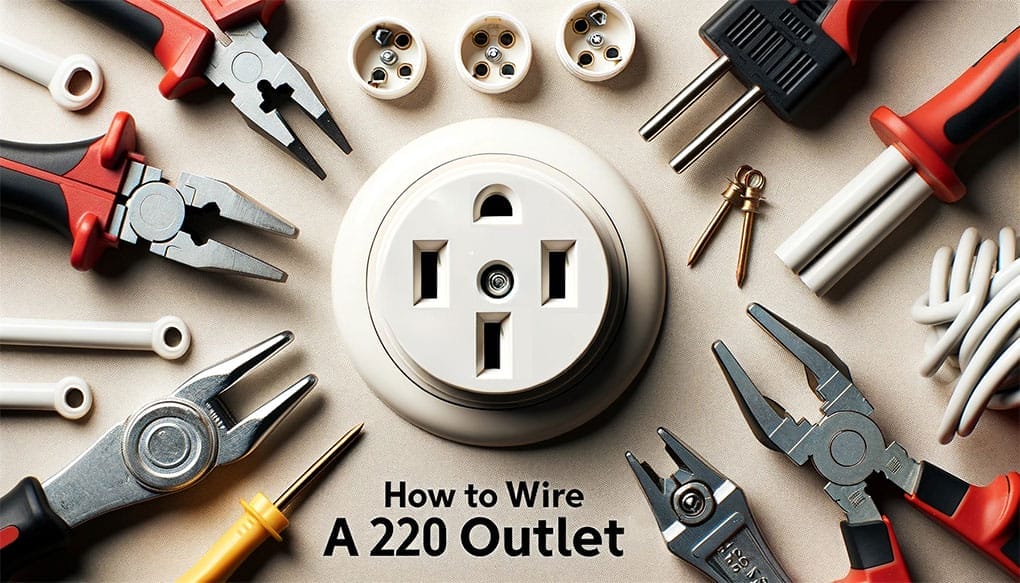
So you’re looking to wire a 220 outlet, huh? Well, you’ve come to the right place! I’m going to take you through this process step by step.
Quick Overview
| Step | Instructions |
|---|---|
| 1 | Turn off the power at the circuit breaker. |
| 2 | Use insulated gloves, safety glasses, and non-conductive shoes. |
| 3 | Check equipment for defects and ensure ventilation. |
| 4 | Choose the right 30-amp double-pole breaker and 10-gauge wire. |
| 5 | Connect wires as per color coordination. |
| 6 | Test your outlet using a multimeter. |
So let’s dive into this electrifying adventure together and light up our knowledge bulbs (pun intended!).
Safety Precautions to Take Before Installation
Before we jump right in, we must talk about safety. After all, working with electricity isn’t a game, and you don’t want to be on the losing end.
So let’s dive into some key precautions before installing a 220 outlet.
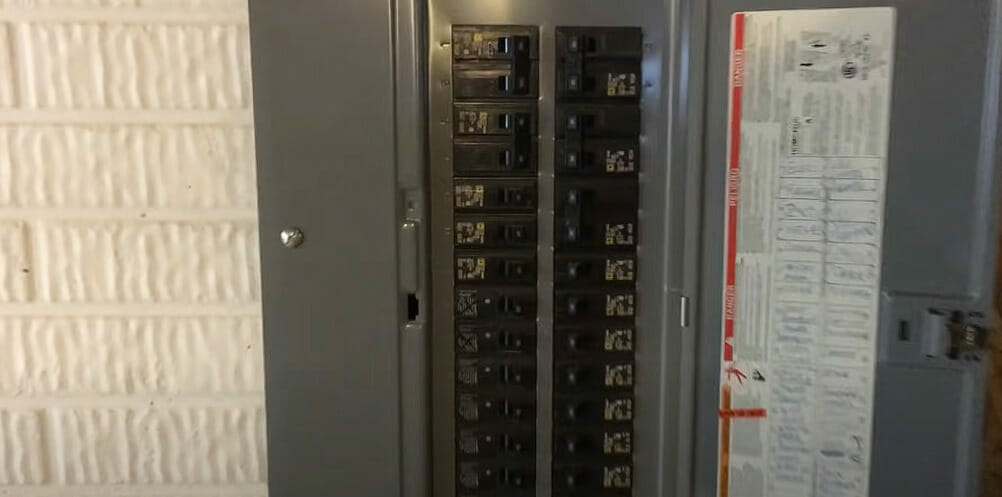
First off, turn off the power. I can’t stress this enough: Turn off the circuit breaker! It might seem like an obvious step, but it’s easy to get caught up in the excitement of a new project and forget.
Next, gather your protective gear. You’ll need insulated gloves and safety glasses at a minimum. Remember what I said about not playing games? This stuff is important. Electricity can arc or spark unexpectedly; these tools protect your hands and eyes from harm.
Finally, only use electrical equipment that has been checked for any defects, such as frayed wires or cracked insulation. And ensure that your workspace is well-ventilated – vital if you’re soldering wires.
Here are those points again:
- Turn off power
- Use insulated gloves and safety glasses
- Wear non-conductive shoes
- Check all equipment for defects
- Ensure proper ventilation
In addition to these basics, consider hiring an experienced professional if you’re unsure about anything during the process – there’s no shame in getting help!
Choosing the Right Breaker and Wire Size

So, you’re ready to wire a 220 outlet! The next step is ensuring you have the right breaker and wire size. You’re setting yourself up without the right gear for safety hazards or appliance damage. So let’s dive in!
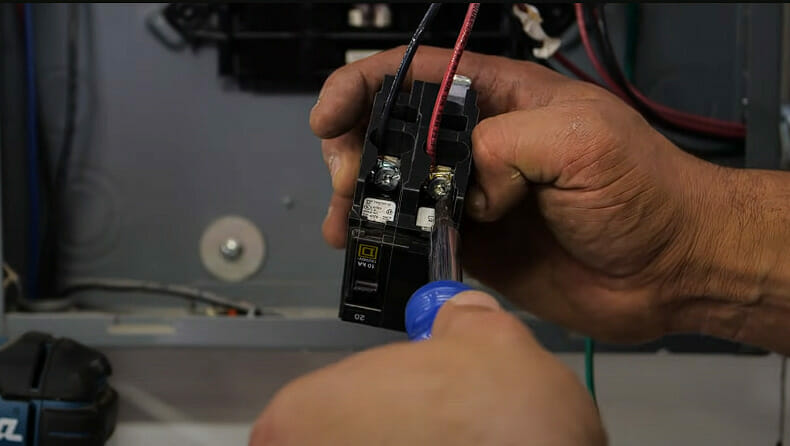
First, it’s crucial to understand that every electrical job starts with safety considerations. Your breaker needs to match your outlet. For most 220-volt outlets, this means using a double-pole circuit breaker to handle two hot wires.
Though grabbing any old breaker off the shelf might be tempting, I’d recommend against it. It’s important to use a 30-amp double-pole breaker for most residential 220-volt circuits – air conditioners or electric heaters.
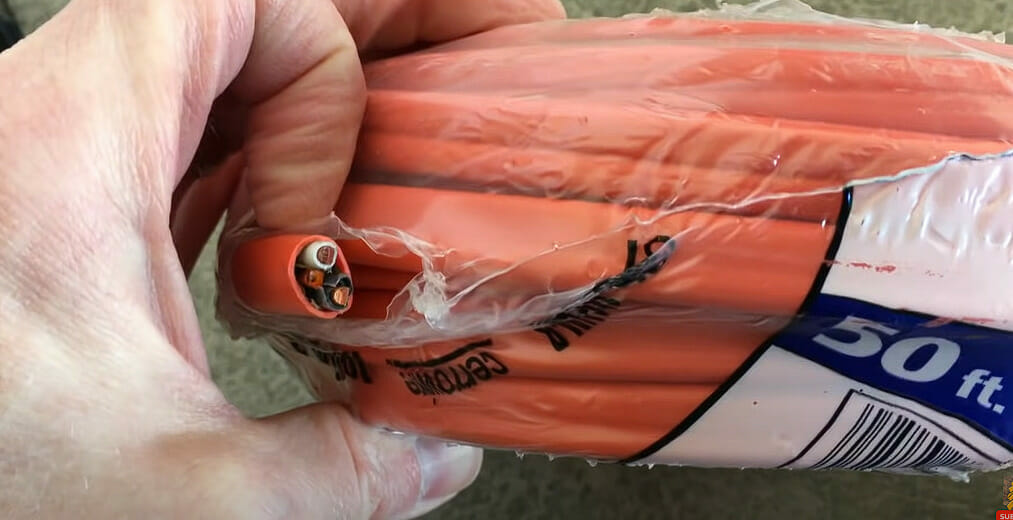
Moving on from breakers, let’s talk wires! Wire gauge (or thickness) matters because thicker wires carry more current without overheating.
Typically, for a 220-volt outlet, we’re talking about 10-gauge wire thick enough to carry the load of most household appliances safely. Just remember: lower numbers mean thicker wires when it comes to wire gauges!
Don’t just take my word for it! Always check your appliance owner manual or consult an electrician if you have doubts about what size wire and type of circuit breaker you need.
Steps to Install a 220 Outlet Properly
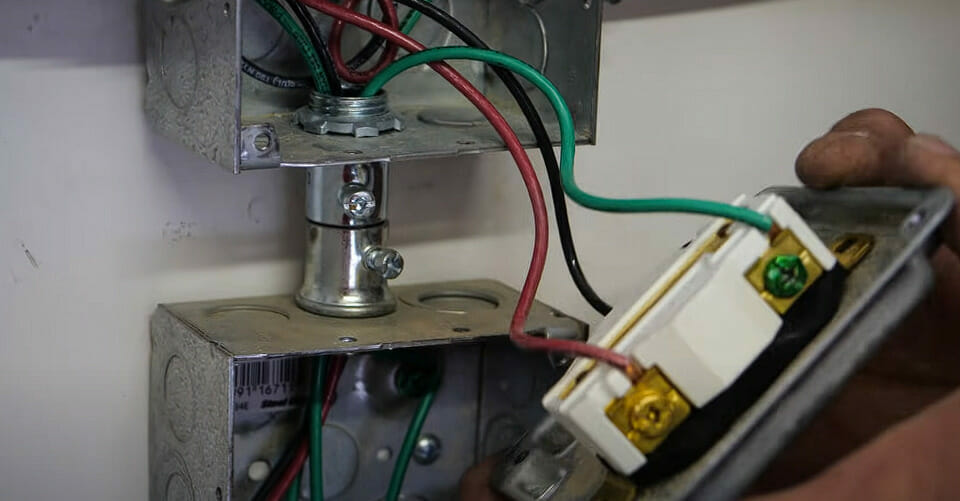
Step 1. Getting your wires ready. You’ll need three wires: two hot wires (usually black and red) and the ground wire (green or bare copper), which isn’t counted among these three.
Step 2. Now that we’ve sorted out our safety precautions and materials let’s move on to step two: connecting the wires. This can be tricky, so pay attention:
- Black and Red Wires: They go to either side of the breaker.

- Green or Bare Copper Wire: Make sure it goes straight to the grounding bus bar.
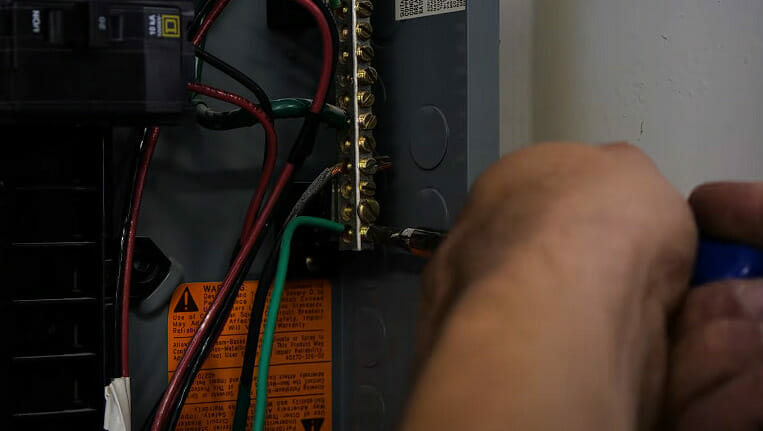
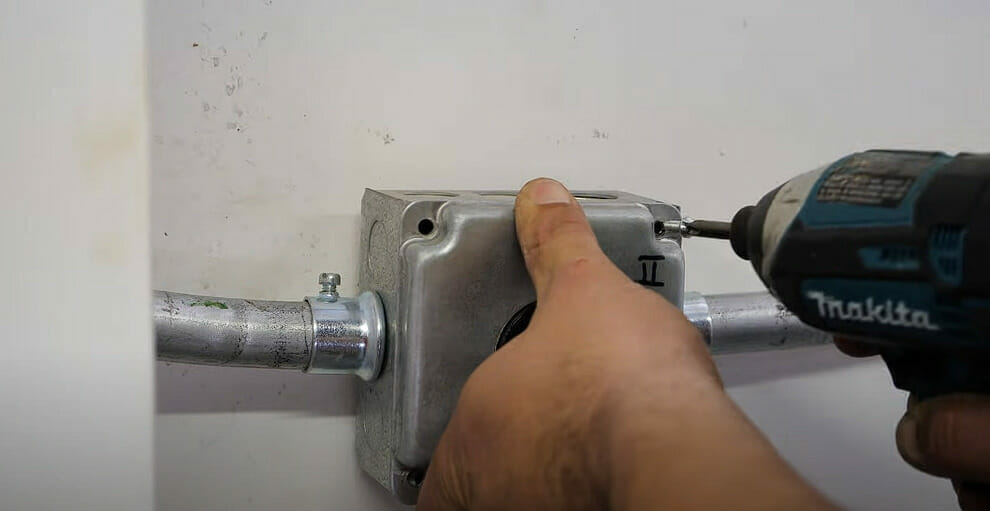
Step 3. Next up is securing those connections with screwdrivers. Tighten them up but be careful not to overdo it; we don’t want any stripped threads here.
Step 4. Finally, connect those circuit wires to your new 220 outlet following color coordination as before: black/red go together green/bare copper finds its home at the green grounding screw.
And voila! Your 220 outlet wiring adventure has come full circle – safely and properly done!
Common Mistakes to Avoid During Installation
We’ve all been there – midway through a DIY project, and suddenly, we hit a snag. It’s not fun! I’m here – to help you avoid those common pitfalls when wiring a 220 outlet.
First up on our list is forgetting to turn off the power. Now, you’d think this would be obvious but trust me, it happens more often than you’d imagine. It’s also one of the most dangerous mistakes you can make, so always remember: before starting any electrical work – shut off the power!
Next up, there’s the old classic mistake of using the wrong wire size or type. If it’s too small, it won’t carry enough current; if it’s too large, it won’t fit properly in your outlet. So how do you know what size to use? The answer lies in good ol’ Ohm’s law – Voltage (V) = Current (I) x Resistance (R).
Here are some handy numbers:
| Wire Size | Max Current |
|---|---|
| 14 AWG | 15A |
| 12 AWG | 20A |
| 10 AWG | 30A |
Thirdly, don’t underestimate the importance of proper grounding. Grounding reduces the risk of electric shock and helps prevent electrical fires by creating a safe path for electricity during a short circuit.
Last but certainly not least: rushing through installation, especially if you’re new to wiring outlets! Take your time and double-check everything as you go along.
Being aware of these common blunders and knowing how to avoid them can save time and money…not to mention keep us out of harm’s way!
Testing Your New Outlet for Proper Function
Alright, we’ve made it this far. You’ve wired up your 220 outlets, and now comes the moment of truth – is it working properly?
Take out your multimeter. This little gadget will be our eyes and ears in this process. Let’s quickly go over how to use one:
- Set the multimeter to measure voltage.
- Take one probe and connect it to one of the slot screws on the side of the outlet.
- The other probe goes into another slot screw.
You’re looking for a reading between 210 and 230 volts when you turn back on the power at your circuit breaker or fuse box (Remember: safety first!).
If that’s what you see, then congratulations! You did everything right, and your new 220 outlet is ready for action. But if not… well, let me give a quick rundown of some possible issues:
- No Reading: Double-check your wiring connections if there’s no voltage reading. It’s possible something wasn’t connected properly during installation.
- Low Reading: A low reading could indicate a problem with your home’s electrical supply or a faulty breaker.
- High Reading: If it’s too high (over 240 volts), that might mean there’s an issue with high voltage from your utility company.
Well, that wraps up our guide on testing. I hope it was helpful! Don’t forget: electricity isn’t something to mess around with carelessly so always exercise caution when dealing with outlets and wiring projects like these!
References
Organizations:
- National Electrical Contractors Association (NECA). https://www.necanet.org/
- National Fire Protection Association (NFPA). http://www.nfpa.org/
Websites:
- The Spruce. https://www.thespruce.com/
- Electrical Safety Foundation International (ESFI). https://www.esfi.org/
Video References:
6th Gear Garage
Jonathan Katz-Moses