10 min read
How to Test Audio Signal with Multimeter? (2 Methods)
Need some help testing an audio signal with a digital multimeter? If so, here are two techniques that can provide positive results.
Are you experiencing bad audio quality output from your speakers? It might be because of the bad speaker. Or it might be a weak audio signal. But how can you know for sure? Today, I’ll teach you two techniques to test audio signals using a multimeter.
To test audio signals with a multimeter, follow these two methods.
- Check the frequency of the audio signal.
- Check the voltage of the audio signal.
Go through the article below for a detailed explanation.
2 Methods to Test Audio Signal with Multimeter
Method 1 – Check the Frequency of the Audio Signal
For this method, you’ll need a digital multimeter to measure frequencies.
Quick Tip: Not every digital multimeter can measure frequency. So, remember to double-check this while you are buying.
Things You’ll Need
- Digital Multimeter
- Old smartphone
- Aux-In cable
- A test tone (with known frequency)
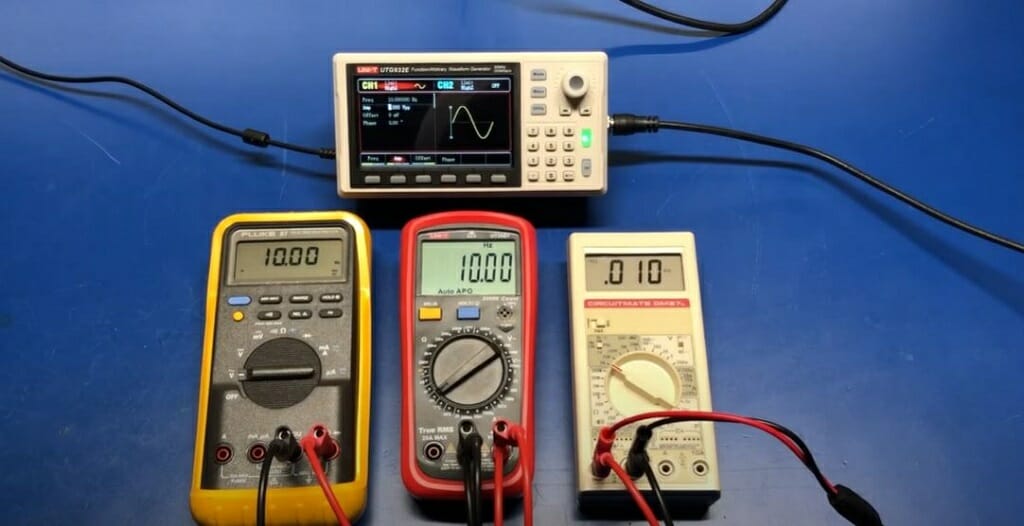
Step 1 – Set up the Multimeter to Measure the Frequency
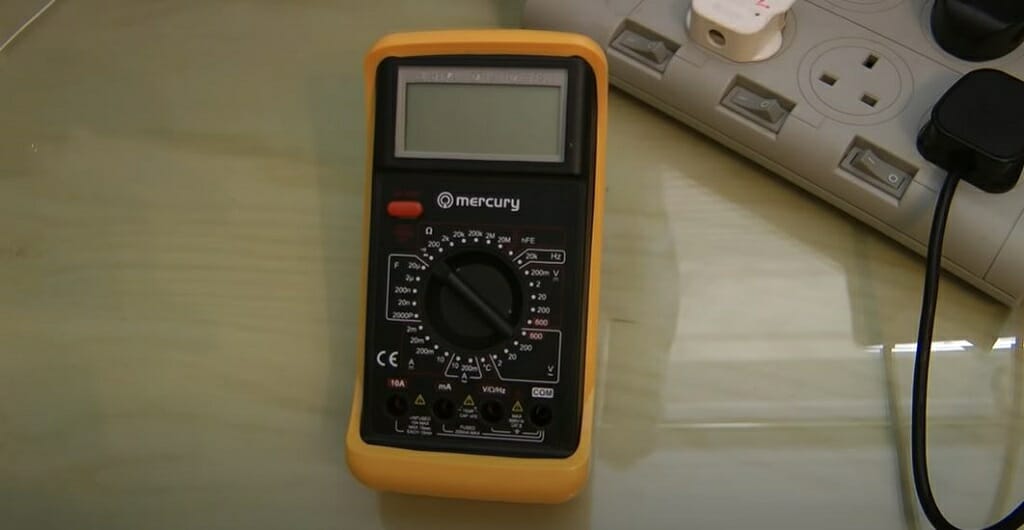
If you ever had the chance to set a multimeter to measure resistance or voltage, this setup process won’t be complicated. However, if you are doing this for the first time, I advise you to read the instruction manual that comes with the DMM.

First, connect the multimeter’s red jack to the VΩHz port. Then, grab the blackjack and connect it to the COM port. Turn ON the multimeter.

Next, turn the multimeter’s dial to the Hz area. As you can see from the image, it is located between the DC volts and hEF settings. However, the location might vary depending on your DMM model.
Step 2 – Disconnect the Speakers
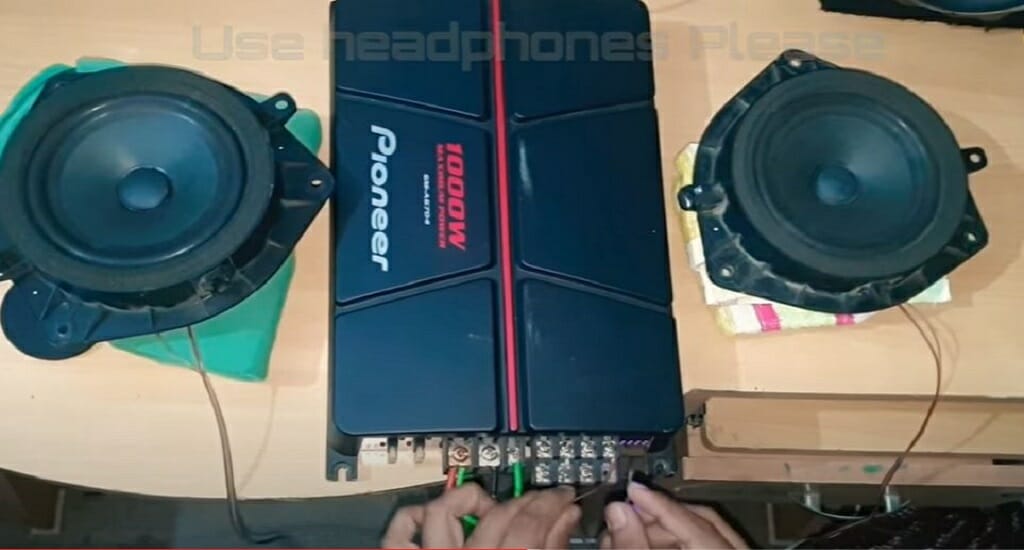
Then, disconnect the speaker from the amp. Testing the amp’s speaker outs is the best way to identify the audio signal strength. Test the speaker separately. That way, you’ll be able to identify the error correctly.
Step 3 – Play a Test Tone

Next, connect the smartphone to the head unit and play the test tone. Here, I’m using a 50Hz test tone.
Quick Tip: The Aux-In cable connects the smartphone to the head unit.
Step 4 – Connect the Probes
Connect the multimeter’s red lead to the positive speaker terminal on the amp. And connect the black probe to the negative terminal.
Step 5 – Inspect the Reading
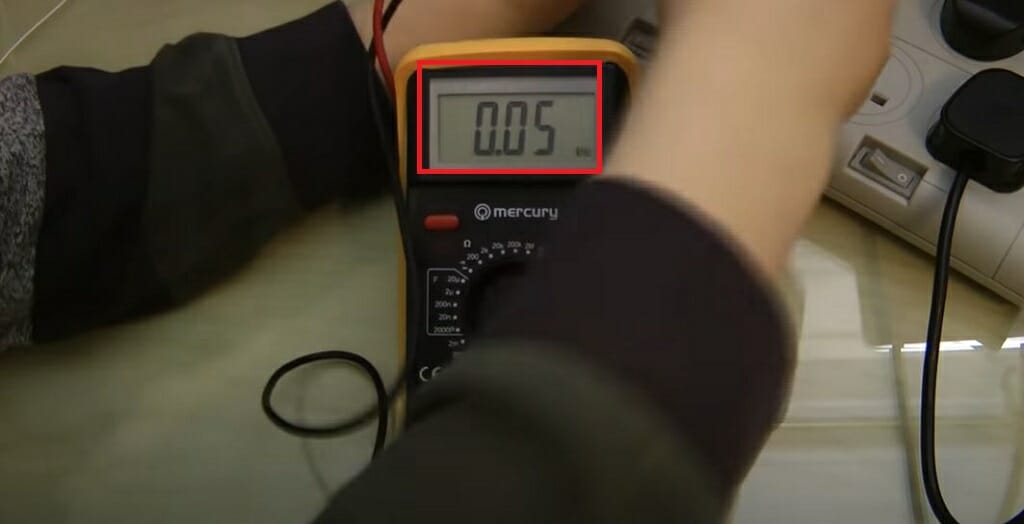
Check the multimeter reading with the frequency of the test tone. As you can see, I’m getting a 0.05KHz reading equal to 50Hz. This means the amp is delivering a solid audio signal.
Important: However, the issue might lie with the speaker if you still get bad audio quality. So, move to step 6 to learn how to test a speaker with a multimeter.
Step 6 – Test the Speaker
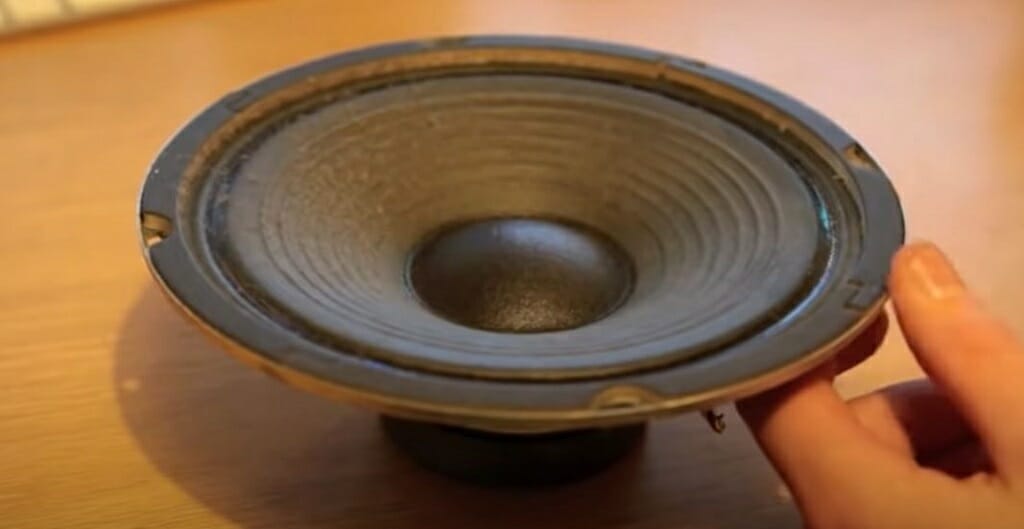
Before running any tests, check the speaker for any physical damage. Use a magnifying glass if needed.
If you cannot find any physical damage, continue the testing process.
To test a speaker with a multimeter, follow these steps.
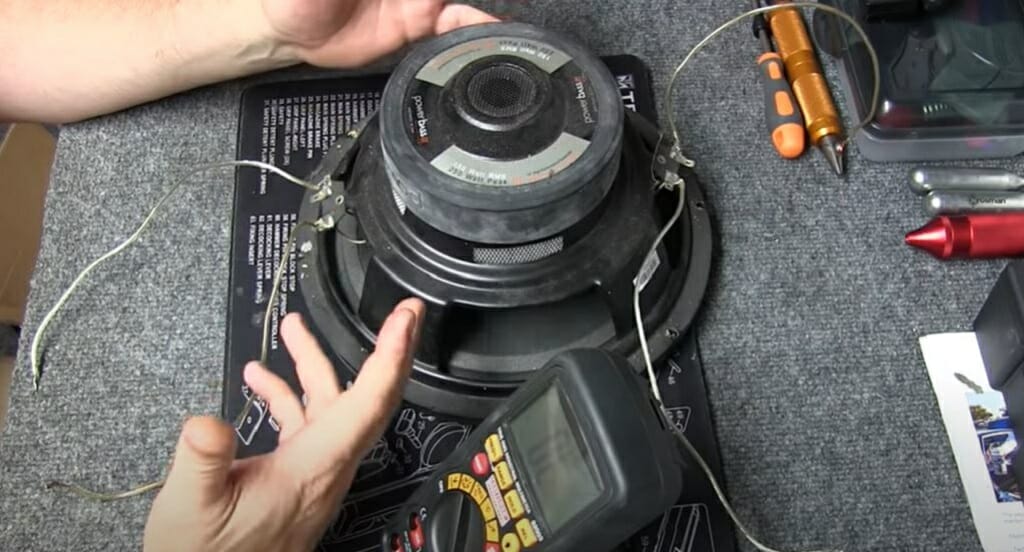
- Figure out the rated ohm value of the speaker.
- Set the multimeter to ohm settings.
- Connect the red and black probes to the speaker terminals.
- Check the ohm reading on the multimeter.
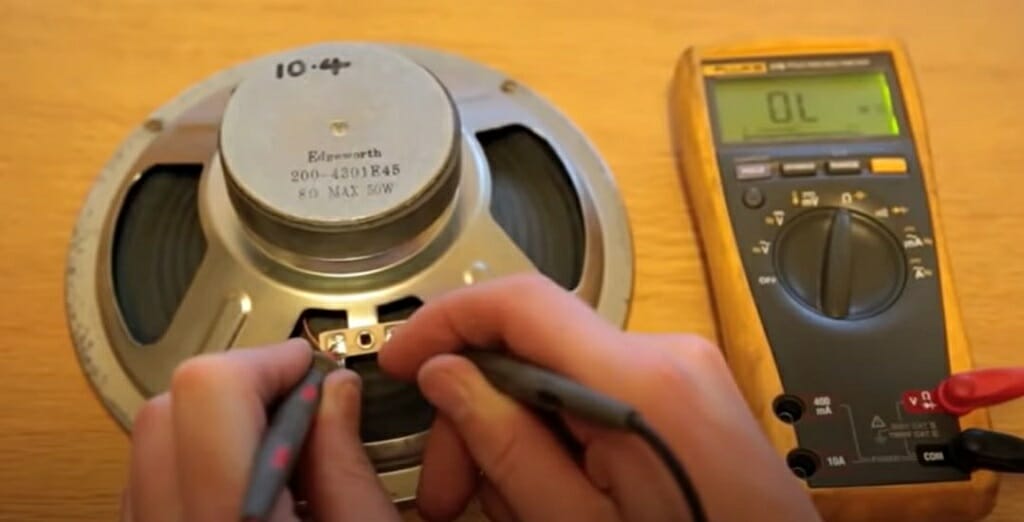
If the reading is OL or 1, the speaker is faulty. Or the multimeter will give you a reading close to the rated speaker ohm value.
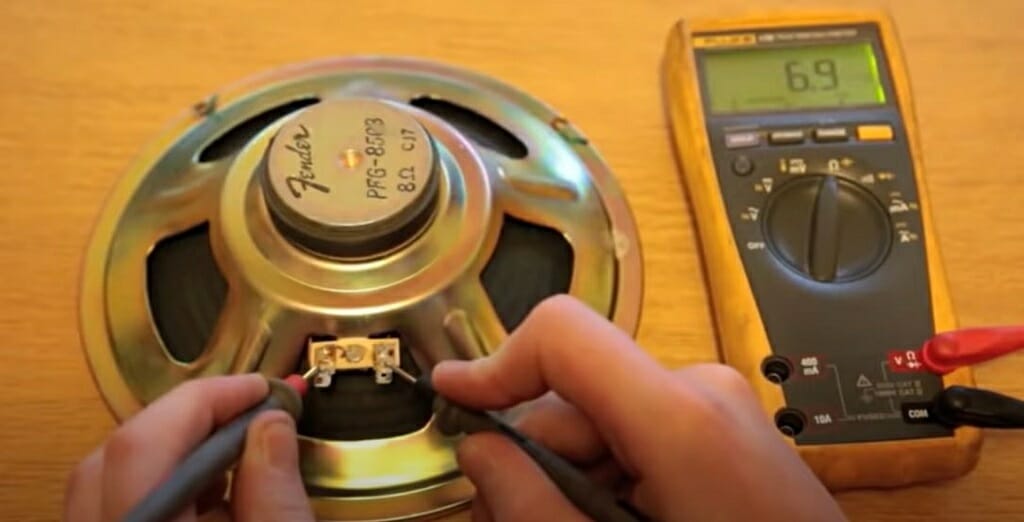
In this case, the rated value is 8Ω. The reading is 6.9Ω, which means the speaker is working properly.
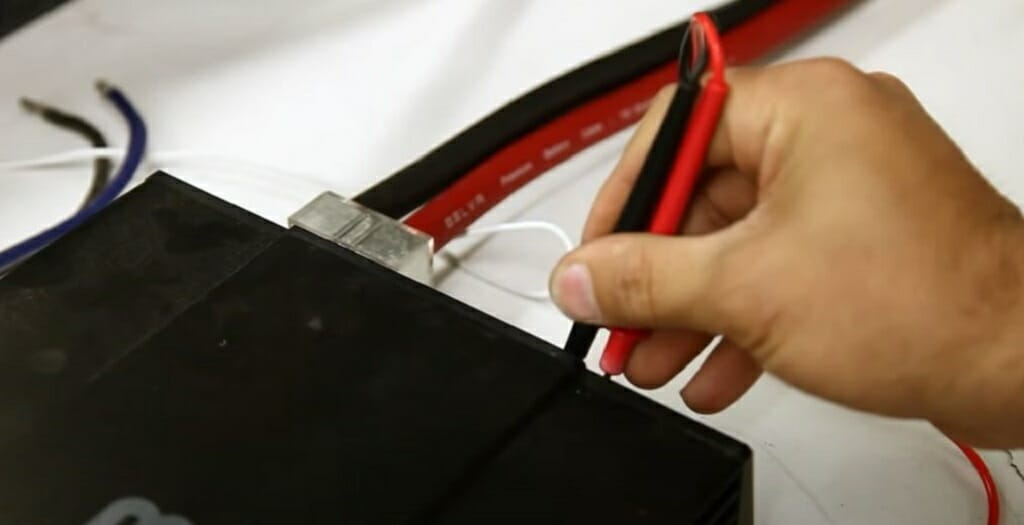
Another Way to Test the Speaker
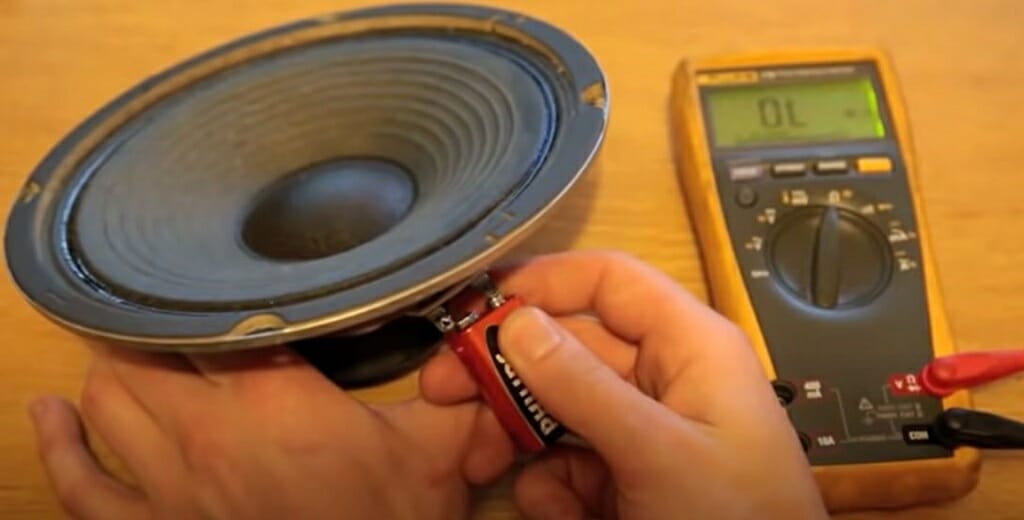
If you don’t have a multimeter, there is another way to test the speaker. For this, you’ll need a 9V battery.
Connect the battery to the speaker terminals, as shown in the image. If the speaker works properly, it will emit a sound similar to an audio-cracking sound.
Method 2 – Check the Voltage of the Audio Signal
Even though method 1 is the most recommended method to test audio signals, you might not have a digital multimeter that can measure frequencies. So, it is better to have a backup plan. In this section, I’ll teach you how to test the audio signal’s strength by voltage.
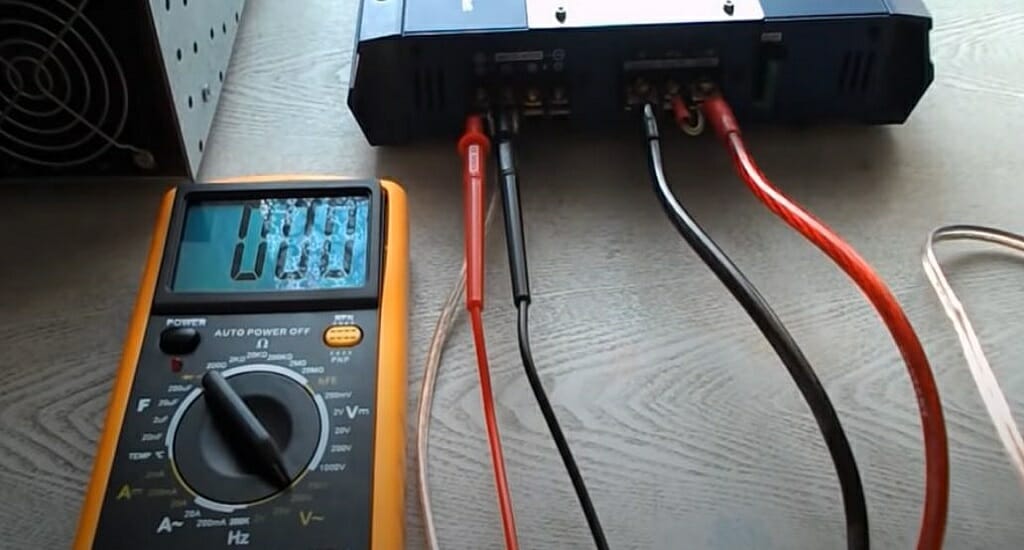
- Set the multimeter to AC voltage settings.
- Connect the probes to the amp’s speaker outputs.
- Adjust the sensitivity if needed.
- Note the reading and disconnect the probes.
- Connect the probes to the signal’s ground and note the reference voltage.
- Calculate the difference between the reference voltage and the step 4 voltage.
- Finally, disconnect the multimeter probes from the amp.
The calculated value in the above testing process will give you a good idea of the audio signal’s strength.
Quick Tip: Try to get an accurate reading for reference voltage.
Also, if you don’t detect any issues in the amp, test the speaker like in method 1.
Should I Check My Speaker Wires?
Yes, you should. If the amp and speaker are working properly and still get bad-quality audio output, the issue might be the wires. So, here are simple methods to check the speaker wires.
- Check the wires for any physical damage. If you cannot detect any damage, move on to the next step.
- Check the wire connections. The wires should connect to the speaker properly. If they are loose, you’ll experience bad sound quality.
- Separate the wires from the speaker and the amp.
- Set the multimeter to ohm settings.
- Connect the two probes to the two ends of a speaker wire. Do the same for the other wire.
- Check the readings.
If the multimeter shows a reading, the wires are working properly. You are dealing with faulty wires if it’s showing an OL reading. This is a simple and quick way to test your speaker wires.
Can I Check the Speaker Output On a Receiver?
Yes, you can. For this, you’ll need a multimeter and follow the steps below.
- Set the multimeter to AC voltage settings.
- Connect the probes to the receiver.
- Play a test tone that has a frequency between 500Hz and 1KHz.
- Check the voltage on the multimeter. It should display a reading between 2.3V and 2.5V.
Important: All the above testing methods will help you improve your audio system. However, if you aren’t comfortable with the above processes, remember to get professional help.
Common Symptoms of a Bad Audio Signal
Before testing the audio signal with a multimeter, you should be able to detect a weak audio signal. Otherwise, you won’t know when to test the audio signal. So, here are some common signs that find a weak audio signal.
Lack of Bass or Treble
This is one of the signs that you can detect easily. The lack of bass or treble can result from the weak audio signal. So, first, check the bass and treble settings and then test the audio signal.
Too Loud Audio
If the speaker’s sound gets loud all of a sudden, it could be an indication of a weak audio signal. So, check all the wire connections, speakers, and amp using the above-discussed methods.
No Sound or Distortion
Distortion can occur due to wrong tuning of the amp, and also, it can occur due to a weak audio signal. So, tune the amp and then test the audio signal’s strength.
Video References
Gary LaRocco
Elliott Veares
Red R Entertainment
TampaTec
Sonic Electronix
FixitSam
Johnnysshop