10 min read
DIY Magic: How to Make the Best Homemade Window Cleaner (Guide)
I don’t know about you, but I love having clean windows and glass doors. However, I used to dread cleaning them because of the cost of the cleaning products and the hassle of finding the right tools.
Luckily, I’ve Got Two Fantastic, Easy-To-Make Recipes that Will Turn Those Grimy Panes Into Gleaming Masterpieces, What I Will Cover:
🍋 Vinegar as a Window Cleaner Recipe.
🧽 Rubbing Alcohol DIY Window Cleaner.
So, grab your bottles, mix these up, and let’s get those windows sparkling clean!
Vinegar as a Window Cleaner Recipe
Crafting an effective and safe homemade window cleaner with the right tools and ingredients is a breeze. This recipe we’re about to delve into is quick, budget-friendly, and, most importantly, efficient in yielding shiny, streak-free windows.
Step 1: Prepare Ingredients
Preparing the ingredients is as easy as pie, with most, if not all, readily available in your pantry. To create this naturally formulated window cleaner, you’ll need:
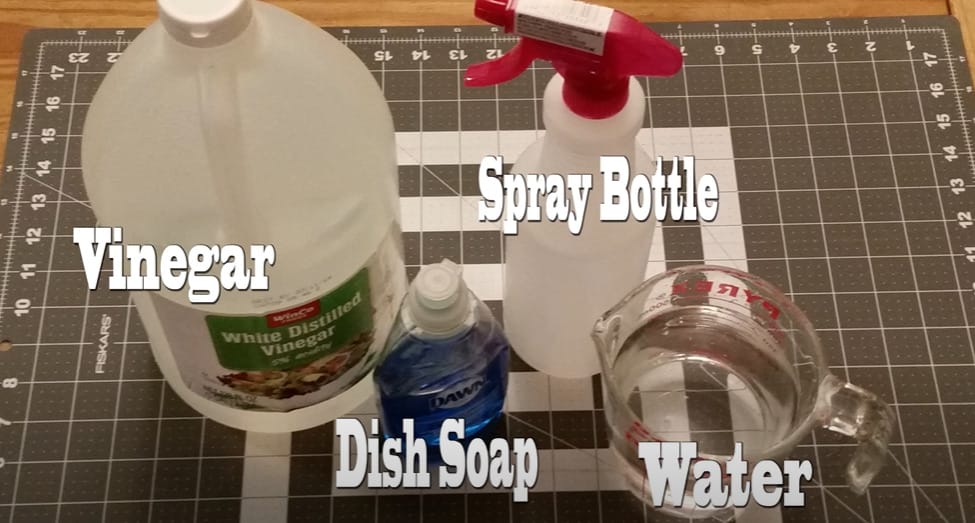
- 1 gallon of water
- 1 part white vinegar
- A few drops of liquid dish soap to break up the dirt
- About 10 drops of your favorite essential oil for a pleasant scent (optional)
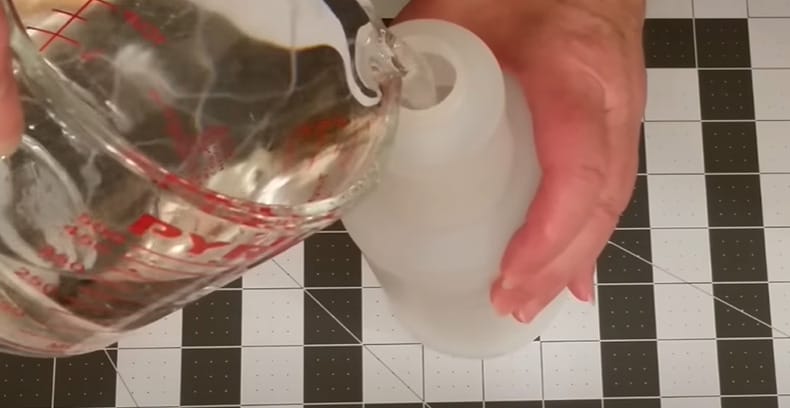
Step 2: Combine in a Spray Bottle
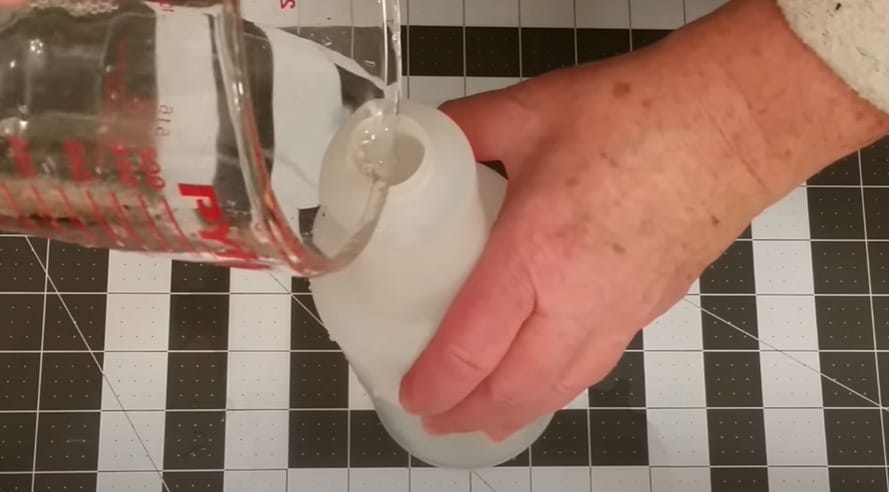
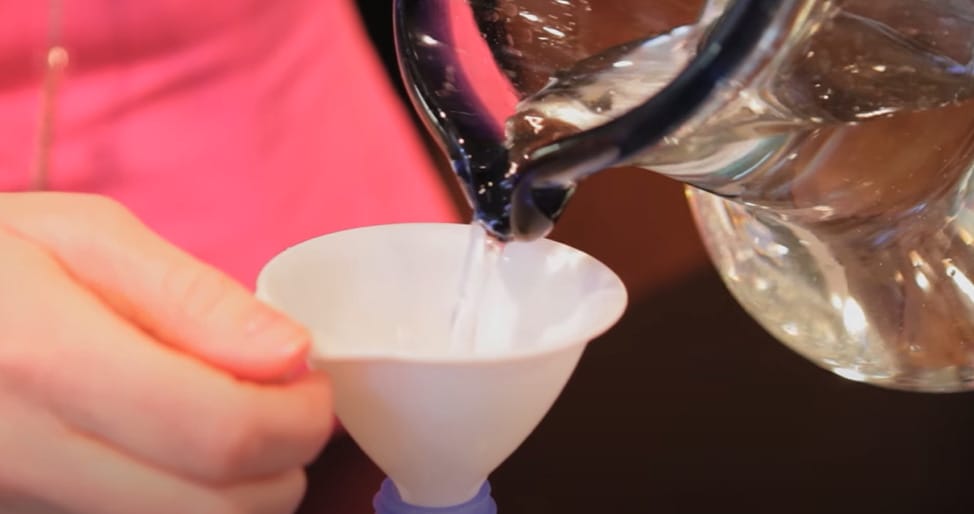
- Step 1: Begin by filling your spray bottle half-full with water.
- Step 2: Add equal parts of white vinegar. Vinegar, with its mild acidity, excellently cuts through grease and grime.
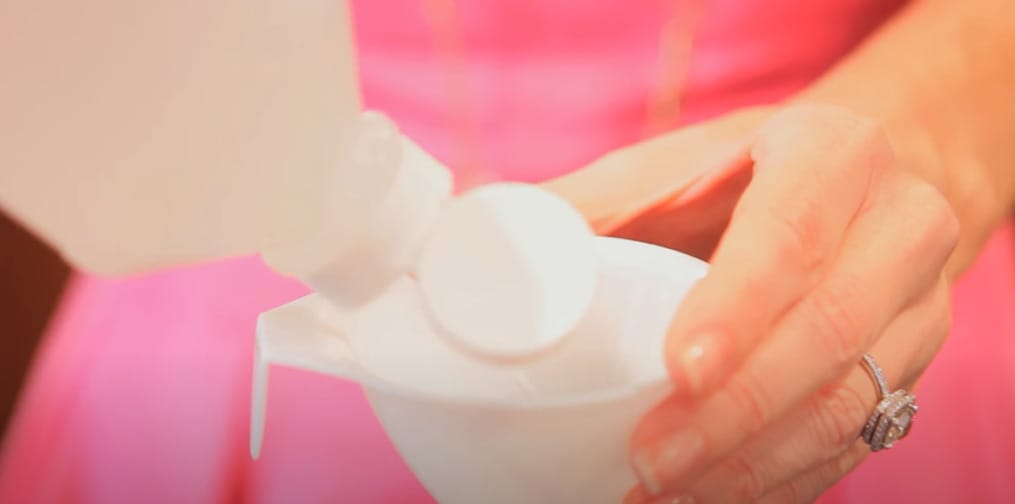
- Step 3: Then, put a few drops of liquid dish soap. This inclusion will help remove the haze from the windows, making them sparkling clean.

- Step 4: If you choose a pleasant scent, add 10 drops of your favorite essential oil to the vinegar and water in the spray bottle.
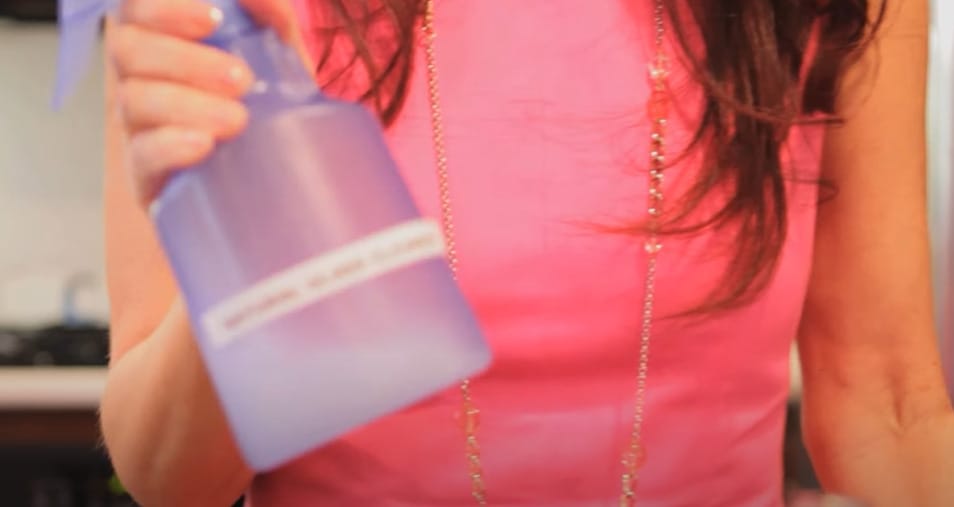
Be mindful, though, about the type of spray bottle you’re using. Even when diluted, essential oils can degrade some plastic bottle types, leading to leaks. A glass spray bottle would be a safer bet in this case.
- Step 5: Finally, close the lid securely and gently shake it to ensure all the ingredients are well-mixed.

Remember, making this solution saves you some bucks and guarantees peace of mind knowing you’re using a non-toxic cleaner. It’s a simple, green solution that’s super efficient for giving your windows a streak-free glow.
Rubbing Alcohol DIY Window Cleaner
Rubbing alcohol is pivotal in creating a strong, effective homemade window cleaner. Contrary to what you might think, it’s not all about the cleaning power – its main role is to disinfect and ensure a streak-free finish on the glass.
Step 1: Add Ingredients in Order
While DIY window cleaner recipes are diverse, there’s one I found to be particularly successful. It calls for:
- One-fourth cup of rubbing alcohol
- One-fourth cup of distilled white vinegar
- One tablespoon of cornstarch
- Two cups of distilled water
Step 2: Combine in a Spray Bottle
Once all your ingredients are assembled:
- Step 1: Pour the rubbing alcohol, distilled white vinegar, and cornstarch into your glass spray bottle.
- Step 2: Fill the bottle with distilled water up to 2 inches from the top.
- Step 3: Secure the lid onto the bottle, gently shake it to distribute the cornstarch, and dissolve it into the solution evenly.
- Step 4: Don’t forget to label your bottle, especially if reusing one, to avoid chemical mishaps down the line.
To use your homemade window cleaner, ensure your cleaning area is dusted. Spray your solution evenly across the surface – from top to bottom. Give it time to work its magic – that’s where patience comes in handy.
Remember, if you’re cleaning outside windows, add a bit of cornstarch to act as a gentle abrasive. You can easily hose down the windows after to remove any cornstarch residue.
How to Use DIY Window Cleaner
Once I’ve combined my distilled water, vinegar, isopropyl alcohol, dish soap, and favorite essential oils into my spray bottle, I’m ready to tackle those grimy windows.
- Selecting the Right Tools: Use a microfiber cloth or lint-free rag instead of paper towels or standard rags to avoid leaving lint and residue. A squeegee is particularly useful for cleaning exterior windows.
- Initial Dust Wiping: Before applying the cleaner, use a soft microfiber cloth to remove dust and loose debris from the windows.
- Applying the Cleaner: Spray the DIY cleaner onto the glass, starting at the top of the window, and then use a clean, separate cloth to work the cleaner over the surface, removing stubborn dirt.
- Safe Storage: Store the DIY cleaner container away from direct heat sources due to the flammability of isopropyl alcohol.
Comparison with Commercial Cleaners
Alright, DIY enthusiasts, let’s talk shop about your homemade window cleaners versus those big-name commercial brands. We’re diving into cost, effectiveness, and what they mean for our planet. Let’s break it down!
| Aspect | DIY Window Cleaners | Commercial Window Cleaners |
|---|---|---|
| Cost | It is significantly cheaper and uses affordable pantry staples. | Generally more expensive due to branding and packaging. |
| Effectiveness | Highly effective and customizable to specific cleaning needs. | Effective, but one-size-fits-all approach. |
| Environmental Impact | Eco-friendly: reduces plastic waste and avoids harsh chemicals. | Often packed in single-use plastics, they may contain harsher chemicals. |
Tips for Keeping Windows or Glass Streak-Free
Cleaning windows can be daunting, but it can be a breeze with the right tips and tricks. Here are some useful tips to make your window cleaning experience a success:
- Buff away dust. Before cleaning your windows, use a lint-free cloth to remove dust and debris from the glass. This will help prevent streaks and ensure a clear view.
- Wait for the right weather. It’s best to clean your windows on a cloudy day. Direct sunlight can cause the cleaning solution to dry too quickly, leaving unsightly streaks and watermarks behind.
- Start with the tracks and frame. The tracks and frame of your windows can accumulate dirt and grime over time. Before cleaning the glass, use a vacuum or dry cloth to remove debris from the tracks and frame. This will help prevent the dirt from smearing onto the glass as you clean it.
- Clean interior and exterior windows twice a year. To keep your windows looking their best, make it a habit to clean the inside and outside of each window twice a year. This will help prevent the buildup of dust, dirt, and mineral deposits.
- Use a squeegee for a streak-free finish. For the best results, use a squeegee to clean your windows. Start at the top of the window and work your way down, wiping the squeegee blade after each pass. Finish by wiping the edges of the glass with a clean cloth.
By following these simple tips, you can achieve a streak-free shine on your windows and enjoy a clear view of the outdoors.
Safety Precautions for Mixing Homemade Glass Cleaners
Today, we’re diving into the world of homemade glass cleaners. Let’s roll up our sleeves and get into it, but first, a big shout-out to safety – our number one priority!
- Mix Masters Beware – Vinegar Meets Bleach: Picture this: vinegar and bleach at a dance party. Sounds fun, right? Wrong! This combo creates a toxic gas that’s bad news for your skin and lungs, and it can be seriously dangerous over time. Keep these two apart for a happy, healthy cleaning session.
- Handling with Care – Bleach and Vinegar: Even solo, bleach and vinegar need your respect. Store them like they’re in different time zones to avoid any mix-up. Safety first, clean second!
- Suit Up – Gloves and Goggles: Mixing your potion? Dress for the occasion! Gloves and eye protection are your best buds. Natural doesn’t always mean gentle, so avoid unwanted skin or eye surprises.
- Organized Chaos – Ingredient Storage: Think of your ingredients like a rock band – great alone, chaos together. Store them separately to keep their solo careers thriving and your cleaning mix safe.
- Nature’s Touch vs. Germ Busters: Vinegar and lemon juice are fantastic for a sparkly clean, but they’re not the Avengers against germs. Remember, they’re more backup singers than lead vocals in sanitizing.
There you go! Remember these tips, and you’re set to rock that homemade cleaner with style and safety!
Frequently Asked Questions
- What Can I Substitute for White Vinegar in the Recipes?
- If you’re out of white vinegar, lemon juice is a great alternative. It has similar acidic properties, effectively cutting through grease and grime.
- How Often Should I Shake the DIY Cleaner Before Use?
- Give your cleaner a good shake before each use. This ensures that all the ingredients are well-mixed, especially if using essential oils or cornstarch.
- Can These Cleaners Be Used on Tinted Windows?
- It’s generally safe, but I’d recommend testing a small, inconspicuous area. The alcohol or vinegar in the cleaner could potentially affect the tint.
- Are These DIY Cleaners Safe for All Glass Surfaces?
- Yes, they’re safe for most glass surfaces. However, it’s best to check the manufacturer’s cleaning recommendations for surfaces like eyeglasses or certain types of treated glass.
- What Is the Shelf Life of These Homemade Cleaners?
- Typically, these homemade cleaners can last several weeks. Store them in a cool, dry place to maximize their shelf life.
- Can I Use Any Dish Soap in the Recipes?
- Absolutely! Any dish soap will do, but remember that a little goes a long way – you don’t want soap suds on your windows.
- Is It Necessary to Use Distilled Water?
- While tap water can be used, distilled water is recommended to avoid potential streaks or mineral deposits, especially if you have hard water.
References
Environmental Organizations:
- The Environmental Working Group (EWG). https://www.ewg.org/
- The U.S. Environmental Protection Agency (EPA). https://www.epa.gov/
Books:
- “The Naturally Clean Home” by Karyn Siegel-Maier. https://www.hachettebookgroup.com/titles/karyn-siegel-maier/the-naturally-clean-home-3rd-edition/9781635863802/
- “DIY Natural Household Cleaners” by Matt Jabs and Betsy Jabs. https://www.barnesandnoble.com/w/diy-natural-household-cleaners-matt-jabs/1122547106
Website Resources:
- The Spruce. https://www.thespruce.com/
- Good Housekeeping. https://www.goodhousekeeping.com/
Video References:
EMCDevs EMCDevs
Timeless Garden